
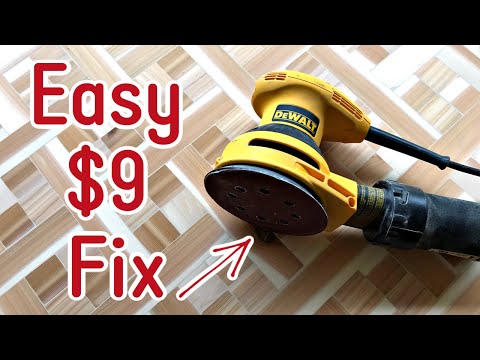
Easy steps to install a replacement Velcro pad for orbital sanders. Works on most orbital sanders: Dewalt, Bosch, Hitachi, Ryobi and more.
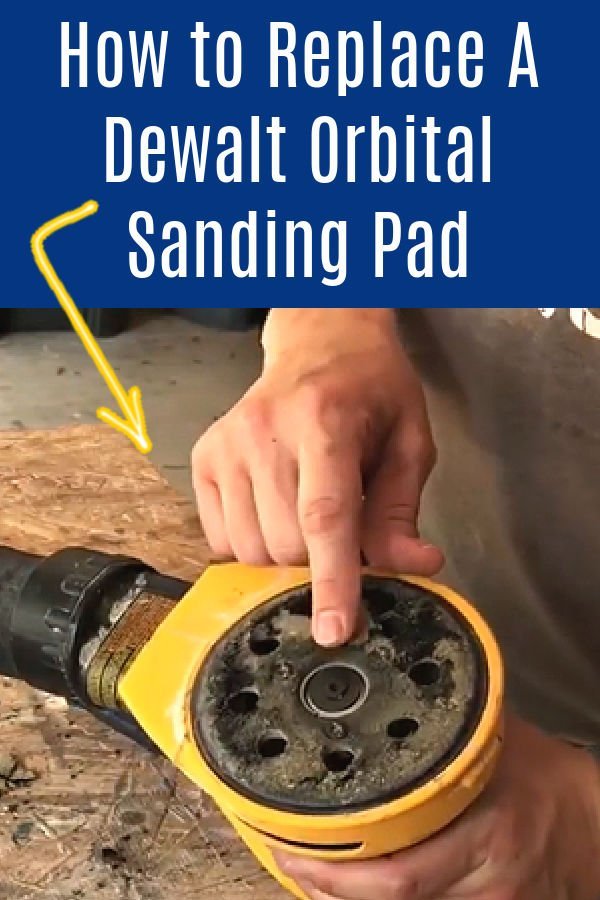
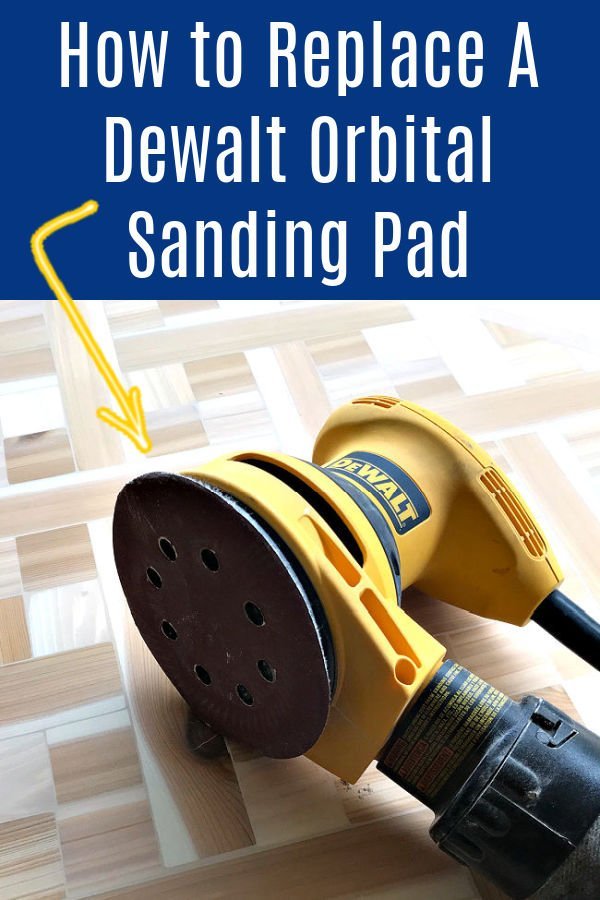
Replacement Velcro Pad For Orbital Sander
Hi guys! Today I’ve got the quick and easy to follow steps for an orbital sander Velcro pad replacement. I’m changing out the Velcro pad on my Dewalt Orbital Sander.
But, I’m using a Universal part for most orbital sanders. These exact steps work for any 5 inch, 8 hole, 3 screw hole orbital sander.
That means this exact same pad I am using as a Dewalt orbital sander replacement pad will likely work for a Bosch sander velcro pad replacement, as long as both orbital sander Velcro pads are 5″, 8 hole pads.
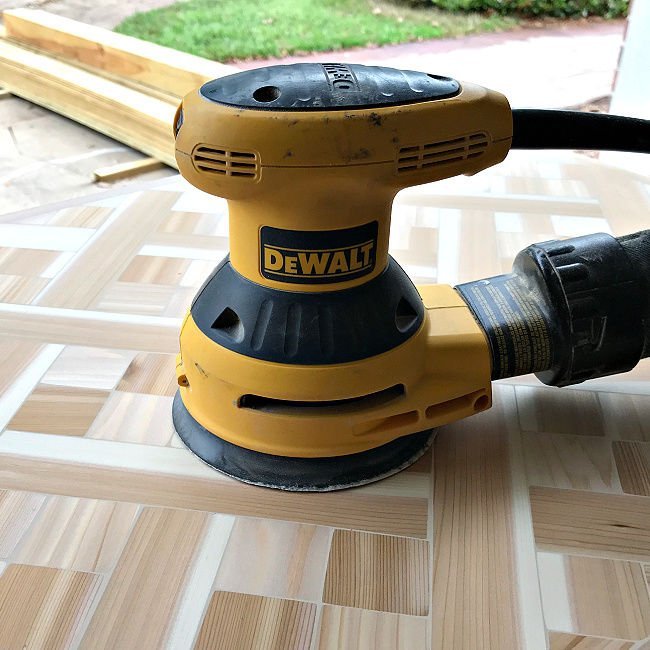
And, I have to say, I love my Dewalt Orbital Sander. It’s easy to use and it makes quick work of sanding everything smooth. But, like any tool, it does require a little maintenance from time to time.
You’ll have to replace the Velcro pad for orbital sanders as they wear out. Luckily, it’s a pretty easy DIY for anyone with a few common tools.
This orbital sander velcro replacement pad is available on Amazon for about $7.
Check the description on the Amazon listing to see if this pad is compatible with your brand of orbital sander, the manufacturer has listed a bunch of model numbers.
And, I want to also say that this replacement velcro pad for orbital sanders seems to be actually be more durable than the original part that came with my Dewalt Orbital Sander.
The sides on the original Velcro pad were softer and splinters eventually broke through it. The sides on the orbital sander replacement pad seem stronger, tougher.
So, I am pretty hopeful that it will last even longer than the original. Now, let’s get to the easy steps to install a replacement Velcro pad for orbital sanders.
Easy Steps For Orbital Sander Pad Replacement
Materials Needed
- Orbital Sander Replacement Pad
- T20 Bit (star) for a drill or screwdriver
Steps
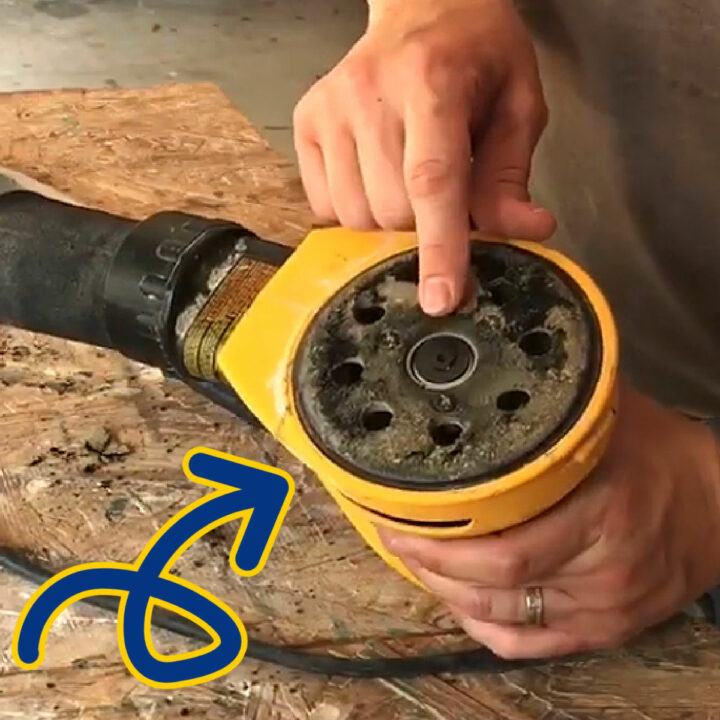
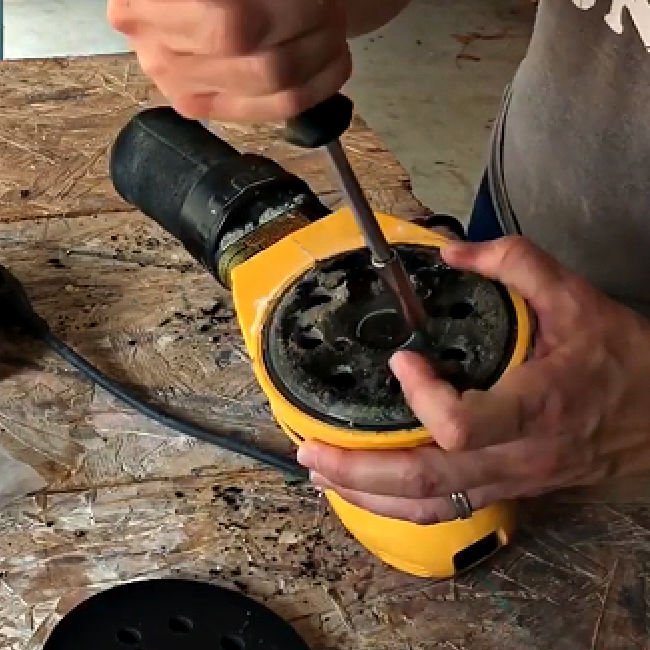
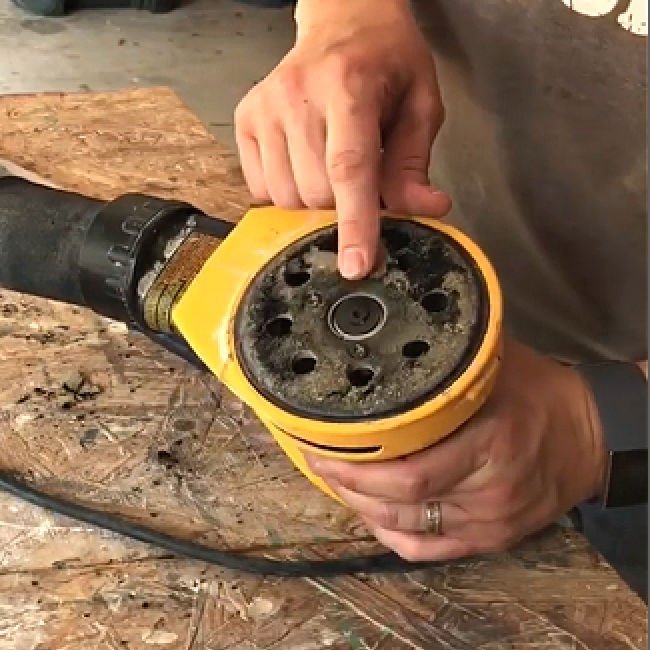
Use a T20 Bit (star) to remove the 3 screws holding the pad on the orbital sander. You can see me doing this in the video after the written steps.
Remember, you have to turn the screws in the opposite direction you normally would. So, turn right to loosen and left to tighten.
Since the orbital sander Velcro pad is a spinning part, it works like the tire on a car. The screws have to work in the opposite direction so that they don’t unscrew while the sander is running.
While you have the backing pad off for your Orbital Sander, go ahead and gently clean out any dust inside with a clean paint brush. This’ll just help keep all of the moving parts in that sander running longer.
Once it’s all clean, screw on the replacement sander pad. Easy peasy, right?!
How To Change Backing Pad On Orbital Sander
Changing the backing pad on an orbital sander is easy. All you need is a replacement backing pad and a T20 bit. Watch this short video to see a quick step by step guide.
Now, here’s some answers to frequently asked questions about orbital sander backing pads.
Can You Replace The Velcro Pad On An Orbital Sander?
Yes, you can replace the Velcro pad on an orbital sander. And, it’s a pretty easy fix. You can find universal replacement sanding pads on Amazon and other online stores.
Why Won’t My Sandpaper Stick To My Sander
If your sandpaper won’t stick to the Velcro pad on your sander, it’s probably caused by one of three things.
First, the hook and loops on the Velcro pad are worn out.
Second, the Velcro pad is dirty and needs to be cleaned. Use a shop vac or soft bristle brush, like an old toothbrush, to remove the built up dust and gunk in the pad.
And, the third reason why your sandpaper won’t stick to the Velcro pad is the sandpaper itself.
Unfortunately, the sandpaper will lose the ability to stick to the Velcro after a certain amount of use. You can make it last longer by not pressing down too hard on the surface you are sanding.
But, eventually it will fall off and won’t stick to the Velcro anymore. Luckily, you can find low cost sanding discs if you shop around. I like this box of 72 Orbital Sanding Discs I found for about $10 on Amazon.
How To Clean Orbital Sander Pad
If your Velcro orbital sander pad is dirty and needs to be cleaned, you can use a shop vac or soft bristle brush, like an old toothbrush, to remove the built up dust and gunk in the pad.
Well, that’s it for this Quick & Easy Replacement Velcro Pad For Orbital Sanders. If you love home improvement projects as much as I do, check out these DIY Home Improvement videos here, on my YouTube channel. 🙂
More DIY Projects For You
You might also like this Quick DIY to Whiten Tile Grout.

Or these beginner tips for using the Dewalt Electric Hand Planer.

And, check out the Easy DIY Steps for How to Restain a Door without stripping or removing it.

If you’re into Home DIY as much as I am, here are a few more tutorials you might like: How to Cut Drywall and Hang Drywall for beginners, this DIY Chalk Paint Recipe from Latex Paint, how to fix damaged wood furniture with bondo, and this guide for when to use caulk or wood filler on wood trim.

Here’s How to Clean Car Seats At Home, the easy way. This is a-mazing!

That’s it for this replacement velcro pad for sanders install guide. Let me know if you have questions. Don’t forget to sign up for the Abbotts At Home email newsletter to get DIY, Remodeling, and Crafty ideas in your inbox.

Stephanie Abbott has been remodeling homes, updating & building furniture, and working on DIY home maintenance and cleaning tips for over 20 years. Her remodeling has been featured in Better Homes and Gardens Magazine. And, her DIY YouTube channel has had more than 8 million views.
Most of the DIY tutorials and videos on this site focus on beginner to intermediate level DIY Projects that can be done in an affordable way without high-end, expensive tools. All of the cleaning tips on this website have been tested in her home.