
Easy step by step tutorial and video for Gable Vent Installation in a Shed Wall, Playhouse, Barn, or Tiny House. Using a Vinyl Gable Vent.
Easy Gable Vent Install in a Shed
Hi guys! I’m back with another DIY project from that big Kids Playhouse Build I’ve been working on.
Last week, I shared how to build a small step ladder from 2×4’s. This week, I have the easy steps for a DIY Gable Vent Installation in a shed wall.
Gable Vents are great. They allow air to flow through your shed or playhouse without letting rain in.
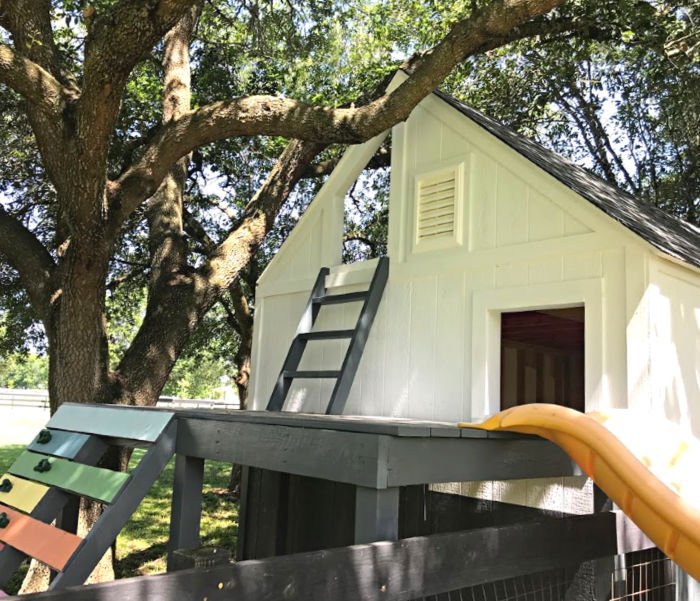
I am putting 2 vinyl gable vents on opposite walls of the playhouse. This will let the air flow across the playhouse, helping it stay cooler in our hot Texas summers.
Since this is a playhouse and not just a shed, I also have a few big windows and doors that will always be open so that my kids aren’t at risk of being in a hot, closed building.
Now, let’s get to those easy steps to install a Gable Vent in a Barn, Shed, or Playhouse.
Tools and Materials Needed
Here’s a list of what you’ll need for your DIY Gable Vent Installation in a Shed
- Tools: Power Drill, Circular Saw, Jigsaw
- Exterior Grade, Paintable Caulk, I like DAP Dynaflex 230 and DAP Alex Plus
- Exterior Construction Adhesive
- Vinyl Gable Vent – I used a Royal brand Gable Vent from Lowe’s
How to Install a Shed Gable Vent
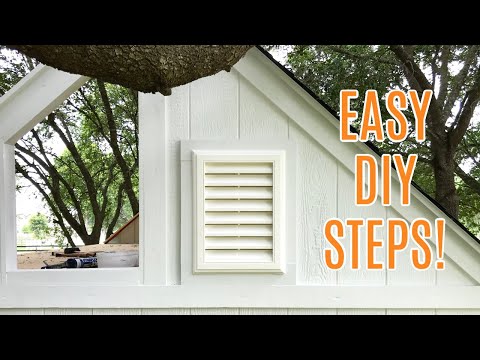
Keep scrolling for the written steps. But, I always think it’s easier to understand a project if I can see someone doing it.
Here’s a quick step by step video walk through of how to install a Gable Vent in a shed wall, barn, playhouse, or tiny house.
Easy DIY Gable Vent Installation Steps
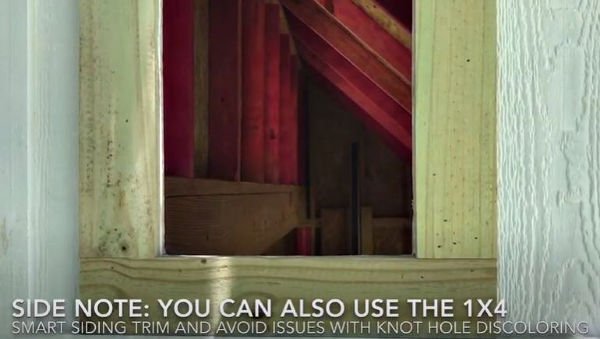
Please Note: The Royal brand Vinyl Gable Vent I bought at Lowe’s has a front and back piece that snaps together. It is designed for a 1 1/4″ thick wall. The 1×4 trim I used is 3/4″ thick and the siding on my shed is 1/2″ thick.
Step One
Use your vinyl gable vent and a pencil to mark out the hole for your gable vent in the shed wall. Make sure it’s square and level before cutting.
Also, make sure that there aren’t any framing studs behind the hole you just marked. If you cut into the framing, you will need to add more framing around the vent to support the roof.
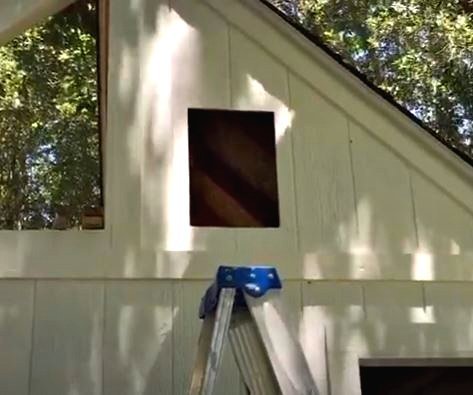
Step Two
Cut your opening. I started with my Circular Saw, cutting the 4 sides. Then I used my jigsaw to cut the corners.
BUT, if you can’t safely hold your circular saw, you can use your jigsaw to cut the whole opening. Then, test that the vent fits into the opening before adding the trim.

Step Three
Cut your pressure-treated 1×4, or similar trim, to frame the new opening. I used exterior-grade heavy duty construction adhesive to install the trim.
Again, make sure everything is square and level. Then let the adhesive dry before moving on to the next step in your to install a Shed Gable Vent.
Step Four
Once the adhesive is dry, use an exterior grade caulk and exterior paint to finish off the trim.
It’s easier to caulk and paint the opening before installing the front of the vent. Make sure the caulk dries before painting it.
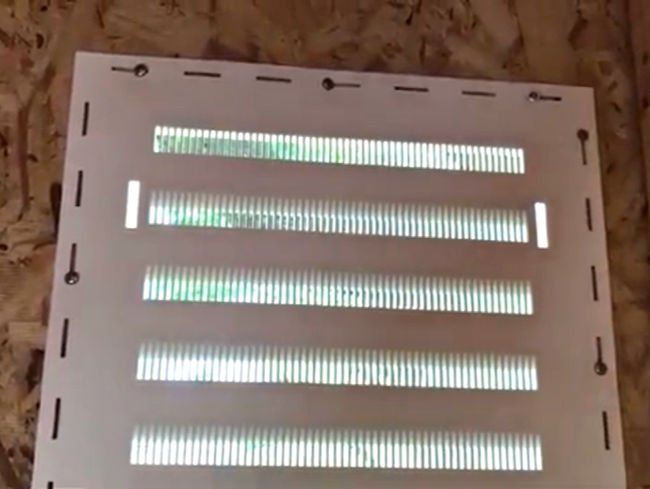
Step Five
While the caulk or the paint is drying, you can install the back or inside of the gable vent, from inside the shed or barn.
I used 1″ – #8 self tapping screws to screw the back of the vent into place. I will say that the instructions say to use nails, but they don’t mention where to put them or how many to use.
So, I decided to use screws to avoid hammering hard against the inside of my siding.
Step Six
Once the trim is caulked, painted, and dry; press the front of the vent into the back until it’s attached.
Then, to finish off your Barn or Shed Wall Gable Vent Installation, use the caulk again to seal around the outside of the gable vent. You can see me doing each of these steps in the how-to video above.
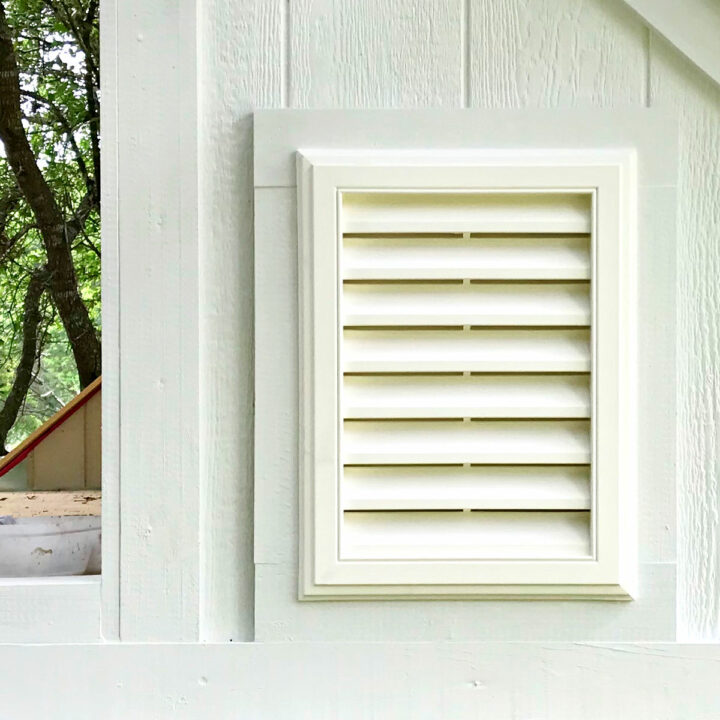
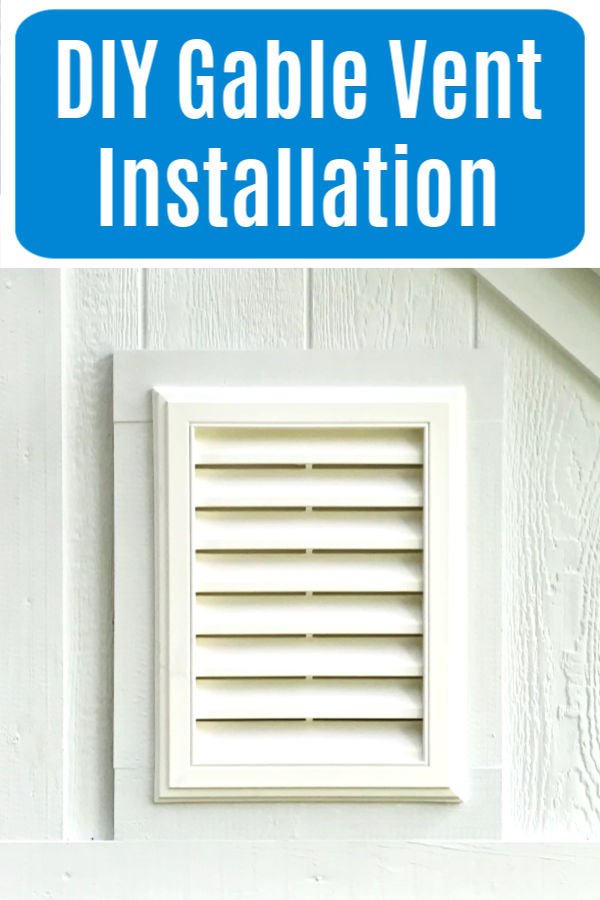
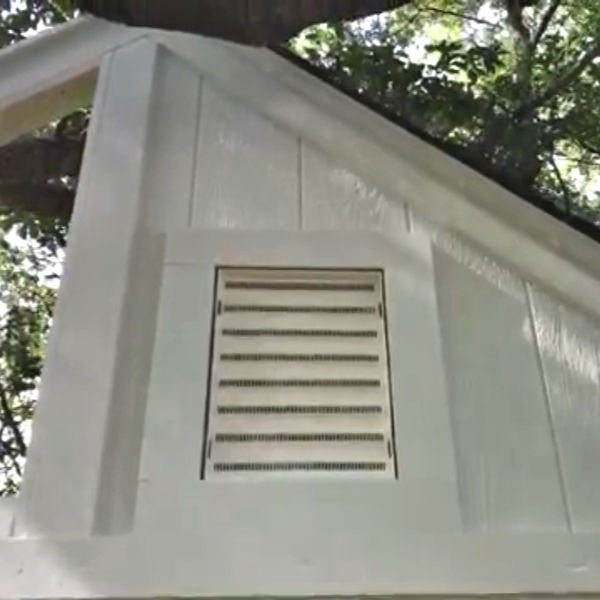
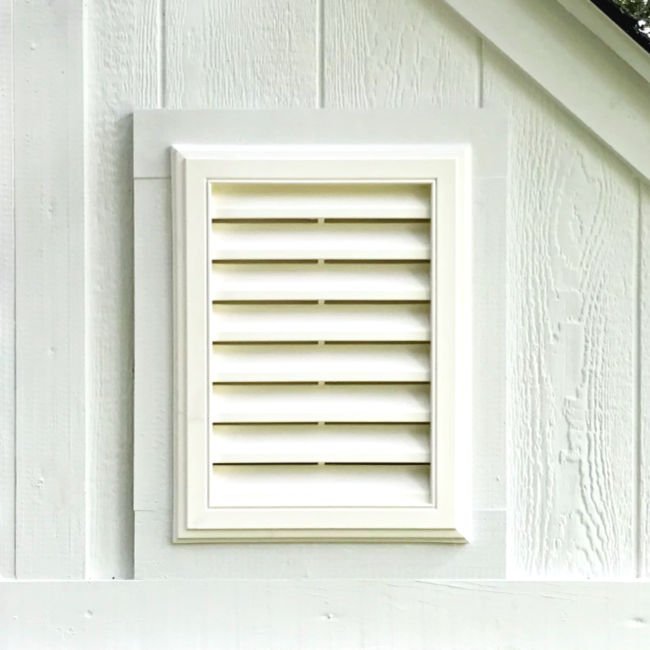
Our Vinyl Gable Vent Installed In The Shed Wall
Here’s how the finished Vinyl Gable Vent Installation looks. I love it!
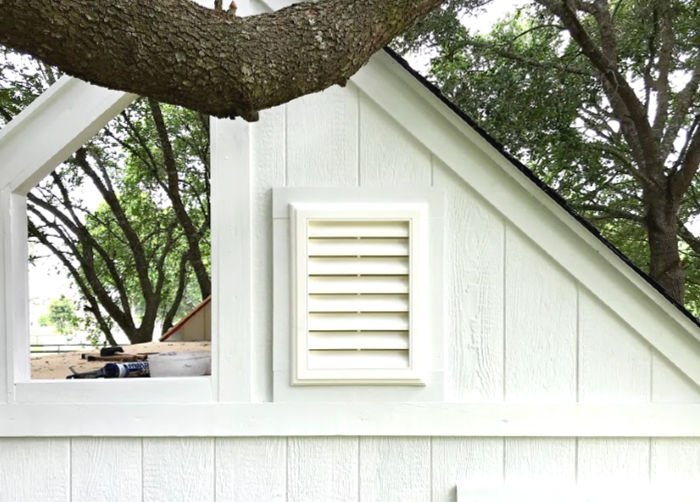
Make sure you pick a big enough vent to get enough air flow. This vent is 15″x20″. And, I installed 2 on this 10’x15′ playhouse shed.

The opening to the left of the gable vent is a tree house level deck. You can see how to waterproof a plywood deck here. And DIY Ridge Cap Shingle Installation here.
That’s it for this Shed Gable Vent Install. You can find more of the DIY Kids Wooden Playhouse videos on my YouTube Channel.
DIY Gable Vent Installation in a Shed
Easy to Follow step by step tutorial for a DIY Gable Vent Installation in a Shed, Playhouse, or Tiny House, using a Vinyl Gable Vent.
Tools
- Vinyl Gable Vent
- JigSaw or Circular Saw
Instructions
DIY Gable Vent Installation Steps
Please Note: The Royal brand Vinyl Gable Vent I bought at Lowe's has a front and back piece that snaps together. It is designed for a 1 1/4" thick wall. The 1x4 trim I used is 3/4" thick and the siding on my shed is 1/2" thick.
Step One
- Use your vinyl gable vent to mark out the hole for your vent with a pencil. Make sure it's square and level before cutting. Also, make sure that there aren't any framing studs behind the hole you just marked. If you cut into the framing, you will need to add more framing around the vent to support the roof.
Step Two
- Cut your opening. I started with my Circular Saw, cutting the 4 sides. Then I used my jigsaw to cut the corners. BUT, if you can't safely hold your circular saw, you can use your jigsaw to cut the whole opening. Then, test that the vent fits into the opening before adding the trim.
Step Three
- Cut your pressure-treated 1x4, or similar trim, to frame the new opening. I used exterior-grade heavy duty construction adhesive to install the trim. Again, make sure everything is square and level. Then let the adhesive dry before moving on to the next step in your DIY Gable Vent Installation in a shed wall.
Step Four
- Once the adhesive is dry, use an exterior grade caulk and exterior paint to finish off the trim. It's easier to caulk and paint the opening before installing the front of the vent. Make sure the caulk dries before painting it.
Step Five
- While the caulk or the paint is drying, you can install the back of the gable vent, from inside the shed. I used 1" - #8 self tapping screws to screw the back of the vent into place. I will say that the instructions say to use nails, but they don't mention where to put them or how many to use. BUT, I decided to use screws to avoid hammering hard against the inside of my siding.
Step Six
- Once the trim is caulked, painted, and dry; press the front of the vent into the back until it's attached. Then, to finish off your DIY Gable Vent Installation, use the caulk again to seal around the outside of the gable vent. You can see me doing each of these steps in the how-to video above.
More DIY Projects For You
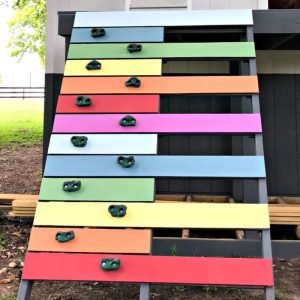
You might also like this easy tutorial for how to make a kids climbing wall.
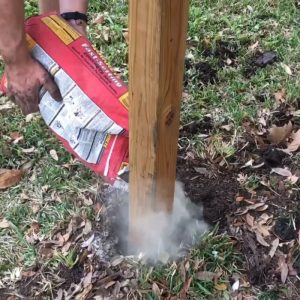
Or this DIY for how to set wooden fence posts in concrete.
If you’re car seats are as dirty as mine were, here’s how to clean car seats at home. Or maybe you need to know how to clean area rugs at home.

I love this DIY for How to Whiten Tile Grout too.

Here’s how to Restain a Front Door without removing it. Easy Peasy Curb Appeal, guys.
That’s it for this Shed Gable Vent Installation. Let me know if you have questions. Don’t forget to sign up for the Abbotts At Home email newsletter to get DIY, Remodeling, and Crafty ideas in your inbox.

Stephanie Abbott has been remodeling homes, updating & building furniture, and working on DIY home maintenance and cleaning tips for over 20 years. Her remodeling has been featured in Better Homes and Gardens Magazine. And, her DIY YouTube channel has had more than 8 million views.
Most of the DIY tutorials and videos on this site focus on beginner to intermediate level DIY Projects that can be done in an affordable way without high-end, expensive tools. All of the cleaning tips on this website have been tested in her home.