
Easy to follow steps and build video for this beautiful DIY Long Wood Tray. Great build for beginner woodworkers.
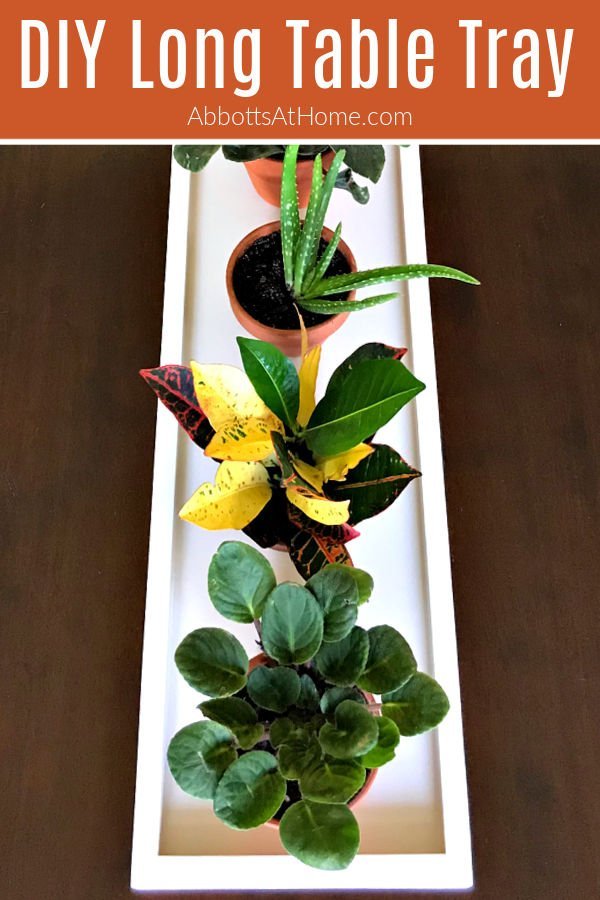
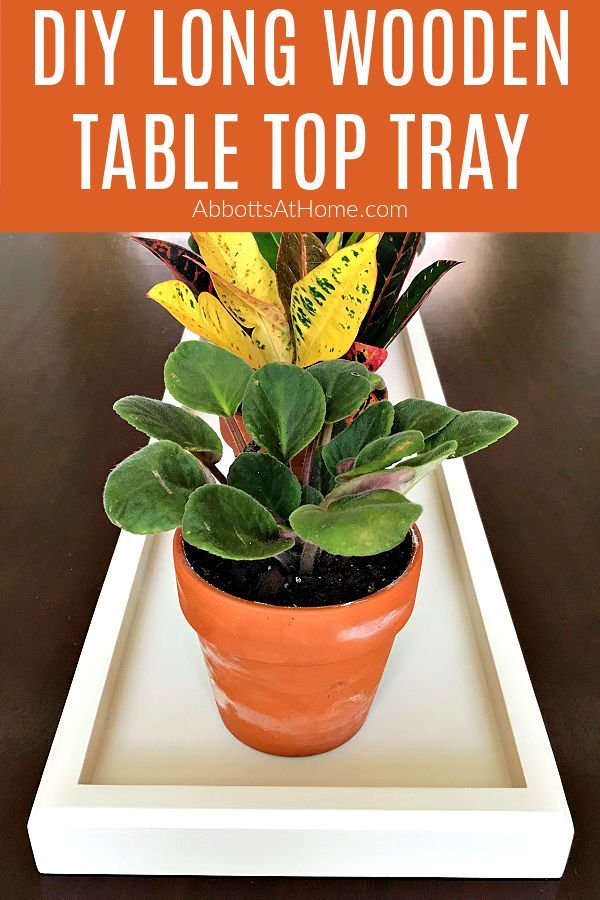
Easy DIY Long Wooden Table Runner Tray
Hi Guys! Today I’ve got the build steps and a short how-to video for this easy DIY Long Wooden Table Runner Tray.
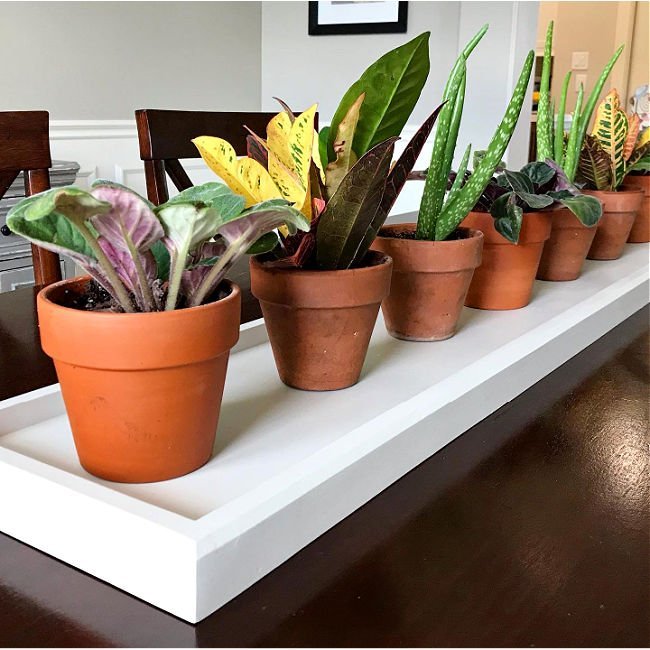
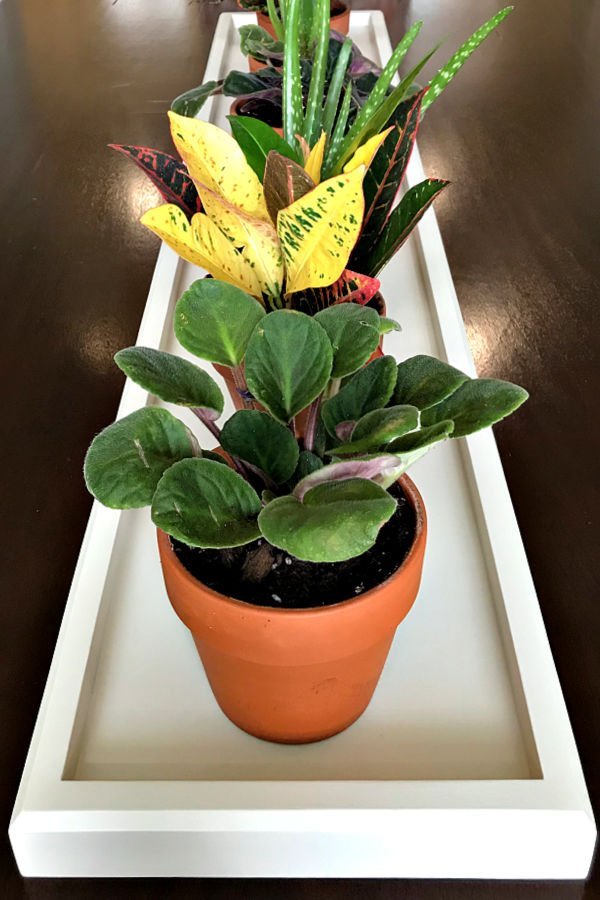
I’m loving this long tray full of beautiful plants on my Dining Room table. It’s added life and color to my Dining Room.
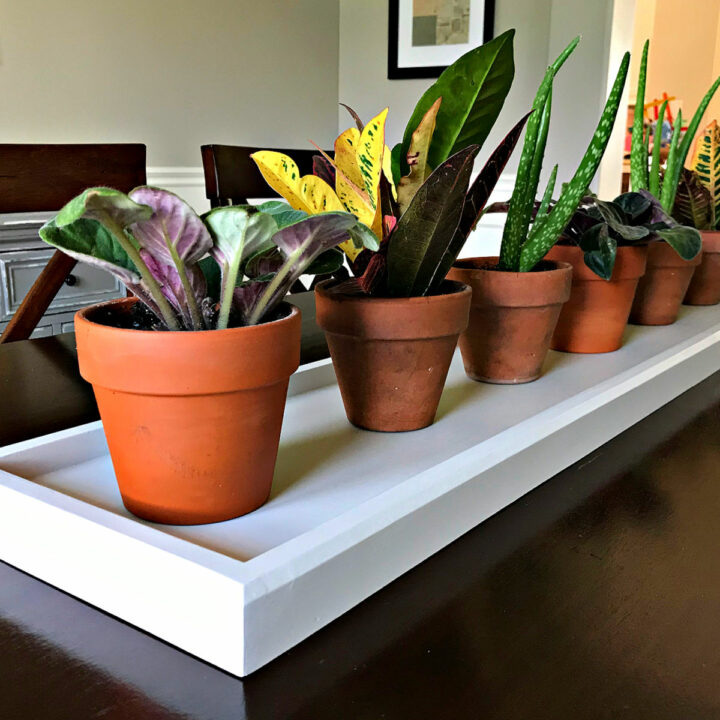
Decorating with plants is soooo much easier than styling with decor. At least for me. BUT, you can style this long wooden table runner any way you’d like.
It’d be perfect for staging your Christmas decor, Thanksgiving pumpkins, or anything else you’d like to use. 🙂
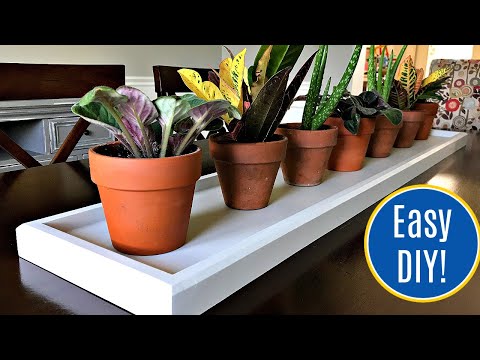
Watch this How-To Video
Watch this video to see the exact steps I used to make this easy DIY Long Wooden Table Runner Tray. I used this wooden table runner on my Dining Room table, but it would look great on any table top or counter.
Here’s What You Need
- 4′ long x 8″ wide cabinet-grade plywood, or similar size dimensional lumber
- 1×2 Pine Dimensional Lumber for the Sides of the Tray
- A Miter Saw and possibly a Circular Saw or Jig Saw
- Brad Nailer
- Power Sander with 180 grit sandpaper
- Optional: Bosch Router with a Chamfer Router Bit
- 180-grit Sanding Block and optional Micro Zip Sander
- Wood Glue and Wood Filler
- Chalk Paint
- General Finishes Flat Out Flat
Steps to Build this Long Wooden Tray
Step One
Start by cutting the base for your DIY Long Wooden Table Runner Tray. I used a scrap piece of 3/4″ plywood leftover from my DIY Round Plywood Table Top. That piece of plywood was 4′ long by 8″ wide. You could also use a 4′ long 1×8 or 1×10 Pine board for this build.
The long wooden tray I built ended up being 4′ 1 1/2″ long by 9 1/2″ wide. This is a great size for a tray table runner on my Dining Room table. But, you can always adjust the size to fit your space. 🙂
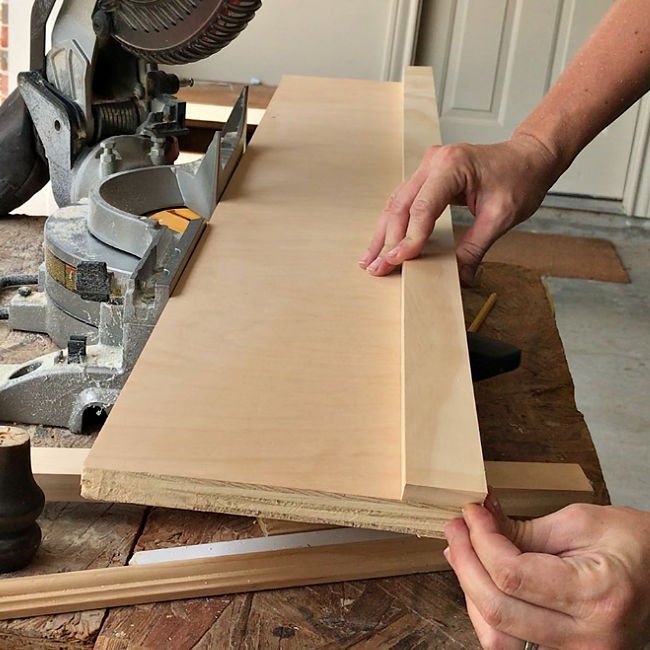
Step Two
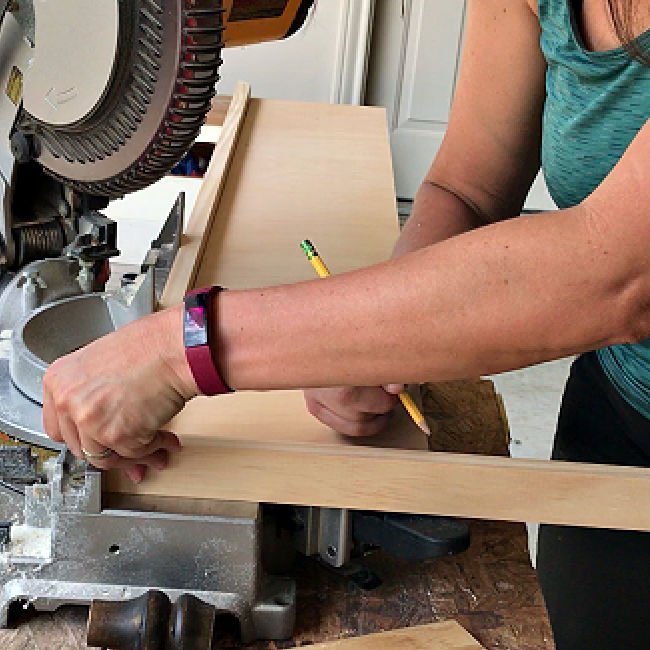
Next, cut your 1×2 framing boards to size with 45-degree miters on your Miter Saw. I used Select Pine because I already had it. But, Common Board would be less expensive. Just be sure to pick straight boards with the least amount of knots and imperfections for the best result.
I cut each 1×2 to size by cutting the 45-degree miter on one end, then holding that board against the base to mark the other end. To avoid bad cuts and wasted material, I usually make that cut a little long, maybe 1/4″. Then I hold that board up against the base again to verify my mark again, before making the final cut.
Step Three
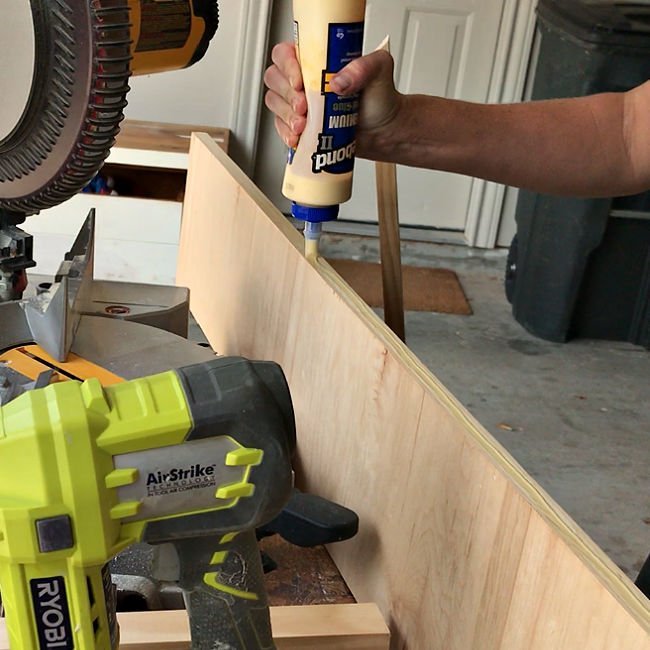
I used wood glue and my brad nailer to attach each board before moving on to cut the 1×2 for the next side of the tray. Glue the bottom of each side level with the base of the tray, to make a flat-bottomed tray. You can see me doing this in the video above.
Cutting and attaching 1 side at a time seemed like the easiest way to get perfect, tight miter corners on this DIY Long Wooden Table Runner. Repeat steps 2 and 3 for each of the 4 sides of the tray.

Step Four
Once you have all 4 sides attached to the tray, it’s time to use wood filler. Fill the joint at all 4 miters, all along the inside corners where the base and the sides meet, and any imperfections that need filling. I use a small square scrap board to scrape excess wood filler away before it dries.
You can see how I use that little scrap board in the video too. Cleaning off all that excess wood filler before it dries makes sanding so much faster and easier.
Step Five
Once the wood filler dries, use a power sander all along the outside and top of the tray until you have a smooth surface and all excess wood filler has been removed. I used 180-grit sandpaper on this pine. That left the pine ready to paint. If you plan to stain this DIY Long Wooden Table Runner Tray, you should sand to a higher grit, depending on the stain you’re using.
On the inside of the tray, I used a sanding block and my little Micro Zip Sander to sand away the excess wood filler. Be careful using a power sander on the inside of a tray or box because they can sometimes cause divets or damage on the sides when you are sanding the base.

Step Six
Now this step is completely optional. I used my router to cut a 1/4″ deep chamfer all along the outside of the tray. This just added a little extra style and detail to the tray.
If you’re new to using a router, like me, be sure to clamp a 3/4″ board to the inside of the tray. That will make a wide, level surface to guide your router across for a straight cut. I skipped that step on my first attempt at a routed edge and ended up having to use Bondo to fix the damaged wood. Luckily, it’s a pretty easy fix and Bondo is strong enough to route through.
Once your routed edge is complete, carefully sand that edge to prep it for paint or stain.
Step Seven
Now, it’s time for the last step. Yay! I used my easy DIY Chalk Paint Recipe to quickly mix some latex wall paint into chalk paint. I used Behr’s Sandstone Cove color in Eggshell sheen for this project. I use this color on a lot of the walls in my house. So, I knew this color would match my house.
With chalk paint, I don’t need to prime before painting unless there are knot holes. Knot holes in Common Board should be sealed with a good primer to prevent staining eventually coming through the paint.
I applied 3 coats of chalk paint. You can find the steps for how I get a super smooth finish with chalk paint here. It’s all about why I love wet sanding chalk paint!
Once the paint was perfect and dry, I applied 3 coats of General Finishes Flat Out Flat top coat. I have been using this top coat lately because it is so easy to apply and it leaves a beautiful store-bought looking matte sheen that I love!!! You can see that sheen in the finished pictures on this DIY Gray Chalk Paint Furniture Makeover too.
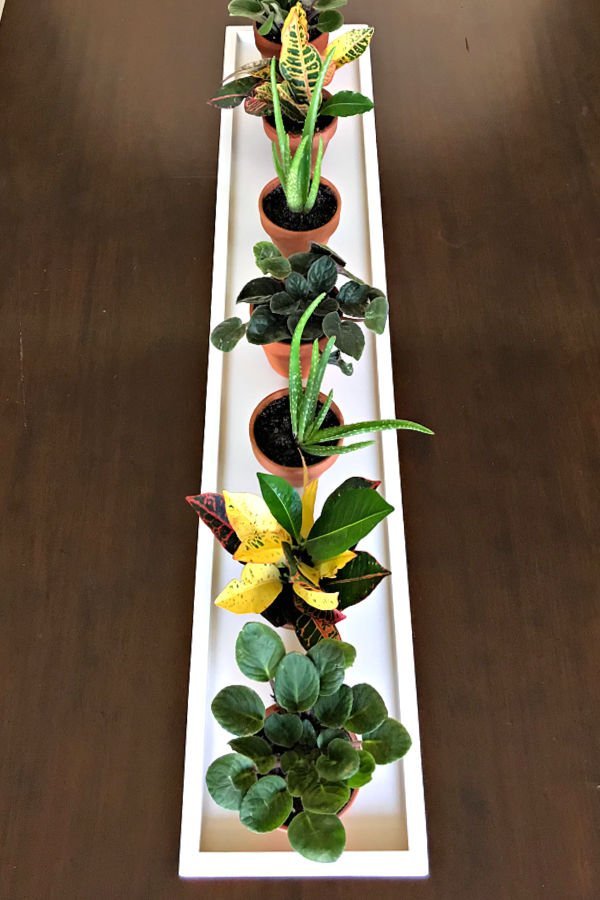
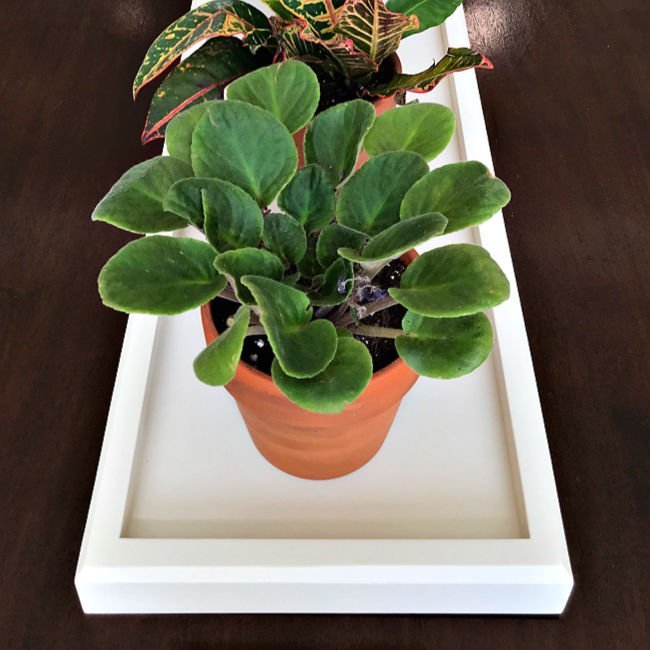
More Pictures of this easy DIY Long Wooden Table Runner Tray

Looking for more of my Beginner Woodworking videos? You can see them here, on my YouTube channel. 🙂
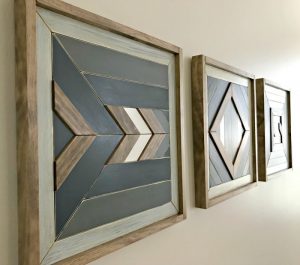
You might also like this DIY Scrap Wood Wall Art project. It’s one of my favorites.
Or, this how to make this Easy DIY Wood Frame for Canvases.

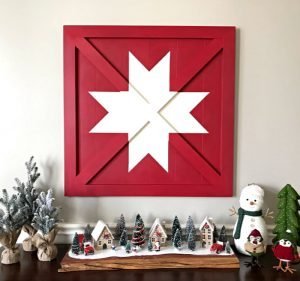
I love this DIY Barn Star Wall Art project.
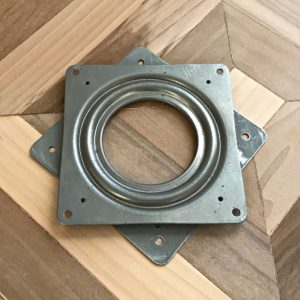
Here’s the how to make a Lazy Susan turntable. Turn those woodworking projects into turn tables!
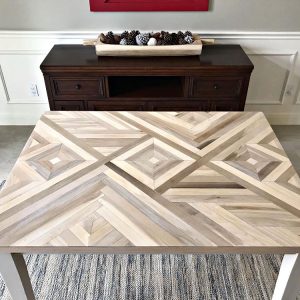
And, if you’re looking for a bigger woodworking project, check out this DIY Geometric Wood Table Top. Update an existing table or build one from scratch.
Feeling inspired? Now that you’ve seen this easy DIY Long Wooden Table Runner Tray tutorial, you can make one too. Let me know if you have questions. Don’t forget to sign up for the Abbotts At Home email newsletter to get DIY, Remodeling, and Crafty ideas in your inbox.

Stephanie Abbott has been remodeling homes, updating & building furniture, and working on DIY home maintenance and cleaning tips for over 20 years. Her remodeling has been featured in Better Homes and Gardens Magazine. And, her DIY YouTube channel has had more than 8 million views.
Most of the DIY tutorials and videos on this site focus on beginner to intermediate level DIY Projects that can be done in an affordable way without high-end, expensive tools. All of the cleaning tips on this website have been tested in her home.