
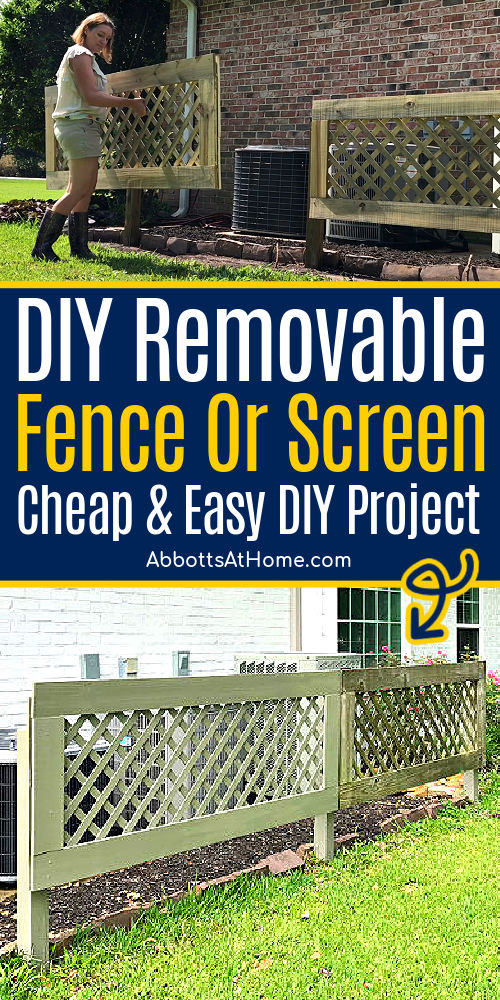
EASY DIY to make screens & fence panels removable! Here’s how to make a removable fence panel, air conditioner screen, or ac unit fence.
Make a Removable Fence Panels & Air Conditioner Screens
This DIY Removable AC Screen will hide those air conditioners, allow proper air flow for the condenser, and make the AC guy happy when he sees how easy it is to remove.
And, this hack would also work great as a DIY Removable Fence Panel to hide boats, RV’s, and that ugly area under decks. It’s perfect when you don’t have room for swinging gates.
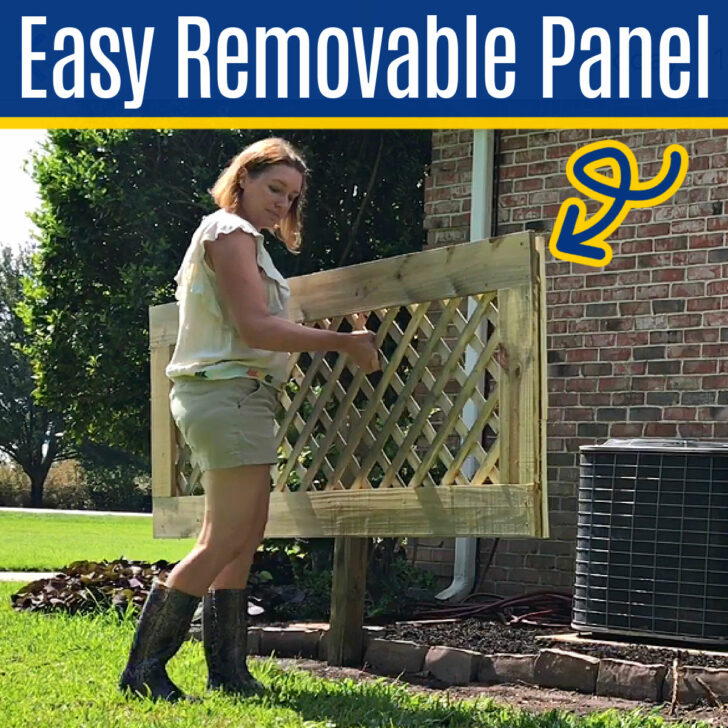
I made these easy and lightweight lattice screens to hang on posts that I set in concrete. But, you can use the hangers on any type of screen, fence, or panel light enough for you to lift in and out of place.
And, good news, you can easily have this project done in a weekend. Let’s get started!
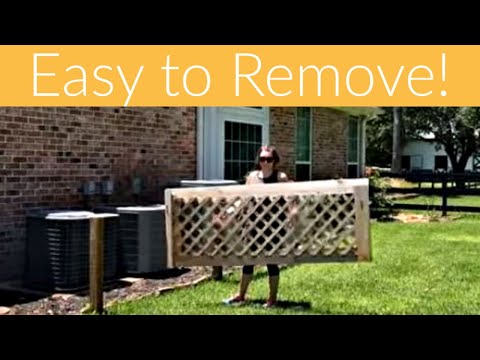
DIY AC Fence Video
Watch this video update from 2019 to get a project update and find out why this is my ‘most controversial’ DIY project. You can also see what I used to make this removable fence panel.
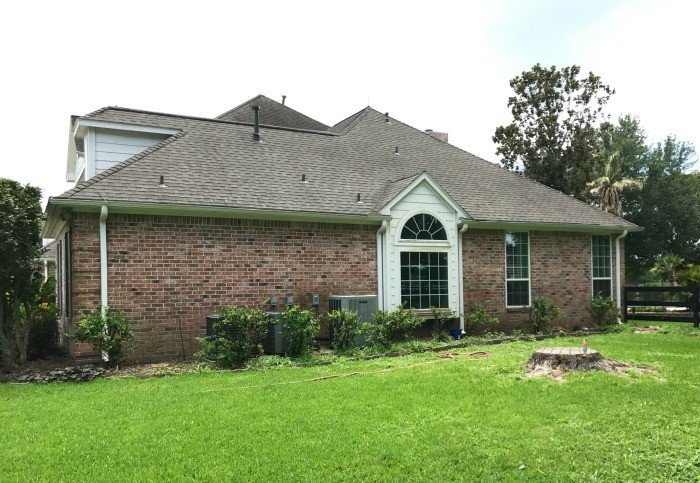
Why I Made This Air Conditioner Screen
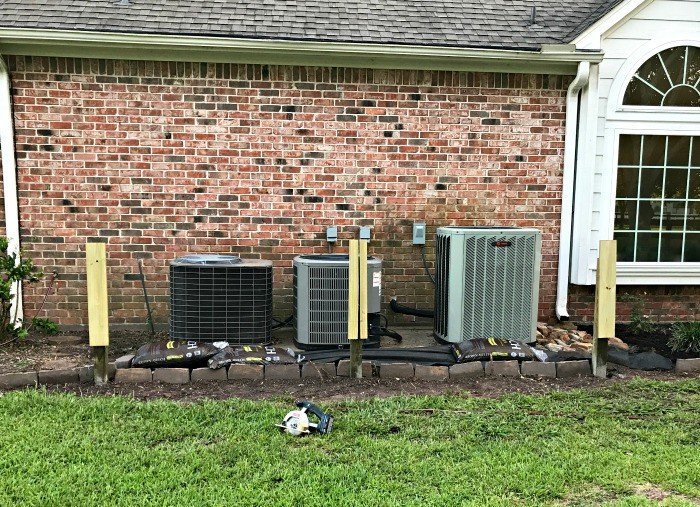
I didn’t like seeing my AC units from the road. So, I decided to design and build this DIY air conditioner fence, to hide the AC’s.
The 2 key design factors for my air conditioner screen were; proper air flow for the condenser, and something easily removable when the A/C’s need servicing or replacing.
As the daughter of an AC guy, I have to say it’s important to follow the airflow guidelines for your units. Usually you need 5 to 6 feet above the units to be clear and 18″ around.
When you start putting AC units together, like my 3, you may need to add more free space. If you block off air flow with screens or plants, your AC could overheat and break or plants could clog the unit.
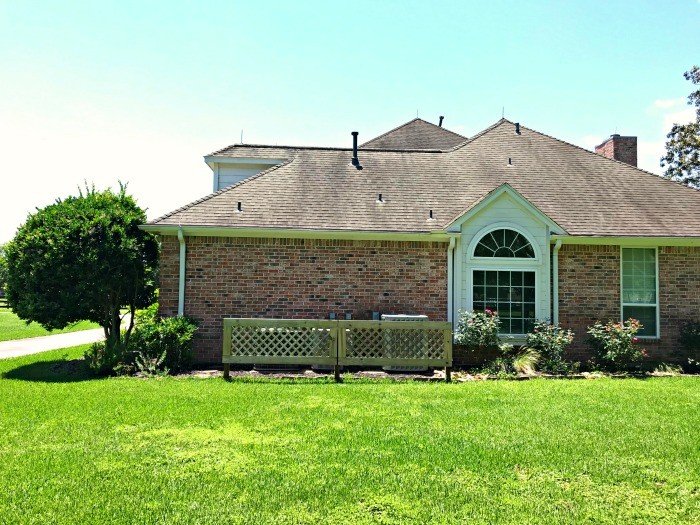
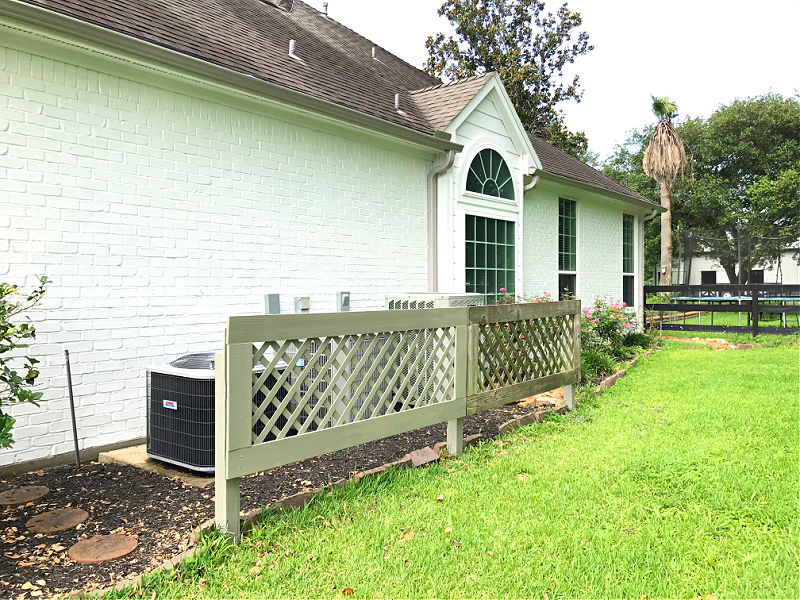
I had to carefully design a screen that would hide the units while letting them work properly. I just wanted the screens to fade into the house, so I didn’t need anything fancy. Traditional lattice would work just fine.
We’ve planted beds full of knock out roses and butterfly attracting plants. Once they grow in, they can be the star of that side of the house. 🙂
How to Make a Removable Fence Panel
Materials Needed
- 2′ x 8′ Lattice Panel (or 4′ x 8′ for more coverage)
- 1″ x 6″ Pressure Treated Pine
- 4″ x 4″ x 6′ Pressure Treated Posts
- Drill and 2″ Exterior Screws
- Brad Nailer with Brad Nails
- Miter Saw and Circular Saw
- Heavy Duty Double Keyhole Hangers
- an exterior enamel spray for metal
- Varathane Weather Wood Accelerator
- Fast-setting concrete
Time Needed
This can easily be done in 24 hours. I would set the posts in concrete the night before, then you can start building the next morning.
Also, spray paint the keyhole hangers to protect them from the weather the night before too. Then finish off the panels the next day.
Step 1 – Draw up your Plans
Decide how wide and high you want your screen. Remember the trellis panels are only 8′ long. So, I wouldn’t go wider than 8 feet unless you adjust the design for 2 trellis panels.
My panels are about 30″ high including the frame around the trellis. If you want higher coverage, you’ll need to buy the 4′ x 8′ trellis to cut to size.
Start with the Posts
Cut the posts to the correct height with your Miter Saw. Mine are about 4′. You could also cut the posts to size with a chainsaw after attaching the panels.
Cutting after is probably the easier way to go, since you could skip leveling the top of the posts before setting.
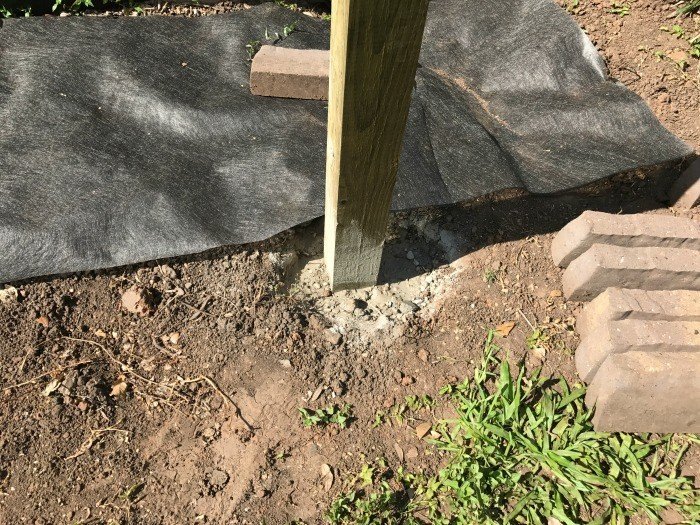
Dig at least 12″ down for each post. The depth will need to be adjusted on hills or uneven terrain. You want the post tops to be pretty level so that the screens are easier to level.
Tie a Mason Line 1″ from the top of one post, then pull it tight to the same point on the next post. Use a level to check the line and adjust the post height as needed. You will need to dig deeper or fill in the hole to make them level.
Once you have them leveled, follow the directions on your fast setting concrete mix to create the wet concrete in the hole.
After it’s wet and mixed per directions. Grab your level and adjust the level on all 4 sides of the post. The wet concrete will hold the post upright as you adjust it.
Make sure the wet concrete is pressed up against all 4 sides, so that it dries firm with no wiggle. Allow it to dry completely.
I have a tutorial with steps for how to set wooden fence posts in concrete, if you need to build a fence too. That posts has steps for building a 3 Rail Fence, like ours, too. 🙂
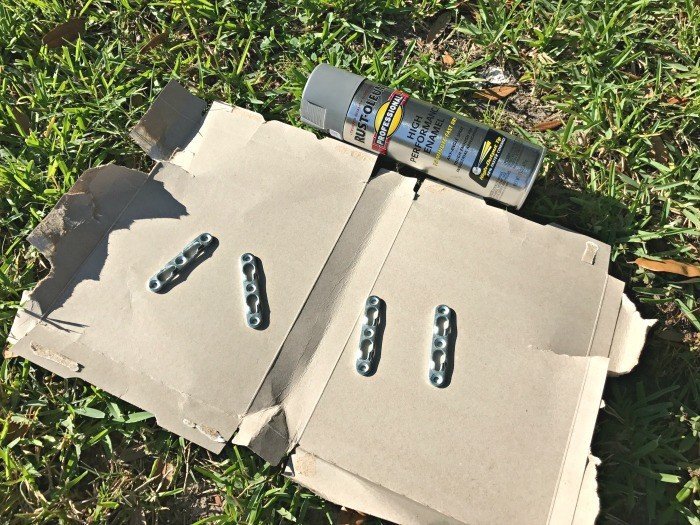
Prep the Keyhole Hangers
Spray front and back of Keyhole Hangers with the protective exterior enamel spray. This will protect the metal from the elements. Do as many coats as necessary. Allow to dry completely.
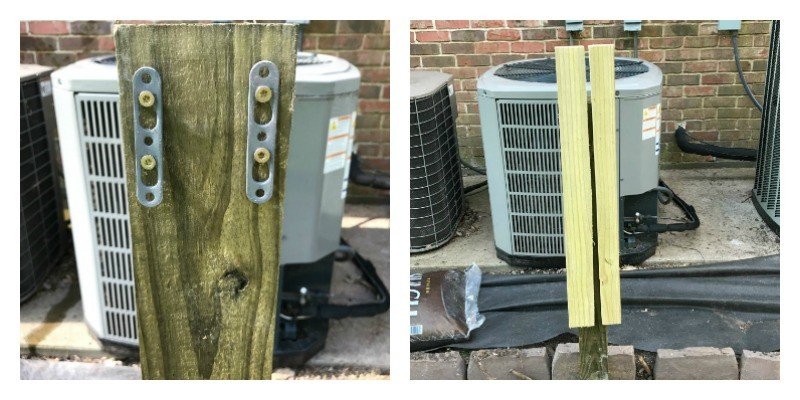
Attach the Keyhole Hangers
Hold the keyhole hanger against the post where you’d like to attach the screen.
If you didn’t level the top of the posts before setting them in cement, you’ll need to use a Mason Line to level the Keyhole Hangers now.
Once level is found, screw 2 exterior screws through the hangers. Leave them out about 1/4″ so that the hangers are easily removable. Remove the hangers from the screws.
Build your Removable AC Screen or Removable Fence Panel
Now, you can either build the screens completely, then attach the keyhole hangers, or do what I did. My husband was out of town, so I was working alone.
Now, I can’t hold up those long screens by myself while trying to figure out where to attach those keyhole hangers. So, I had to attach those hangers to the boards before building the screens.
As you can see by the pictures, I lined up the boards and checked level. Then marked where I needed to attach the keyhole hangers based on the screws in the posts.
Since I was using 2 screens, I attached 2 keyhole hangers to the board on the center post.
Then I cut that board down the middle. This allows the screens to be removed separately.
I could have used 2 boards next to each other on the 1 post, but cutting the single board made everything a bit easier.
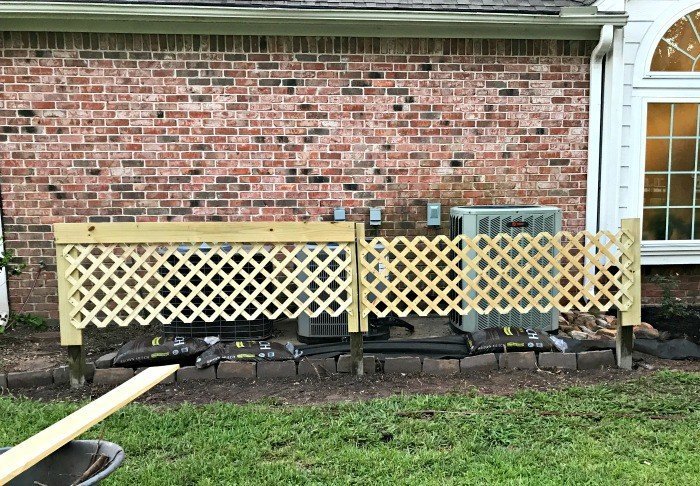
Now we are basically building a trellis sandwich. Cut the trellis to size and attach to the boards while they are still hanging. I used my brad nailer to do this.

Cut and attach the 1″ x 6″ boards to the front of that trellis. Get those brad nails through the cross points on the trellis to be extra secure.
Use as many nails as necessary on both sides to secure the panels together tightly. Now you’re panels are done. Awesome, right?! So, pat yourself on the back and admire your hard work.
More DIY Projects For You
You might also need to see What Happens When Your AC Filter Is Dirty? It’s full of great info about easy AC maintenance.

Read Best AC Filter Replacement for Cleaner Air in a Home for everything you need to know about MERV ratings for AC filters and how to pick a filter that is safe for your HVAC system AND which filters clean air the best.
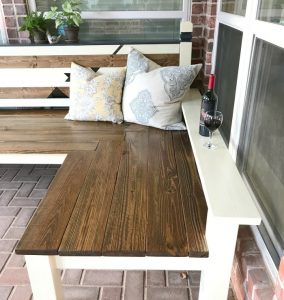
Looking for another DIY to give your yard some style? Check out this great L-shaped Backyard Bench AND it only costs $130. Yea!
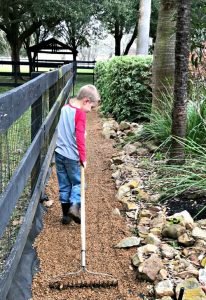
Or, get a pretty and weed free path in your yard with this tutorial. 🙂
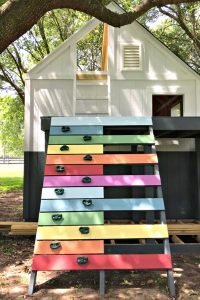
Here’s how to build a fun DIY Kids Rock Climbing Ramp for your backyard.
That’s it for my DIY Removable AC Fence. Get out there and make your own!

Stephanie Abbott has been remodeling homes, updating & building furniture, and working on DIY home maintenance and cleaning tips for over 20 years. Her remodeling has been featured in Better Homes and Gardens Magazine. And, her DIY YouTube channel has had more than 8 million views.
Most of the DIY tutorials and videos on this site focus on beginner to intermediate level DIY Projects that can be done in an affordable way without high-end, expensive tools. All of the cleaning tips on this website have been tested in her home.