
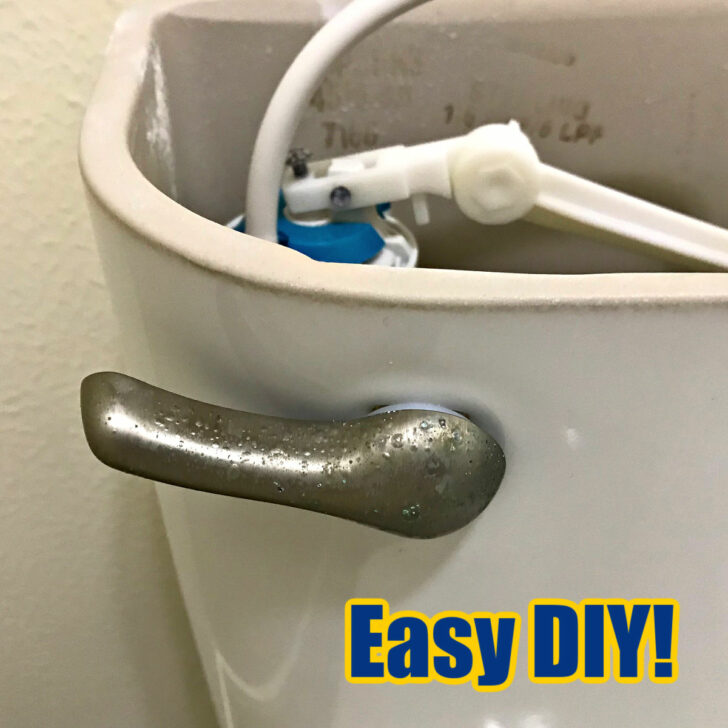
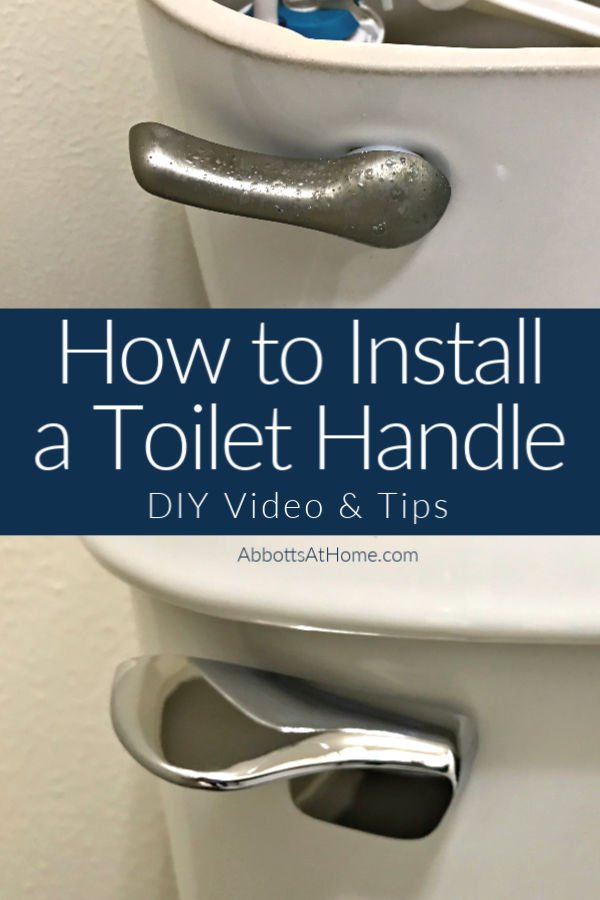
Here’s How to install a toilet handle lever in just 10 minutes. This EASY DIY will save you at least $150 on a service call. Winning!
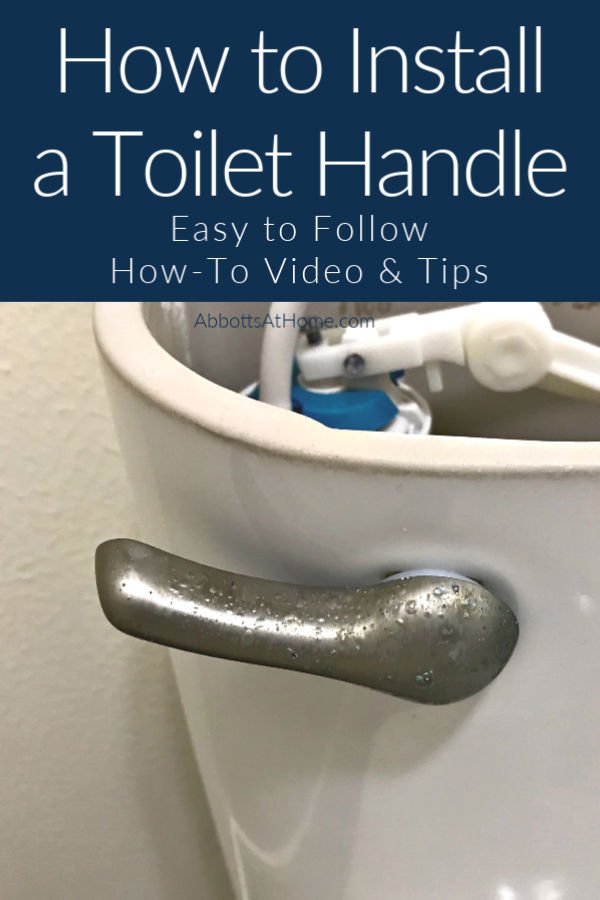
How to Install A Toilet Handle Lever
Here’s an easy DIY project that will save you $150 or $200 on a plumbing service call.
Most toilet repair projects aren’t as intimidating or complicated as they look. Even a beginner can install a toilet handle lever in about 10 minutes, guys.
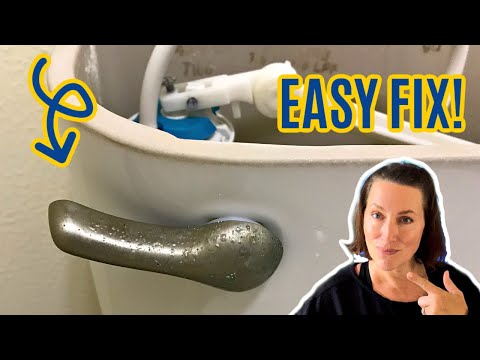
I even made a step by step video to show you exactly how easy it is to change a flush lever on a toilet.
Don’t forget to read the beginner tips below the video for some answers to common questions to help you get the job done.
After you install your new toilet flush handle, watch this toilet seat video on YouTube to see how easy it is to replace that tired old toilet seat with a new slow close toilet seat.
Now, let’s get to those DIY steps to Install a Toilet Handle Lever.
Table of contents
What you’ll Need
- A Universal Replacement Flush Lever – Like These
- Please Note: A high-tech toilet or high-end toilet might require a specific replacement handle. But, universal replacement handles should work on most toilets.
- An Adjustable Wrench
- An Old Towel
How to Replace A Toilet Flush Handle
Watch this short video to see exactly how to change your flush handle. It is actually a pretty easy home maintenance job, if you have the right tools.
In the video, I go over what you need, what to watch for, and the basics of how a toilet handle lever works. You really can get this job done in about 10 minutes! 🙂
Tips To Repair a Toilet Handle
The exact steps for replacing your toilet handle are in the video above. But, here are four extra tips, or answers to common questions, to help you get the job done.
Tip One – Don’t turn off the toilet water supply!
This might be controversial. Some people recommend turning off the water supply behind the toilet, then draining the water from the tank before starting.
BUT, if that valve is old, turning it may make the valve break or leak. Leading to a bigger DIY project that you might not be ready or skilled enough to handle.
So, check out the valve, while you’re there and put replacing it on the to-do list for a day when you can research the steps and spend more time on that type of project.
You can easily replace a toilet handle lever without draining the water from the tank. You’ll just get your hands a bit wet. So, grab an old towel or rag to dry off on.
Tip Two – Carefully set the Tank Lid on a Towel
Porcelain can be chipped and damaged pretty easily. You don’t want to crack or break the tank lid while working on another repair. AND, you don’t want to damage your bathroom tile, either.
So, I always carefully set the toilet tank lid on an old towel to keep it safe.
Tip Three – The Nut Holding the Toilet Handle In Place is Reverse Threaded
The nut that holds the toilet handle lever in place is reverse threaded. So, you’ll need to turn it clockwise with your adjustable wrench to remove it.
Then turn the new toilet flush handle nut counter-clockwise to install it.
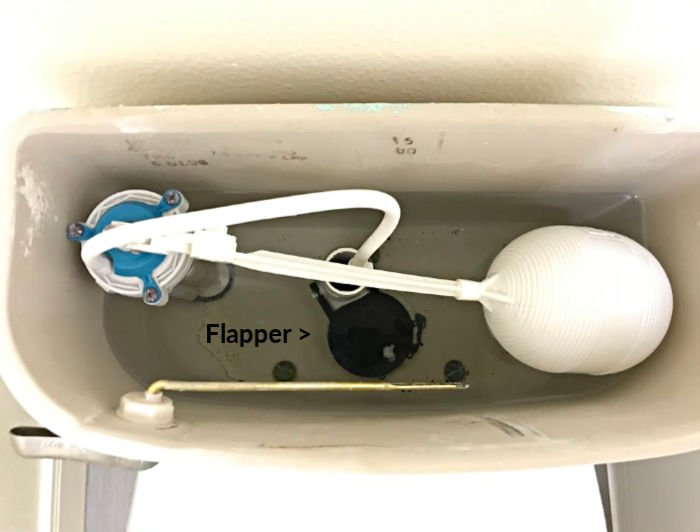
Tip Four – Make sure the Chain in the Toilet Tank is Attached Properly
Watch the video above to see me holding the old toilet lever flush arm next to the new one.
In the video I show how you want the chain to be hooked to the same hole on the new toilet flush handle arm as the hole on the old toilet flush handle arm.
Also, make sure the chain is loose enough to let the flapper close, but tight enough to let the toilet handle lift the flapper.
If the chain connecting the flush arm to the flapper is too tight, it could let water slowly leak out of the flapper. You don’t want to listen to that toilet constantly run, waste water, or pay a high water bill because of that.
If you install a toilet handle lever with the chain that connects the flapper to the flush lever arm too lose, you might not get a full lift on the flapper when flushing the toilet. Then you won’t get a full flush of the toilet.
No one wants that, right? 😉
Do All Toilet Handles Fit All Toilets?
No, all toilet handles do not fit all toilets. Some toilet handles are made specifically for a type of toilet. But you can buy Universal Toilet Handles that fit most toilets.
I say “Most” because some specialty toilets can’t use universal toilet handle levers. But, most toilets can!
You can see a big selection of Universal Toilet Handles on Amazon.
Can I Get A New Handle For My Toilet?
Yes, you can get a new handle for your toilet. You can replace the toilet handle on most toilets with a Universal Toilet Handle.
If you have a high-end toilet with a specialty tank design, you might need to purchase a compatible toilet handle directly from the manufacturer.
Are Flush Handles Universal?
No, all flush handles are not universal. But, most of the handles sold in hardware stores will likely be universal flush handles. Just check the package for the words “Universal Toilet Handle” to be sure.
You can see a big selection of Universal Toilet Handles on Amazon.
How Much Does It Cost To Replace A Toilet Handle?
A replacement toilet handle can cost as little as $5. Most replacement toilet handles are sold between $8 and $20. Even a pretty stylish toilet handle is still pretty cheap.
That’s it for how to install a toilet handle lever. I hope you’ve found this helpful. Good luck with your install!
More Posts You Might Like
Check out this popular post next: 11 Hidden Amazon Prime Benefits – The Fee is Worth It!

Or this post on 11 Affordable Ways to Feel & Look Younger in your 40’s!

Looking for more home maintenance projects?? Check out this easy DIY for making that ugly grout look new again.

You might also like How to Caulk A Kitchen Counter – Quick Steps & Video
Check out this post with 20+ Easy DIY Home Maintenance Updates, upgrades, and tips too.

Feeling inspired? Now that you’ve seen how to install a toilet handle lever, you can do it too. Let me know if you have questions.
Don’t forget to sign up for the Abbotts At Home email newsletter to get DIY, Remodeling, and Crafty ideas in your inbox.

Stephanie Abbott has been remodeling homes, updating & building furniture, and working on DIY home maintenance and cleaning tips for over 20 years. Her remodeling has been featured in Better Homes and Gardens Magazine. And, her DIY YouTube channel has had more than 8 million views.
Most of the DIY tutorials and videos on this site focus on beginner to intermediate level DIY Projects that can be done in an affordable way without high-end, expensive tools. All of the cleaning tips on this website have been tested in her home.