
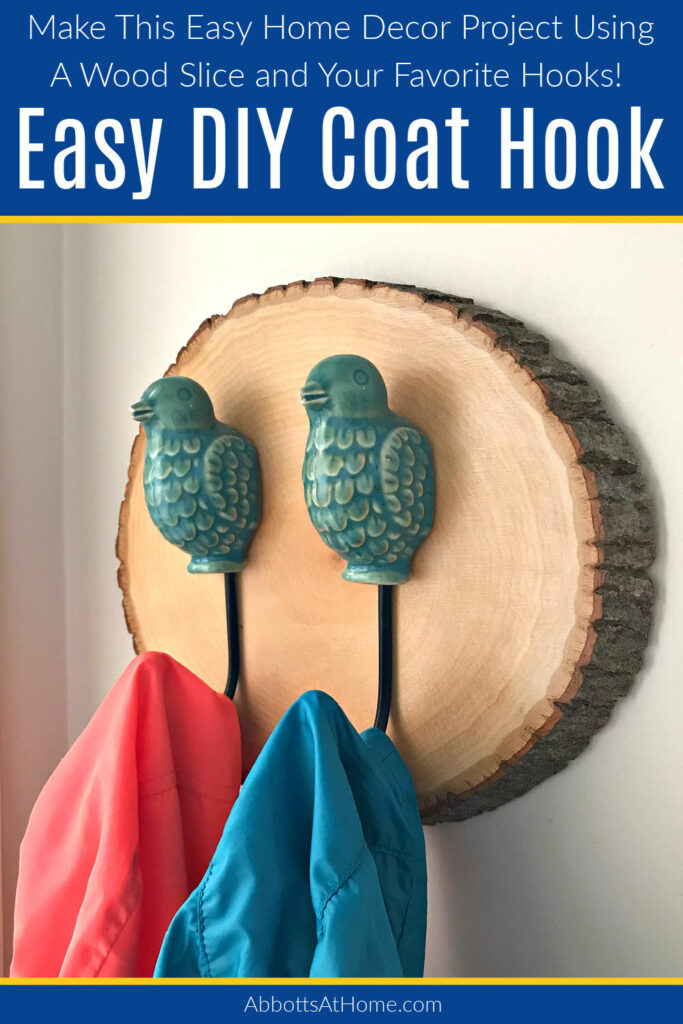
Grab a wood slice from the craft store and some cute coat hooks to make this super easy DIY Wood Slice Coat Hook. It’s beautiful & unique!
Super Easy DIY Wood Slice Coat Hook Idea
Like a lot of people, I am loving wood slice everything right now. So, I was looking for a way to use a wood slice in a DIY project for my home.
Luckily, I came up with a couple of great ways to add this sweet wood slice trend to my home.
I’m so excited to share this DIY coat hook project with you. It turned out so pretty, right?! And, it’s so easy to make!
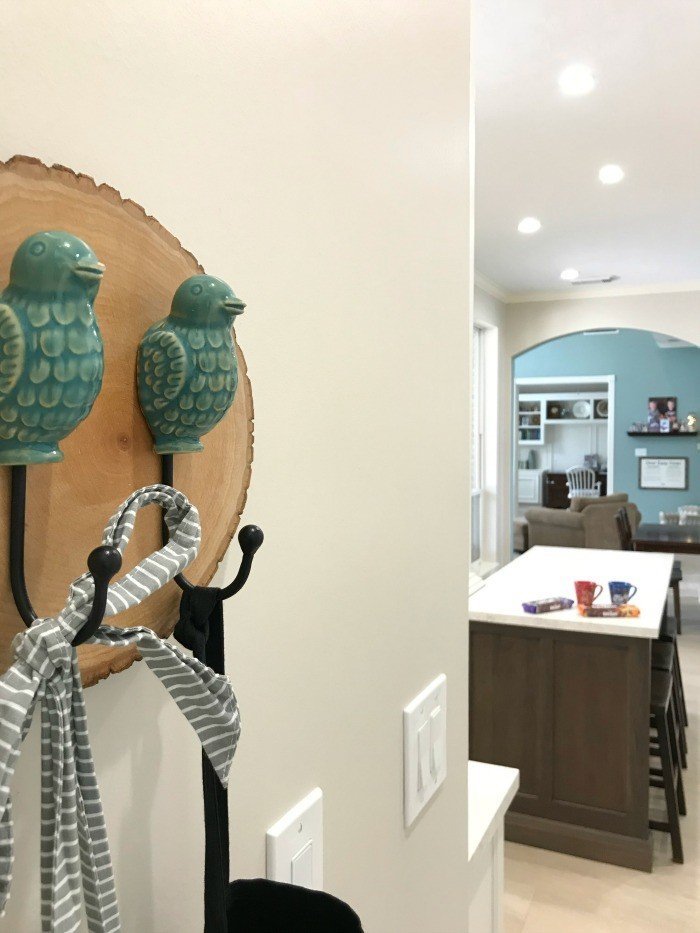
I love the way this coat hook just pops off my kitchen wall and draws your eye to those fun aprons.
Making your own DIY Towel Rack or Coat Hook is a great beginner level DIY project. There are so many creative ways to design your own using wood, vintage finds, wall art, or even nice cutting boards.
And, they can make great gifts too. So, maybe your friends and family need one of these for their next birthday or at Christmas.
AND, speaking of Christmas, I made this super cute and easy DIY Red Truck Christmas Centerpiece with another wood slice.
That DIY craft project has been one of my most popular Christmas projects EVER. Check it out if you’re looking for some Christmas inspiration.
Now, let’s get to that DIY Wood Slice Coat Hook Project.
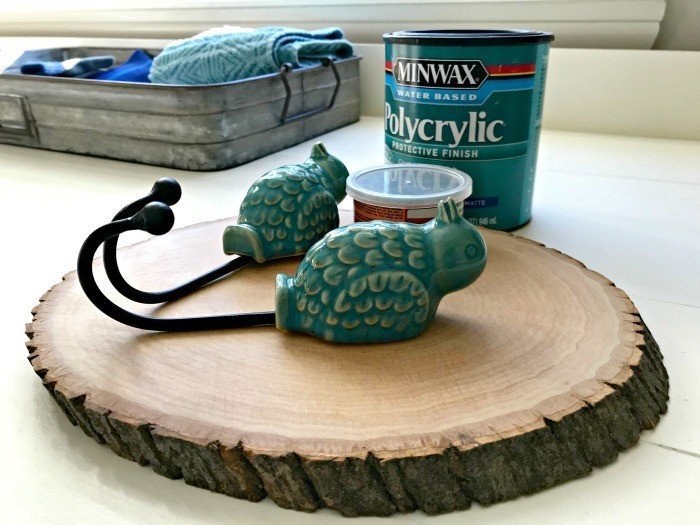
Materials Needed
- Large Wood Slice, about 12″
- 120-Grit Sandpaper
- Minwax Polycrylic in Clear Matte & a good nylon brush
- 3M Large Command Strips
- Power Drill & Philips Head Screwdriver
And, of course you’ll need some great coat hooks!
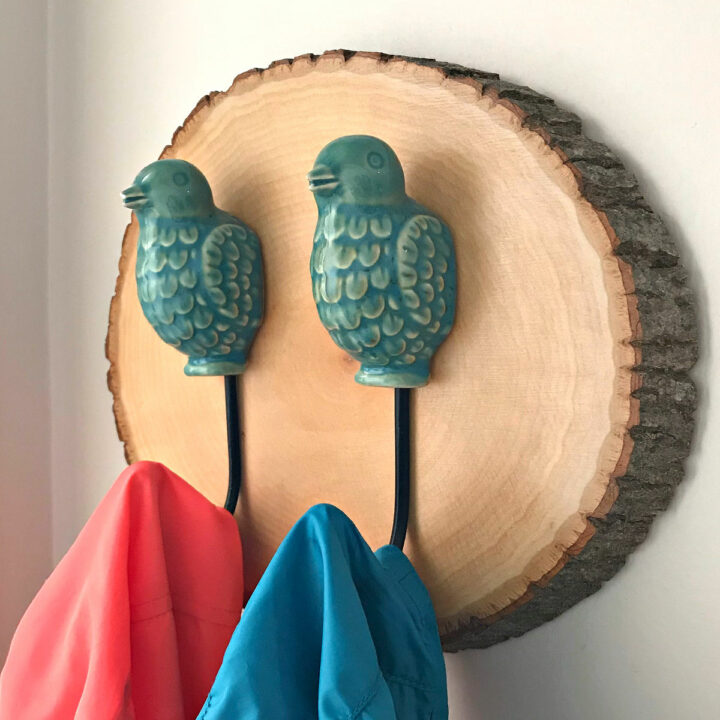
I bought these beautiful teal birds at Hobby Lobby a few years ago. They haven’t had them recently. But they have loads of others.
And, Amazon has a huge selection of fun animal wall hooks and these highly-rated and stylish coat hooks.
How to Make this DIY Wood Slice Coat Hook Project
Quick Step Guide
- Sand One Side
- Apply Top Coat
- Install the Coat Hooks
- Hang your DIY Wood Slice Coat Hook Project
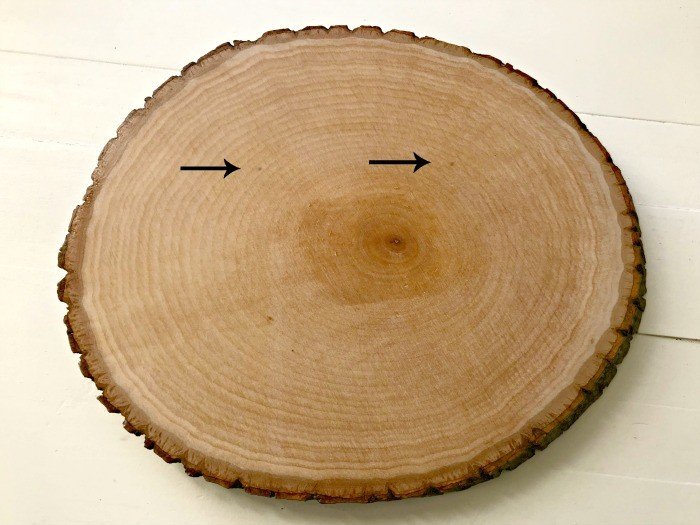
Sand Your Wood Slice
Sand one side of your wood slice with 120-grit sandpaper. If your wood slice is still rough looking. Sand it again with 180-grit sandpaper too.
Some types of wood might require more sanding than others. A good sanding will give it a smooth, pretty surface ready for a protective finish.
Clean the dust off your wood slice with a tack cloth or other clean rag.
Protect the Wood Slice with a Top Coat
Apply your favorite water-based, clear topcoat over the sanded side of your wood slice.
I love matte finish Polycrylic top coats, like this one. Be sure to keep the Polycrylic off the bark sides to keep it looking natural.
That Minwax matte finish I used has a very light sheen. BUT, you can also go for a top coat with a flat sheen. For a flat sheen top coat, I love General Finishes Flat Out Flat.
Follow the instructions on your top coat for the best result.
Install the Coat Hooks
Once the top coat has dried according to product recommendations, lightly mark where you want the screws for your coat hooks.
I’d go with 1 to 3 coat hooks on a wood slice around 12″ in diameter.
If you want to hang big items, like winter coats or backpacks on your wall hook, you could go with 3 or 4 wood slices in a row, with 1 hook on each wood slice.
Use your drill and a bit slightly smaller than your screws to drill pilot holes on your marks. This will help the screws go in quickly and prevent them from splitting the wood slice.
Use your screwdriver to install the coat hooks on your wood slice.

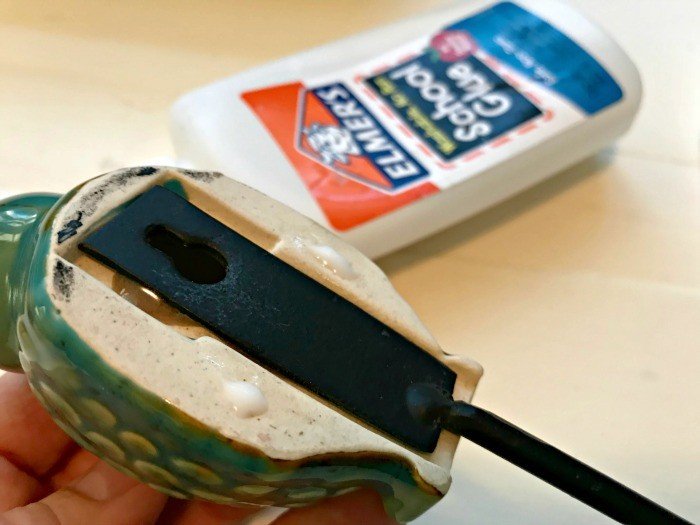
Optional Step: If your hooks slide onto the screw, like mine, you can use a smaller 3M command strip to secure the hook to the wood slice.
My little guys will shake things on the hooks to try to get them off. Sometimes they twist and shake so much, they pop the hook right off of the wood slice.
So, adding a command strip will keep that coat hook firmly in place.
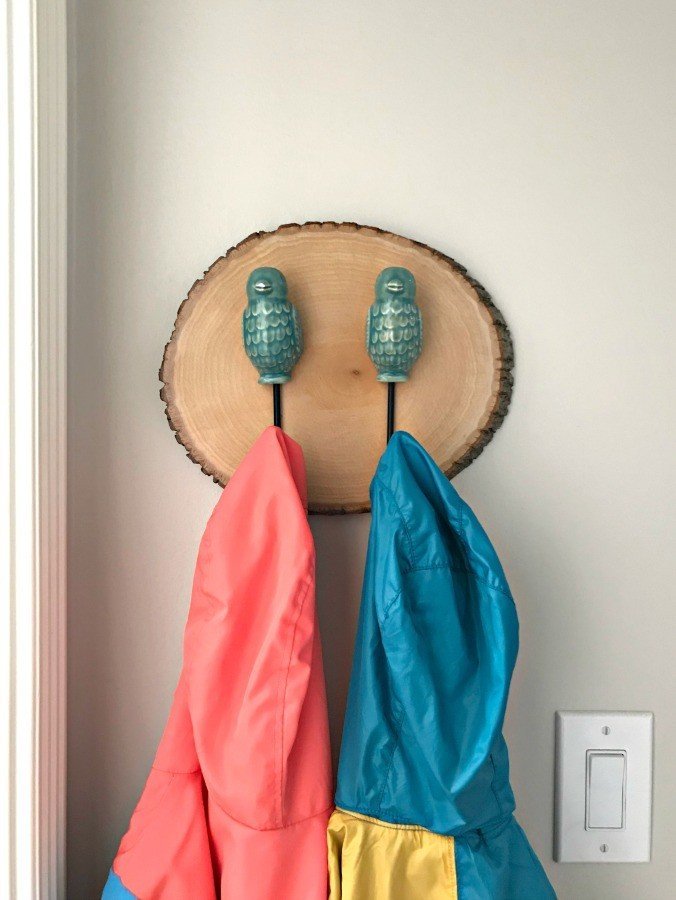
Hang Your Wood Slice Coat Hook
Now that the wood slice coat hook is assembled you can hang it.
There are so many ways that you can hang a coat hook on a wall. But, I LOVE using large 3M command strips for hanging heavy wall art AND coat hooks.
Coat Hooks like this one aren’t very heavy, but they get a lot of repeated weight and use. So, it’s better to use 2 of the strongest (large) command strips on the back of your wood slice, for extra durability.
That’s it for this Easy DIY Wood Slice Coat Hook Project!
If you like DIY Projects and How-To Videos, check out my most popular DIY videos on YouTube.
You might also like this great DIY Over Washer and Dryer Laundry Table. It hides those machines and that ugly gap behind them and adds style to any Laundry Room.
Looking for more cute and crafty decor? Try this Indoor Succulent Tray with a Vintage Twist.

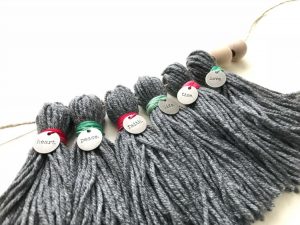
Or, have a look at this DIY Yarn Tassel Garland. I even have an easy to follow how-to video.
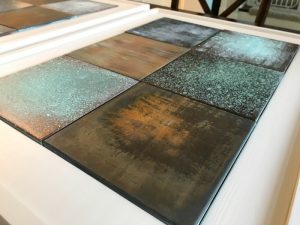
Or, have a look at how to faux paint 20 different metal patina looks.
I love this beautiful DIY Acrylic Paint Pouring Wall Art tutorial.

Feeling inspired? Get out there and make your own Easy DIY Wood Slice Coat Hook. Have fun and let me know if you have questions.
Don’t forget to sign up for the Abbotts At Home email newsletter to get DIY, Remodeling, and Crafty ideas in your inbox.

Stephanie Abbott has been remodeling homes, updating & building furniture, and working on DIY home maintenance and cleaning tips for over 20 years. Her remodeling has been featured in Better Homes and Gardens Magazine. And, her DIY YouTube channel has had more than 8 million views.
Most of the DIY tutorials and videos on this site focus on beginner to intermediate level DIY Projects that can be done in an affordable way without high-end, expensive tools. All of the cleaning tips on this website have been tested in her home.