
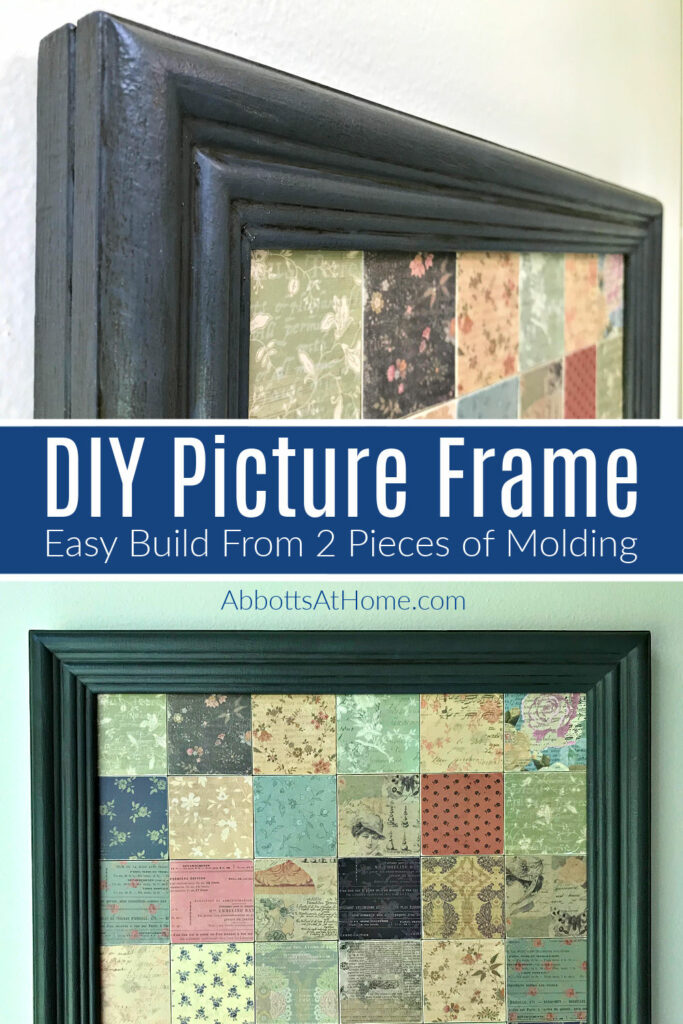
I LOVE this super easy way to make a DIY Wood Picture Frame, with 2 pieces of trim molding and a Miter Saw. Easy Steps and Video Guide.
Easy DIY Wood Picture Frame from Trim Molding
I’ve designed a few picture frames over the years. Making your own picture frame is so much cheaper and easier than having one custom made.
You can pretty easily build a picture or canvas frame any size you need with just a Miter Saw and a Brad Nailer.
The last fame I built using those 2 tools was a simple DIY wood frame for canvases, using 1×2 dimensional lumber. I love that frame when you just want beautiful clean lines on a frame.
BUT, today’s DIY wood trim picture frame is all about getting the beautiful detail that you see in store-bought frames and on pretty artwork.
AND, I was able to get that detail I wanted with just 2 pieces of trim molding. Yay!!!
I am a huge fan of molding and trim work. I install it all over my house. And, I use it on DIY furniture projects, on walls, and even ceilings, like this simple DIY coffered ceiling design in our Dining Room.
In fact, the chair rail molding I used to make this wood picture frame is the exact same molding I used a couple months ago on the DIY Coffee Table build plans for our new game room.
And, I used it a couple years ago to install picture rail wainscoting in our Master Bathroom. It’s a beautiful molding that can be used in so many ways around your house.
OK, let’s get to How to Make a Wood Picture Frame!
How To Make A Wood Picture Frame From Trim
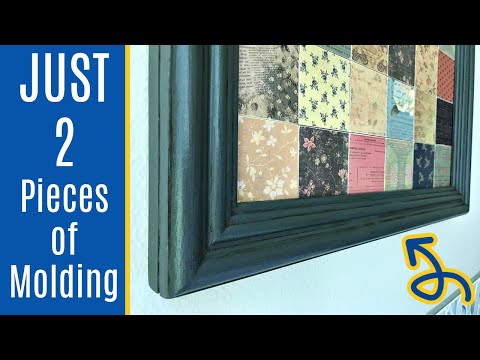
I’m so excited about this DIY picture frame, guys. I’m going to be using it on everything around here now. If any of the written steps are confusing, watch this video to see how I did it.
Materials Needed
- 2 1/8″ Unfinished Pine Chair Rail (Lowe’s sells the one I used)
- 3/4″ Square Pine Wood Lattice Molding (At Lowe’s)
Tools Needed
- Power Sander & Sandpaper
- Wood Glue
- Nail Gun
with 1 1/4″ Brad Nails
- Miter Saw
- Optional: Corner Brackets
Quick Step Guide
- Size Your Frame
- Measure and Cut Your Chair Rail
- Cut 3/4″ Wood
- Sand Down Hard Edges Between Pieces
- Attach 2 Pieces Together
- Trim 3/4″ Ends
- Glue & Nail Frame Together
- Use Wood Filler, Sand, & Finish
Size Your Wood Picture Frame
After this frame is finished, you’ll have 1 3/8″ of space on each of the 4 sides. That space is 3/4″ deep.
So, it will fit most types of art, including some canvases OR even prints or photos with mattes and glass.
Decide how much of your wall art or canvas you want to cover with the frame to get your picture frame measurements.
So, if your wall art is 20″ x 30″ and you want the frame to only cover 1/2″ of the wall art, then you want the inside edges of your frame to be 19 1/2″ x 29 1/2″.
Measure & Cut Your Chair Rail
Mark and cut 45-degree angles on the chair rail. Make sure that the opposite sides are exactly the same length so that everything matches up during assembly.
Cut 3/4″ Square Pieces
Now that the 4 chair rail pieces are cut, measure the long, outside edge of the chair rail. Then cut 3/4″ square pieces 1″ longer than the long edge on the chair rail.
So, if the outside edge of your chair rail is 36″, then cut a 37″ long piece of 3/4″ square molding. Do this for all 4 pieces of chair rail.
Sand Down The Hard Edges
Before attaching the 3/4″ square molding to the chair rail, I sanded down the hard edges where the 2 pieces will meet.
Just sand down the hard edge along the back edge of the chair rail and on one edge of the 3/4″ dowel. This will add a bit of extra detail and interest where the 2 pieces meet.
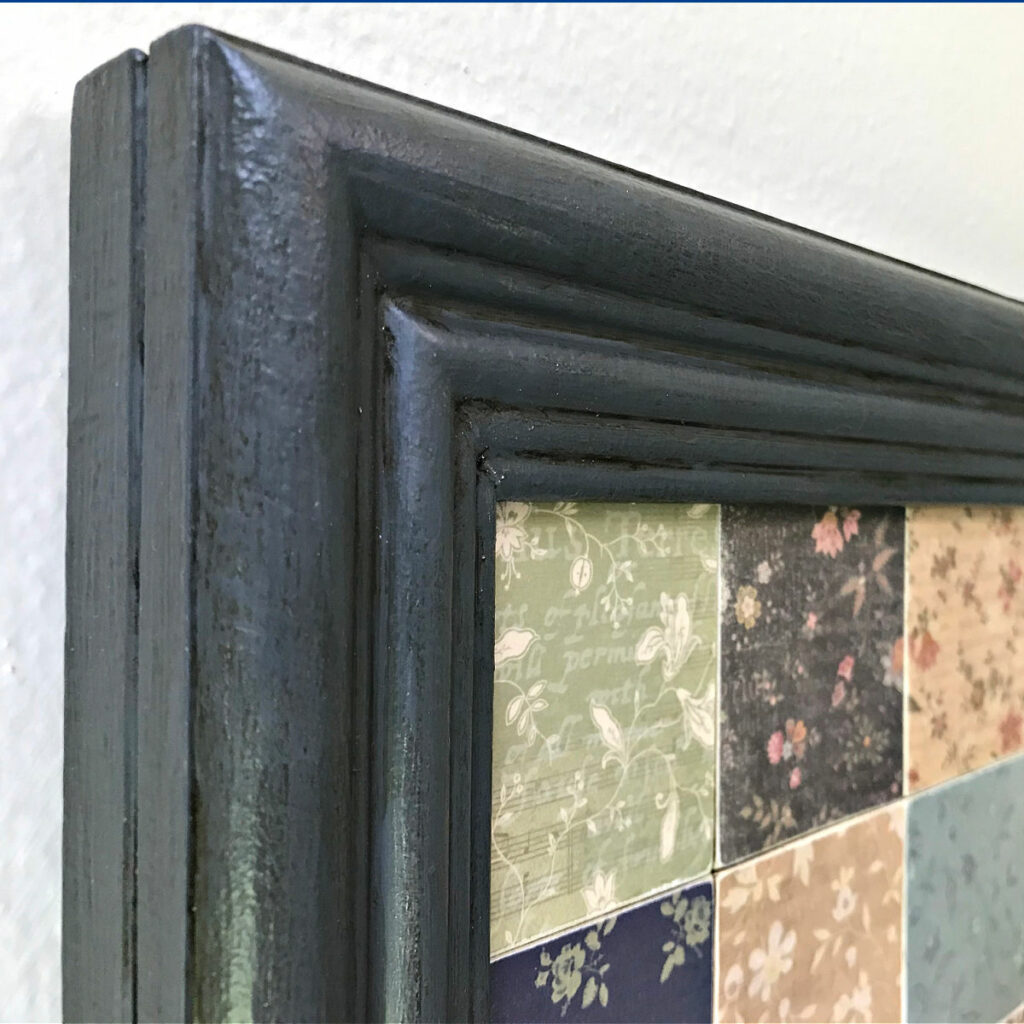
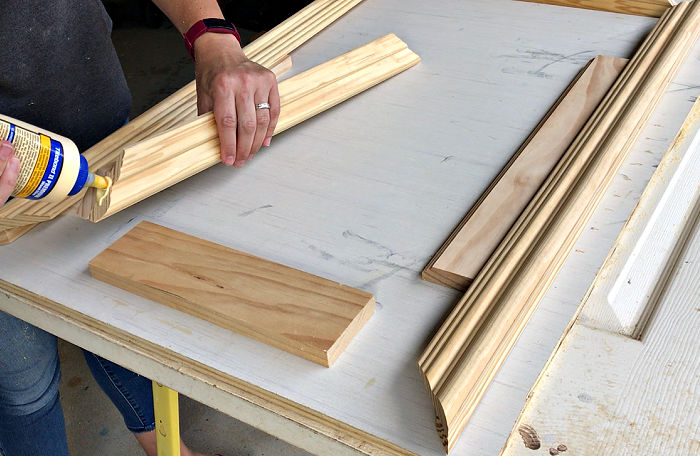
Attach 2 Pieces of Molding Together
Use wood glue and a Brad Nailer with 1 1/4″ brad nails to attach the 3/4″ square to the back of the chair rail. Make sure that the square molding edge lines up with the edge of the chair rail.
Leave a little of the extra 3/4″ square molding hanging off each end of the chair rail. We’ll trim that off after the piece is completely attached.
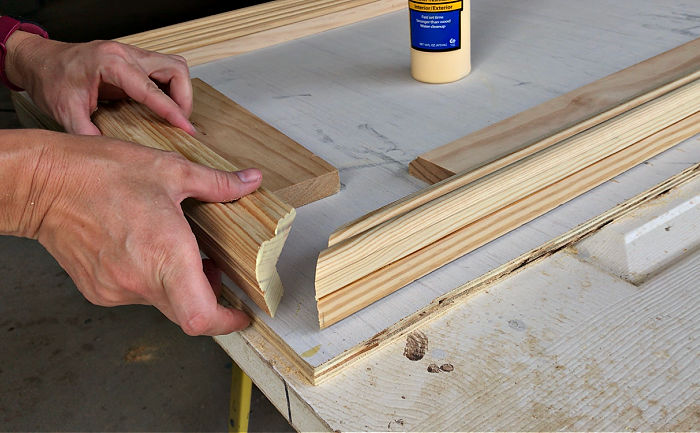
Trim 3/4″ Ends
Now that the 3/4″ square molding is attached to the chair rail, you can trim off the ends of the square molding with the same 45-degree on the chair rail.
Line the 45 cut on the chair rail up with the blade on your Miter Saw. You want it to just barely touch the blade, to avoid accidently cutting the chair rail too.
Cutting the 3/4″ square wood with a matching 45-degree cut is easier after they are attached to each other.
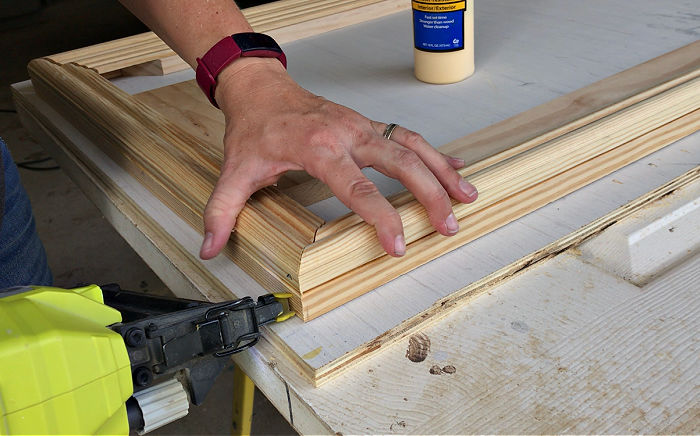
Glue & Nail Frame Together
Once all 4 sides are ready, you can assemble the frame. I propped up the inside edge of the chair rail with 1x scrap wood so that I could easily line up the 4 pieces together.
Use wood glue and brad nails to join the 4 corners. The brad nails keep the pieces tight together while the glue dries.
I used brad nails on each side of a corner for a tight joint. You can see me do this in the video above.
Let the wood glue dry before moving on to the next step.
Optional Step: You could attach 4 corner brackets on the inside corners of the frame for extra strength. If you’re making an extra large frame, I’d use those brackets.
Use Wood Filler, Sand, and Finish
Use wood filler on the nail holes and in the corner joints between the 2 sides. Let that dry.
After the wood filler dries, carefully sand the corners with 100-grit sandpaper to get perfectly matched and even corners.
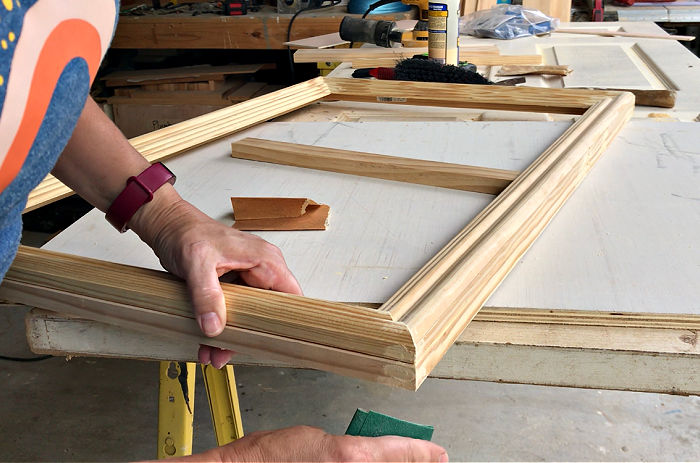
Then switch to 150-grit or similar sandpaper to finish any sanding needed.
I painted my frame, so I didn’t have to sand to as high a grit as I would have for a stained frame finish.
If you want to stain your frame, I recommend using Gel Stain. In my opinion, it’s easier to get an even, perfect stain finish with gel stains.

That’s it for how to make a wood picture frame. Here’s a quick look at how I finished mine.
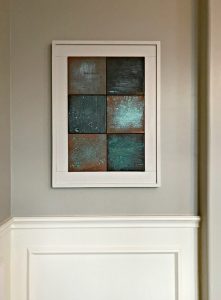
Finishing The Frame
Here’s how I did the finish on my DIY wood picture frame.
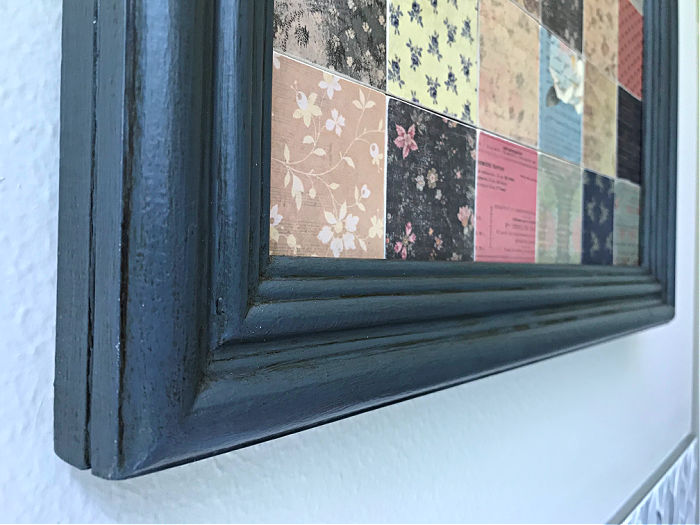
I applied 2 layers of a dark grey chalk paint. Be sure to follow the directions on chalk paint for dry time and application.
After the second layer of chalk paint dried, I applied dark wax over the entire frame. I was careful to leave more of it in the curves and grooves to accent those areas more.
This just gave the frame more depth and a bit of an antiqued paint look. I let that dry before using the frame.

If you want more ideas for possible paint and stain looks on your frame, check out this post with 25 Step by Step Beginner Furniture Painting Tutorials.
Ways to Hang this Wood Picture Frame
Now that your frame is finished, here’s a few options for hanging it on the wall.
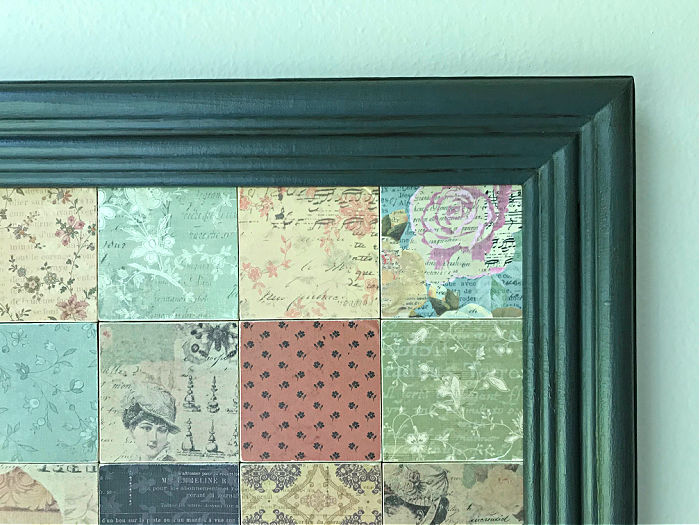
- You can use 3M Command Strips to hang anything and everything. I used Command Strips to hang my picture frame on the wall AND to attach the scrapbook paper wall art inside it to the inside of the frame. I LOVE this one because it can hold heavy wall art and leaves ZERO damage on the wall.
- Sawtooth hangers can also be used on the back of this wood picture frame.
- There are a few picture hanging hook options that work too.
That’s it for this DIY wood picture frame, guys. Be sure to check out more of my Easy DIY and Home Makeover Videos on my YouTube Channel. And, here’s a few more DIY projects you might like!
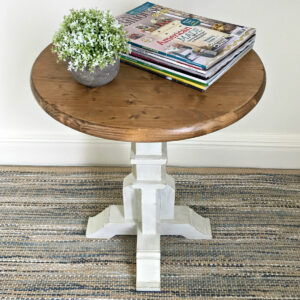
How about another DIY woodworking project? Check out this DIY Pedestal Side Table made with premade wood rounds and mostly a Miter Saw.
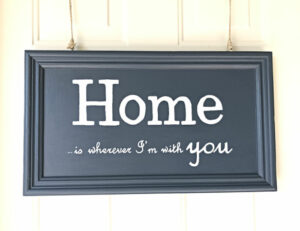
Here’s How to Make Painted and Chalkboard DIY Signs on Old Cabinet Doors.
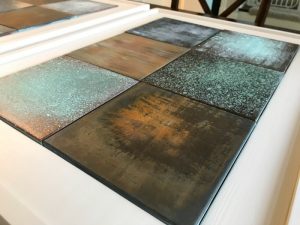
Looking for more DIY wall art ideas? Check out How To Patina Paint Faux Metal Finishes.
Here’s a more rustic DIY Chunky Wooden Frame for your wall art or canvas.
And, when you’re ready for a bigger build, check out this DIY Outdoor Sofa from 2×4‘s.
Feeling inspired? Now that you know how to Make a Wood Picture Frame, have fun and let me know if you have questions. Or post pictures of your work and tag Abbotts At Home on FB, I’d love to see it!

Stephanie Abbott has been remodeling homes, updating & building furniture, and working on DIY home maintenance and cleaning tips for over 20 years. Her remodeling has been featured in Better Homes and Gardens Magazine. And, her DIY YouTube channel has had more than 8 million views.
Most of the DIY tutorials and videos on this site focus on beginner to intermediate level DIY Projects that can be done in an affordable way without high-end, expensive tools. All of the cleaning tips on this website have been tested in her home.