
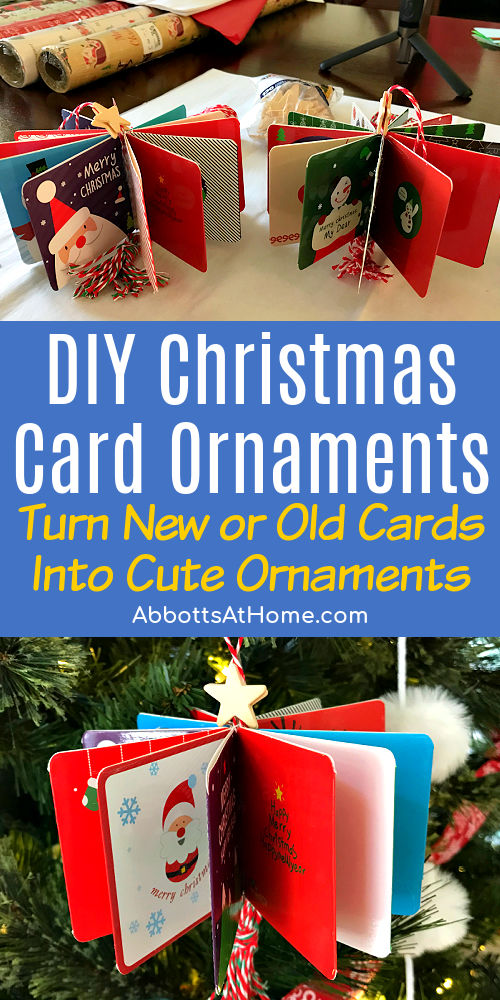
Make fun, cute, & easy 3D DIY Christmas Card Ornaments using new or old Christmas Cards. Easy Christmas Ornament Craft with video and steps.
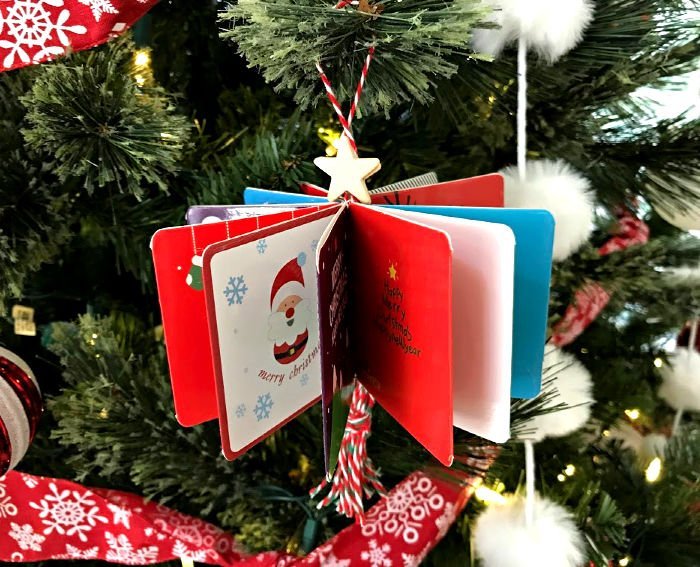
3D DIY Christmas Card Ornaments
Hi, friends. It’s the time of year when I share a new Handmade Christmas Ornament craft with you guys.
These 3D DIY Christmas Card Ornaments look cute and complicated, but they’re so, so easy. In fact, I made a quick video to show you just how easy these are.
And, you can make these handmade Christmas ornaments with new or old Christmas Cards. It’s a great way to upcycle your old Christmas Cards every year.
And, I have a Christmas Bonus for you. I have links to more DIY Christmas ornaments and other handmade Christmas décor ideas at the end of this post.
Happy crafting and Merry Christmas, guys!
Here’s What You’ll Need
- Mini Christmas Cards (I used these) or Old Christmas Cards cut to the one size
- Hot Glue Gun (low temp for kids) & Scissors
- Christmas Twine
- Optional Wooden Stars
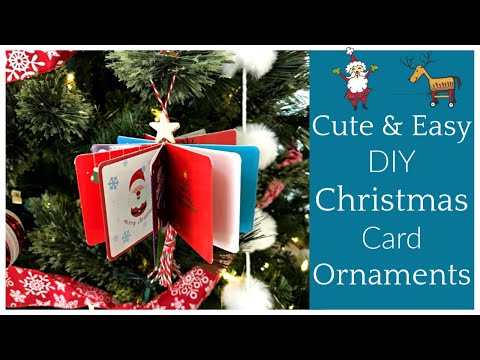
Watch the Handmade Christmas Card Ornaments Video
The instructions are below. But first, here’s a quick look at how to make ornaments from old Christmas Cards. But you can also use new cards. Watch this video if any of the steps below are confusing.
How To Make DIY Christmas Card Ornaments
Step One
Start by making a mini Christmas Twine tassel on a 10″ long string. You can see how I make a tassel in the video above. Or, see a close up tassel making video here.
Step Two
Pick 12 Mini Cards that look nice together (similar colors). Then hot glue them closed. Move on to step three.
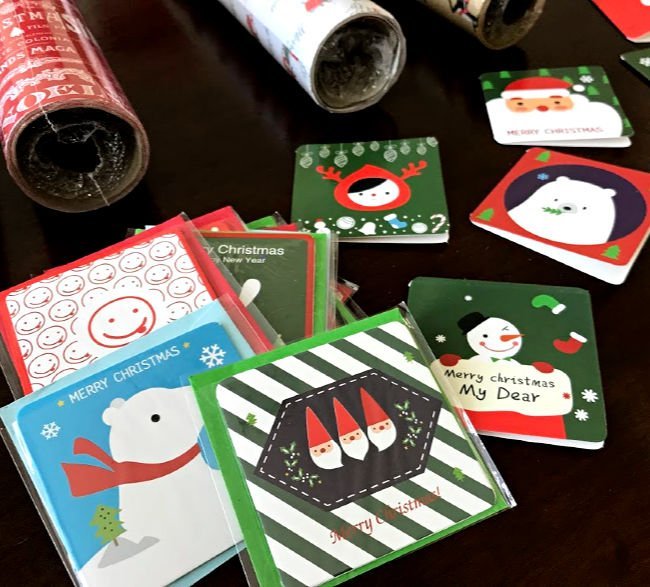
OR cut up 24 – 2″ or 3″ square pieces of old Christmas Cards. Pick the best Christmas art on those cards to keep on your squares.
Then hot glue 2 cards together with the best sides facing out to make a total of 12 square cards.
Step Three
Run a line of hot glue along one edge of the card and quickly stick the closed edge of another card onto that line.
You want them to form an open triangle or pie shape. See the video, if that’s confusing. Keep doing this along the same line, with the rest of the cards
BEFORE GLUING the last card, glue the tassel in place.
You want the tassel to hang just below the bottom of the card. Make a hoop on the top end of the card about 3″ long to hang the ornament on the tree.
Then, glue the last card in place over that tassel.
Step Four
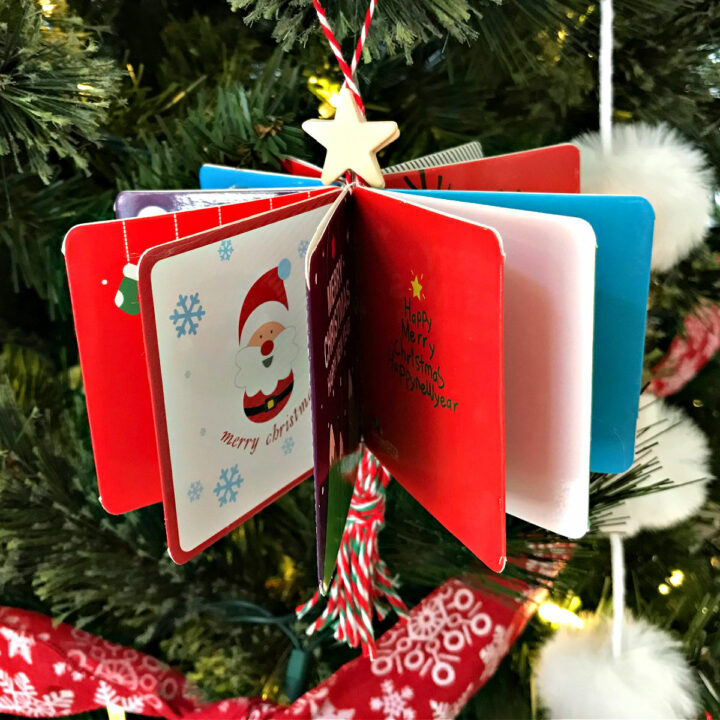
This is optional, but I added wooden stars at the top of each Christmas Card ornament for a little extra touch.
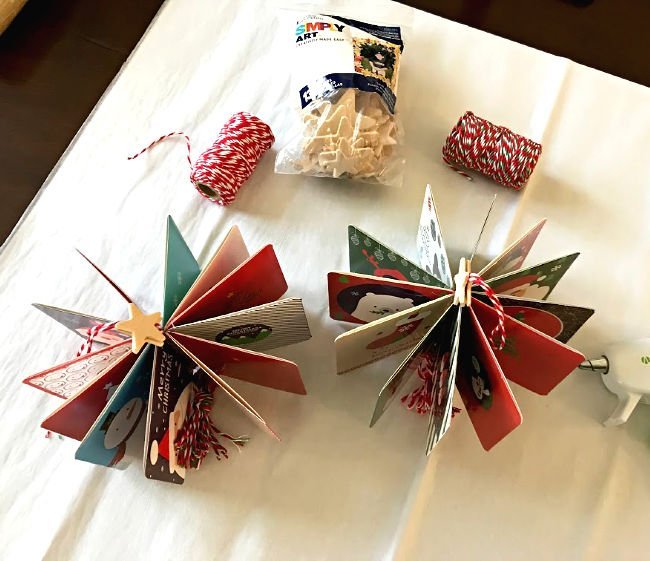
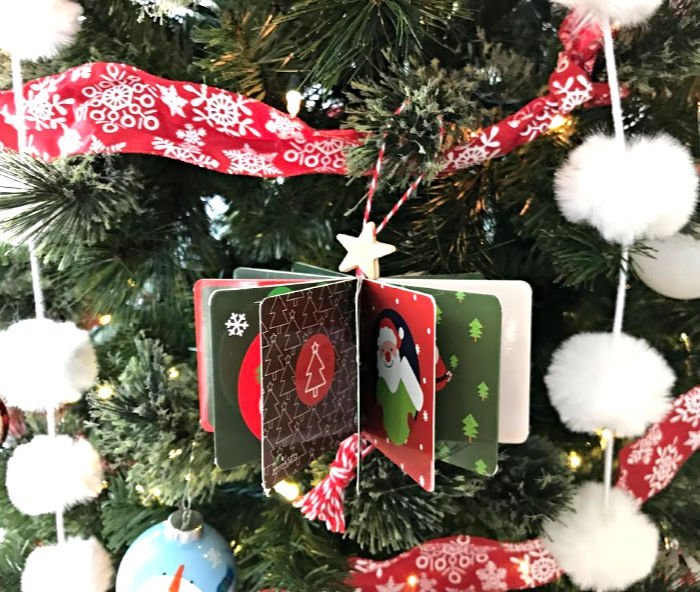
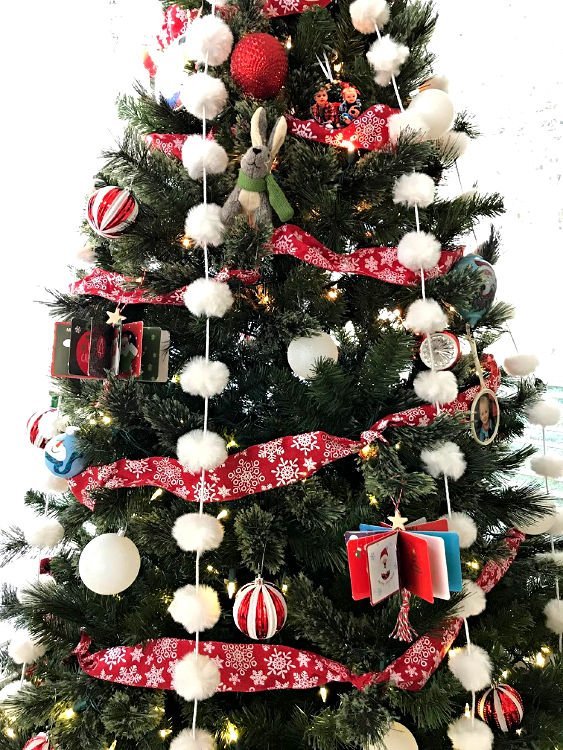
These are super simple Christmas ornaments that look so cute on the tree. I love this 3D Paper Craft technique.
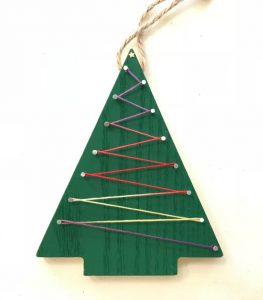
I used it to make 3D Christmas Tree Ornaments, last year. And, Hot Air Balloons for my Boys’ Bedroom Makeover.
Step Five
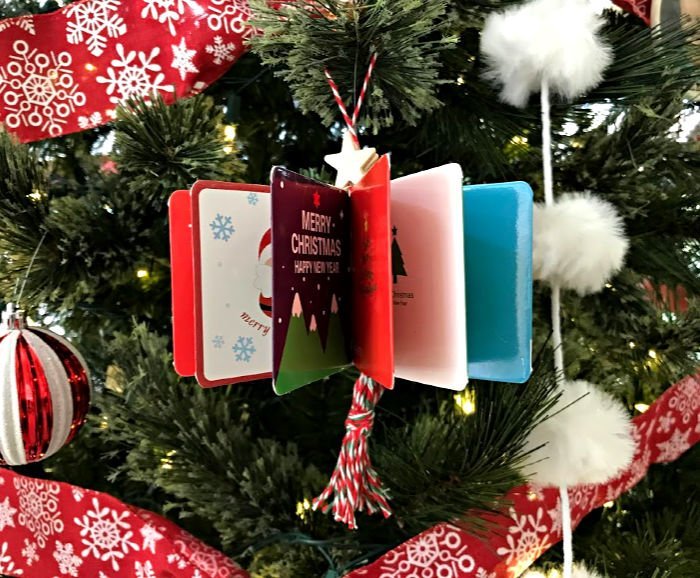
Adjust spacing, as needed. You can make any minor adjustments to the spacing by pulling or pinching the cards where needed. Yep, that’s in the video too.
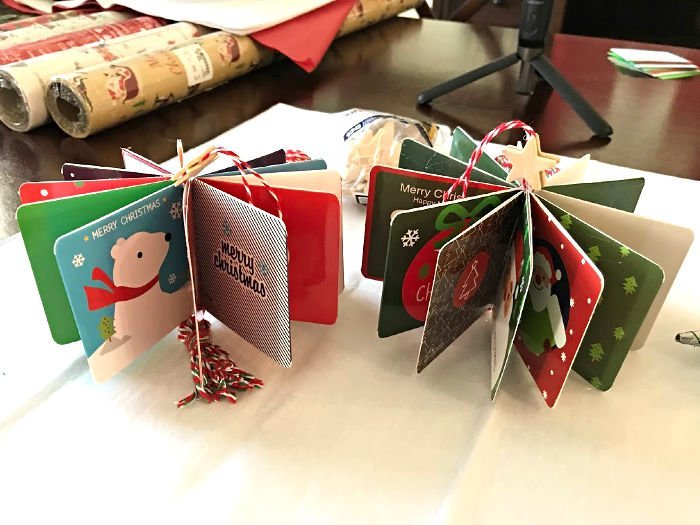
ALSO, you can make these with a flat back, if you prefer that look.
AND, I went ahead and made one of these with the little envelopes too. It’s just as cute, but would be even better with Christmas Stickers, Stamp, or cut outs from old cards added to each envelop.
My kids will love customizing the envelope ornament.
More Pics of the Finished 3D Christmas Card Ornaments
More Handmade Christmas Ideas
Thanks for checking out how to make ornaments from old Christmas cards. Here’s more handmade Christmas décor and ornaments, you should see!
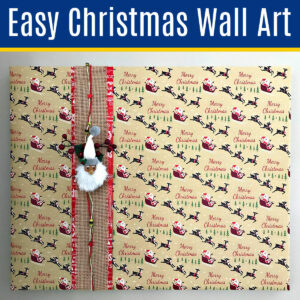
Here’s How to Wrap A Picture Frame with Wrapping Paper to make quick and easy Christmas-themed wall art.
You can find 6 Fun & Easy DIY Christmas Ornament Ideas and 12 Fun & Easy Handmade Christmas Ornament Ideas in previous posts too. Kids and adults will love these handmade Christmas ornaments.
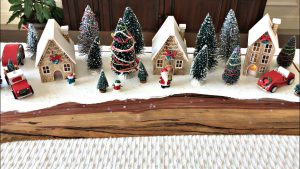
Make this fun & Easy DIY Red Truck Christmas Table Centerpiece from easy to find ornaments and Christmas decor.
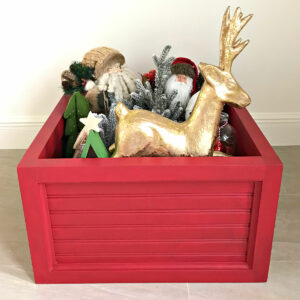
Here’s a great project for DIY woodworkers, it’s a DIY Christmas Tree Box Stand and Ornament Storage combined in one great build.
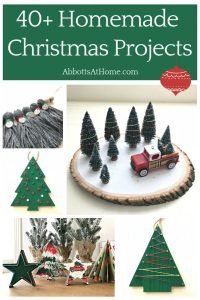
Looking for more Christmas projects? Check out 40+ DIY Christmas Projects, Crafts, and Home Decor Ideas in one big Christmas-y post.
Feeling inspired? Now that you’ve seen this DIY Christmas Card Ornaments tutorial, you can do it too. Let me know if you have questions.
Don’t forget to sign up for the Abbotts At Home email newsletter to get DIY, Remodeling, and Crafty ideas in your inbox.

Stephanie Abbott has been remodeling homes, updating & building furniture, and working on DIY home maintenance and cleaning tips for over 20 years. Her remodeling has been featured in Better Homes and Gardens Magazine. And, her DIY YouTube channel has had more than 8 million views.
Most of the DIY tutorials and videos on this site focus on beginner to intermediate level DIY Projects that can be done in an affordable way without high-end, expensive tools. All of the cleaning tips on this website have been tested in her home.