
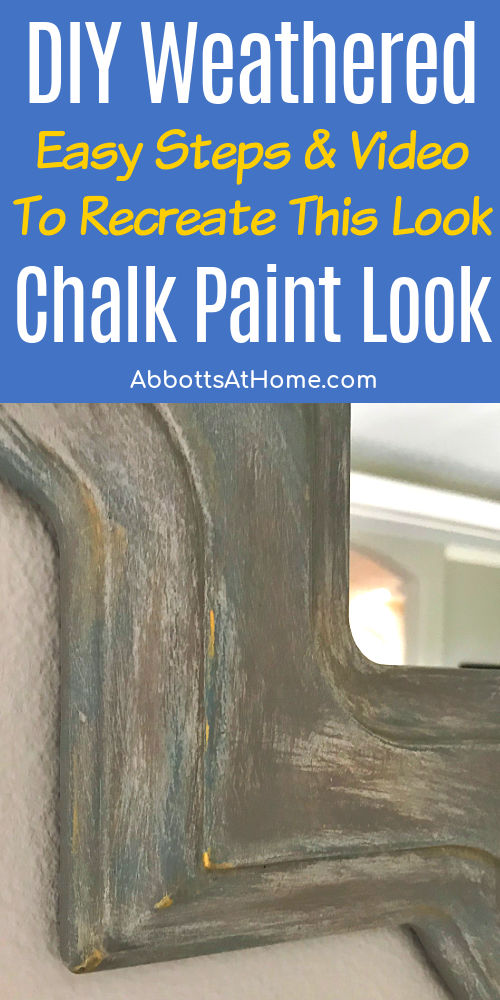
Update furniture or home décor with this beautiful DIY Weathered Paint Look. Here’s easy steps, photos, & a video to help you copy the look.
DIY Weathered Paint Look With Chalk Paint
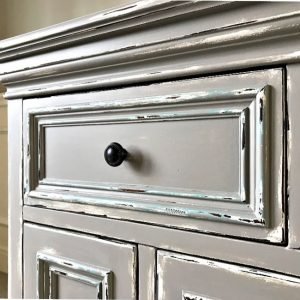
This easy weathered chalk paint makeover is a fun project, guys! And, so much easier than it looks. It’s all about lightly layering the paints and picking colors that look good together.
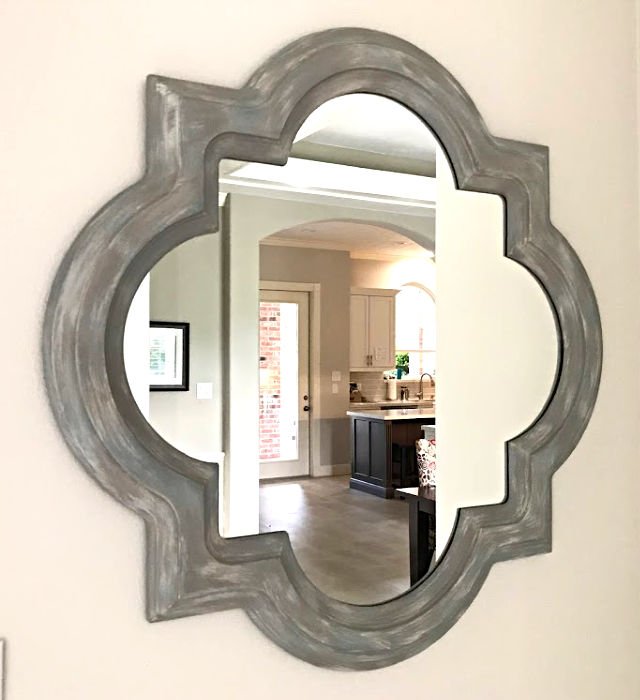
I’ve wanted to give this mirror a quick makeover for months. The black seemed a little too stark in our light colored foyer. So, I wanted to tone it down a bit.
And, I always love a weathered paint effect when I see it in the stores. So, this was the perfect excuse to give it a try with chalk paint. I’m pretty excited about how it looks!
Materials Used
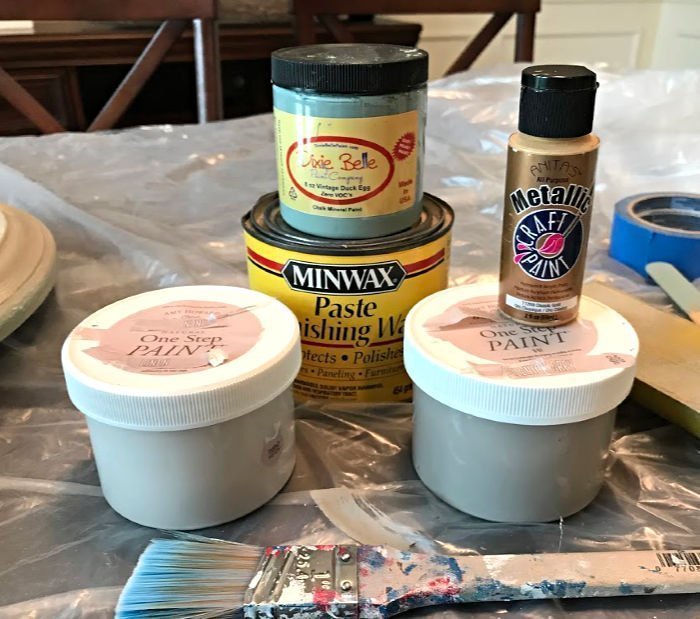
Paint and Finishes Used
- Dixie Belle Chalk Paint in Vintage Duck Egg
- Amy Howard Chalk Paint in Selznick Gray and Linen
- Gold Acrylic Paint
- Minwax Paste Finishing Wax, in Natural
You don’t have to use these exact brands. You can find any pretty medium blue and greige chalk paint shades that look good together. Or mix up your own DIY chalk paint from latex paint and plaster of Paris.
How to Paint a Weathered Look
Step One – Start With The Base Color
Start with 2 layers of your medium greige chalk paint (Selznick Gray), using a good nylon brush. Chalk Paint will stick to almost anything.
But, if what you’re painting has some built up dirt or oils, you can clean it first. I’d use Dawn dish soap mixed with water or TSP to clean. Let that dry, then paint.

Step Two – Add Lots Of Layers
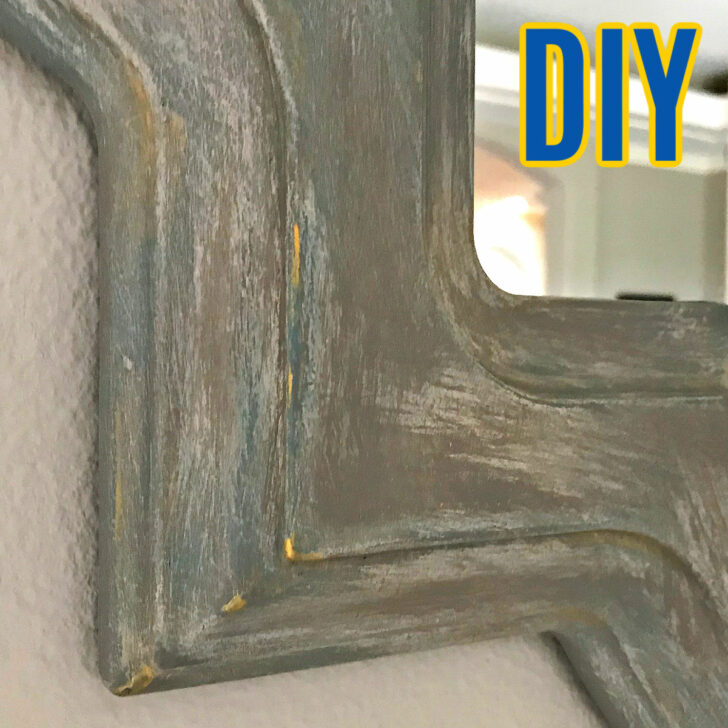
Grab your chippy paint brush for the rest of the layering. You can see in the video below how to do a very light dry brushing with a chip brush.
You just barely touch the brush to the paint and lightly apply it across the mirror. I started with the vintage duck egg because I only wanted hints of the color to show through.
Grab a gold acrylic paint that looks like shiny gold jewelry, not that antique gold. Using your finger or a Q-tip put a little on any raised points, in grooves or on details. This is in the video too. 🙂
Then I dry brushed a light cream color, called Linen. Followed up by one last dry brushing of that original paint color, a greige called Selznick Gray. AND again with that Linen color.
All of that layering is the key to this look. Just keep adding more to get a look you really love.
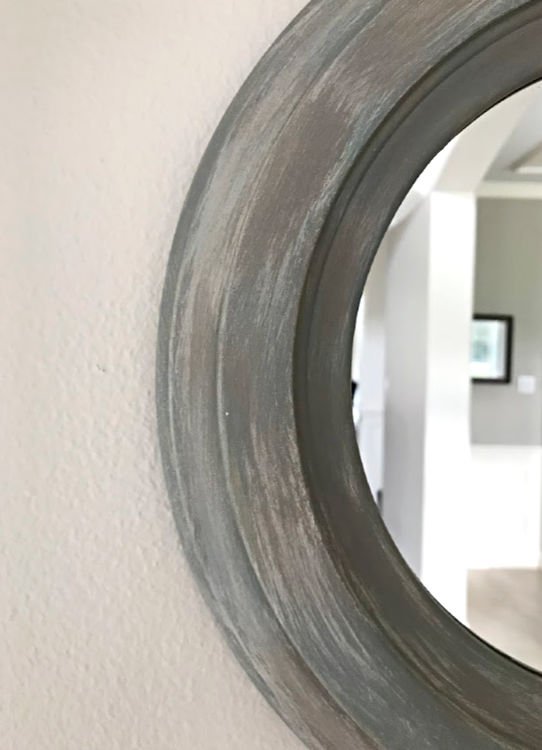
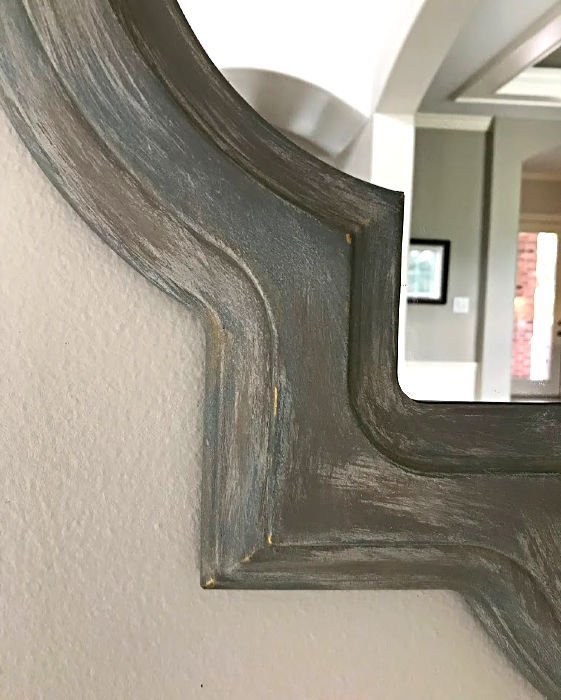
After all of that paint dried, I wet a fine grit sanding sponge, squeezed it out, then lightly sanded everything to smooth the finish.
I sanded a little harder on the raised details to bring more detail and paint variations in there. Distressing corners and edges always makes faux finishes look better. At least, that’s what I think.
Step Three – Sealing the Weathered Paint
Now it’s time to apply a wax sealer. First, wipe the whole thing damp with a slightly damp clean cloth to remove any residue from the sanding.
Let dry, then rub on 2 layers of your favorite clear or natural wax. Be sure to follow the directions on the wax for the best results.
If you don’t have wax, you can use a water-based poly to seal the finish instead.
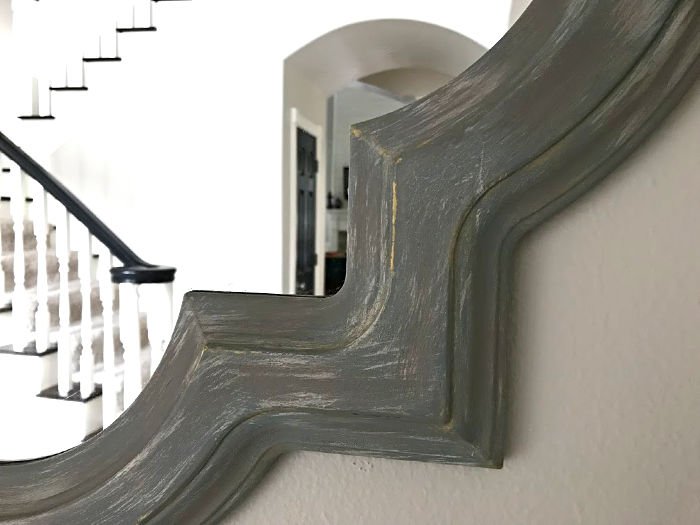
This weathered antique paint effect can really look great with so many styles. It works in my traditional home.
But it would look like barn wood in a rustic or country home. And, on a more detailed, vintage style mirror it’d look like that pretty blueish gray French Country look.
On furniture, it’s really close to that Restoration Hardware paint finish everyone loves. 🙂
That’s it for this DIY Weathered Paint Look tutorial.
How To Make Paint Look Weathered – Video
If any of the steps above are confusing, watch this short video to see how I paint this weathered chalk paint look.

If you’re looking for more easy chalk paint makeover ideas, you might like this Shabby Distressed Layered Paint Look.
Or, you can find 25 Step by Step Beginner Furniture Painting Tutorials for more easy furniture painting tutorials.
More Chalk Paint Tutorials You Should See
Looking for more paint makeover ideas? Check out How to Patina Paint 20 different Metal Finishes.
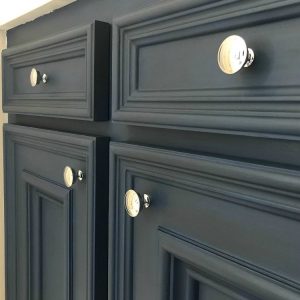
Or, try this beautiful Dark Blue and Dark Wax Chalk Paint Makeover.
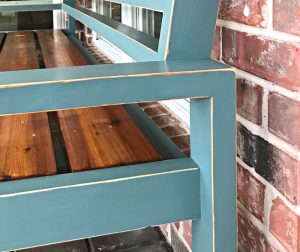
You can also find this popular Blue Distressed Paint Using Vaseline Tutorial
And this easy DIY Stain Wood Furniture without Stripping tutorial, on this blog.
Here’s How to Get a Smooth Finish with Chalk Paint, it’s full of great tips.
And, this DIY White and Grey Distressed Chalk Paint Furniture is always popular.
Feeling inspired? Now that you’ve seen this DIY Weathered Paint Look tutorial, you can do it too. Let me know if you have questions.
Don’t forget to sign up for the Abbotts At Home email newsletter to get DIY, Remodeling, and Crafty ideas in your inbox.

Stephanie Abbott has been remodeling homes, updating & building furniture, and working on DIY home maintenance and cleaning tips for over 20 years. Her remodeling has been featured in Better Homes and Gardens Magazine. And, her DIY YouTube channel has had more than 8 million views.
Most of the DIY tutorials and videos on this site focus on beginner to intermediate level DIY Projects that can be done in an affordable way without high-end, expensive tools. All of the cleaning tips on this website have been tested in her home.