
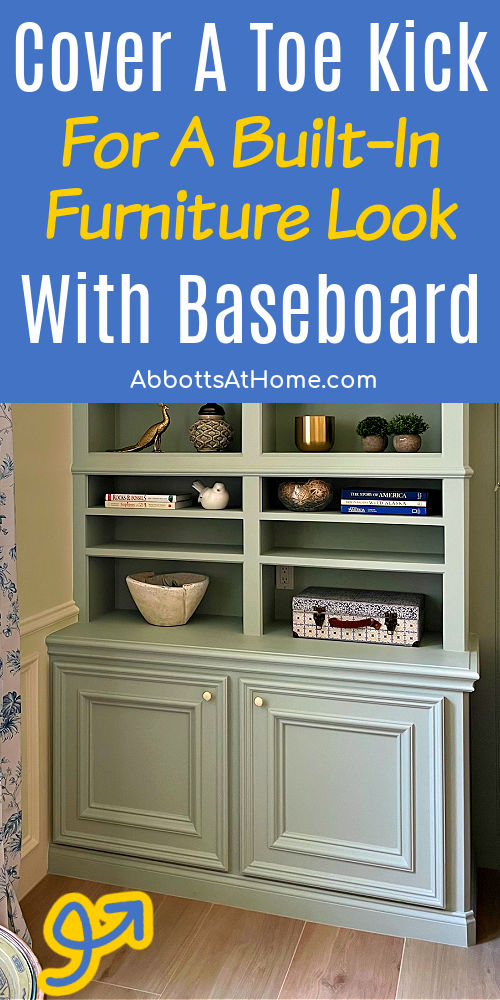
Make your cabinets look more like beautiful furniture with this DIY! Here’s how to cover toe kick with baseboard. My cabinets look SO GOOD!
How To Cover Toe Kick With Baseboard
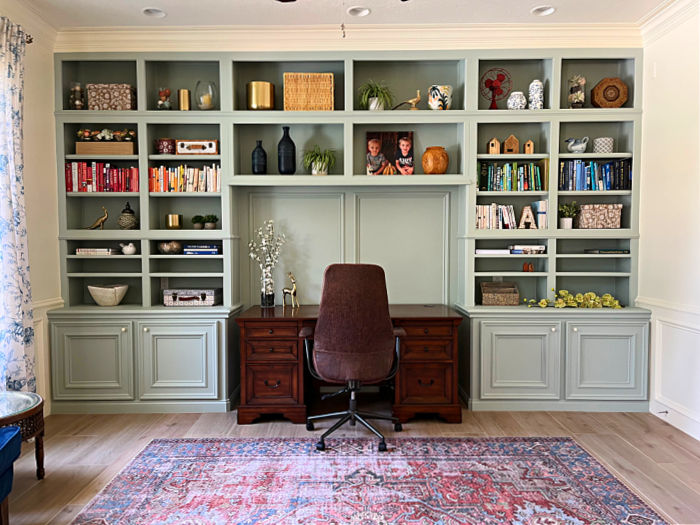
Base cabinet toe kicks are great, when you need to stand close to a countertop to work. BUT, if you won’t be standing in front of the cabinet, toe kicks aren’t necessary.
And, you can add a ton of built in furniture charm by covering a cabinet toe kick with baseboard.
You can see more of my favorite ways to make cabinets look like built in furniture in a previous post. And, check out this post for the full Before & After Home Office Makeover.
Now, let’s get to how to cover a toe kick with baseboard.
What You Need
- Baseboard – Pick one tall enough to cover the toe kick. I recommend using the same baseboard used on the walls in the room, when possible.
- Plywood or lumber to use as the toe kick filler.
- Miter Saw
- Possibly A Table Saw
- Brad Nailer & Nails
- Paintable Caulk (I like this one)
- Wood Filler
DIY Steps To Cover A Toekick With Baseboard
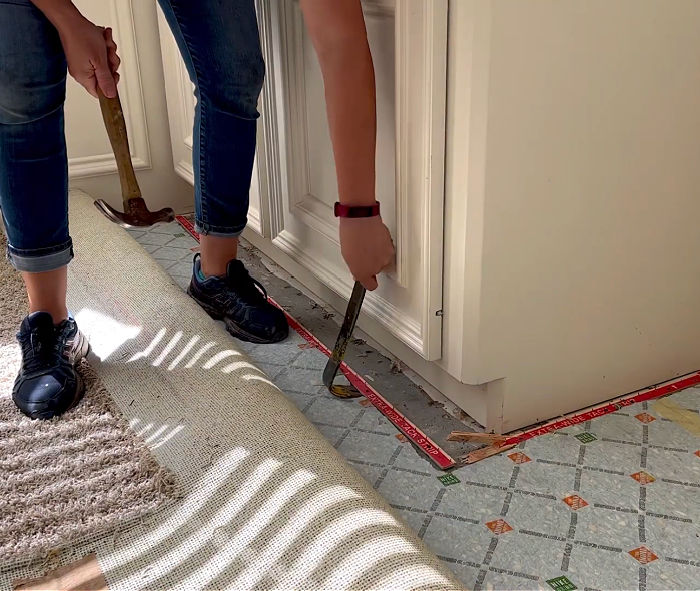
IMPORTANT: Decide whether or not you need to remove the flooring under the toe kick before you add the baseboard.
If it’s carpet, definitely pull it back. You can cut the excess carpet off after you’ve installed the baseboard.
If it’s any other type of flooring, decide if you want, or need, to remove it before installing baseboard on the cabinets. You can install baseboard over most types of flooring, except carpet.
But, if you plan on changing the flooring before removing the cabinets, you’ll have to remove the baseboard to remove the flooring.
So, decide whether or not to remove the flooring inside the toe kick. And, if yes, remove it before moving on to step one.
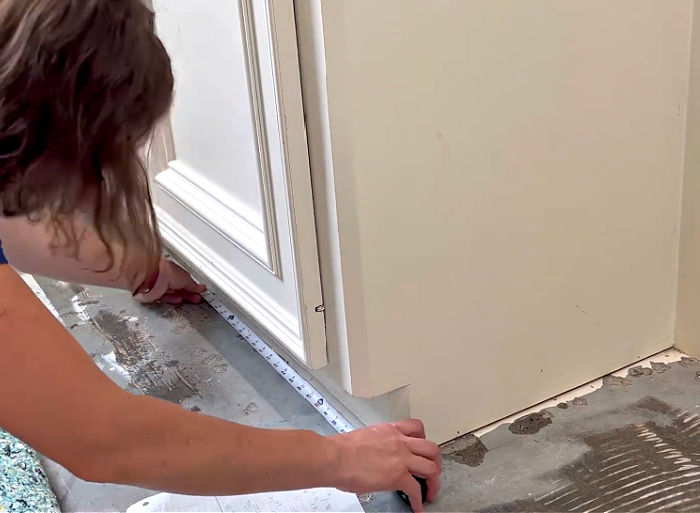
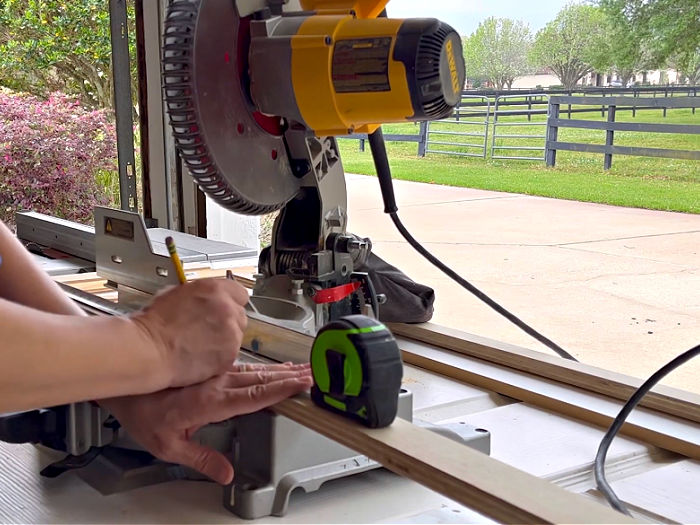
Step One – Measure The Toe Kick Opening
The first step to cover toe kick with baseboard is to carefully measure the inside area of the toekick. You need to know the height, depth, and length of the toe kick so that you can build a filler.
Step Two – Cut A C-Shaped Filler
Once you know the measurements, you can build a C-Shaped filler to put inside the toe kick. The filler acts as a backing and support for the baseboard.
I actually made an L-shaped filler since the top of my baseboard would cover the bottom of the cabinet.
If you can cover the face of the cabinet with 1/3″ or 1/2″ of the top of the baseboard, you can build an L-shaped filler too.
I used my table saw to cut plywood to size to build my filler. Then I cut it to length on my Miter Saw. I finished by building the filler with wood glue and my Brad Nailer.
Step Three – Attach The Filler To The Cabinet
Once you have the cabinet toe kick filler built, slide it into the toe kick area and brad nail it into the cabinet. You want enough nails to hold it securely in place.
Don’t use wood glue or construction adhesive for jobs like this. It’s not necessary and it will make deconstruction harder later.
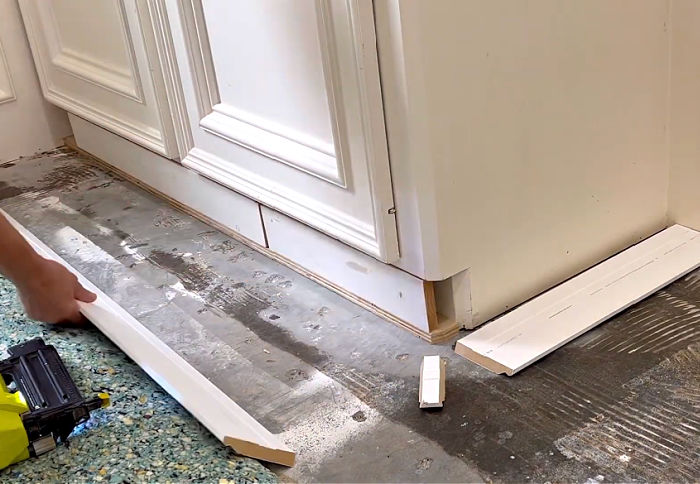
Step Four – Cut And Install The Baseboard
Once the filler has been attached inside the toe kick, measure and cut the baseboard. You’ll need to know the length you need and the height.
If the baseboard you bought is too tall for your cabinet, you can cut across the bottom of the baseboard to reduce the height. You can use a table saw for that.

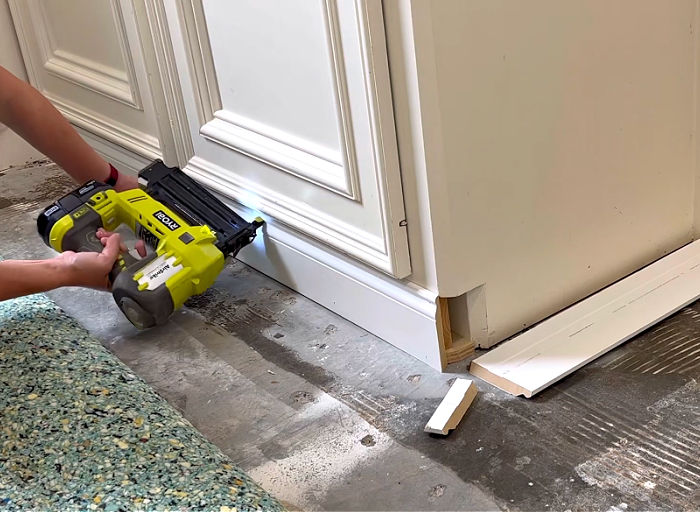
Then cut it to length with your Miter Saw.
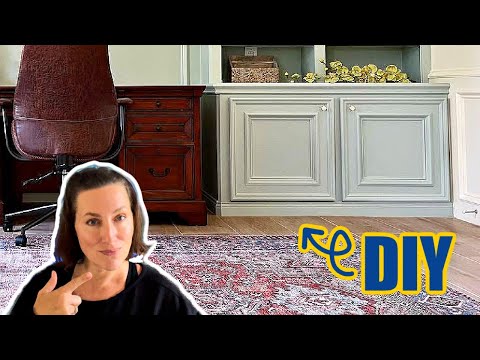
Once it’s cut, install the baseboard with a Brad Nailer. You can see how I do it in the video below. Angle the brad nails slightly when installing.
The angled nails hold the baseboard nice and tight. It also makes it harder for the baseboard to accidentally back out.
Step Five – Use Wood Filler And Caulk
Once the cabinet baseboard is installed over the toe kick, use wood filler on the nail holes. Let it harden, then sand it smooth.
Then, you can use caulk on the joints between the baseboard and the cabinet. Be sure to wipe away excess caulk with a damp cloth before it can dry. And, don’t forget to use a paintable caulk.
You can see a more detailed explanation of using wood filler and caulk on trim in a previous post.
Step Six – Paint The Baseboard
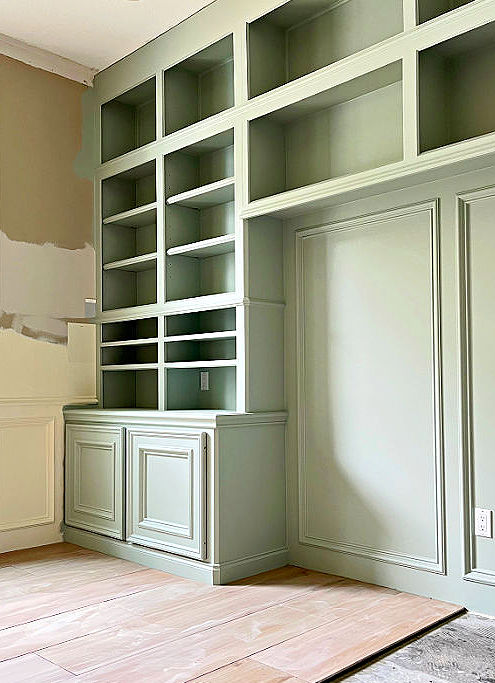
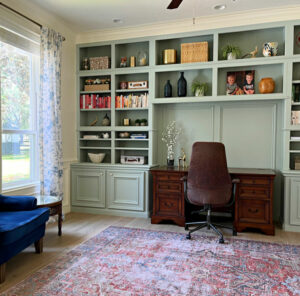
Now you can paint the new baseboard to match the cabinet. And, that’s it. Your beautiful cabinets have a new built in furniture look after you’ve covered the cabinet toe kick with baseboard.
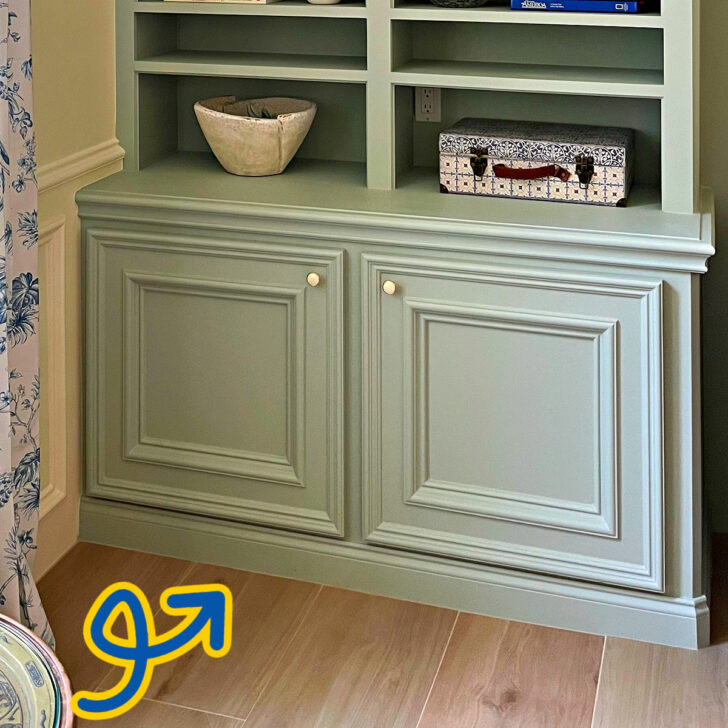
That beautiful baseboard looks great on these office built in cabinets.
How To Cover A Cabinet Toe Kick – Video
If any of the steps above are confusing, watch this short video to see how I installed baseboard over the toekick on my cabinets.
More Popular Posts For You
You might also like 21 Cheap And Easy Ways To Make A Home Office Look Better!
And, this post on this Easy DIY Coffered Ceiling – Simple, Low Profile Design – Steps & Video.
Here’s everything you need to know about How Do I Get Rid of Cable And Still Watch TV: Easy Guide.

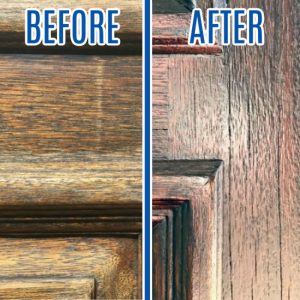
I LOVE this post on how to Restain a Door without Removing It: Easy One Day DIY!
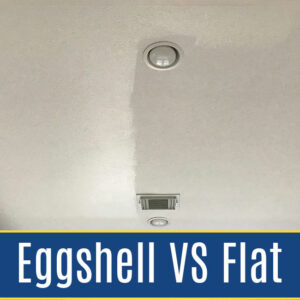
Or, this post on the Best Ceiling Paint Finish: Flat vs Eggshell Sheen Results.
That’s it for is a steam mop good for tile floors. Don’t forget to sign up for the Abbotts At Home email newsletter to get DIY, Remodeling, and Crafty ideas in your inbox.

Stephanie Abbott has been remodeling homes, updating & building furniture, and working on DIY home maintenance and cleaning tips for over 20 years. Her remodeling has been featured in Better Homes and Gardens Magazine. And, her DIY YouTube channel has had more than 8 million views.
Most of the DIY tutorials and videos on this site focus on beginner to intermediate level DIY Projects that can be done in an affordable way without high-end, expensive tools. All of the cleaning tips on this website have been tested in her home.