
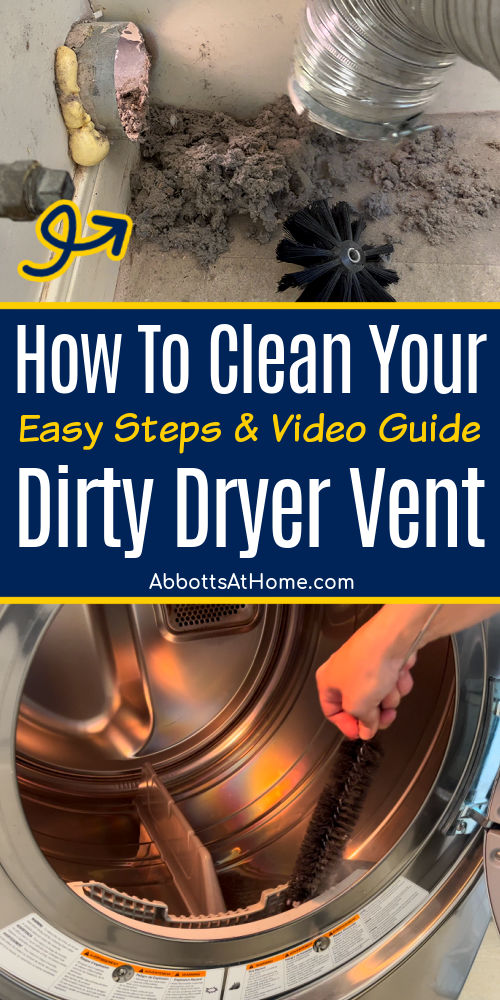
Want to know how to clean dryer vents from inside and outside? With these EASY STEPS you can get your dryer vent CLEAN & SAFE in 20 minutes!
How To Clean Out A Dryer Vent From Inside And Outside
Hi guys! I’m back with another EASY home maintenance project that will actually make your home SAFER. Every year in the US, there are about 3,000 house fires caused by dryers.
That’s mainly due to a build up of lint in the dryer vent and dryer duct. BUT, good news, you can clean out your dryer duct and vents pretty easily with a cheap and easy to use dryer vent cleaning kit.
And, you won’t need a Shop Vac or drill to use the dryer vent cleaning kit. Because I know a lot of people don’t have those things, I wrote this tutorial without using them.
You can use this dryer cleaning kit by hand or with a normal vacuum. Of course, if you have and want to use a Shop Vac or a drill, you can!
Either way, I’ll show you how to clean out dryer vents from inside and outside of your home. This will greatly reduce the risk of a dryer fire and help your dryer dry your clothes faster. Let’s get to it!
Table of contents
- How To Clean Out A Dryer Vent From Inside And Outside
- How Do I Know If My Dryer Vent Is Clogged?
- How Often Should You Clean Your Dryer Vent?
- 8 Easy Steps To Clean Your Dryer Vents And Ducts
- Supplies Needed
- 1. Unplug And Pull Out The Dryer
- 2. Disconnect Your Dryer Vent Pipe
- 3. Assemble Your Dryer Vent Cleaning Kit
- 4. Clean Your Dryer Vent From Inside
- 5. Clean Your Dryer Vent From Outside
- 6. Check The Dryer Duct For Compression And Kinks
- 7. Reconnect Vent Pipe And Move Your Dryer
- 8. Deep Clean Your Dryer Lint Trap
- How To Clean Your Dryer Duct And Vents – Video
How Do I Know If My Dryer Vent Is Clogged?
Wondering if your dryer vent is clogged? Here are six clear signs that will help you know if your dryer vent is clogged. If you notice one or more of these, it’s time to clean your dryer vent pipe.
- Clothes come out of the dryer damp.
- Your dryer feels hot to the touch.
- Clothes take longer to completely dry.
- The dryer smells musty or leaves clothes smelling musty.
- Your lint trap has a lot more lint than normal.
- Lint might be coming out of your lint trap or your exterior dryer vent.
When your dryer vent is clogged, the air flow is blocked. So, the moist air from your clothing can’t escape properly.
If that humid air builds up in your dryer and vent pipe, you can end up with a musty smelling dryer. And, your clothes will take SO MUCH longer to dry. That will cost you extra money in electricity or gas.
But, the worst risk that comes from having a clogged dryer vent is the risk of fire. Like I said earlier, about 3,000 housefires every year are caused by dryers. So, this is one home maintenance job you can’t skip!
See My Favorite, Easy To Use Dryer Vent Cleaning Kit on Amazon.
How Often Should You Clean Your Dryer Vent?
To keep your dryer operating properly, you should clean your lint trap before or after every load. Your lint trap is the first line of defense against lint building up in the dryer vent pipe.
And, keeping that lint trap clean is also key to promoting good air flow in your dryer. When you have a clean lint trap, all of that hot, humid air can be pushed out. So, your clothes will dry as quickly as possible.
In addition to cleaning the lint trap before each load, you should clean the dryer duct (vent pipe) and dryer vents ONCE A YEAR. If you use your dryer A LOT, you may need to clean it more often.
See the list of the 6 signs of a clogged dryer above for signs that you might need to clean your dryer vent pipe earlier. Follow the steps below to clean out dryer vent from inside and outside your home.
8 Easy Steps To Clean Your Dryer Vents And Ducts
Supplies Needed
- Vacuum
- A Dryer Vent Cleaning Kit
- Optional: Mask and Gloves
Optional: You can wear a mask and/or gloves if you want to protect yourself from the dirty lint and all of the dust that will be floating in the air as you work.
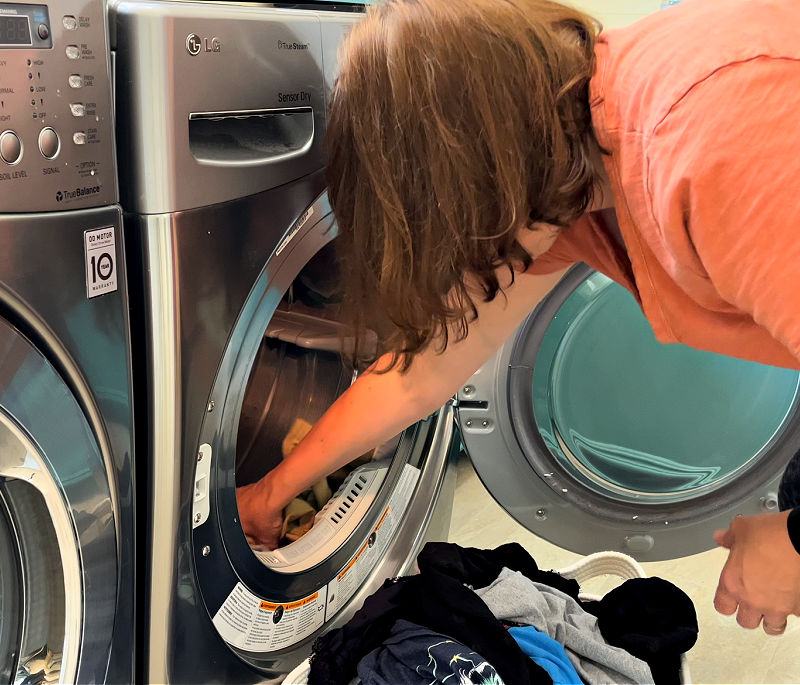
1. Unplug And Pull Out The Dryer
First up, you’ll need to unplug your dryer and pull it away from the wall. It needs to be far enough away to let you disconnect the vent pipe and get behind the dryer to work.
If you have a GAS DRYER you’ll also need to turn off your gas and safely disconnect it BEFORE pulling the dryer away from the wall.
Moving your dryer is probably the hardest part of this whole tutorial. You might need 2 people to do this.
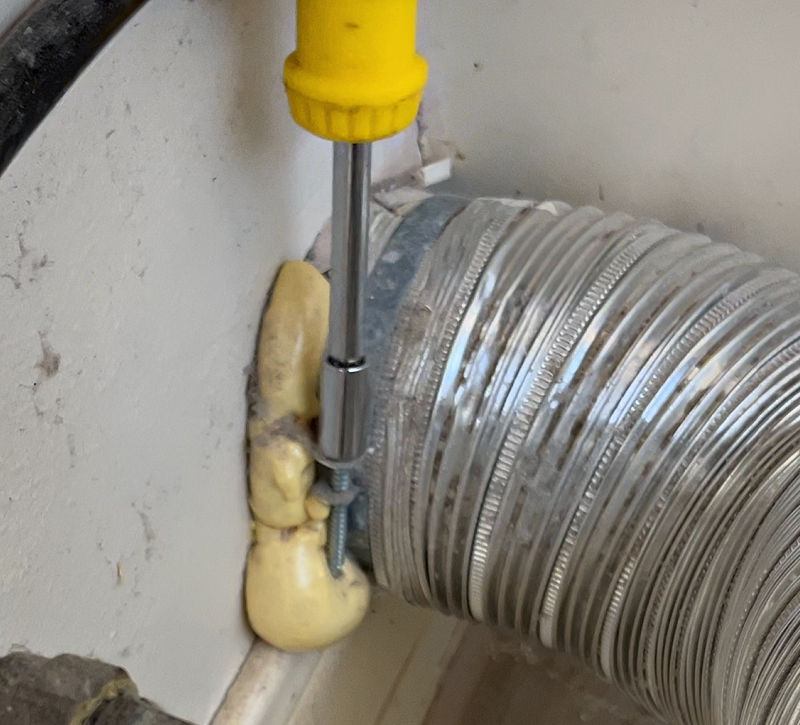
2. Disconnect Your Dryer Vent Pipe
Once you’ve moved your dryer, it’s time to disconnect the dryer vent pipe from the wall and the dryer. There are a few ways that the pipe might be connected.
You’ll generally need a socket or a screwdriver to loosen up the straps connecting the vent pipe to the wall. You’ll have to take a look at yours to see which you’ll need.
My dryer vent pipe wasn’t even connected to the dryer. It just fit tightly over the pipe on the back of my dryer. So, all I had to do was gently pull it off.
DIY TIP: I know some people try to clean dryer pipes WITHOUT disconnecting them. So, I tested whether you could really get your duct clean without removing it. See whether or not it worked in the short video below.
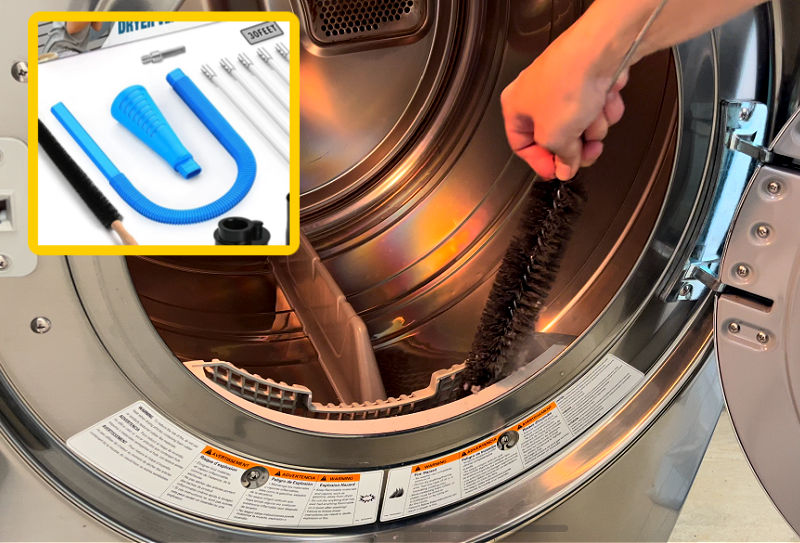
3. Assemble Your Dryer Vent Cleaning Kit
Next up, you should assemble the extendable dryer vent brush. I LOVE that most dryer vent cleaning kits come with tons of extensions for your dryer vent brush.
That means you can use them for any length of dryer vents!
Just be sure to use the electrical tape that comes with the kit to tape together all of the connections. That tape stops the segments from coming unscrewed INSIDE your vent pipe.
You don’t want that dryer vent brush to get stuck inside of a LONG run of vent pipe, especially if it’s built inside of a wall or attic.
Without tape, the sections of your drill brush can come unscrewed pretty easily, if you’re twisting it as you work. In fact, my drill brush came off in my vent pipe when I was using it.
Unfortunately, there isn’t a way to tape the brush to the pipes. So, I might just super glue the brush head to one segment next time. That’s probably the easiest way to keep it attached.
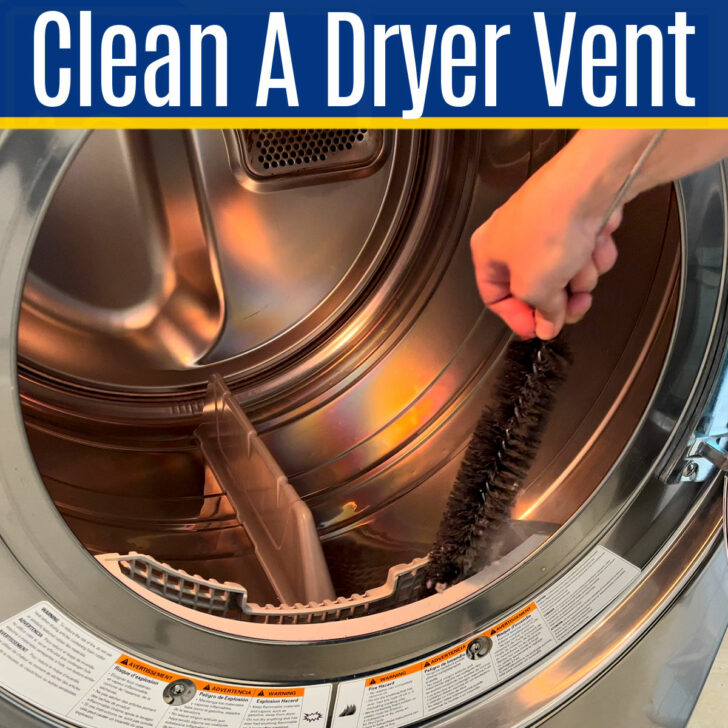
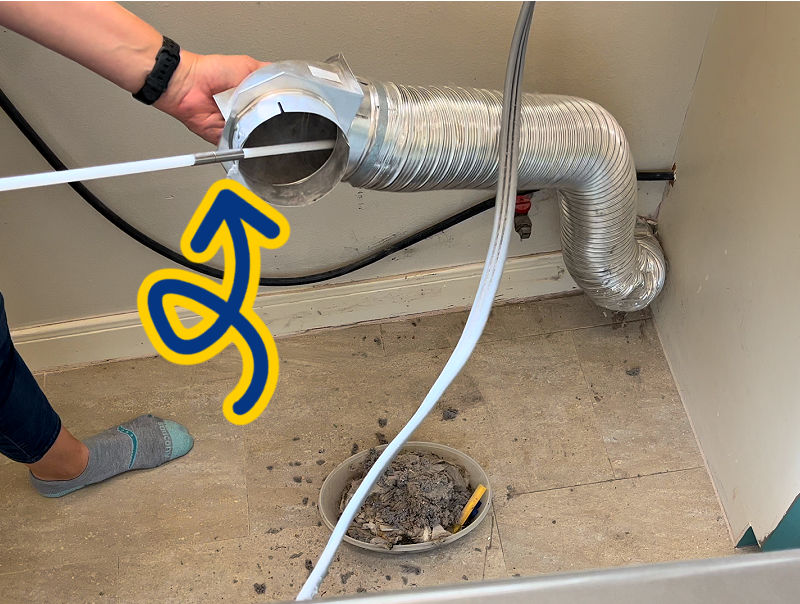
4. Clean Your Dryer Vent From Inside
OK, now it’s time to go over how to clean dryer vents from inside your home.
First, use your dryer vent brush, with as many segments as you need, to fully scrub all of the lint loose inside your vent pipe.
It might take a few minutes to loosen up all of the built up lint and dust inside your dryer vent pipe. So, give it a good scrub. Then have a good look at the inside of the pipe to be sure it’s clear of dust.
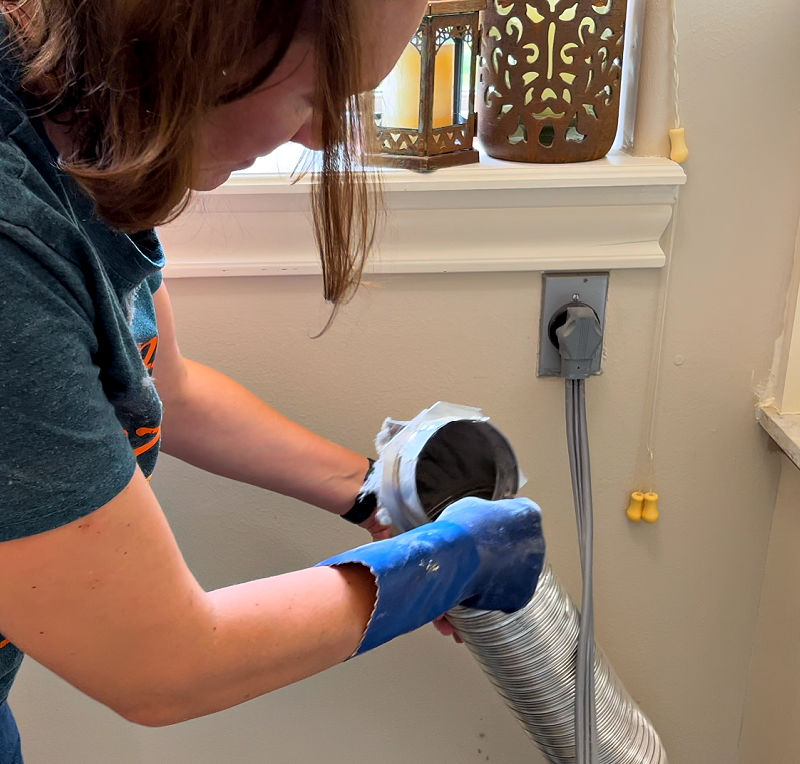
Second up, use the dryer vent brush inside of the back of your dryer too. Again, give it a good scrub to be sure to loosen and remove all of the built up dryer lint.
Then, stick your vacuum hose inside the back of the dryer to suction out all of that loose lint.

Last up, you use the same brush to scrub inside the vent pipe in your wall. I’m lucky, the dryer vent in my wall is just a 12″ straight run outside. So, it was pretty easy to get mine cleared out.
But, some of you might need to extend your dryer vent brush with more segments and tape to clean out a long run that might go up to the roof. Just take your time and carefully scrub the whole length.
Use your vacuum to suction out any loose lint here too.
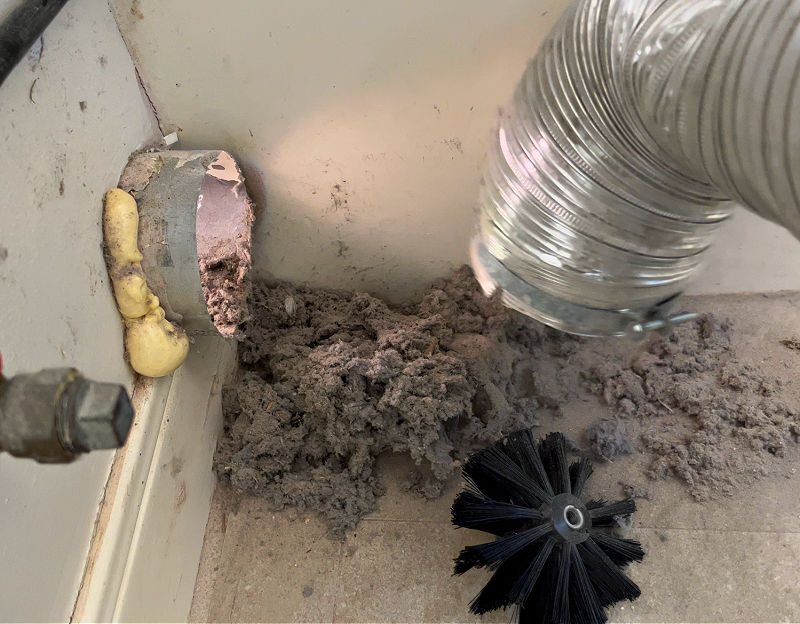
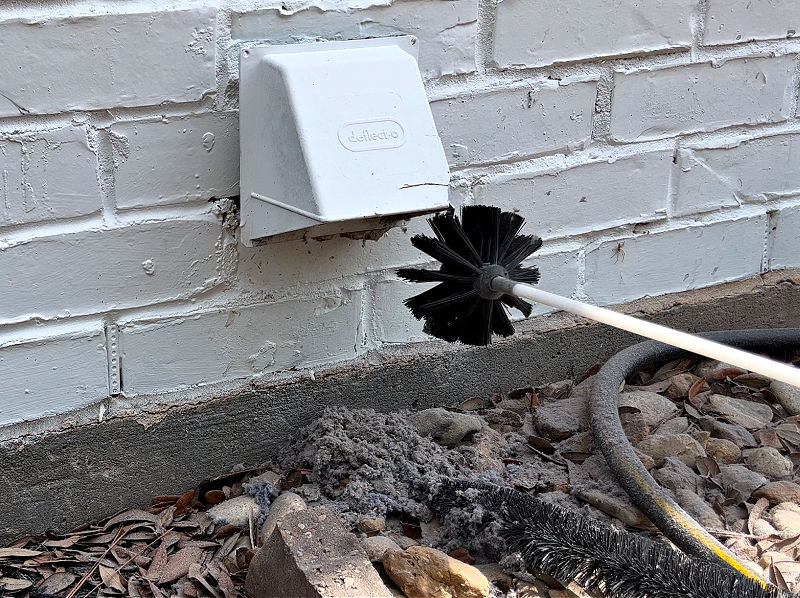
5. Clean Your Dryer Vent From Outside
Now that the inside sections of your dryer vent are clean, it’s time to clean the exterior dryer vent.
For this part, I used my dryer vent cleaning kit brush attached to an extension pole again. Scrub back and forth to be sure that the opening is clear and free of any lint build up.
Check out my video below to see the huge pile of dryer lint I pulled out of my dryer vent. It’s pretty CRAZY.
6. Check The Dryer Duct For Compression And Kinks
Now that the outside and inside sections of your dryer vent pipe have been cleaned, it’s time to inspect your dryer vent pipe (aka dryer duct).
If you find any dents or kinks, carefully reshape the dryer vent pipe so that it’s back to it’s original full and round shape.
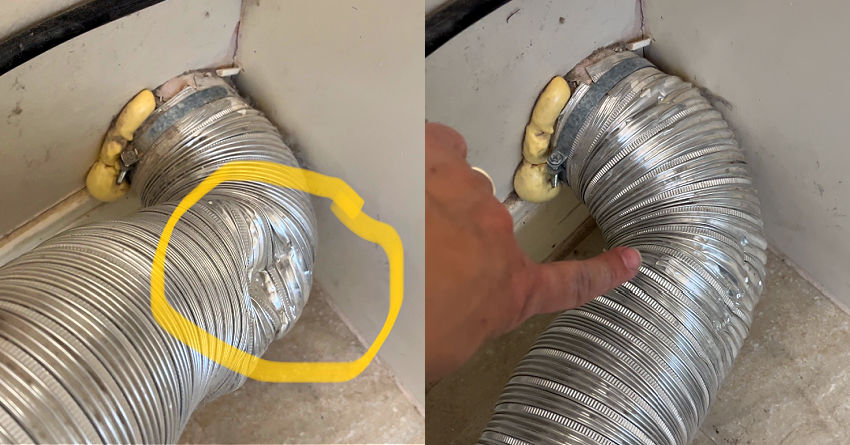
Be careful when pushing your dryer into place. Dents in a dryer vent pipe reduce airflow making your dryer less efficient. Big dents or kinks can also increase the risk of fire.
If you find cracks in your dryer vent, you should replace it. You can find replacement vents at hardware stores like Lowe’s, Ace, and Home Depot. Just cut it and shape it to match the original vent pipe.
7. Reconnect Vent Pipe And Move Your Dryer
After cleaning a dryer vent out and making sure that the vent pipe is in good shape, you can reconnect the vent pipe. Connect the dryer vent pipe the same way you found it.
Then push the dryer back into place. Make sure that you DO NOT push the dryer back too far. You don’t want to disconnect, dent, or damage the dryer vent.
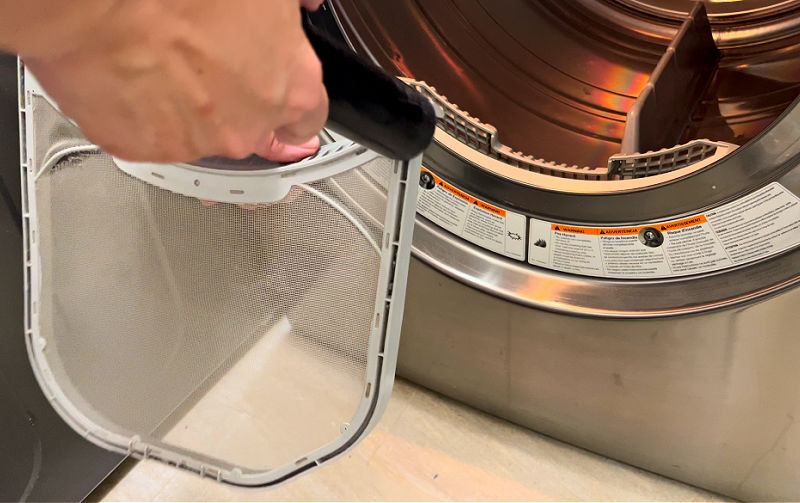
8. Deep Clean Your Dryer Lint Trap
OK, last but not least, let’s deep clean your dryer lint trap. Remove the lint trap, peel off any lint, then vacuum all of the crevices on the lint trap clean.
Then set that clean lint trap aside so that you can scrub inside of the lint trap opening. To scrub this tighter area, use the long, skinny brush that came with your dryer vent cleaning kit.
Scrub all around and up and down inside of that area to loosen and remove any built up dryer lint.
Now, attach the skinny dryer vent vacuum attachment to your vacuum hose. Then sweep out the inside of the lint trap area.
That’s it! You’ve got a clean dryer vent pipe. You can get back to using it as normal.
See My Favorite, Easy To Use Dryer Vent Cleaning Kit on Amazon.
How To Clean Your Dryer Duct And Vents – Video
Want to see me cleaning a dryer vent pipe using the steps above? Watch this video.
That’s it for how to use a dryer vent cleaning kit. I hope this helped! Now, here’s a few more posts you might like.
- 8 Easy Ways To Dry Paint Cans For Disposal
- 9 Best Ways To Make Yellow Pillows White Again (Easy Steps & Video Guide)
- 7 Most Surprising Things I Learned When I Moved To Houston Texas From Ohio!
- Does Grout Renew Work? Full Review with Easy Steps, FAQs and Video
- Steps For Using Easy Off Oven Cleaner on a Gross Oven
- Testing 7 Easy Ways To Get A Heat Stain Out Of Wood
Some DIYs You Might Like
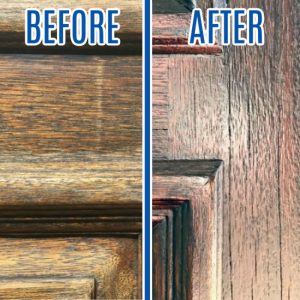
Here’s how to Restain a Door without Removing It: Easy One Day DIY!
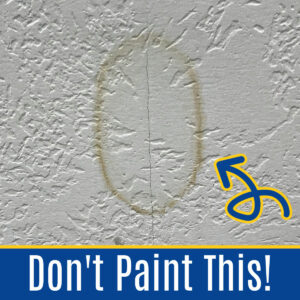
This post about How to Remove Water Stain from Ceiling Without Paint – 1 Easy Step is always popular!
Check out this post with 8 EASY Ways To DRY Paint Cans For Disposal (How To Harden Paint).

Feeling inspired? Now that you’ve seen how to clean out dryer vent from inside, get to it. It’s easy!

Stephanie Abbott has been remodeling homes, updating & building furniture, and working on DIY home maintenance and cleaning tips for over 20 years. Her remodeling has been featured in Better Homes and Gardens Magazine. And, her DIY YouTube channel has had more than 8 million views.
Most of the DIY tutorials and videos on this site focus on beginner to intermediate level DIY Projects that can be done in an affordable way without high-end, expensive tools. All of the cleaning tips on this website have been tested in her home.