
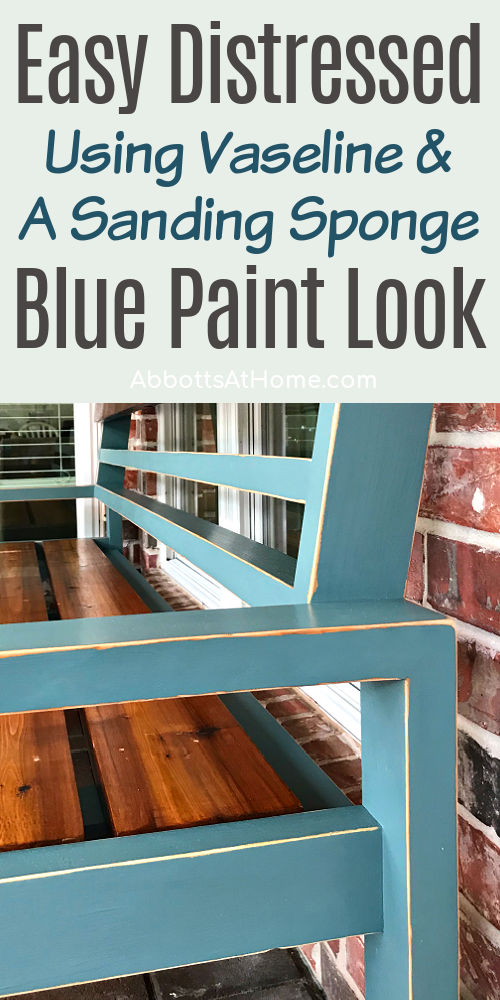
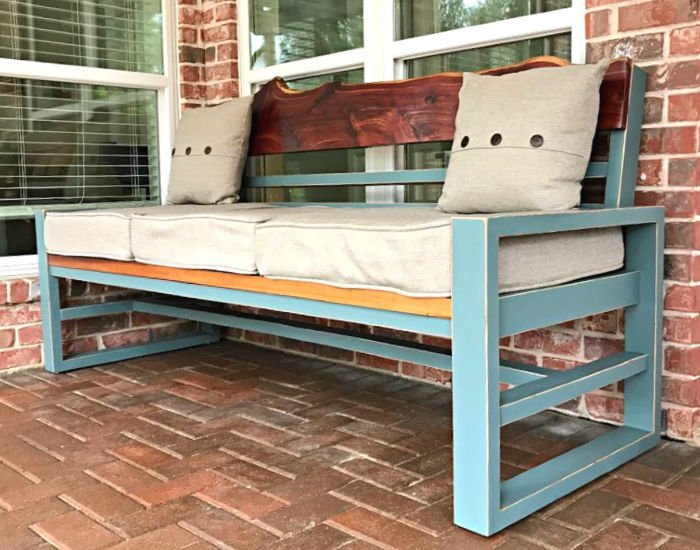
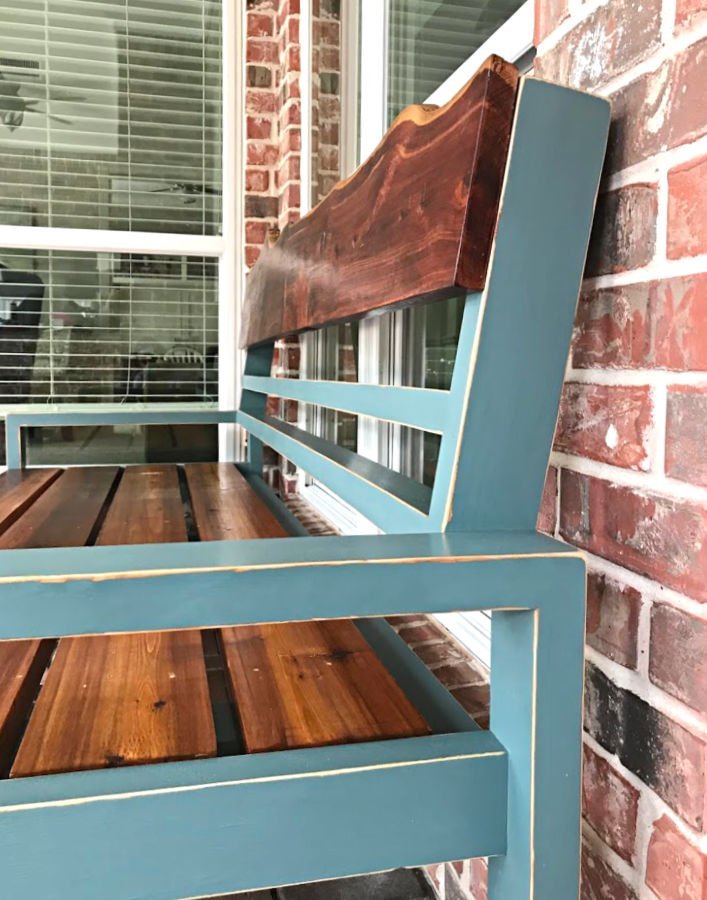
I LOVE this EASY and BEAUTIFUL DIY Blue Distressed Chalk Paint Look. Using Vaseline under the paint is the key to this furniture makeover.
DIY Blue Distressed Chalk Paint Look
Time for another furniture painting tutorial, guys!
I love playing around with new paint finishes that add character to my furniture. WITHOUT being too hard for the average person to do.
This DIY Blue Distressed Paint finish is an easy to do 5 steps!
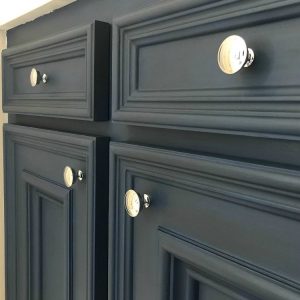
I think this furniture paint makeover looks so amazing because that color is so amazing, all by itself. Picking the right paint color is always half the battle, right.
I’m already looking for new ways to use the color Demo Day around my house. I’m sure you’ll see it popping up in future tutorials.
Now, let’s get to the steps for this DIY Blue Distressed Paint paint look.
Watch the DIY Blue Distressed Paint Video Here
Seeing someone do something always helps me understand the DIY better. Watch this 5-minute video for a better look at each step. 🙂
Here’s What You’ll Need
- Vaseline
- Danish Oil in Medium Walnut
- Magnolia Homes By Kilz paint color Demo Day in Eggshell
- Minwax Paste Finishing Wax in Natural
- Sanding Block for Distressing
- Nylon Paint Brush and Lint-free Rags
Steps to Do This At Home
Before I get started on the steps, if you want this DIY Blue Distressed Paint look on already stained furniture: Clean the furniture with TSP to clean and degrease it.
Patch with wood filler (if needed) and sand rough areas smooth with 150-grit sandpaper. Then lightly sand entire surface with 180-grit, to give the paint a good surface to stick to.
Then skip step one below, start with the petroleum jelly, Vaseline, in step two. Please Note: You can see all of these steps in the video above.
Step One
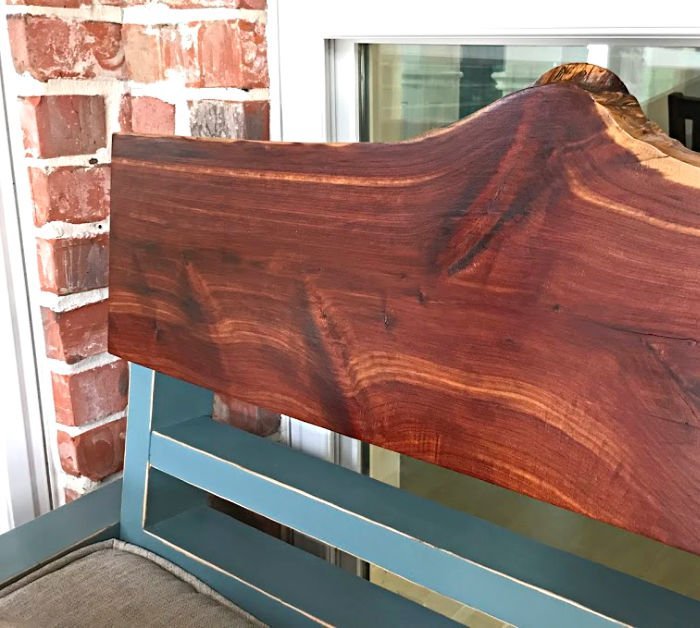
On unfinished wood, start with 2 coats of Danish Oil in Medium Walnut. Follow the directions on the container. I usually use old lint-free t-shirts or socks to apply Danish Oil.
Then a clean old rag to wipe the excess away, after the wood has soaked up as much Danish Oil as possible.
Step Two
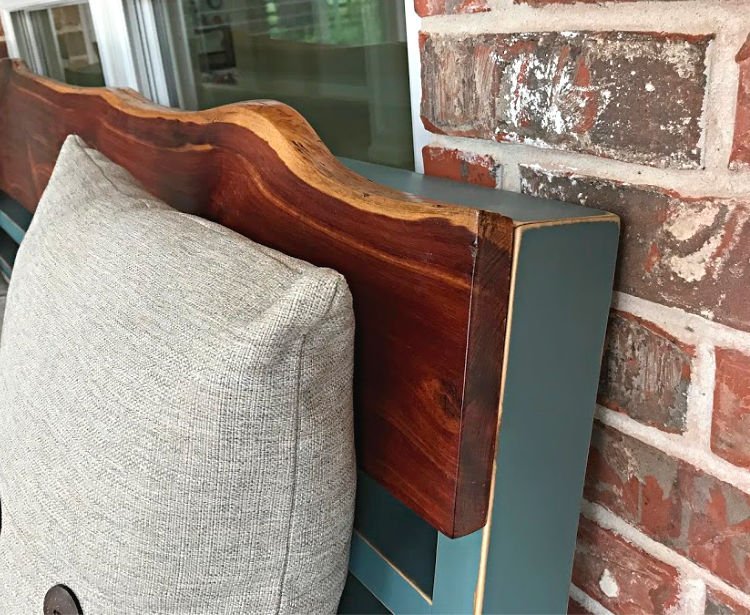
Once that Danish Oil dries, use your finger to lightly apply petroleum jelly (aka Vaseline) to just the corners and edges of your furniture.
If your furniture has a lot of rounded molding, you could apply some on the rounded parts you want to highlight too.
Step Three
For the third step of this DIY Blue Distressed Paint Look, apply the Demo Day paint. Use a good nylon brush and apply it right over that vaseline. I used 2 coats of this paint to get even coloring.
Let it dry completely after each coat.
You can also use chalk paint for this furniture makeover. Chalk Paint is easy to distress becuase it cures quickly. Some latex paints tend to peel off instead of sanding smoothly.
The Magnolia Homes by Kilz line is a latex that acts like a chalk paint. It dries quickly and is easy to distress. So, if you don’t use the Magnolia Homes by Kilz paint, pick a chalk paint to get a great result.
Step Four
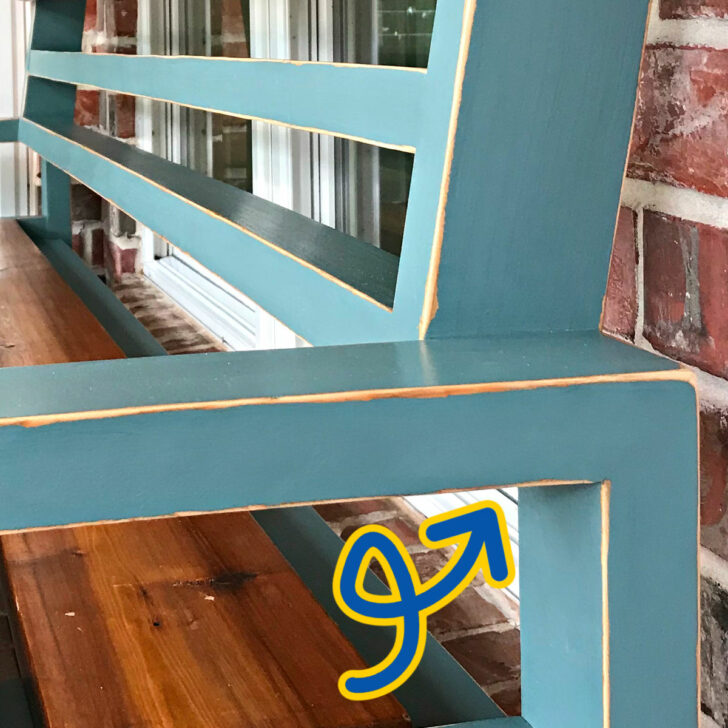
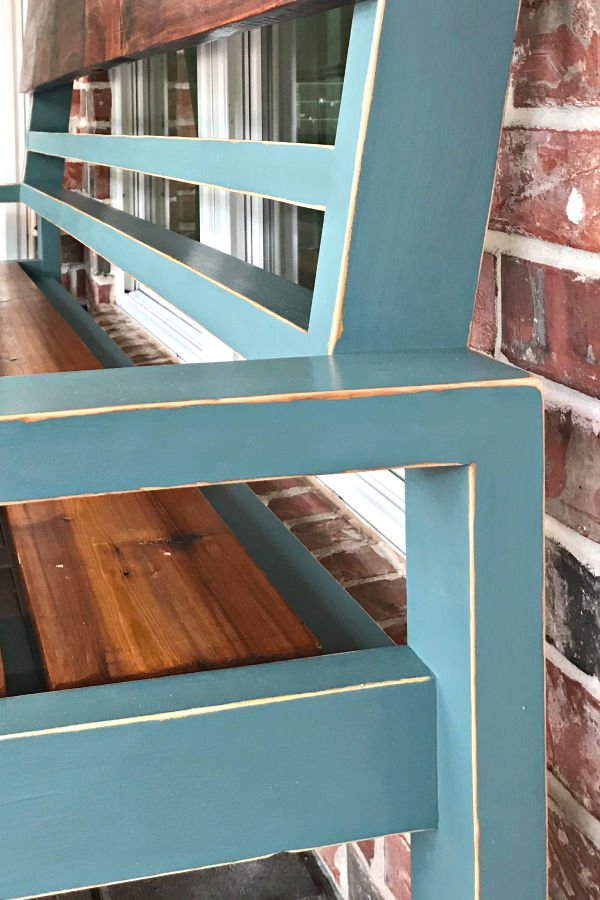
Let that 2nd coat of paint dry and cure overnight. Now, it’s time to distress! I use a medium grit sanding block. Something around 150 or 180-grit works well.
Just distress those areas that you applied the Vaseline too. It will sand off much easier in those spots than it would without it.
Use a clean rag as you work to wipe the dust away. Once you’ve finished sanding, clean the surface with a slightly damp rag to remove all dust.
Step Five
Time to protect that DIY Blue Distressed Paint Finish. I went with Minwax Paste Finishing Wax because it is easy to apply and leaves a beautiful matte and super soft finish. Follow the directions on the container for the best result.
If you DON’T want to use wax, I also really love this Minwax Water-Based Polycrylic in Satin Finish. You apply that with a good nylon brush. It takes more time than wax, but leaves a beautiful, smooth finish.
That’s it! Easy, right? It just takes a little time to get this beautiful look on your furniture. 🙂
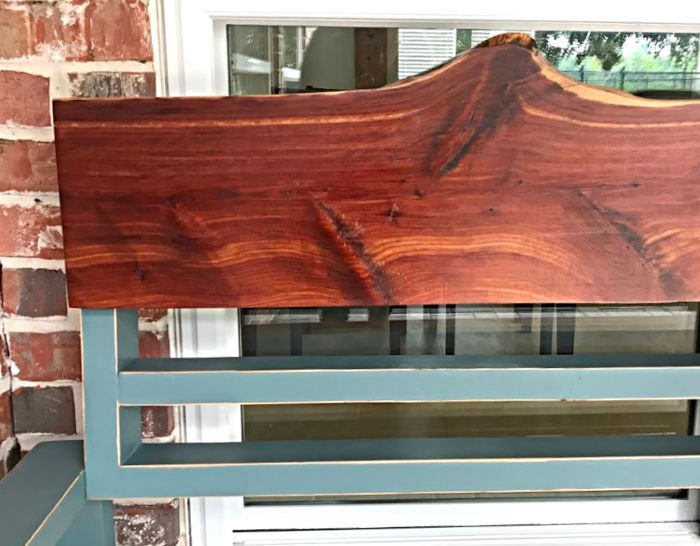
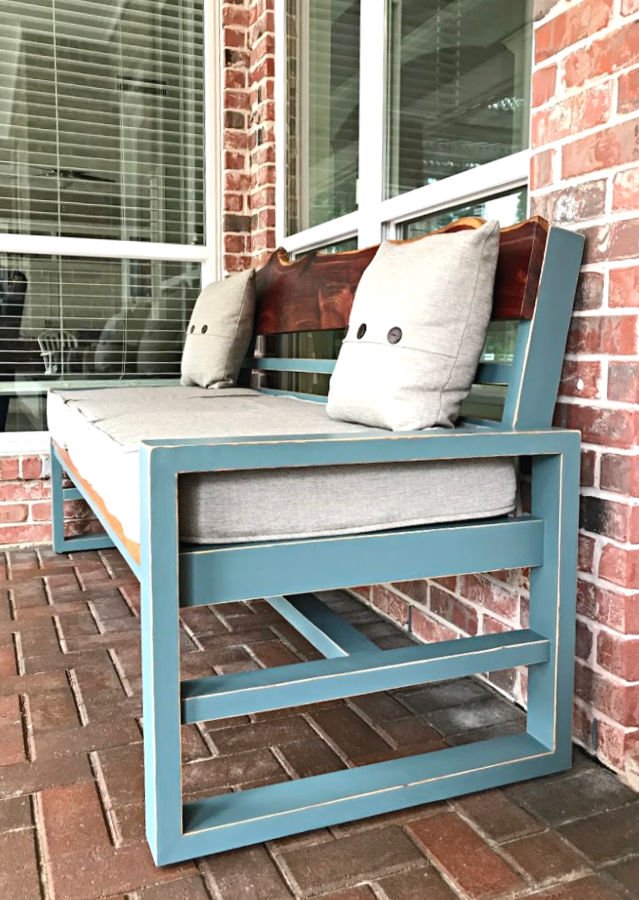
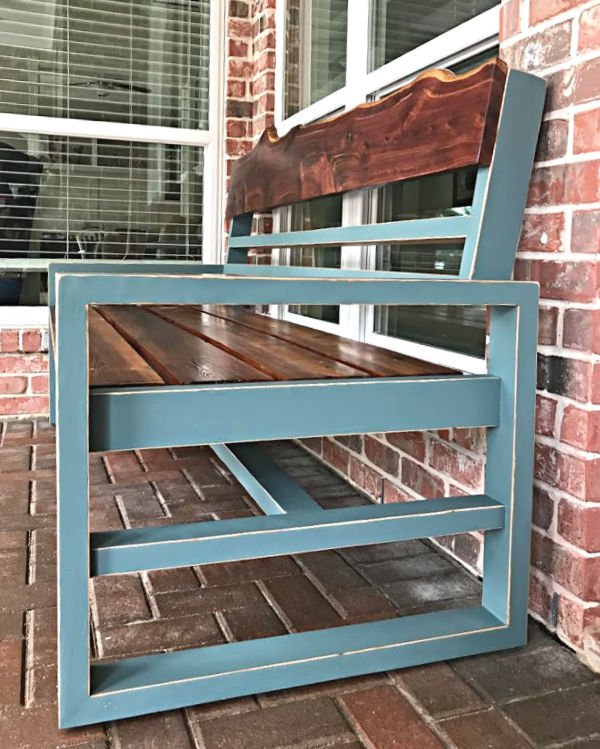
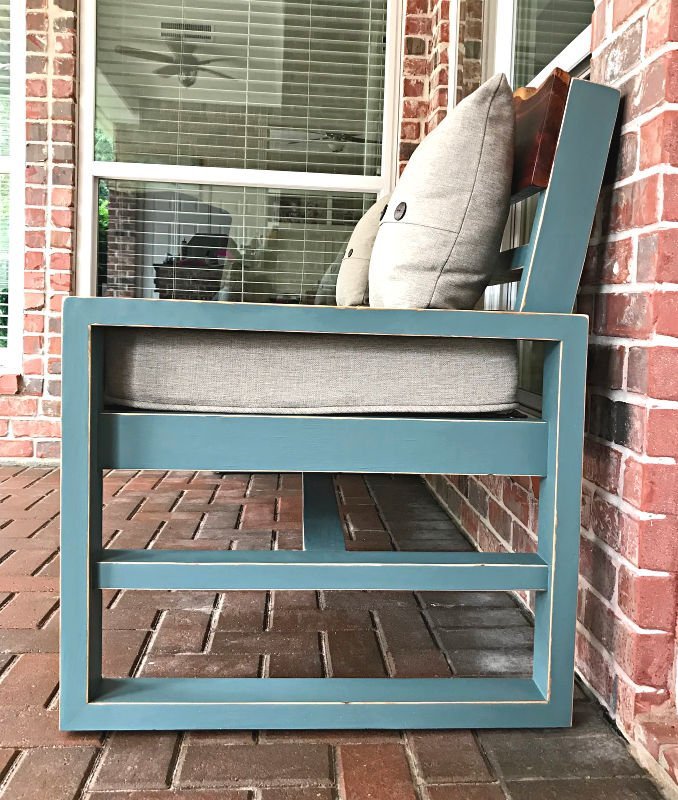
More Pictures of this DIY Vaseline Distressed Paint Look
Looking for more of my DIY Furniture Makeover videos? You can see them here, on my YouTube channel. 🙂
More DIY Projects For You
- 5 Best Ways to Remove Dried Citristrip on Furniture and Wood
- Stripping Paint from Wood Furniture With Citristrip: Easy Steps & Video
- Get a Smooth Finish with Chalk Paint – Easy Steps & Video
Here’s another distressed furniture painting project, you might like, here’s the steps for the DIY White and Grey Distressed Paint Finish I used on my DIY Pedestal Dining Table.

Or, check out this classic Dark Blue with Dark Wax Cabinet Makeover.
You can also find this popular DIY Stain Wood Furniture without Stripping Tutorial and a beautiful DIY Weathered Paint Effect Tutorial, on this blog.
Feeling inspired? Now that you’ve seen this DIY Blue Distressed Chalk Paint Furniture tutorial, you can do it too. Let me know if you have questions.

Stephanie Abbott has been remodeling homes, updating & building furniture, and working on DIY home maintenance and cleaning tips for over 20 years. Her remodeling has been featured in Better Homes and Gardens Magazine. And, her DIY YouTube channel has had more than 8 million views.
Most of the DIY tutorials and videos on this site focus on beginner to intermediate level DIY Projects that can be done in an affordable way without high-end, expensive tools. All of the cleaning tips on this website have been tested in her home.