
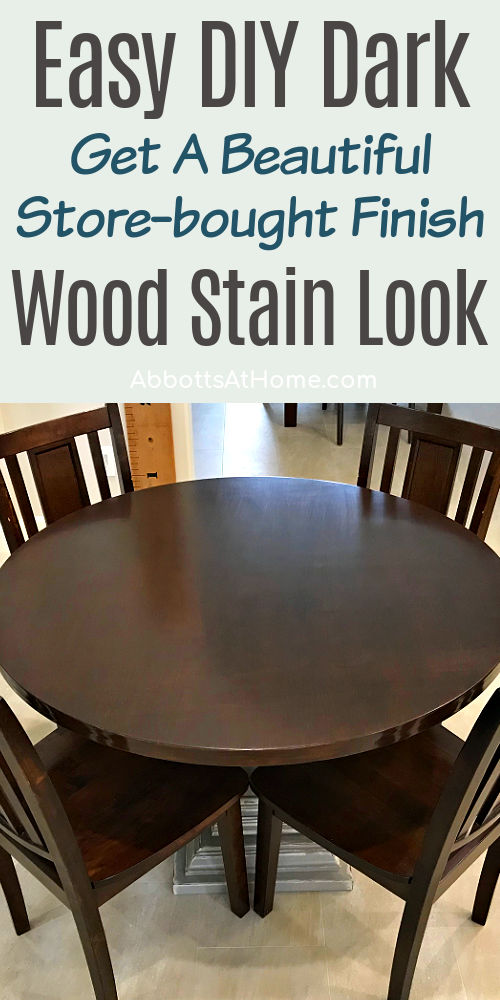
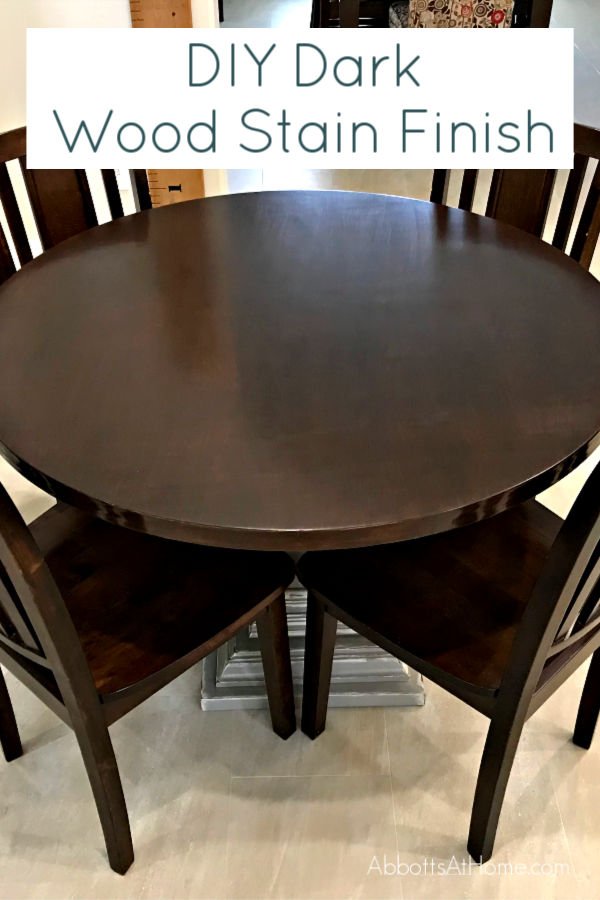
Easy DIY steps and video showing how to stain a table top with the BEAUTIFUL dark stain finish you see on store-bought furniture.
How To Stain A Table Top
Guy’s, I’m so excited to share this DIY tutorial with you. Because I’ve figured out a super easy way to get a beautiful dark wood stain finish.
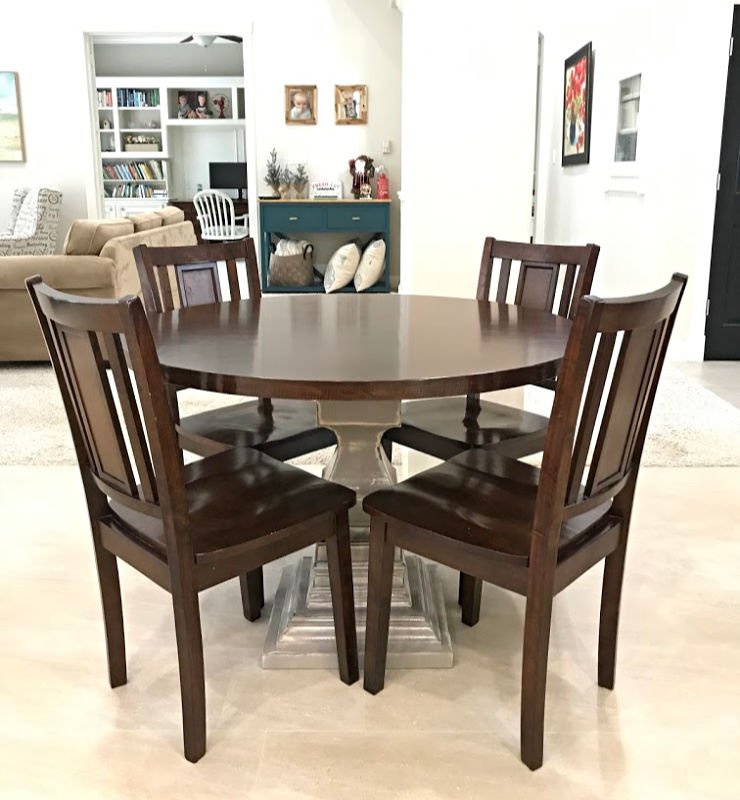
I designed this dark stain look to match all of my favorite dark wood store-bought furniture in my home.
And, it’s actually super easy to recreate at home. I used my absolute favorite, and easy to apply, wood finishing product, Danish Oil.
Then I topped that with a layers of glaze to get a deep, dark, rich looking finish. And, finished it off with a Wipe On Poly. All 3 products I picked are so easy and fast to apply.
Now, let’s get to those easy steps for staining a table top.
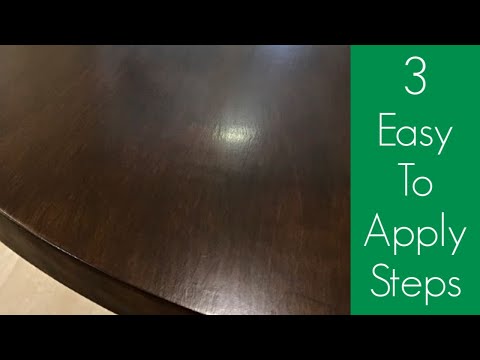
Staining A Wood Table Top – Video
Seeing someone do something always helps me understand the DIY project better. Watch this 5-minute video for a better look at each step.
Here’s What You’ll Need
- Sanding Blocks and Tack Cloths
- Foam Brushes
- Danish Oil in Black Walnut
- General Finishes Van Dyke Brown Glaze
- Wipe On Poly in Satin Finish
3 Steps To Staining a Table Top
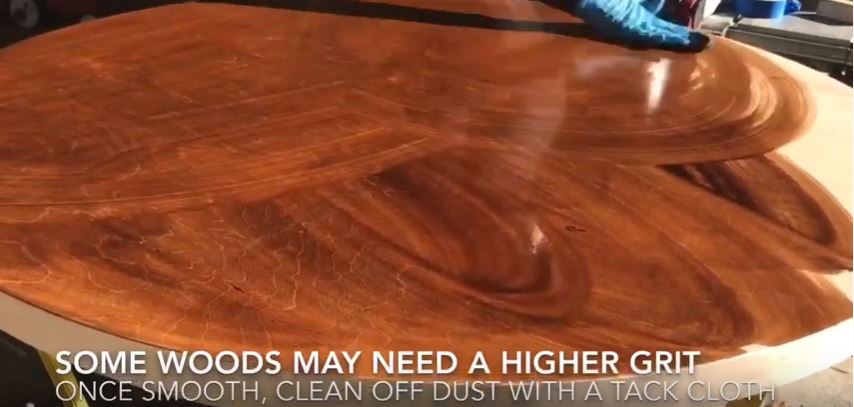
Step One
Prep your unfinished wood for stain. For my Maple Plywood Top, I sanded with 120-grit and 180-grit. Some wood may need a higher grit.
Do a quick google search, if you don’t know. Be sure to wipe it clean with a tack cloth or clean rag to remove all dust between grits and after sanding.
IF YOUR WOOD ALREADY HAS STAIN, you may not need to strip it. Here’s a few tips to think about. I just refinished my kitchen stools with this tutorial for how to stain wood furniture without stripping.
I got a very similar look to this DIY table top stain by applying General Finishes Gel Stain in Java. It covers existing stain beautifully. After using that gel stain, protect with the wipe on poly.
Step Two
Apply Danish Oil in Black Walnut with a clean, lint free rag. I use old socks and t-shirts with this product. With Danish Oil, I just pour a bit on and wipe it around.
I keep pouring a little at a time until the wood isn’t absorbing anymore. Wipe off the excess oil with a clean rag so that it won’t dry tacky.
Danish Oil is a favorite product of mine because it looks so beautiful, is easy to wipe on, AND the oils soak into the wood and harden – making the wood strong and more durable.
I even use this as a primer under chalk paint sometimes just to get that extra bit of durability. 🙂
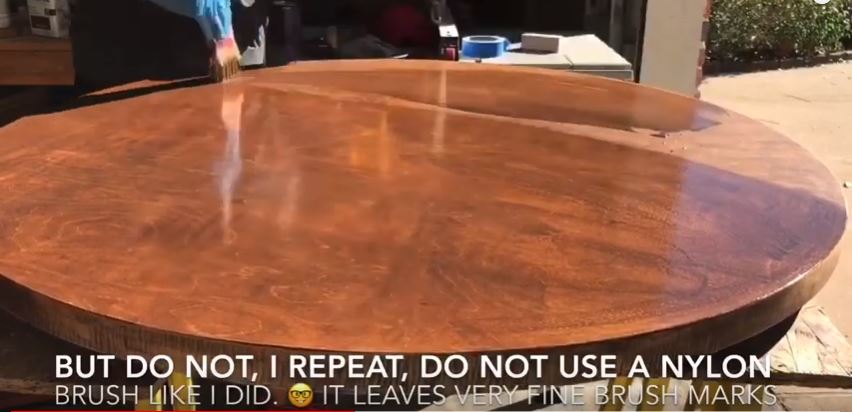
Step Three
After the Danish Oil dries, you apply 3 to 4 coats of the Van Dyke Brown Glaze with a Foam Brush. Follow the instructions on the glaze and work fast to get the best result.
Once a section of the glaze dries, don’t brush over it. This can be applied pretty fast, just work from one side to the other with nice even strokes.
I used a nylon brush for my first coat (in video), but I really didn’t like the fine brush strokes that the nylon brush makes with a glaze. So, I switched to a Foam Brush and it was perfection.
It applied faster and completely smooth. The glaze adds depth and richness to the overall look of this table top finish.
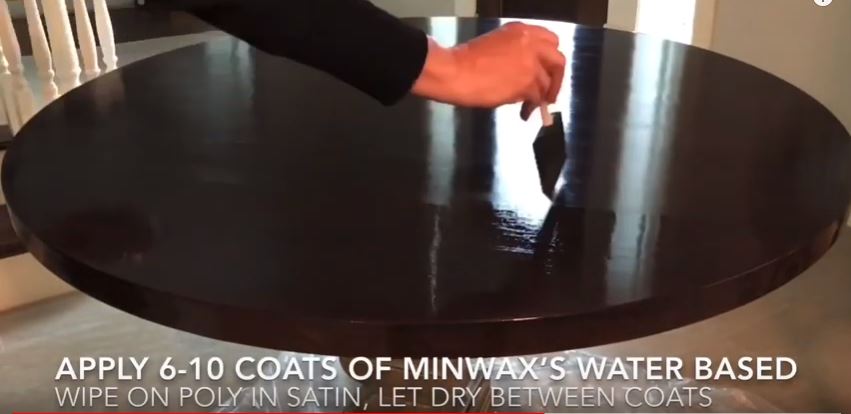
Step Four
The fourth step in this “How to Stain a Table Top” tutorial is the top coat. You need to seal the table top with a good, durable water-based polyurethane.
I used a Wipe-On Poly that I absolutely love because it’s so easy to apply. Be sure to wipe away any little bits of dust with a tack cloth, or slightly damp rag, between coats.
I wiped on 10 coats of this over a couple days. For furniture that gets less abuse than a table top, I’d go for 6 coats of this wipe on poly.
The first 2 or 3 coats don’t look great, because this finish is so thin. But, then on coat 4 or 5, it’s perfectly smooth and shiny.
I normally say to follow the directions on a product, but I will say, for this wipe on poly, don’t sand unless you need to.
It really does go on so thin, you pretty much sand it clean off without much effort. And, when you do sand between coats, use a very high grit, like 1000 or up. And, just lightly sand.
I’d really only sand this poly if you get little bits of dust or something dried in it. You can even use a plain brown lunch bag to sand something like that up. It has a similar grit to a 1000-grit sanding black.
That’s it. Let this table top finish cure for a couple weeks before using. Then enjoy!
RECOMMENDED: How To Stain Over Stain Without Sanding (Quick & Easy Steps With Gel Stain)
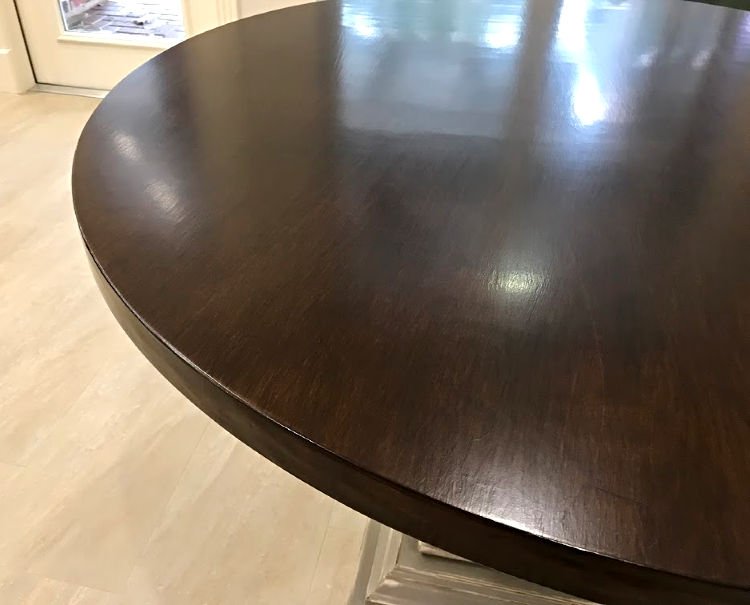
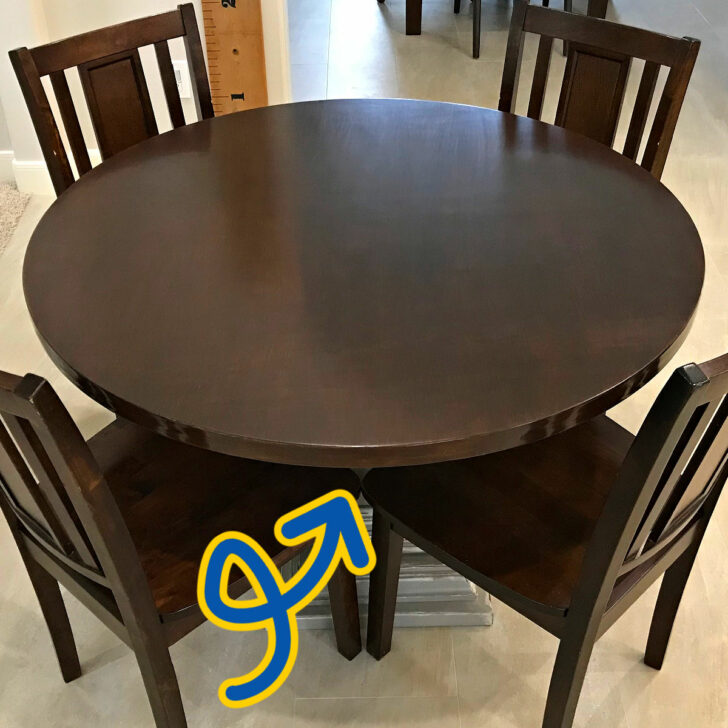
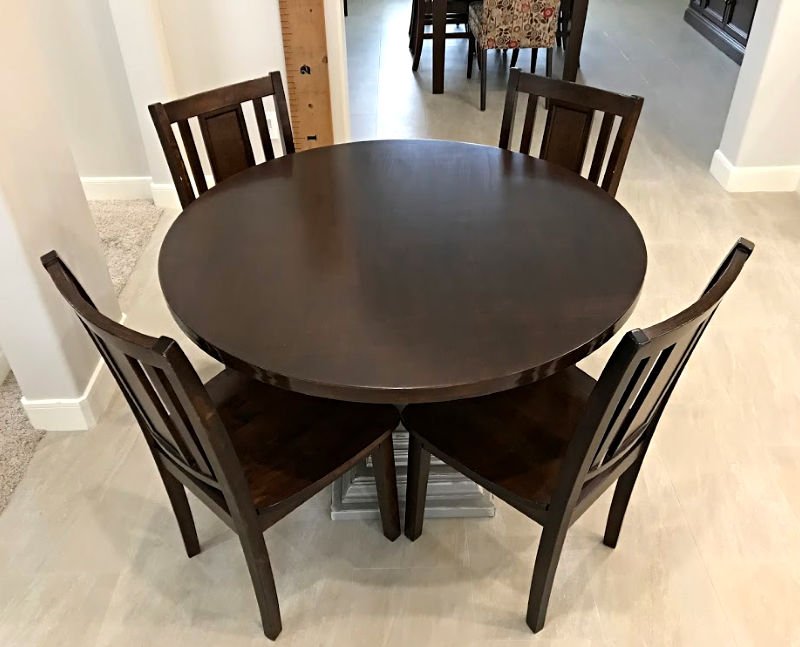
More Pictures of the Finished Table Top

Check out all 4 DIY Tutorials from this Wooden Kitchen Table Build!
- DIY Wooden Kitchen Table – Pedestal Base
- DIY White and Grey Distressed Furniture Paint Steps
- DIY Round Table Top from Plywood Circles
- DIY Store Bought Stain Finish Steps (this post)
Looking for more of my DIY Furniture videos? You can see them here, on my YouTube channel.
More DIY Projects For You
- Get a Smooth Finish with Chalk Paint – Easy Steps & Video
- 5 Best Ways to Remove Dried Citristrip on Furniture and Wood
- How To Stain Wood Furniture Without Stripping – Easy Steps and Video
- Stripping Paint from Wood Furniture With Citristrip: Easy Steps & Video
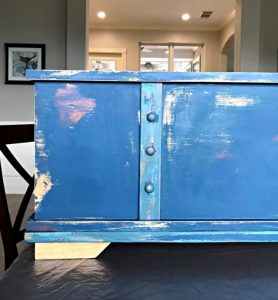
Here’s another furniture painting project you might like, a Vintage Distressed Paint Look.
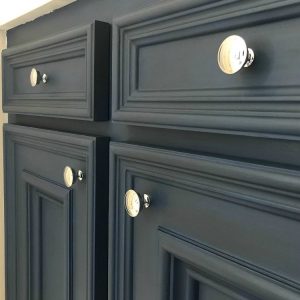
Or, check out this classic Dark Blue with Dark Wax Cabinet Makeover.
Feeling inspired? Now that you’ve seen this How to Stain a Table Top tutorial, you can do it too. Let me know if you have questions. Don’t forget to sign up for the Abbotts At Home email newsletter to get DIY, Remodeling, and Crafty ideas in your inbox.

Stephanie Abbott has been remodeling homes, updating & building furniture, and working on DIY home maintenance and cleaning tips for over 20 years. Her remodeling has been featured in Better Homes and Gardens Magazine. And, her DIY YouTube channel has had more than 8 million views.
Most of the DIY tutorials and videos on this site focus on beginner to intermediate level DIY Projects that can be done in an affordable way without high-end, expensive tools. All of the cleaning tips on this website have been tested in her home.