
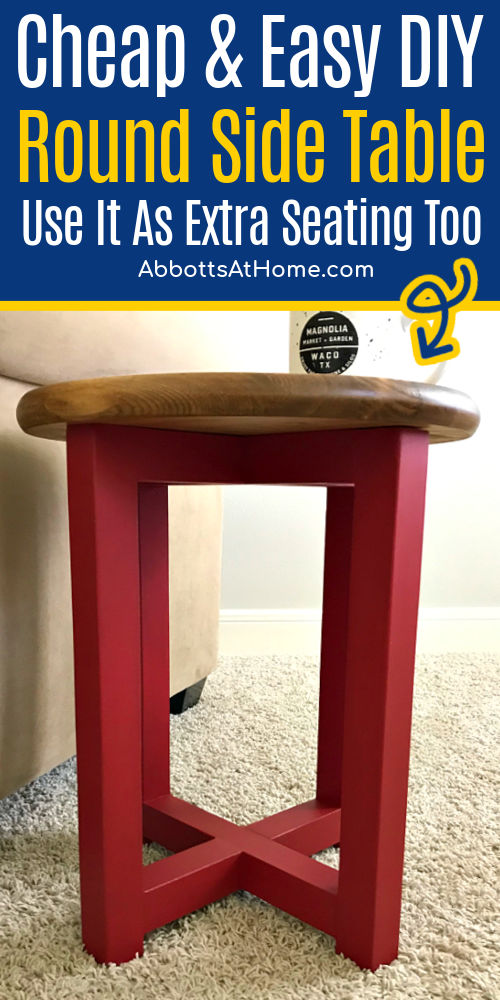
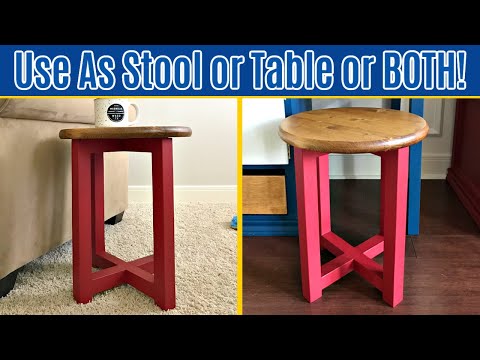
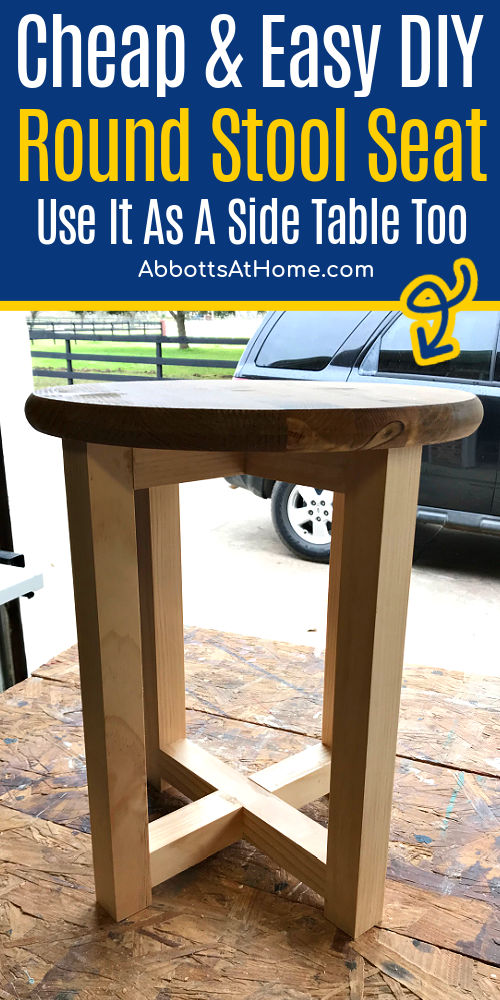
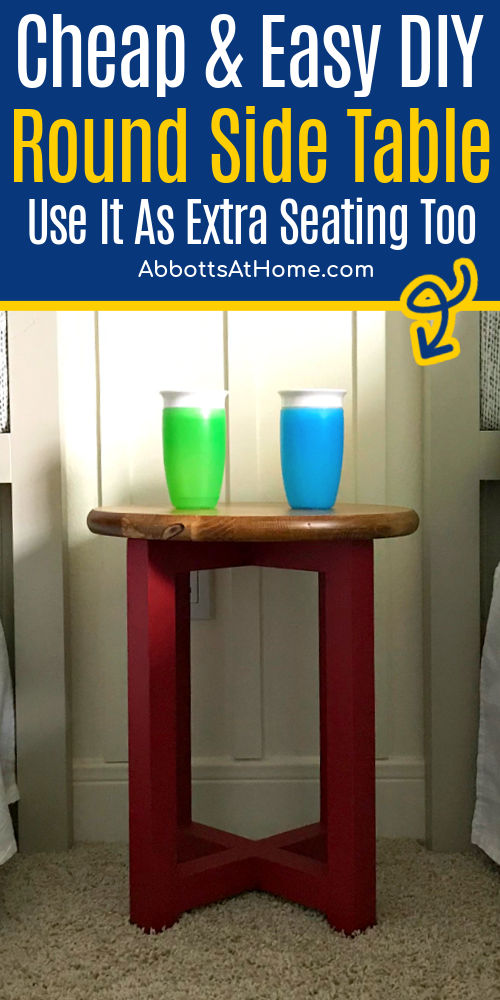
Cheap & Easy $20 DIY Round Side Table that works as DIY Stool Seating too. Great for dorms & apartments. Adjustable height for kids & adults.
Easy DIY Round Side Table & DIY Stool Seating, in 1
Today, I’ve got a quick, 1-hour build for you. And, you’ll only spend about $20 for the wood. Yaasss!
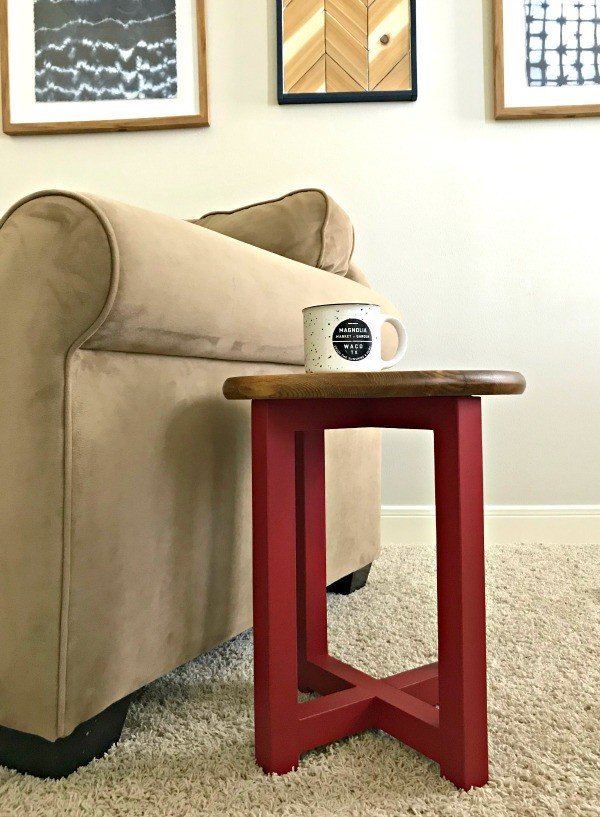
This sweet DIY Round Side Table that can also be used as a stool is such a great build project for the time and money. I love that this side table can be used as extra seating.
I wish I had a side table like this in college. It would have been so useful when I had friends visiting all the time. It’s a great little build, if you have a small space or small budget.
And, if you’re looking for a DIY side table with a bit more style, check out my DIY Round Top Pedestal Table. OK, let’s get to those build steps.
DIY Round Side Table Build Overview
If any of the steps below are confusing, watch this short video. Sometimes seeing something done can help me figure things out.
How To Build A Simple Round Side Table
BUILD NOTE
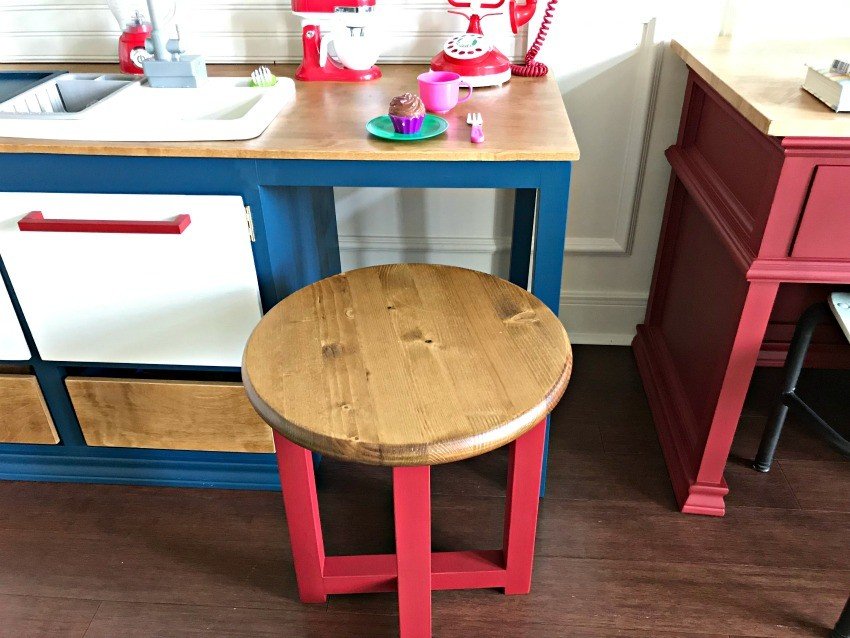
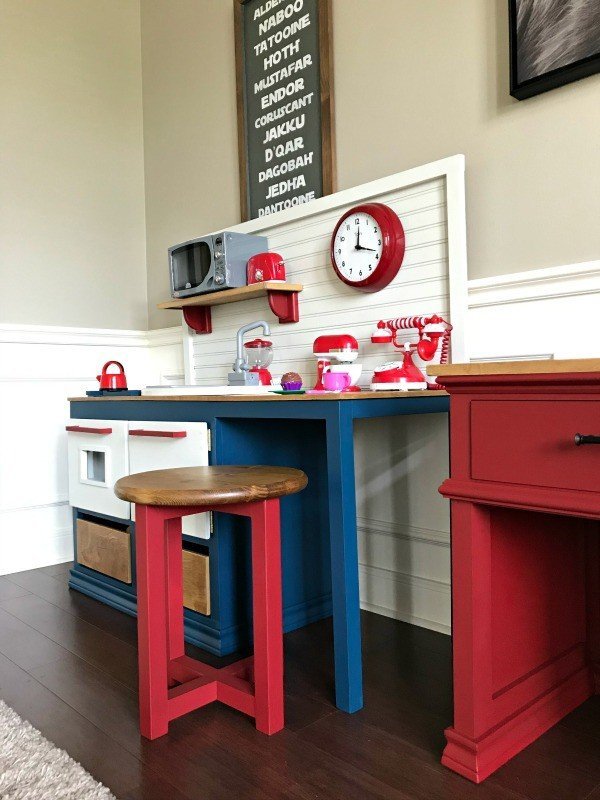
Depending on where you’ll be using this build, you might want to change the size of the legs. For little kids tables or desks, you might need to remove 2 or 3 inches. You could even go as much as 9″ shorter, to build a step stool or young toddlers seat.
For a side table or end table, tables that are about level with the arm of the chair or sofa are the most comfortable to use. Generally, that’s about 18 to 20″. About 20 is the max I would go if you want it to be a comfortable seating height.
Cut List
- 4 – 17″ long 2″ x 2″ Select Pine Boards, for the Legs
- 2 – 10 1/2″ long 2″ x 2″ Select Pine Boards, for the Cross Braces
- 4 – 4 1/2″ long 2″ x 2″ Select Pine Boards, for the Cross Braces
- 1 – 15″ Pine Wood Round, available at Home Depot and Lowes
Tools Needed
- Kreg Jig, Screws and Drill
- Wood Glue
- Brad Nailer and Nails
- Miter Saw
- Sander and Sandpaper
DIY Stool or Table Build Steps
Step One
Cut your 2″ x 2″ boards to size.
Step Two
Put 1 pocket hole on each end of the 2 – 10 1/2 long 2″ x 2″ boards and each end of the 4 – 4 1/2″ long boards. Should be 12 holes total.
Step Three
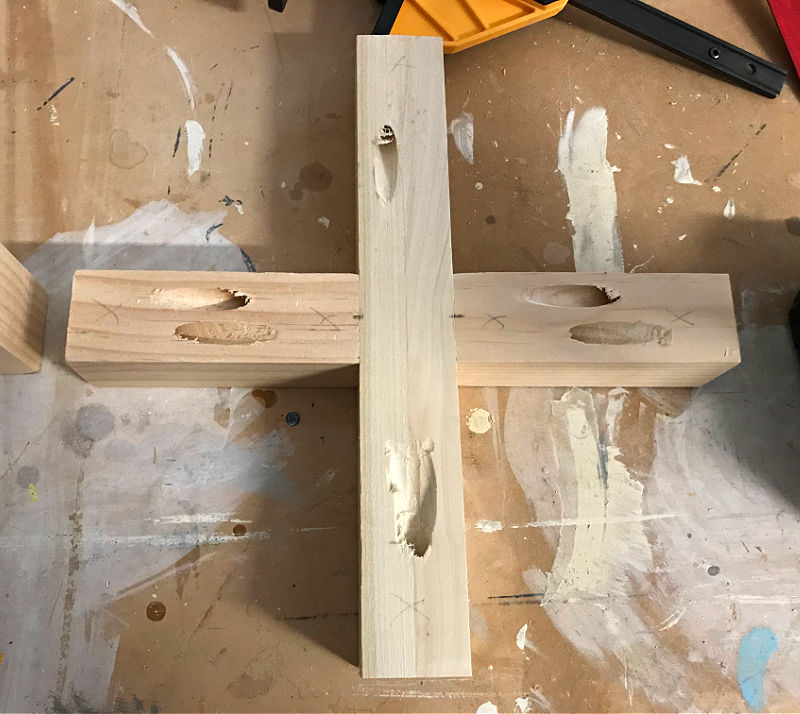
Use glue and screws to connect each 10 1/2″ board with 2 of the 4 1/2″ boards to make 2 X’s. I like to mark the exact center of the boards to make sure I have them lined up perfectly during assembly.

Step Four
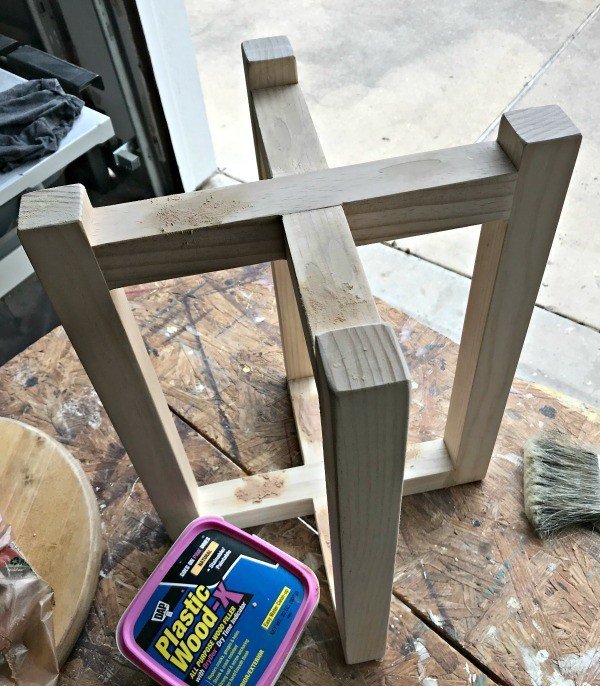
Once the X’s are assembled, glue and screw one of the X’s to the table legs. The first X needs to line up with the ends of the legs to create a flat surface to attach the round top to.
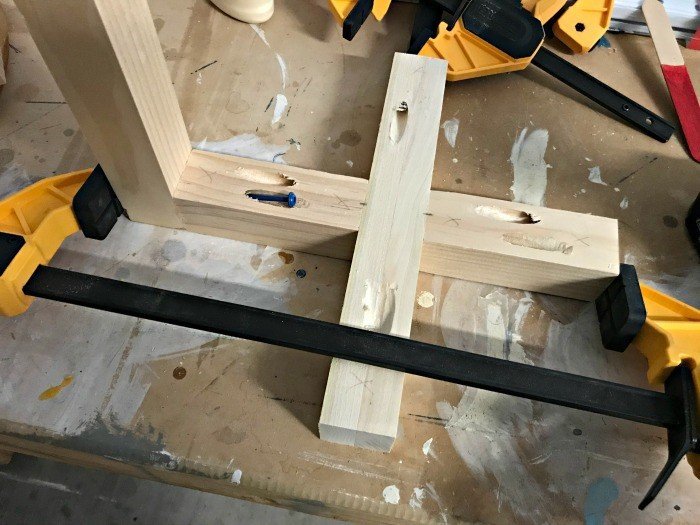
In the picture above, I made the mistake of doing this with the pocket holes inside the legs. BUT, if I had flipped the X over, the pocket holes could have been hidden under the round top.
Building it with the screws inside the legs also made the last 2 legs harder to attach because the drill didn’t quite fit. I recommend flipping the X so that the pocket screws will be on the top of the table.
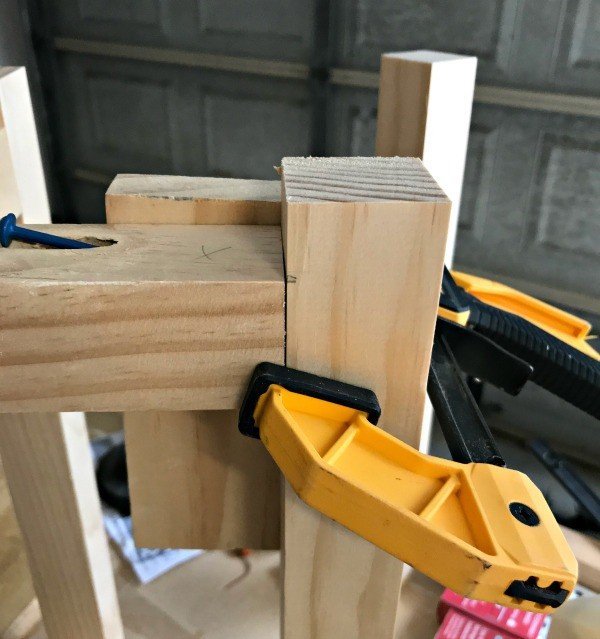
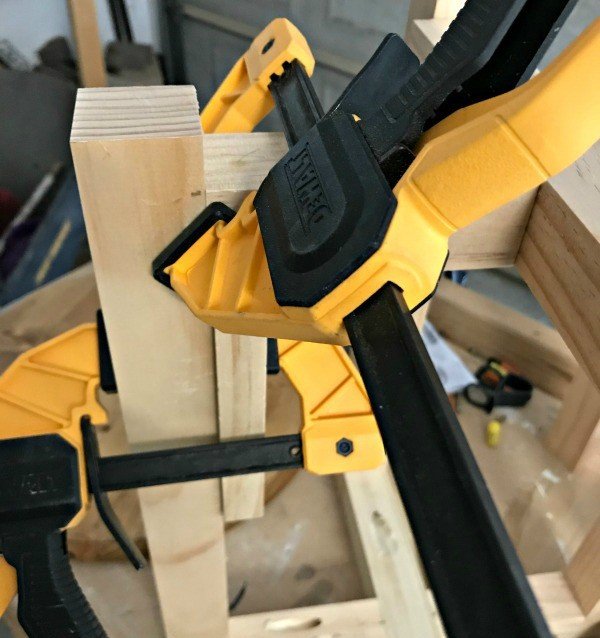
Step Five
Attach the next X 3/4″ up from the bottom of the table legs. Have the screws facing the bottom of the table frame, to make it easy to drill in the screws.
That’s it. Now you’re ready to apply the finish before attaching the top to your DIY Round Side Table.
Easy DIY Round Side Table – Finishing Steps
Step One
Now you can fill the pocket holes with wood filler. Once that dries, sand everything smooth. I sand to 120 or 150 when painting. Or, 220 when staining. I also sand down all the hard corners on 2×2’s. I think its a prettier look.
Step Two
Once, sanded, dust the table base off with a tack cloth or slightly damp rag. Apply your finish. I used a custom mixed red, using Magnolia Homes by Kilz in Eggshell. It is similar to a chalk paint and works well without a primer. You might need a primer, depending on what you use.
The red I used was color matched to the the DecoArt Chalk Paint color Rouge. You can just use that paint. It is a great, low cost chalk paint for furniture.
Step Three
Now, sand the wood round to 220-grit. That means you start with a medium grit first, then use the fine grit (220). This would be different for different types of wood. But, this works fine on Pine with a pretty smooth finish already.

Step Four
Clean off all the dust on the wood round. Then stain. I used Danish Oil in Medium Walnut. I love Danish oil because it is easy to apply and clean up. You can literally pour some on, then spread around with a rag. It also soaks into the wood nicely.
After 2 coats of Danish Oil, I applied 2 coats of Varathane Matte Polyurethane. Danish Oil doesn’t require a top coat. But I wanted to add a slight sheen and protect the finish a bit more, since my kiddos will be using this. And they’re rough. 😉
Attaching The Top
Once the base and top are dry, you can attach the top. You have two options for attaching the top to the frame.
You can either pre-drill screw holes under the table bases to the top. Be sure to use a countersink drill bit to hide the screw heads. Then screw into the top.
OR, you can apply glue to the entire top of the base, center the wood round on that X. Then brad nail at each end of the X to hold the top tightly in place while the glue dries.
I nail at a slight angle to prevent pull back on those nails. Fill the nail holes with matching putty. IF YOU ARE GLUING the top on, leave the top of the base unfinished so that the glue can get a better hold
That’s it! You’re done. Enjoy you’re new DIY Easy Stool Seating or DIY Round Side Table. 🙂
More DIY Projects For You
- Beautiful DIY Geometric Wood Table Top Design: Steps and Video
- 50 Great DIY Woodworking Gift Ideas – Make Cheap DIY Wood Gifts
- 40 Best Coffee Tables On Amazon: Top Rated And Affordable Options
This DIY Table Over Washer and Dryer is always a popular build.

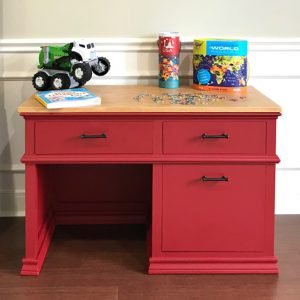
If you need a great little desk for your elementary age kids. Check out this DIY Childrens Desk with Storage Drawers.
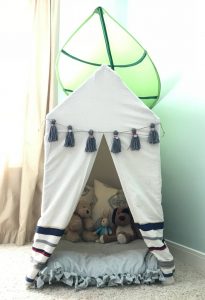
Or, this easy DIY Kids Play Tent from PVC Pipes.
Feeling inspired? Now you’re ready to build your own Simple DIY Round Side Table or DIY Easy Stool Seating get to it! And, good luck with your build.

Stephanie Abbott has been remodeling homes, updating & building furniture, and working on DIY home maintenance and cleaning tips for over 20 years. Her remodeling has been featured in Better Homes and Gardens Magazine. And, her DIY YouTube channel has had more than 8 million views.
Most of the DIY tutorials and videos on this site focus on beginner to intermediate level DIY Projects that can be done in an affordable way without high-end, expensive tools. All of the cleaning tips on this website have been tested in her home.