
Build an EASY DIY Activity Wall Board for your toddlers, little kids, or teens. And, I have 20 fun board ideas to customize it to your kids!
DIY Activity Wall Board
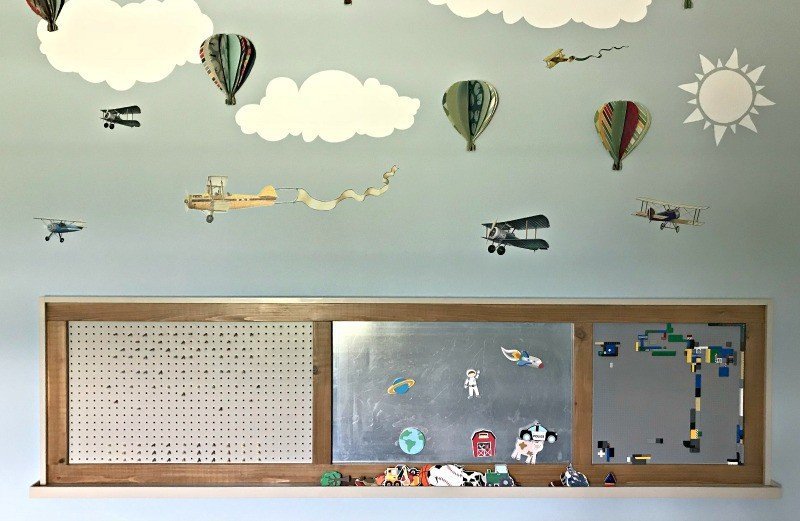
I recently shared the big reveal for my little boys bedroom makeover. I absolutely love their room now. And, this DIY wall activity board is one of my favorite projects in the room!
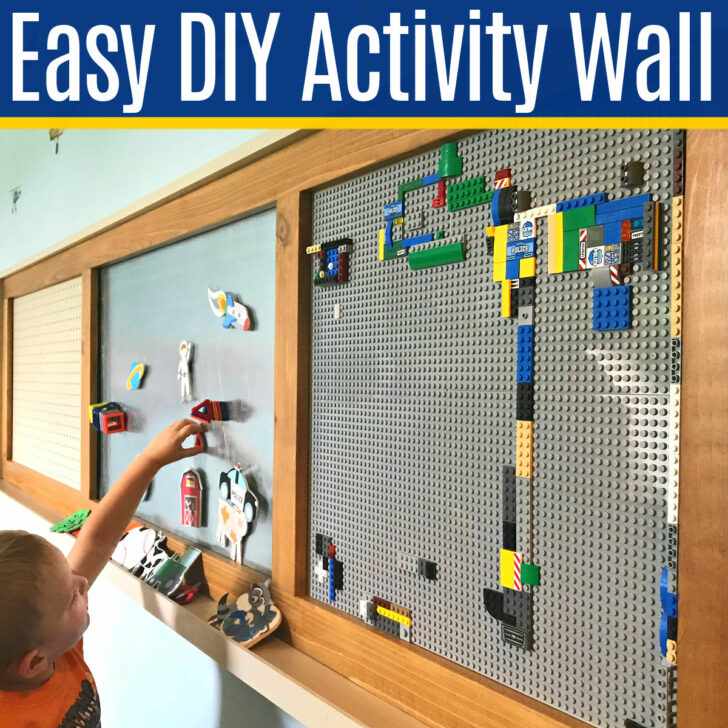
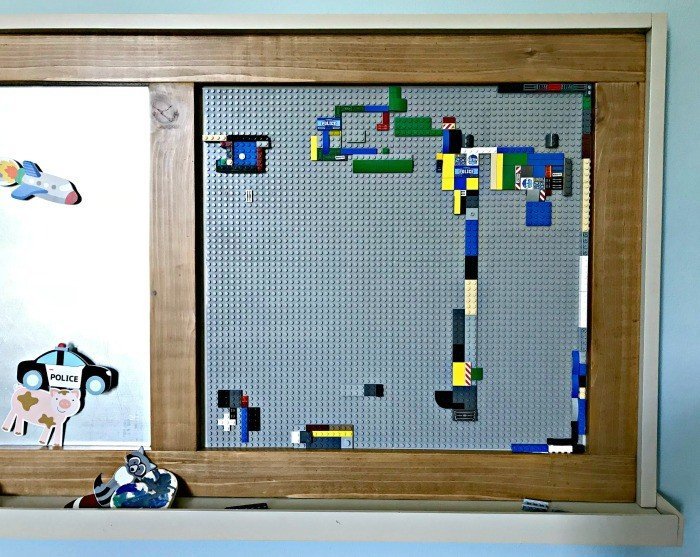
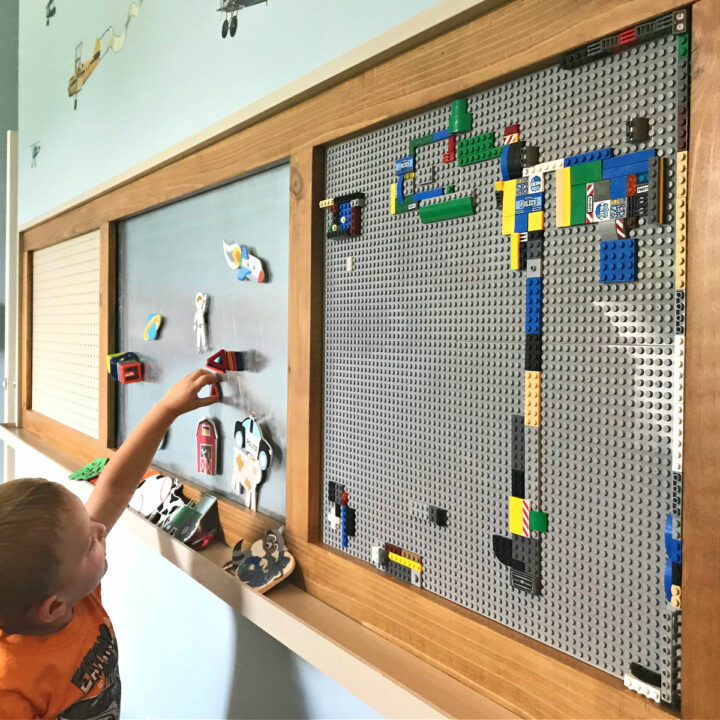
I went for an extra long DIY activity wall with 3 different sections to keep my boys busy. In fact, mine is about 8′ long. But don’t worry, you can adjust the build size to fit your space and design.
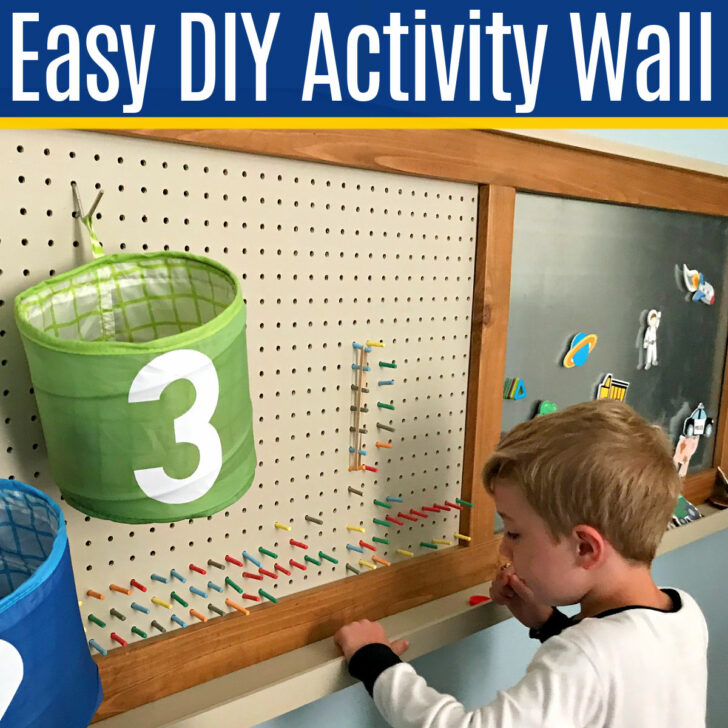
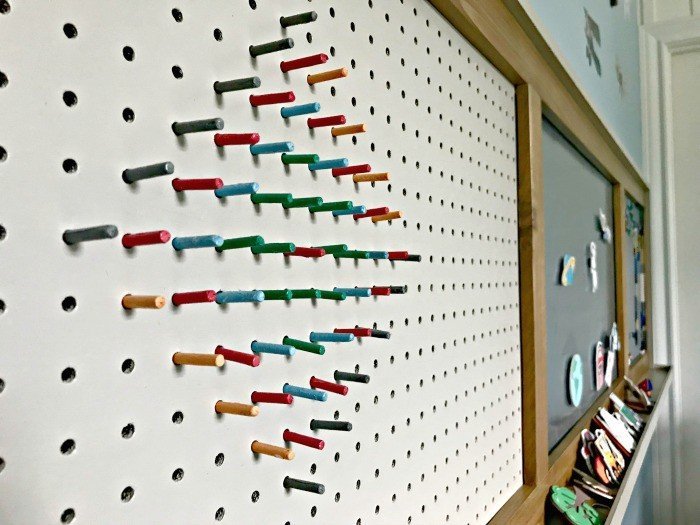
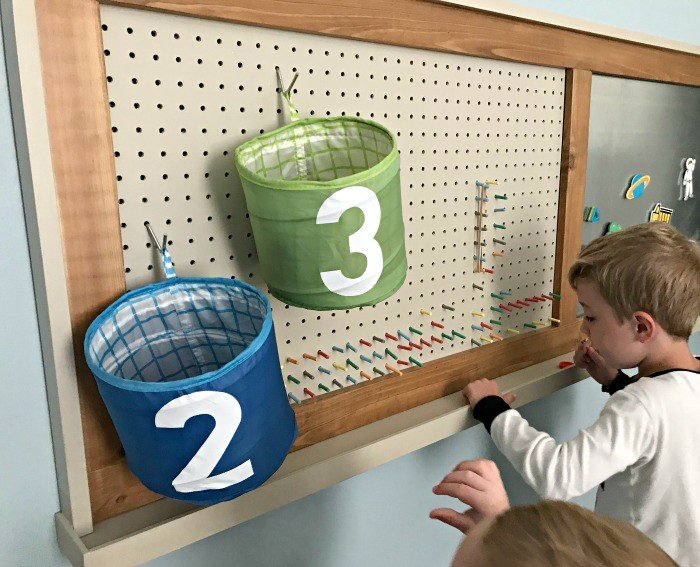
You can also mix and match your own activity board sections to make it fun for your kids. My guys are little, so a Lego Board, Magnet Board, and Peg Board work great for them now.
When they’re a bit older I can change things up, give them a Basketball Hoop next to a Velcro Ball Target. Or I can add some marble run pieces to their magnet board.
In fact, you can make this activity wall for toddlers, little kids, big kids, and teens. And, easily change out the sections as they grow and their interest change.
You can even turn this into a family notice board and scheduler. Before we get to the build steps, let’s go over some possible DIY activity wall ideas.
20 Activity Wall Ideas For Toddlers, Kids, Teens & Adults
Here’s the 20 activity board ideas that I came up with. BUT, I’m sure you can think of some that I missed that would be awesome for any age groups.
Don’t forget, you can hang this wall activity board in any room you’d need it; bedrooms, a Kitchen, Home Office, Mudroom, or Family Room too.
- Lego Board
- Magnet Board
- Peg Board
- Cork Board
- Chalkboard
- Dry Erase Board
- Photo Board
- Marble Run
- Sticker Collection
- Light Board
- Velcro Ball Target
- Mini Basketball Hoop
- Nerf Target Board – Similar to my DIY Nerf Gun Target – Homemade Kids Game
- Collage Board
- Calendar or Planning Board
- Craft Supply Storage Board
- Felt People Story Board
- Brag Board
- Chore Board
- Nightly Meal Plan
I hope that gives you some good options. Now, let’s get this build started!
How to Build a DIY Activity Board
Materials Needed
- Wood Glue (I used this glue)
- Brad Nailer with 1 1/4″ Brad Nails
- Kreg Jig and screws
- Miter Saw and Circular Saw
- Wood Filler
- Paint, I used Behr’s Castle Path Latex
- Stain, I used Minwax’s Golden Oak
- A Good Water-Based Polyurethane
- 1×2″ & 1×4″ Select Pine or Poplar
- 1×3″ Cedar Boards
- Lattice Boards – Unfinished if Staining, Primed if Painting
Build Notes
Certain types of activity boards will have a DEFAULT SIZE, so it’s best to plan ahead. For example, the Lego Base Plates come in a standard size. You might want to plan the frame to fit around a certain number of base plates.
Also, you can buy pre-made chalkboard, peg board, plywood, and dry erase board in 2′ x 4′ segments at stores like Home Depot and Lowes. SO PLAN AHEAD for the best layout and sizes on your sections.
Build Steps
Step 1
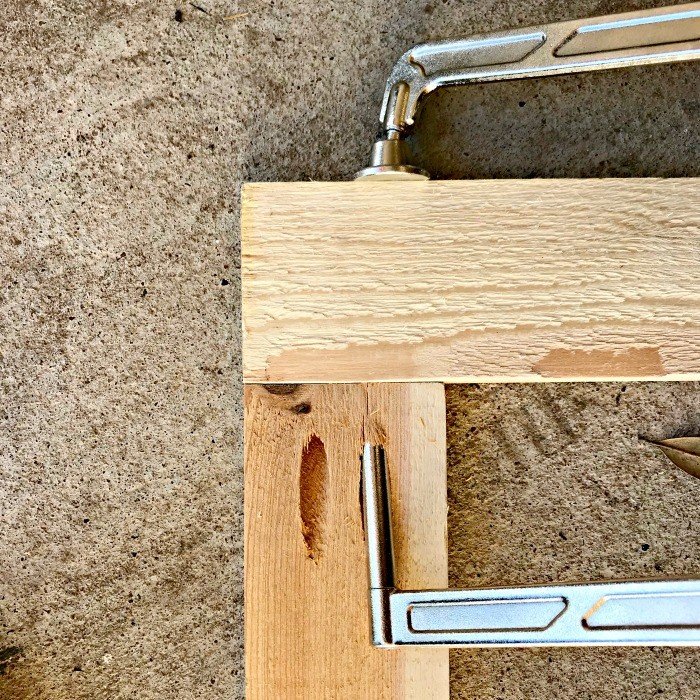
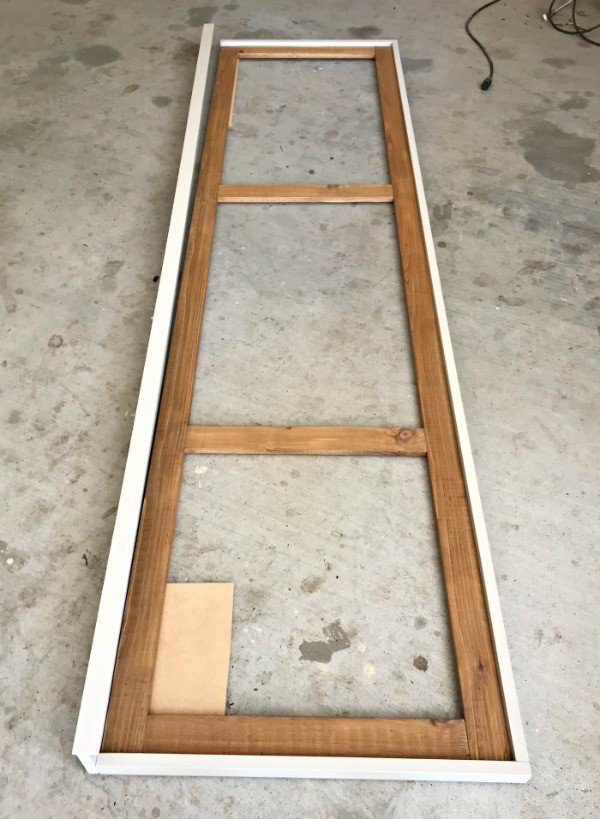
Start by building the inner frame of the Activity Board. Cut your 1×3’s on a Miter Saw. I used 2 – 8′ long Cedar boards and 4 – 19 1/2″ Cedar boards for mine. Then drill 2 pocket holes on each end of the 4 – 19 1/2″ boards with a Kreg Jig.
Step 2
Then sand the boards smooth with 150-grit sandpaper. It’s easier to sand something this big before assembling it.
Step 3
Glue and clamp your short boards in place before screwing them together. Assemble the whole inner frame.
Step 4
Wipe the boards clean and stain this frame. When using both stain and paint on a project, it’s easier to get a perfect look by staining and painting the pieces separately.
Step 5
Then cut, sand, and paint the outer 1×2 & 1×4 frame boards. Double-check for exact measurements on the outside of the frame you just built. I used 1 – 8′ long and 2 – 25″ long 1×2 boards. And 1 – 97 3/4″ long 1×4 for the bottom shelf.
Step 6
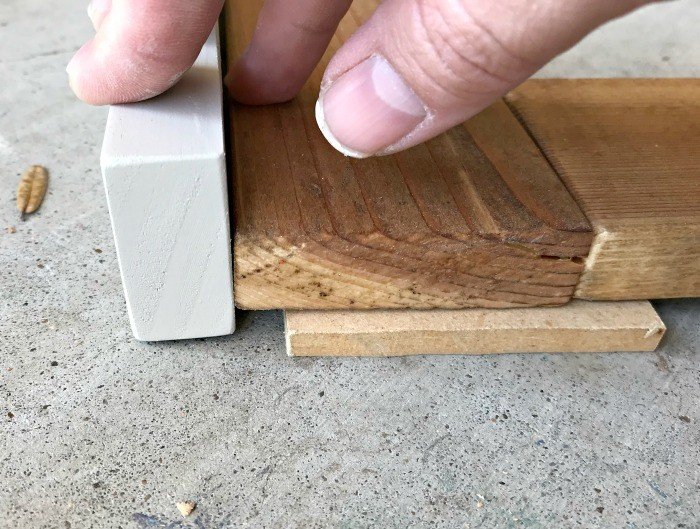
Once the stained and painted boards are dry, glue and nail the outside frame to the inner frame. I used 1/4″ thick plywood board as a spacer to create a gap behind the inner frame.
This gap creates enough space for you to attach the activity boards you picked.
BUT IF YOU PICK A THICKER activity board material, or if you want to use peg board storage organization attachments, you’ll need to adjust your gap to give enough room behind the inner frame.
Step 7
Cut, sand, and paint the Lattice Board that wraps around the bottom shelf. I used 2 – 3 3/4″ boards for the sides and 1 – 98 1/4″ piece for the front.
Again, double-check for exact measurements on the outside of the frame you just built. I’m a big fan of double-checking all of my measurements.

Step 8
Once the painted lattice boards are dry, glue and nail them around the 1×4 shelf.
Step 9
You can apply your polyurethane to the whole build now. I use a couple coats when it’s something my boys will play with. They like to bang things up a bit. 😉
Step 10
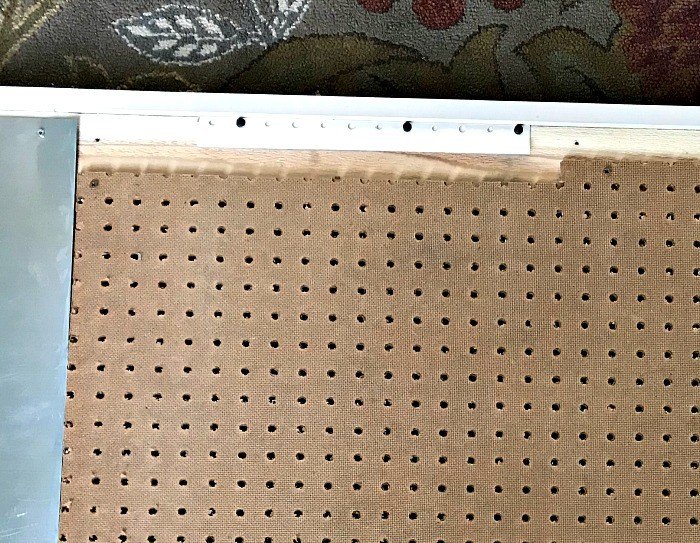
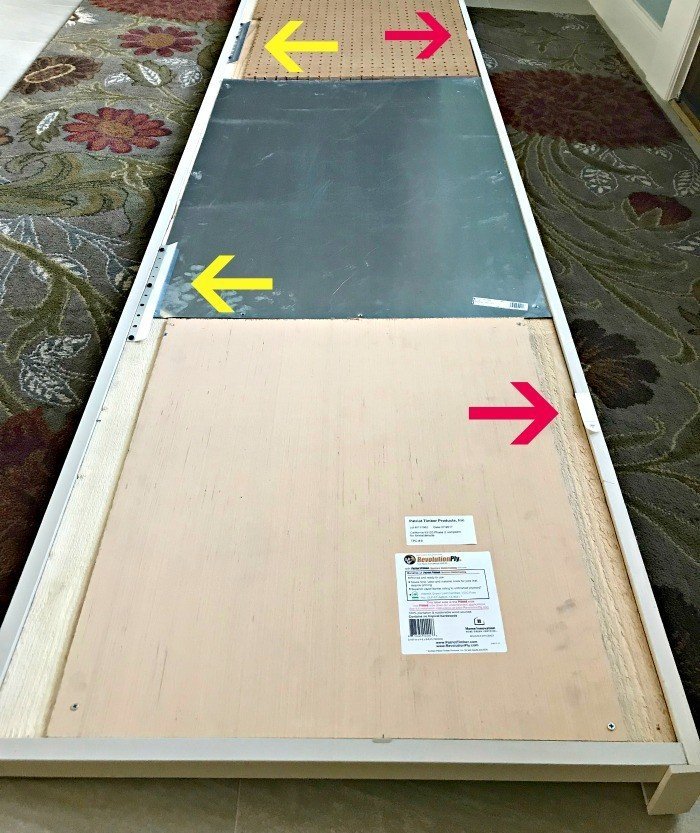
Finish and attach your activity boards to the back of the inner frame with screws, so they can be easily removed later.

Step 11
Hang the board with appropriate weight wall anchors or French cleats that can hold the weight of your DIY Activity Wall Board.
I actually went the extra cautious route and used 2 French cleats that could have held the wait with just one. But, I always go with caution when I build something for my kids. I didn’t want this heavy wood falling on my guys.
ALSO, I used 2 – 3M Velcro Command Strips on the bottom of the board to prevent the kids from lifting the bottom off the wall. Those command strips keep the board tightly secured to the wall. I actually use this trick a lot.
You can see it on the DIY Light Clip Display Board in their bedroom, the the 1-Day Bookshelf Build in the Office, and in my post about How to Replace or Fix Broken Valance Clips on Blinds .
Our Finished DIY Activity Wall For Toddlers
Now, let me show you some of the fun details on our DIY wall board for kids!
My little guy loves playing with the magnets. I made most of the wood magnets with pre-painted wood shapes from Hobby Lobby, superglue, and round Earth magnets.

More DIY Projects For You
Check out 16 Ways to Repurpose an Open Formal Living Room for some creative ways to use that space!
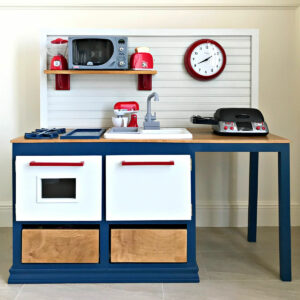
You might also love this beautiful DIY Kids Play Kitchen with lots of storage and interactive fun.
This DIY Table Over Washer and Dryer is always a popular build.

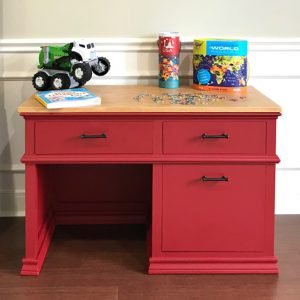
If you need a great little desk for your elementary age kids. Check out this DIY Childrens Desk with Storage Drawers.
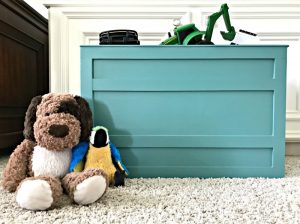
And, up your toy storage game with this DIY Wooden Toy Storage Crate or this DIY Toy Box Build Plan.
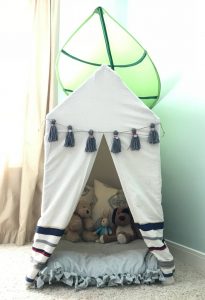
Or, this easy DIY Kids Play Tent from PVC Pipes.
Feeling inspired? Get out there and make your own DIY Activity Wall for toddlers, kids, teens, and adults. Have fun! Don’t forget to sign up for the Abbotts At Home email newsletter to get DIY, Remodeling, and Crafty ideas in your inbox.

Stephanie Abbott has been remodeling homes, updating & building furniture, and working on DIY home maintenance and cleaning tips for over 20 years. Her remodeling has been featured in Better Homes and Gardens Magazine. And, her DIY YouTube channel has had more than 8 million views.
Most of the DIY tutorials and videos on this site focus on beginner to intermediate level DIY Projects that can be done in an affordable way without high-end, expensive tools. All of the cleaning tips on this website have been tested in her home.