
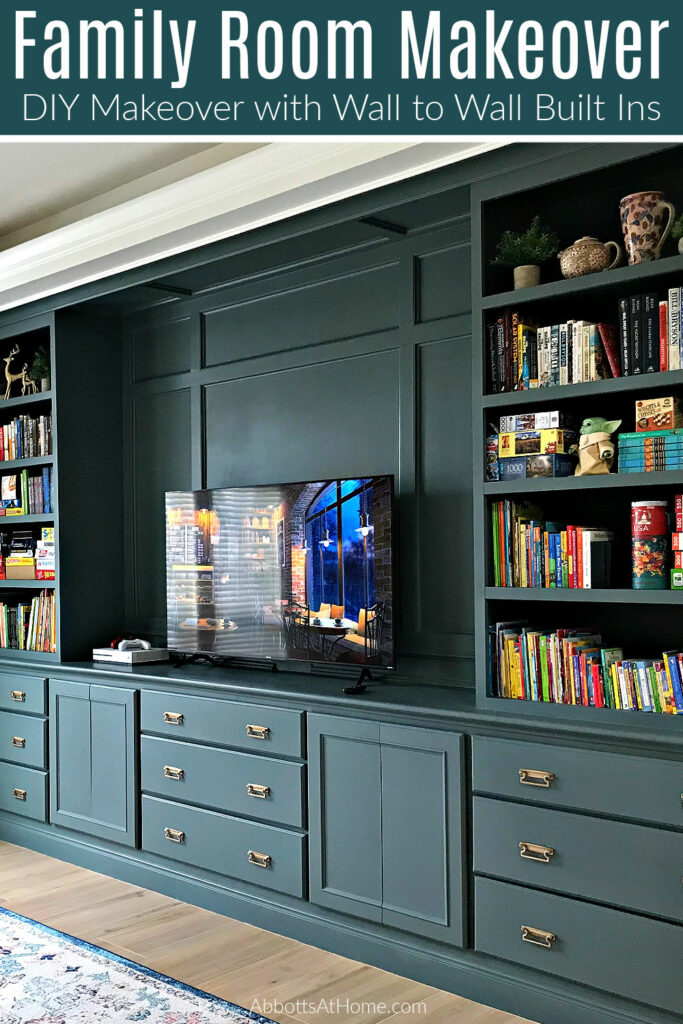
I am LOVING this beautiful Before and After Family Room Makeover! Check out the makeover pictures & cheap DIY projects from this remodel.
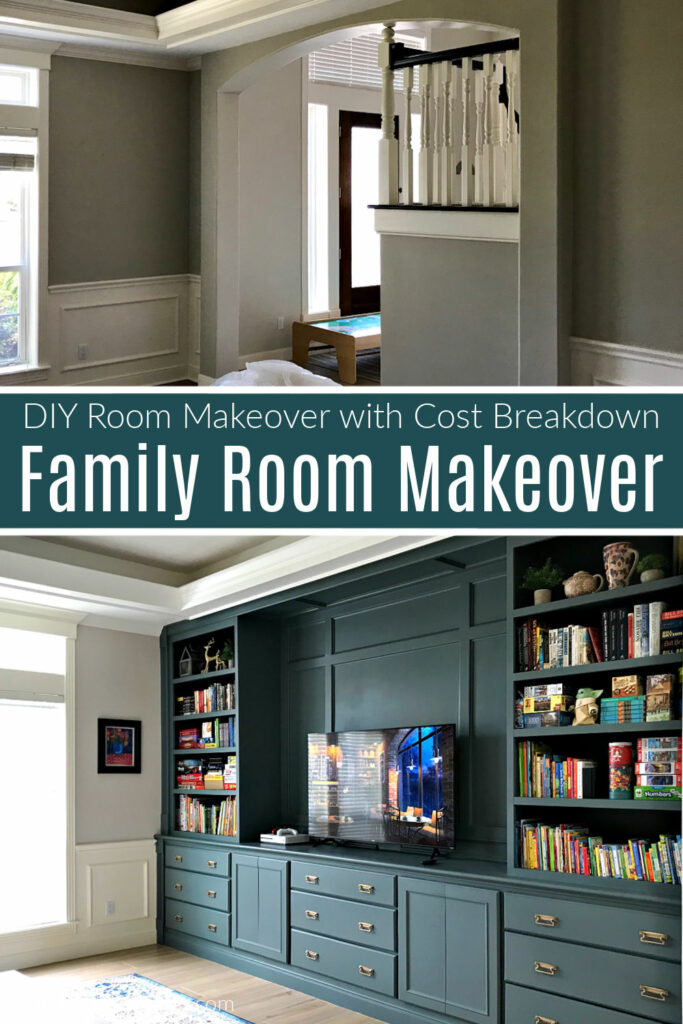
Before and After Family Room Makeover
I am so excited to share all of the cost and DIY details of this room makeover with you guys today.
And, I also have tons of amazing before and after pictures of this Family Room Remodel too!
I love before and after pictures from home improvement projects. They’re always my favorite part of any DIY projects I do around here.
But, these big makeovers always take a LOT of work. It’s been months since I started this Family Room Makeover. In the end it took me about 8 months to finish this DIY remodel.
Which is crazy because I finished my Before and After Master Bathroom Remodel in just 6 weeks. But, I guess I wanted that bathroom back as soon as possible.
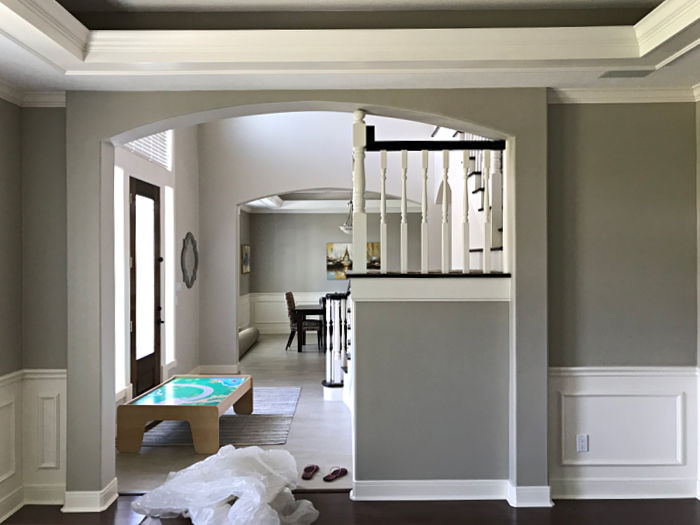
And, this DIY Family Room Transformation was a lot more work than I realized when I started work on removing the arched doorway.
But, to be fair, I was only working on this room part time. And, I took plenty of weeks off to work on other things.
So, I think I probably spent 200 hours total on all of the DIY projects in this Family Room remodel. If I worked on this room full time, non-stop I probably could have had this room finished in 6 weeks. too.
Now, let’s get to those amazing Before and After Family Room Makeover pictures!
How Can I Use an Open Formal Living Room
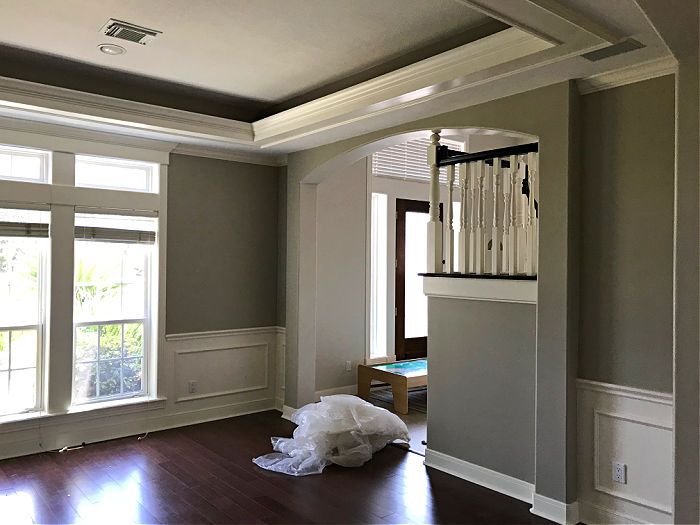
This room was originally designed to be a Formal Living Room. But, we weren’t interested in having a Formal Living Room. Especially one that was so open to the front door and the rest of the house.
So, we weren’t sure how to use this space when we moved in 9 years ago.
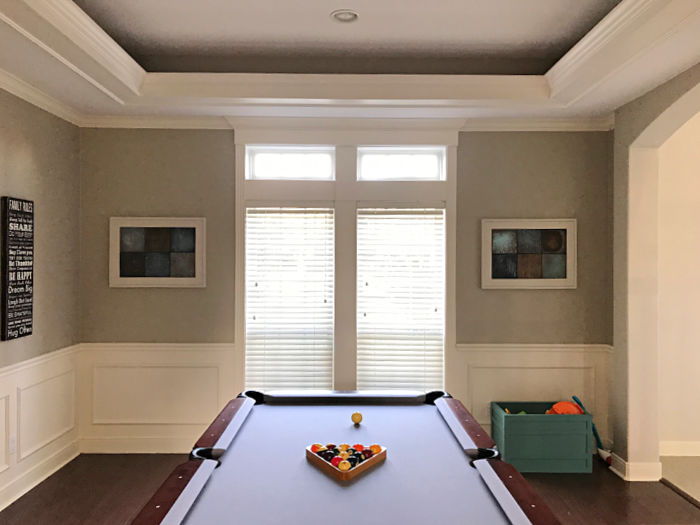
For the first 4 years we had a pool table in this room. I thought it would look nice from the front door. And, my husband thought he’d use it.
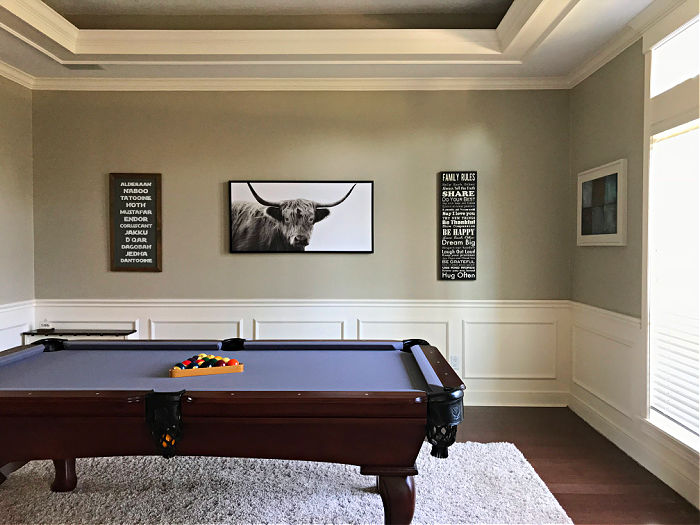
But, in reality, he only used that pool table once or twice a year. And, during that time, we had 2 little boys that really needed their own space.
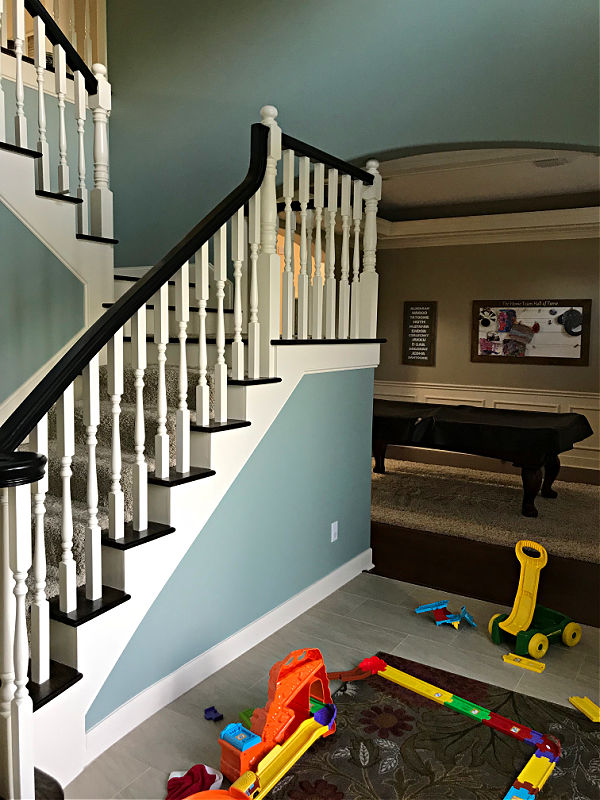
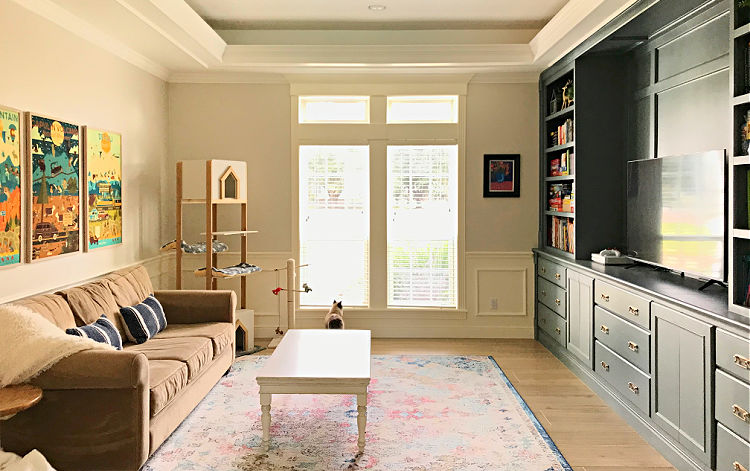
We decided to sell that Pool Table and turn that room into a Play Room. Which meant we constantly had toys laying all over the floor.
I was not a fan of that new view from our front door. And, I really hated how loud the noise was coming from that room. This home was a little too open concept.
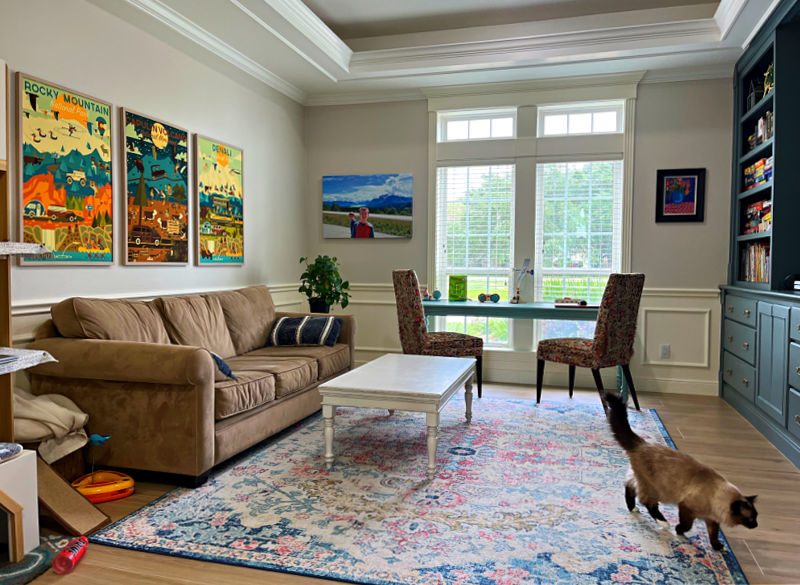
Check out how affordable that big 8×10 rug was in the 17 Best Area Rugs on a Budget for your Floor post.

Check out 16 Ways to Repurpose an Open Formal Living Room for more ways to use this room!
I Finally Figured Out How to Repurpose a Living Room
So, I finally convinced my husband it was time to close off that opening between the Play Room and the Foyer. I was ready to turn that space into a huge Family Room we could all enjoy.
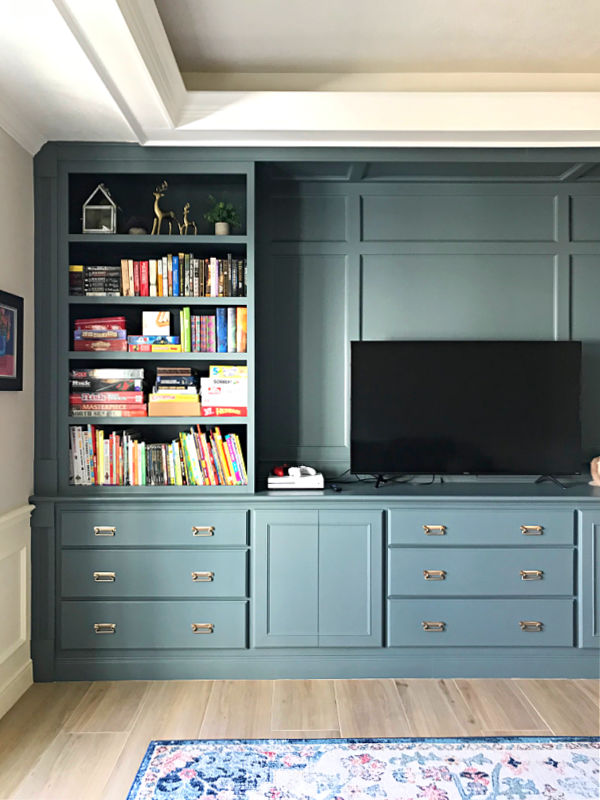
I decided to get rid of the arched doorway and install tons of toy and book storage all along that wall.
And, now that our boys are in elementary school, we also needed an entertainment center and gaming console for our family.
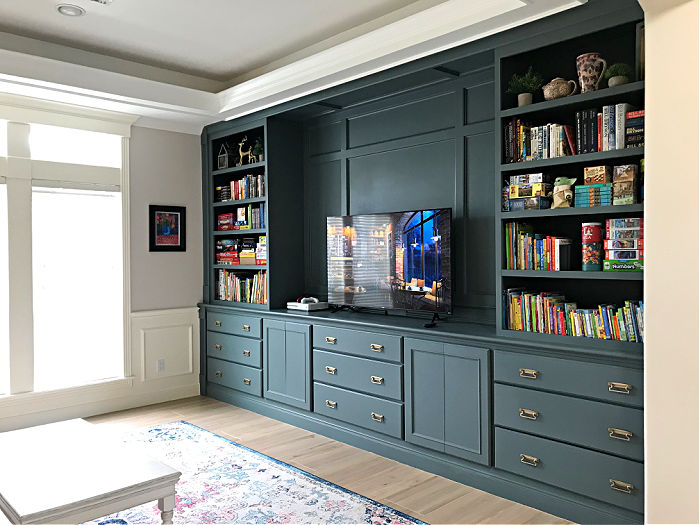
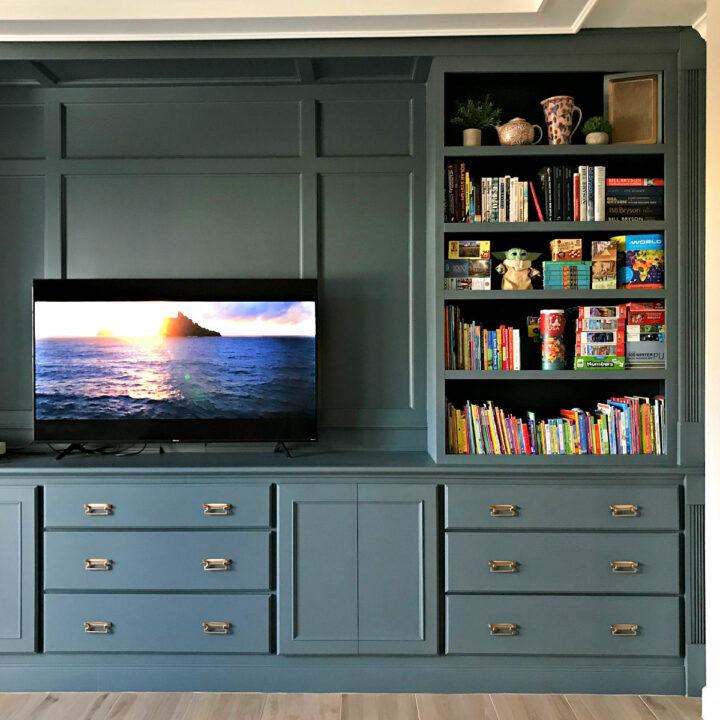
So I designed an oversized entertainment center with bookshelves, wide and deep drawers, and big cabinets to fit the space and our families needs.
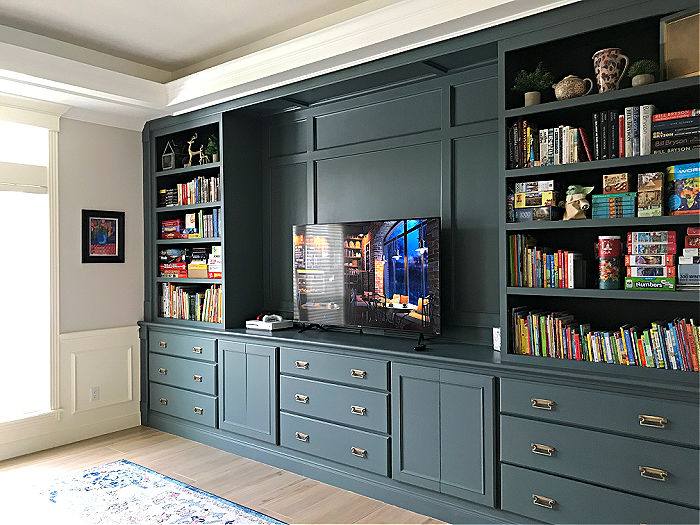
The space has been finished for a few months now. And, we are in there EVERY DAY now.
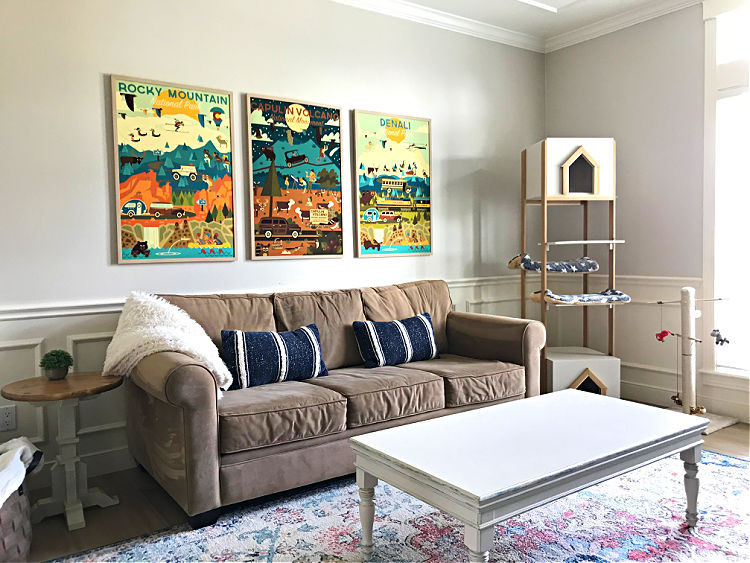
It’s a cozy, colorful room with lots of light. We all love hanging out in there. It’s a great Family Room that can work for decades as my boys get older too.
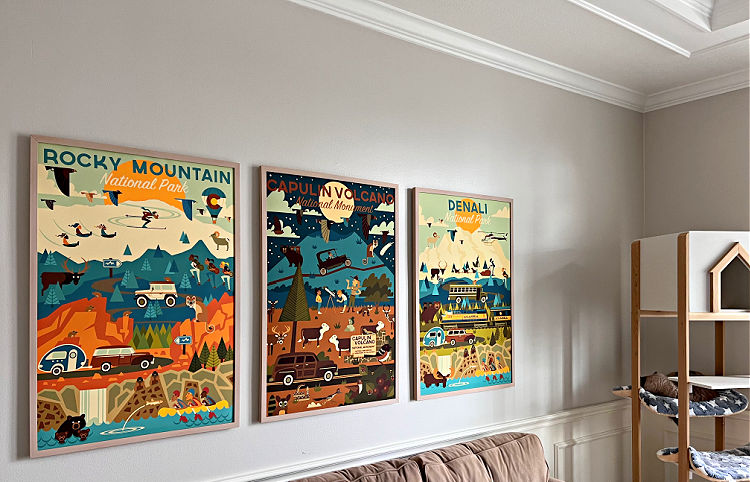
Read my 7 Helpful Tips for Decorating a Large Wall to see more of that vintage poster wall art above the couch.
Keep scrolling for a breakdown of what I spent on this Family Room Makeover.
Family Room Transformation Video
If you want a better look at this room, take a short video tour of the before and after Family Room Makeover.
You’ll also see some of the DIY highlights from the work I did in this room. Like when I did the demo on the arch and when I hung drywall between the rooms.
Budget Friendly DIY Family Room Makeover – Cost Breakdown
Since I did all of the work myself, I was able to remodel this whole Family Room on a pretty low budget. I spent about $1800 total.
Framing in the old archway with 2×4’s, drywalling, and the soundproofing I put in the wall costs about $150.
The biggest expense was all of the plywood, dimensional lumber, and molding on the built in entertainment center.
I spent between $800 and $900 on all of that wood, the paint, and the hardware for the drawers and cabinets.
The tile floor, thinset, and grout cost me about $600 total. You can find that beautiful faux wood tile at Floor & Decor.
And, I bought 3 gallons of paint for the ceiling, wainscoting, and walls. That cost about $120.
That great, large area rug was just about $120 too.
More Details about that Wall to Wall Built In Entertainment Center
I went very traditional with the design on the wall to wall built ins in the Family Room.
My home is already very traditional, with tons of wainscoting and molding everywhere. So, I wanted to stick with that look.
Cove molding and fluted details helped to give the built ins a very traditional feel.
I used soft close drawer slides and cabinet door hardware for a high end feel.
What do you think? I am LOVING this room. My family spends so much time in here now.
RECOMMEDED FOR YOU: Check out this Beautiful DIY Before & After Home Office Makeover with Green Built-Ins.
If you need some budget-friendly room makeover tips, check out the 14 Best Ways to Renovate A Living Room on a Budget!
That’s it for this Before and After Family Room Makeover on a Budget!
RECOMMENDED: 50 Best Traditional Game Room Ideas For An Amazing Space
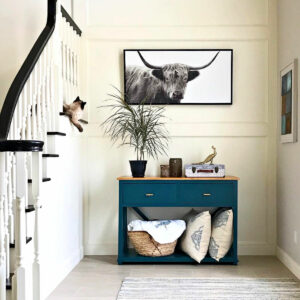
Check out how the other side of that wall looks now in the Before and After 2 Story Foyer Makeover post.
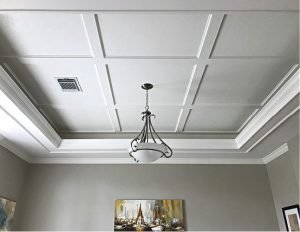
You might also like this Simple DIY Coffered Ceiling Design.
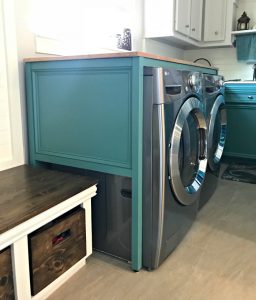
Looking for more DIY Furniture Ideas? Check out this DIY Over Washer and Dryer Laundry Table.
If you have a wing chair that needs a fresh look, check out Best Tips & Tutorials to Reupholster a Wingback Chair.

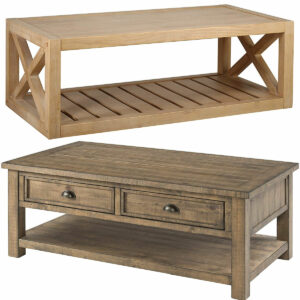
You might also like the Best Amazon Coffee Tables for any Living Room. It’s one of my popular Best of Lists full of recommendations for everything.
Feeling inspired? That’s it for this Before and After Family Room Makeover on a budget! Let me know if you have questions.
Don’t forget to sign up for the Abbotts At Home email newsletter to get DIY, Remodeling, and Crafty ideas in your inbox.

Stephanie Abbott has been remodeling homes, updating & building furniture, and working on DIY home maintenance and cleaning tips for over 20 years. Her remodeling has been featured in Better Homes and Gardens Magazine. And, her DIY YouTube channel has had more than 8 million views.
Most of the DIY tutorials and videos on this site focus on beginner to intermediate level DIY Projects that can be done in an affordable way without high-end, expensive tools. All of the cleaning tips on this website have been tested in her home.