
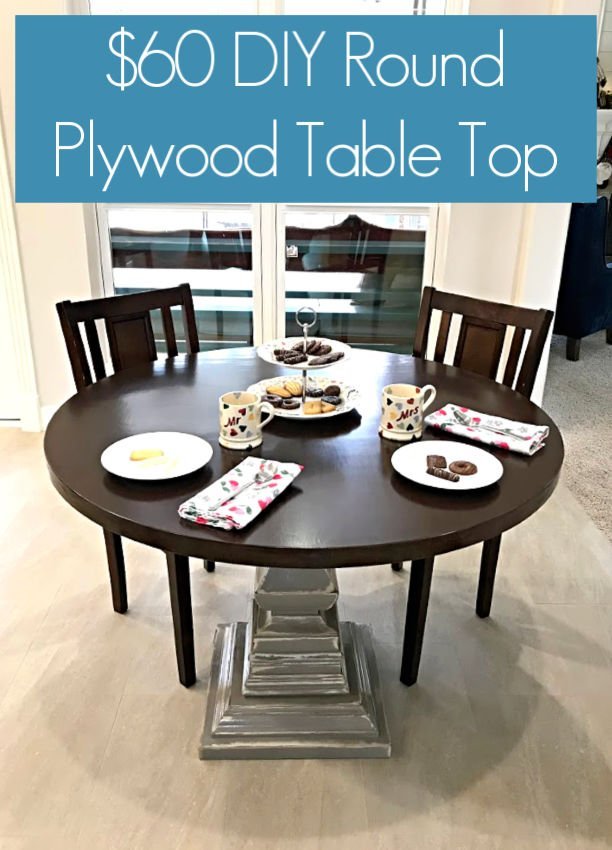
EASY to follow steps and video showing how to build this cheap DIY Round Table Top from Plywood Circles, in any size you need it!
DIY Round Table Top
When I designed my new Kitchen Table, I wanted something beautiful, durable, and budget-friendly. I made this DIY Round Table Top from one $55 sheet of Maple Plywood.
I think it looks beautiful, that hard Maple Plywood is definitely durable, AND using plywood saved me $100 to $200 over hardwood lumber.
That’s a huge win in my book!
Why I Used Plywood
Cabinet-Grade Plywood is a great option for building low cost and durable table tops or cabinet tops. Plywood is easy to work with and easy to find.
I always buy my Plywood at Lowe’s or Home Depot. I usually go for the Maple Plywood because it’s easy to finish and has a pretty grain.
The type of plywood available at your stores may vary depending on what part of the country (or world) you’re in.
My local stores have a Birch Plywood too. I usually think Birch requires more sanding and doesn’t absorb darker stain as well. But, go with what you love!

You can see how I built that DIY Kitchen Table Pedestal Base and the steps for the DIY White & Grey Distressed Paint look in previous posts. Those tutorials include full written steps and how-to videos to help you do those projects at home. 🙂
Now, let’s get to the steps for this DIY Round Table Top from Plywood tutorial.
Making A Round Table Top – Build Video
Seeing someone do something always helps me understand the DIY Project better. Watch this 5-minute video for a better look at each step. 🙂
Here’s What You’ll Need
- 4’x8′ Sheet of Cabinet-Grade Maple Plywood
- 2″ Wide Maple Edge Banding
- Bosch Palm Router
- Straight Cut Router Bit
- Circle Cutting Jig
- Cheap Iron (to apply edge banding)
- Circular Saw
- Power Sander with 120-grit paper
- 120-grit and 180-grit Sanding Block
- Sharp Box Knife and a Small Hand Plane
How to Make a Round Wood Table Top
Note: My Round Top is 41″ across and 1 1/2″ thick. So, my instructions are written for making a 41″ circle top. You can use these directions to make a different size circle table top, by adjusting the length. 🙂
Step One
Cut your 8′ Long Plywood Sheet into 2 – 43″ squares. I used my Circular Saw for this.
Step Two
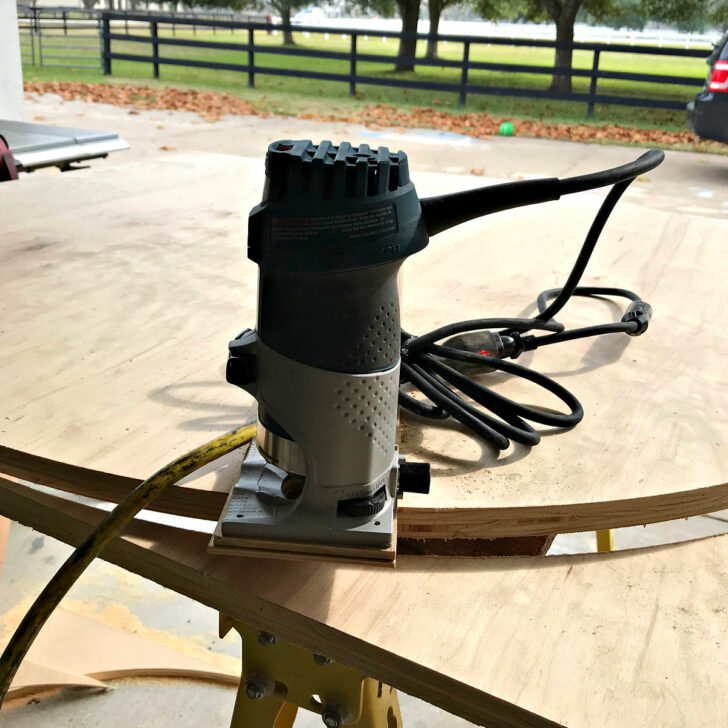
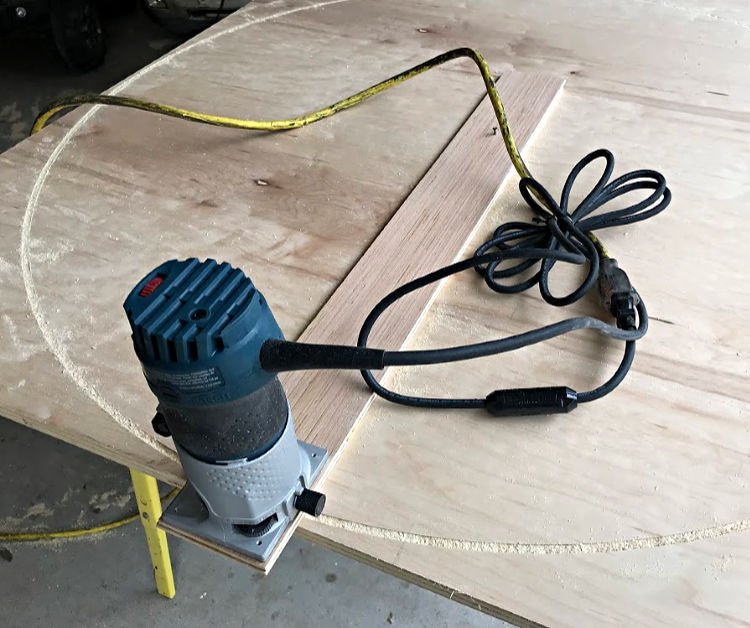
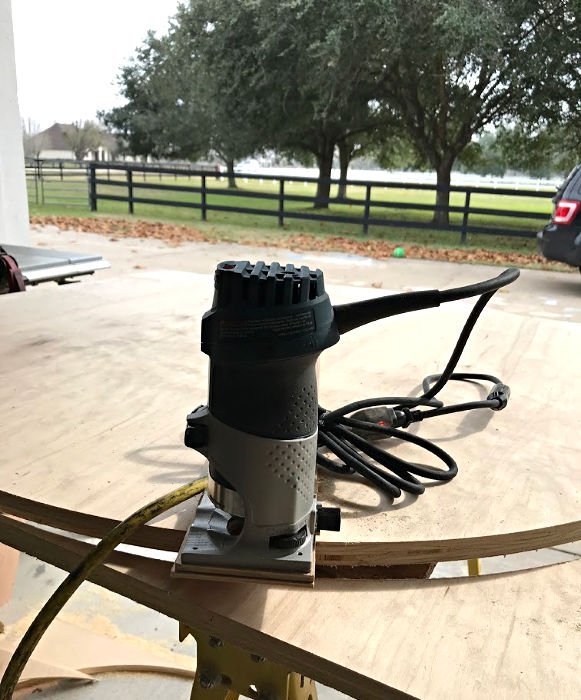
Attach a circle cutting jig to your router. Then cut 2 – 41″ circles with a straight router bit that can cut at least 3/4″ deep.
Be sure to attach that circle cutting jig to the bottom side of your plywood, to keep the top side perfect.
To cut a circle with a router, it’s best to first cut the circle at about 1/4″ depth, then 1/2″ depth, then 3/4″ depth.
Cutting the circle to make a Round Plywood Table Top should be done in increments like this to prevent overloading the motor of that router.
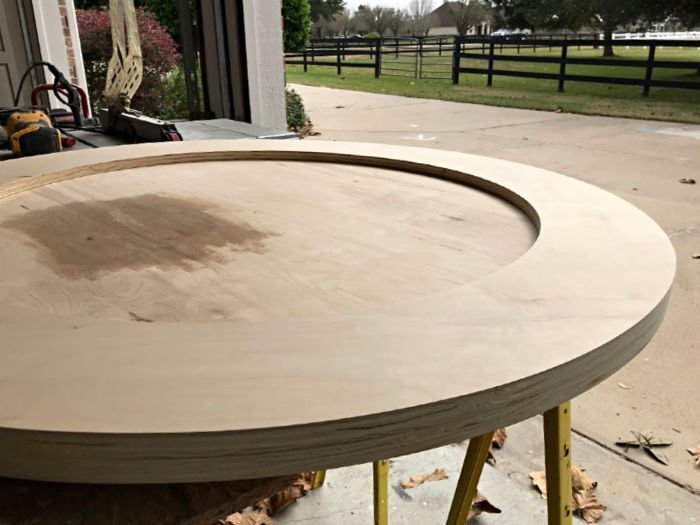
Step Three
To keep this table top a lighter-weight, I also cut a 29″ circle out of one of my 41″ circles. Again, use the 1/4″, 1/2″, and 3/4″ circle cutting increments I described in the last step.
Step Four
Now that you have 2 perfect 41″ circles, you can glue them together. Use lots of clamps and wood glue (shown in video) to get a tight bond between the 2 circles.
Make sure they are lined up perfectly all around the circle before clamping. Wipe away any excess wood glue with a slightly damp rag. Then let them dry overnight.
Step Five
Now, you can remove the clamps from those DIY Round Table Top Plywood Circles. Sand the outside edge of your circle with 120-grit sandpaper and a power sander, just enough to ensure the edge is perfectly even and ready for edge banding.
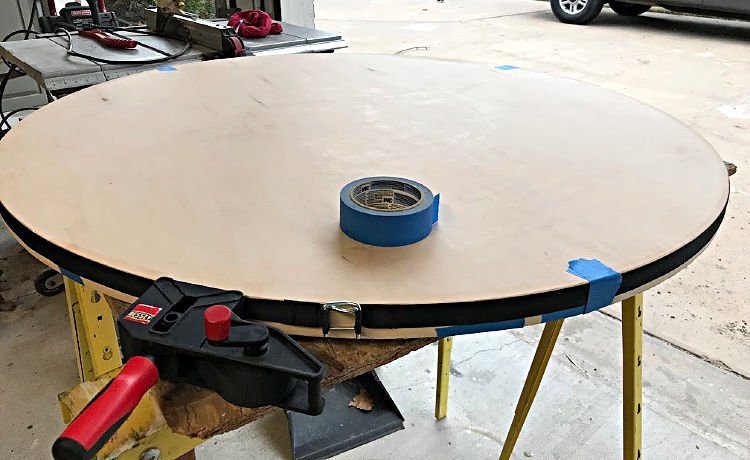
Step Six
Apply the 2″ wide edge banding per the instructions on the banding. For pre-glued edge banding, you typically use a hot iron on the cotton setting.
That heats up the glue on the inside of the band, making it stick to the edge of your table.
Then you use a hard flat piece of wood or a small hard roller to press the banding into place as you work. You can see me doing this in the video too.
In the video, I also described how this was the first time I had any trouble applying edge banding. I’m not sure if my trouble came from using a new brand of edge banding OR if it’s just harder to apply edge banding to a rounded edge.
I’m going to try using this edge banding on another round top and a straight edge top to see how it goes. If I decide that this brand of edge banding just doesn’t have very strong glue, I might just always use wood glue and my bessey strap clamp to apply this edge banding to tables.

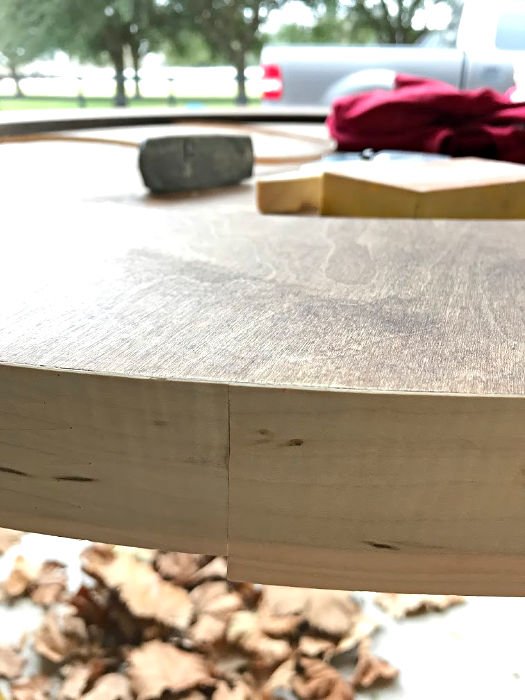
Step Seven
Once your edge banding has had a couple hours to cool off and set, you can trim away the excess banding with a Box Knife, Band-It, or small hand planer.
Be careful and take your time so that you don’t over cut the banding. You can see how I do this in the DIY Round Table Top How-To Video too. 🙂
Step Eight
When the banding is flush with the top and bottom of the plywood, it’s time to sand your plywood.
Maple Plywood is already nice and smooth, you’ll just want to sand lightly with 120-grit and 180-grit sanding blocks to remove any dirt and oils from your hand that might be on the surface.
Sand the entire surface, along the banding, and where the banding meets the plywood for a nice and smooth feel.
Step Nine
Apply your favorite stain and top coat. I used Black Walnut Danish Oil as the first layer of finish on this Round Plywood Table Top.
It’s one of my favorite wood stains because it almost always applies evenly and the oils in it harden in the wood, making it more durable. You can find the full steps to apply the finish I used in How To Stain A Table Top: Easy Dark Stain Finish
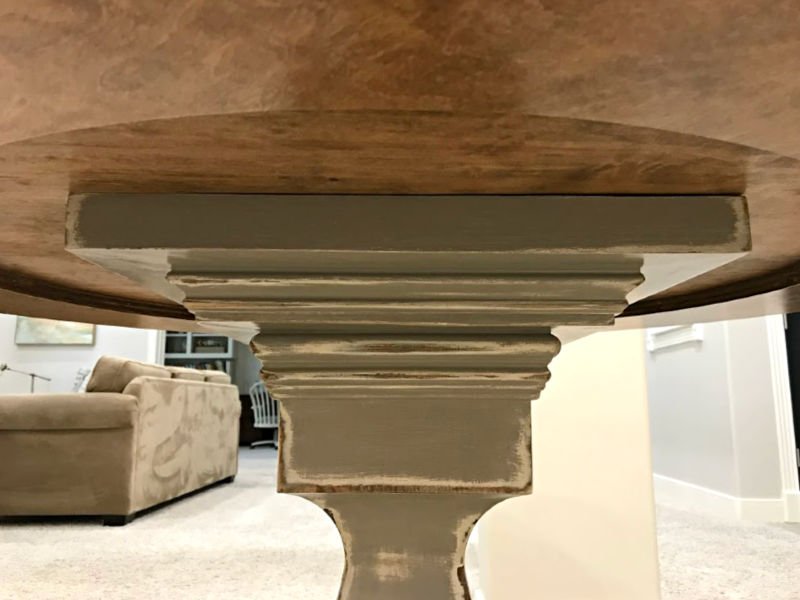
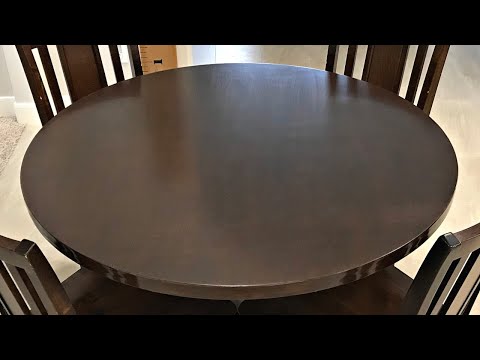
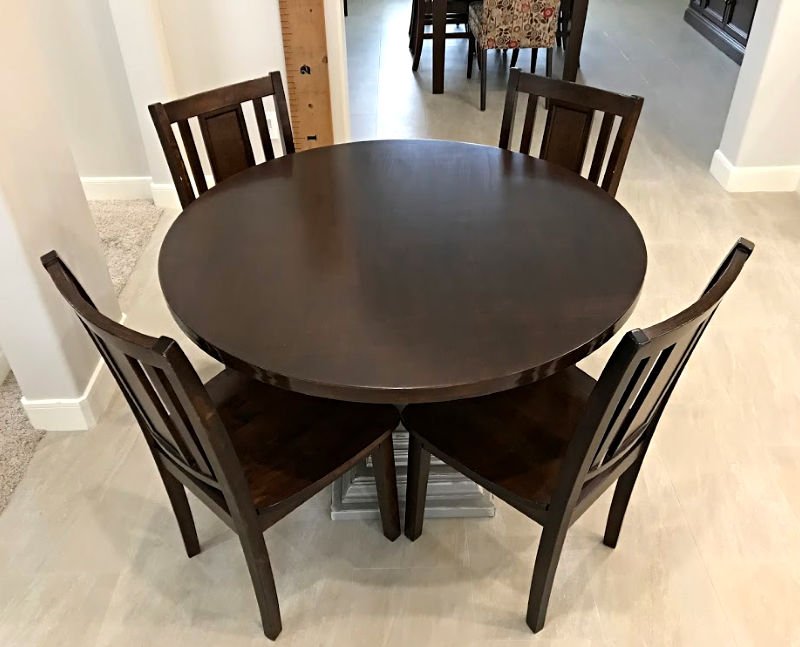
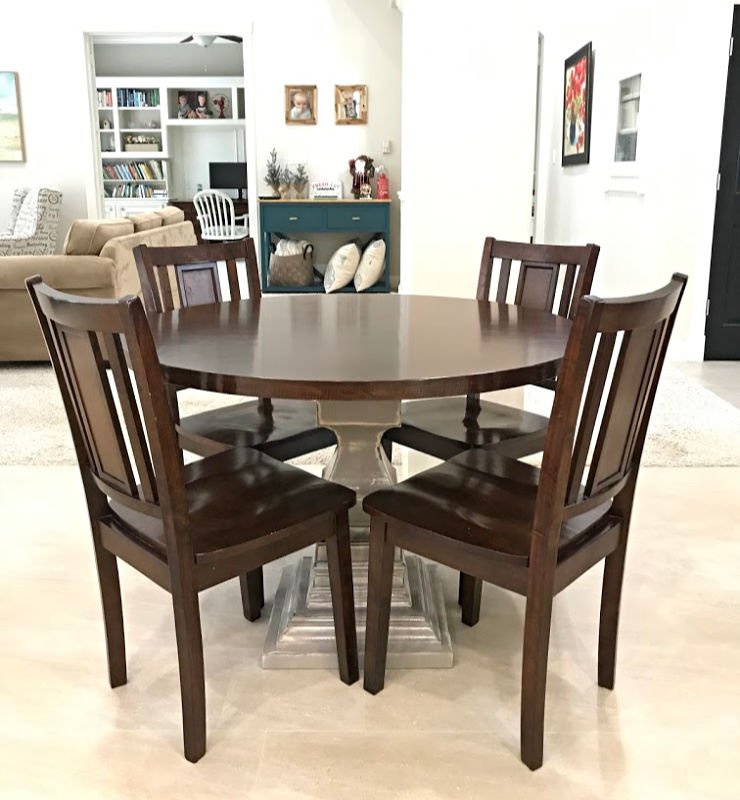
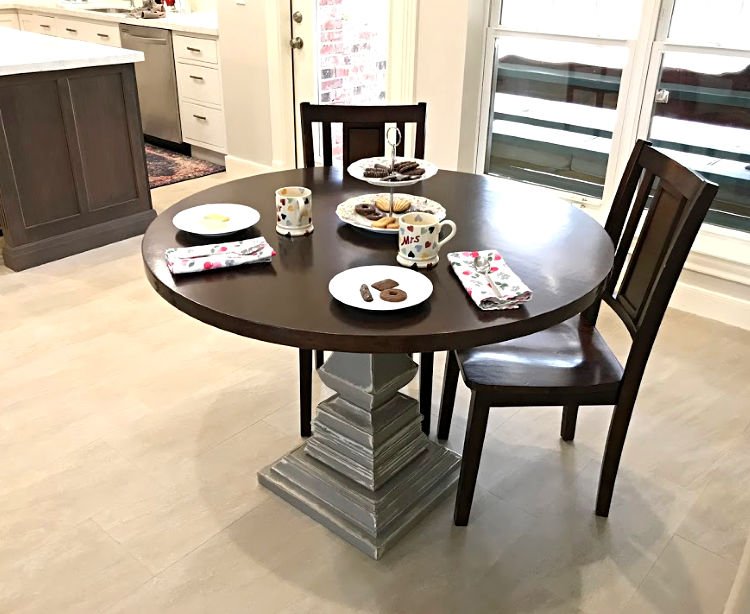
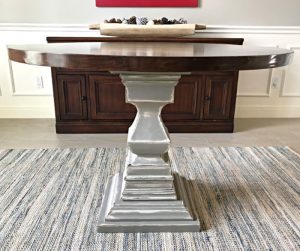
The Finished Table Top From Plywood Circles

Check out all 4 DIY Tutorials from this Wooden Kitchen Table!
- DIY Wooden Kitchen Table – Pedestal Base
- DIY White and Grey Distressed Furniture Paint Steps
- DIY Round Table Top from Plywood Circles (this post)
- DIY Store Bought Stain Finish Steps
Looking for more of my DIY Furniture videos? You can see them here, on my YouTube channel. 🙂
More DIY Projects For You
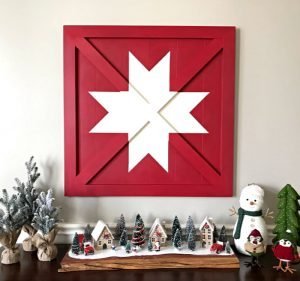
You might also like this $20 DIY Wooden Barn Quilt Project.
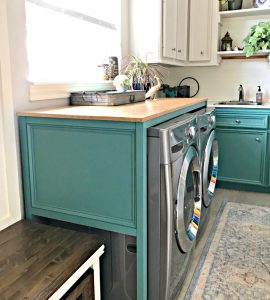
Or, this DIY Over Washer and Dryer Laundry Table Build.
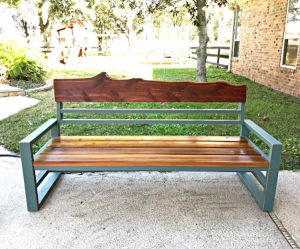
This DIY Outdoor Sofa from 2×4 and Cedar is beautiful!
This DIY Round Kitchen Table Pedestal with it’s DIY Round Plywood Table Top is a beautiful looking woodworking project.
Feeling inspired? Now that you’ve seen this DIY Round Table Top from Plywood tutorial, you can do it too. Let me know if you have questions.
Don’t forget to sign up for the Abbotts At Home email newsletter to get DIY, Remodeling, and Crafty ideas in your inbox.

Stephanie Abbott has been remodeling homes, updating & building furniture, and working on DIY home maintenance and cleaning tips for over 20 years. Her remodeling has been featured in Better Homes and Gardens Magazine. And, her DIY YouTube channel has had more than 8 million views.
Most of the DIY tutorials and videos on this site focus on beginner to intermediate level DIY Projects that can be done in an affordable way without high-end, expensive tools. All of the cleaning tips on this website have been tested in her home.