
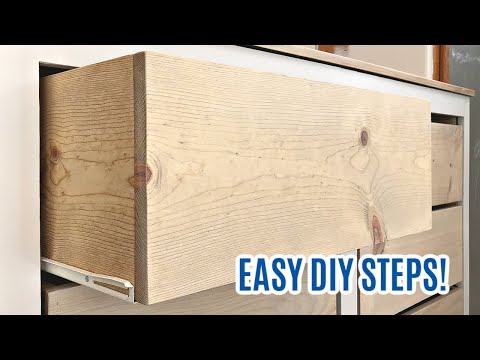
How to build Easy DIY Drawer Boxes with lumber. Simple rustic drawer design for storage and other woodworking projects.
Easy DIY Drawer Boxes
Most of the tutorials you find for building drawer boxes are for plywood boxes with a face or for high-end lumber with fancy joinery.
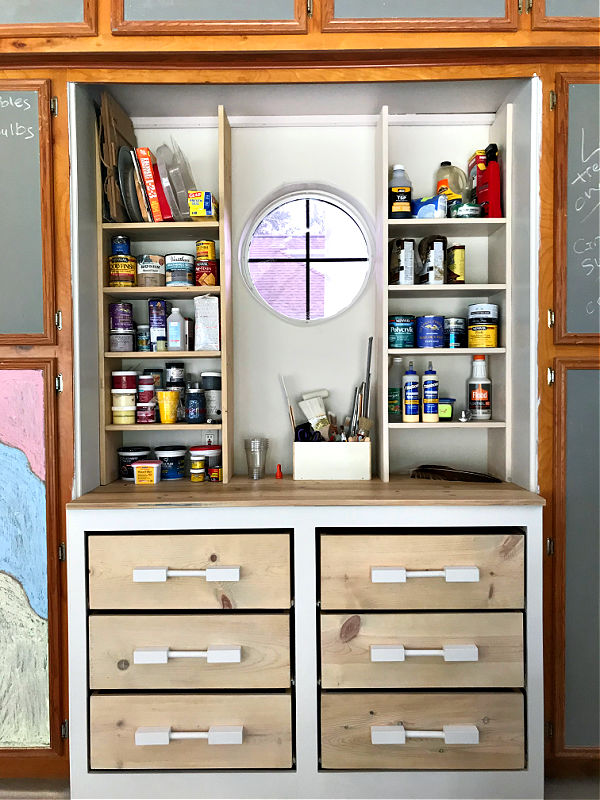
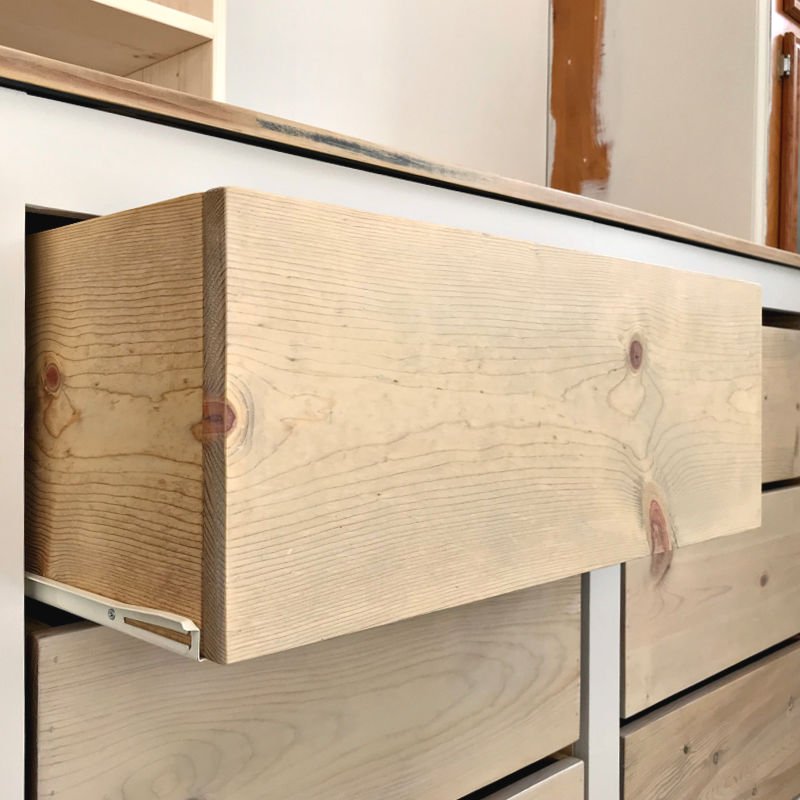
BUT, sometimes you just want an easy, low-cost, simple drawer box, like this this drawer with a pretty, rustic design.
Here’s how I build Easy DIY Drawer Boxes with dimensional lumber.

What Tools Do You Need?
- Circular Saw
- Clamps and Straight Board to make Straight Cuts
- Wood Glue and Wood Filler
- Brad Nails & Brad Nailer
- Tape Measure, Pencil, and Carpentry Square
- Power Sander and 120-Grit Sandpaper
Watch the Drawer Box Build Video
If any of the steps for Easy DIY Drawer Boxes are confusing, I highly recommend watching the short video. Hopefully seeing it done can help clear up any confusion.
How Much Smaller Should A Drawer Be Than the Opening
The width of your drawer really depends on the drawer slides you decide to use. I used low-cost Euro Slides for this project. They need a half inch of space on either side to operate properly.
Be sure to read the directions that come with your slides before figuring out what size your set of Easy DIY drawer boxes needs to be.
Quick Note: If I was building drawer boxes for indoor furniture, like my DIY Farmhouse Console Table, or built-ins; I’d go with nicer soft-close drawer slides.
What Size Should My Drawer Boxes Be?
For this type of drawer, we won’t be attaching a face to the drawer box. So, you want the width of the front and back of the drawer to be the “width of the opening” minus “the space needed for the slides to work”.
Then you have a full piece of lumber on the front and the ends of the side pieces won’t be showing when the drawer is closed.
When I use plywood, I usually have the height of my drawer 1/2″ or 3/4″ below the opening. But, again, the overall height of your drawer depends on where you mount the slides.
I say, if you’re new to building drawers and all the math that goes along with that, install your slides before you build the drawer. Then you’ll know for sure how much room you have above the slide so you can figure out how much clearance you have.
Also, I used 1x Dimensional Lumber to build these drawers. A 1×10 was perfect for my drawers. It left me with about a 3/4″ gap above the drawer boxes.
If you want your drawers to be simple and quick to build, pick a standard size for your opening to avoid cutting along the length of the lumber.
So, if a 1×4 leaves a 1″ or 1 1/2″ gap but you just want a quick and easy to build drawer box and would rather avoid cutting the length of the board, then go with it. It’s your drawers, after all.
OK, now that you know how to set the width and height of this Easy DIY Drawer Boxes, let’s get to the build steps.
Steps to Build my Easy DIY Drawer Boxes
Note: I recommend using 1x Common Board, Whiteboard, or Cheap Pine to get the same look as my drawers.
These boards look similar, it just depends on what region you’re in and what is available at that time. It’s the cheaper, knotty version of 1x in Lowe’s or Home Depot (not the Cedar). Pick the nicest, straightest boards you can find.
You can see me doing all of these steps in the Easy DIY Drawer Boxes video above.
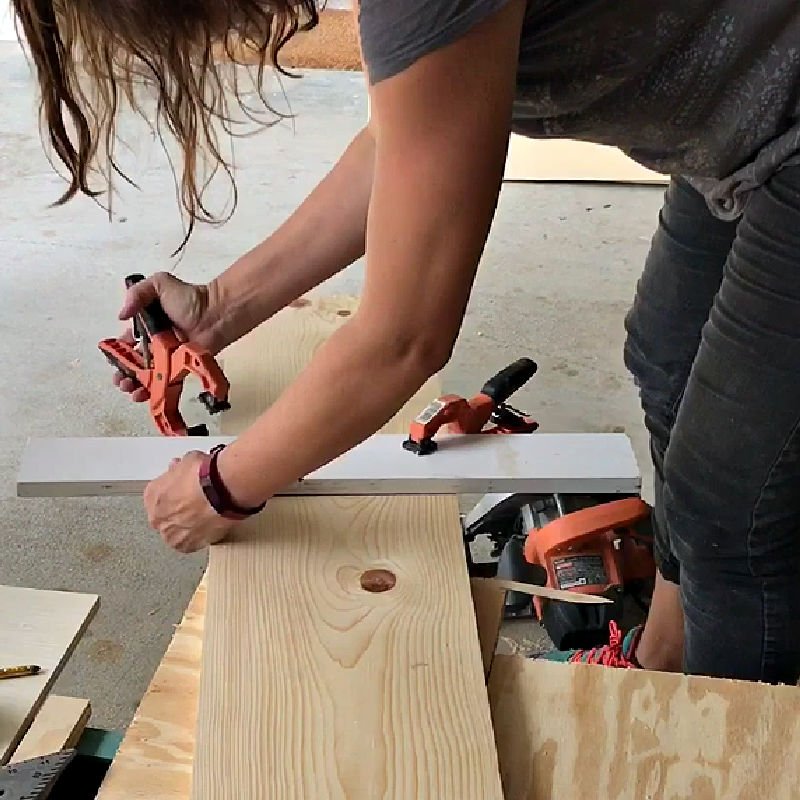
- Cut your front and back pieces to the width of the opening minus the drawer slide allowance. I like to use a straight board clamped to my boards to get straight cuts with a circular saw. Just be sure to adjust your measurement for the distance between the blade on your circular saw and the guide on it.
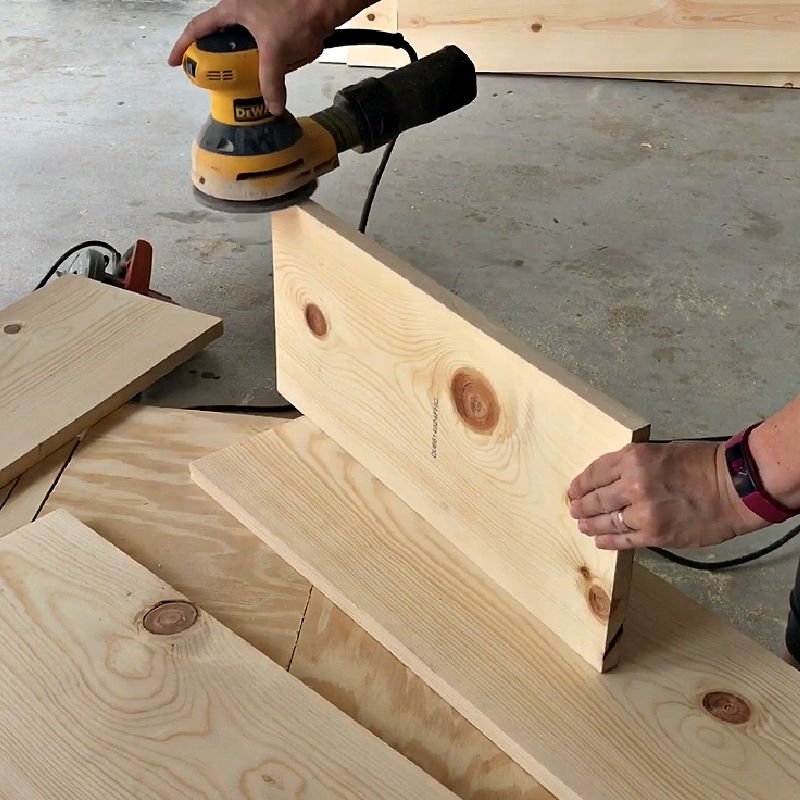
- Cut your 2 side pieces to the depth you want minus the thickness of the front and back pieces. Should be 1 1/2″ for Pine or Common Board Dimensional Lumber. Sand all 4 pieces with 120-grit sandpaper before assembly. Be sure to smooth the ends too. I also like to lightly sand all corners and hard edges for a prettier look. But that’s optional.
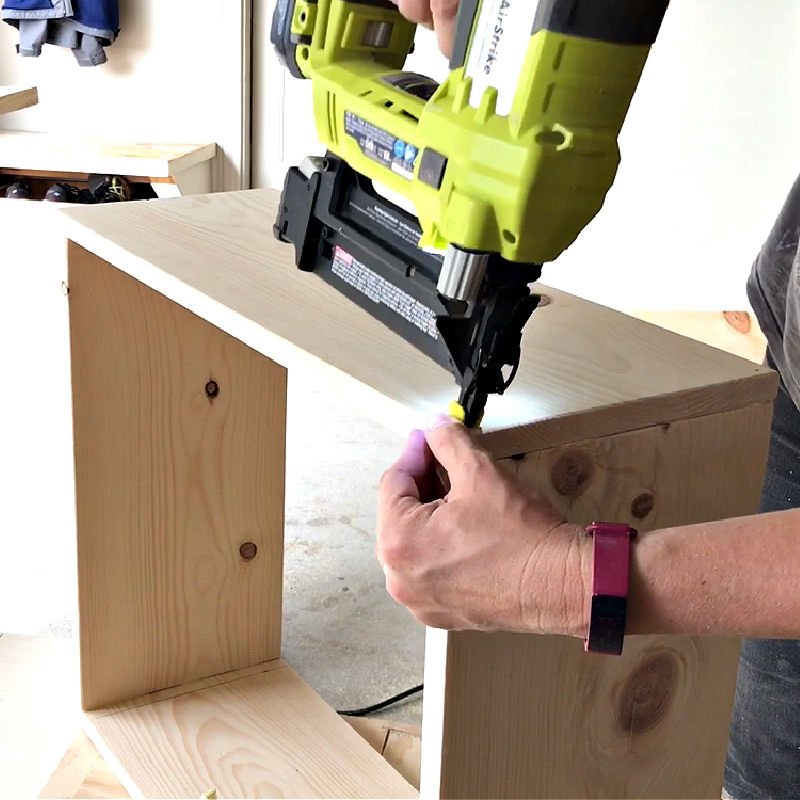
- Assemble the box with wood glue and brad nails. Use a square the keep the boards square. If your drawer boxes aren’t square, it might stop your drawer slides from working properly.
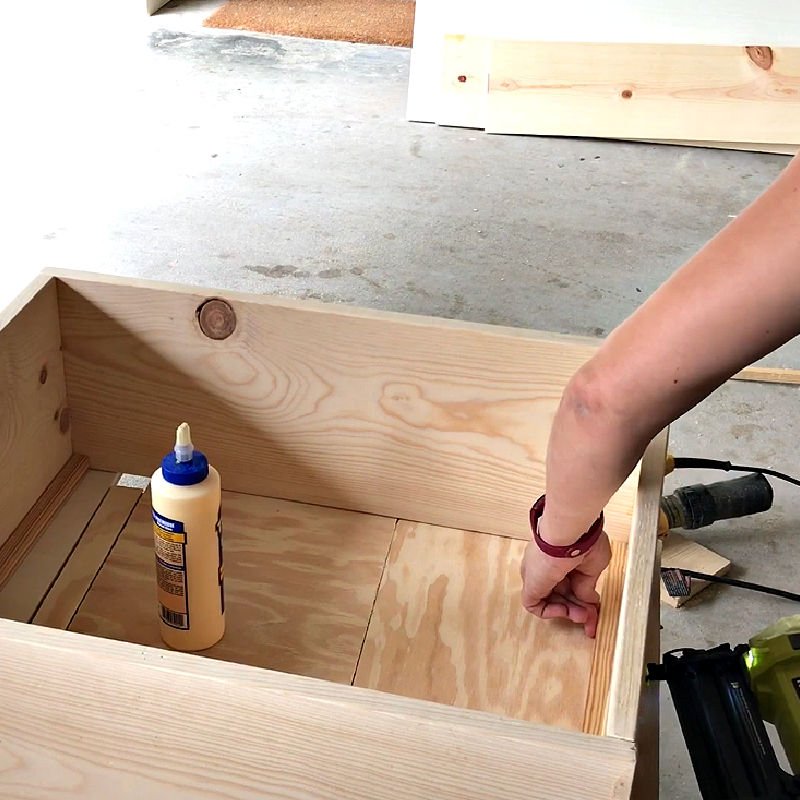
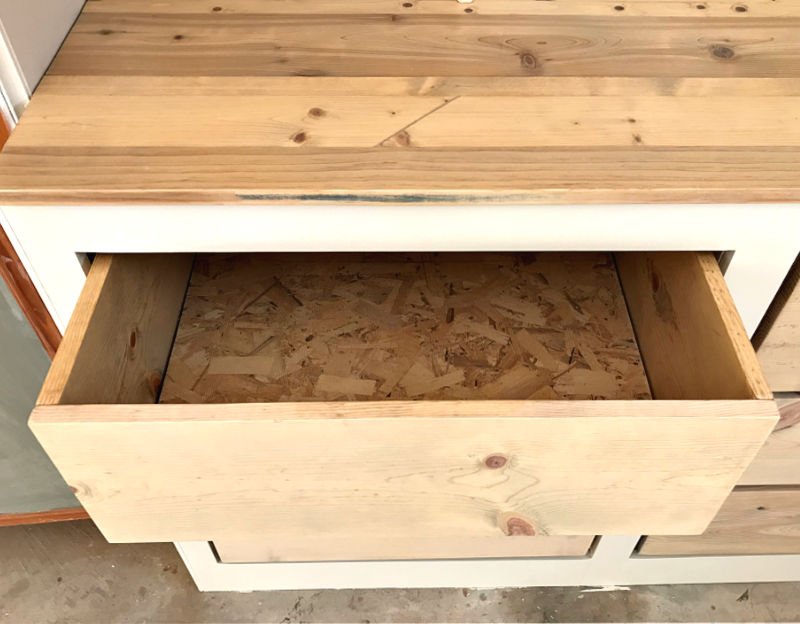
- Cut a 1×1 to the length of the inside of the left and right sides of your drawer box. Or, you can rip plywood or lumber to this size with a table saw. Use wood glue and brad nails to attach the 2 – 1×1’s to the inside bottom edge of the drawer box. These will act as the supports for the drawer bottom. Of course, there are lots of ways to attach a drawer bottom, but I think this is the easiest way to do it. And, we are building Quick and Easy DIY Drawer Boxes, after all. 🙂
- Once the 4 sides and 2 bottom supports are assembled and the glue dries, use wood filler on the nail holes on the front of the drawer box and any other spots you think need filler, let that dry then sand again with 120-grit sandpaper.
- Now, use 3/8″ or 1/2″ plywood to cut a bottom for your drawer box with your circular saw. I sanded the edges and just dropped mine into place. But, you could glue and nail it down, if needed.
That’s it for building these Easy DIY Drawer Boxes. Now, let’s talk about how I got that pretty, rustic finish on my drawer boxes.
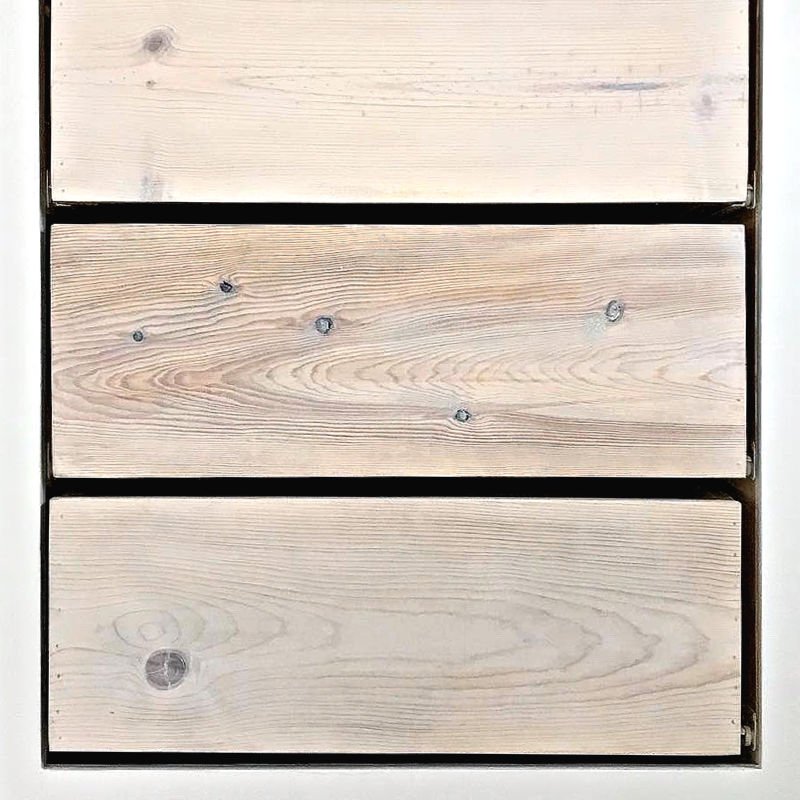
How I Finished this Simple Drawer Design
Here’s how I did that pretty whitewash finish on my drawers. I used my DIY Chalk Paint Recipe to make my own chalk paint from Latex Paint.
RECOMMENDED: Top 12 Reasons I Use Danish Oil On New Wood And To Restore Old Dry Wood
All of these steps were done after building my Easy DIY Drawer Boxes, using wood filler anywhere that needed it, and sanding that smooth when it dried. All of this is shown in the video above too.
- Apply Danish Oil in Medium Walnut to the entire drawer box, inside and out. Follow the directions on the container for the best result.
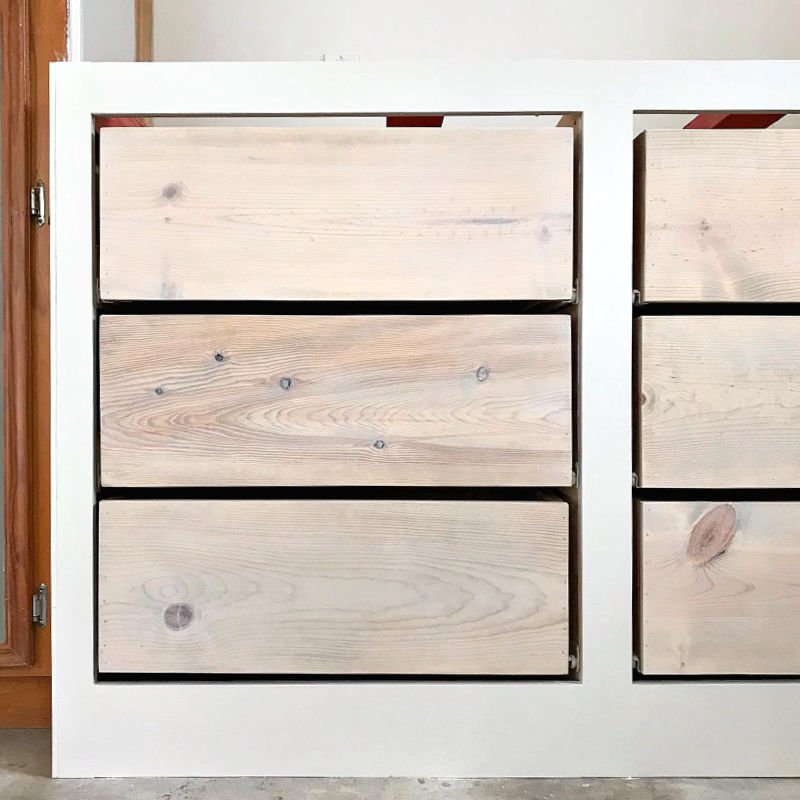
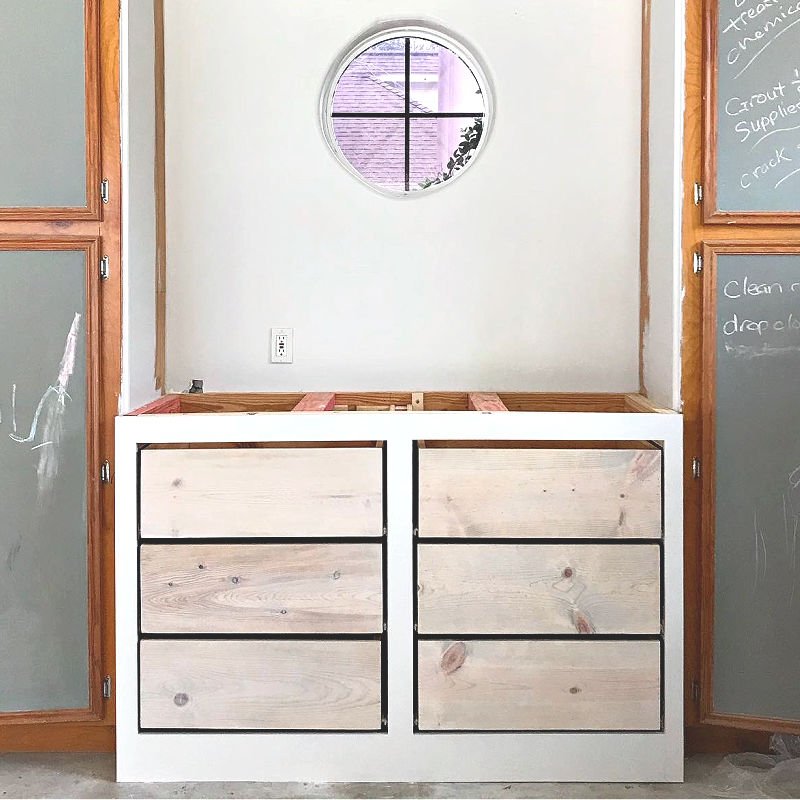
- Once the Danish Oil dries, use a cream-colored chalk paint to whitewash the drawer fronts. To do this I used a clean, wet rag dipped in chalk paint. Then wiped that across the drawers. The rag needs to be wet to keep the paint thin. I rinsed my rag and re-wet it after doing 2 drawer fronts. If the rag is too dry, the chalk paint will look more like paint than a whitewash. Wipe off excess chalk paint with a clean, dry rag before it dries.
- Once the whitewash is finished and dries, apply 2 coats of water-based poly over the whitewash. There is no need to poly over the Danish Oil, but you can, if you want to change the sheen or feel of the Danish Oil alone.
That’s it for how I whitewashed and protected these Easy DIY Drawer Boxes. What do you think?
Keep scrolling for more pictures from this DIY.
Looking for more of my Home Improvement Videos? Check out this DIY Home Improvement playlist on YouTube.
Easy DIY Drawer Boxes
How to build Easy DIY Drawer Boxes with dimensional lumber. Simple rustic drawer design for storage and other woodworking projects.
Tools
- Circular Saw
- Carpentry Square
- Pencil & Tape Measure
- Brad Nailer & Nails
Instructions
Steps to Build my Easy DIY Drawer Boxes
Note: I recommend using 1x Common Board, Whiteboard, or Cheap Pine to get the same look as my drawers. These boards look similar, it just depends on what region you're in and what is available at that time. It's the cheaper, knotty version of 1x in Lowe's or Home Depot (not the Cedar). Pick the nicest, straightest boards you can find.
You can see me doing all of these steps in the Easy DIY Drawer Boxes video.
- Cut your front and back pieces to the width of the opening minus the drawer slide allowance. I like to use a straight board clamped to my boards to get straight cuts with a circular saw. Just be sure to adjust your measurement for the distance between the blade on your circular saw and the guide on it.
- Cut your 2 side pieces to the depth you want minus the thickness of the front and back pieces. Should be 1 1/2" for Pine or Common Board Dimensional Lumber. Sand all 4 pieces with 120-grit sandpaper before assembly. Be sure to smooth the ends too. I also like to lightly sand all corners and hard edges for a prettier look. But that's optional.
- Assemble the box with wood glue and brad nails. Use a square the keep the boards square. If your drawer boxes aren't square, it might stop your drawer slides from working properly.
- cut a 1x1 to the length of the inside of the left and right sides of your drawer box. Or, you can rip plywood or lumber to this size with a table saw. Use wood glue and brad nails to attach the 2 - 1x1's to the inside bottom edge of the drawer box. These will act as the supports for the drawer bottom. Of course, there are lots of ways to attach a drawer bottom, but I think this is the easiest way to do it. And, we are building Quick and Easy DIY Drawer Boxes, after all. 🙂
- Once the 4 sides and 2 bottom supports are assembled and the glue dries, use wood filler on the nail holes on the front of the drawer box and any other spots you think need filler, let that dry then sand again with 120-grit sandpaper.
- Now, use 3/8" or 1/2" plywood to cut a bottom for your drawer box with your circular saw. I sanded the edges and just dropped mine into place. But, you could glue and nail it down, if needed.
That's it for building these Easy DIY Drawer Boxes. Now, let's talk about how I got that pretty, rustic finish on my drawer boxes.
Notes
How Much Smaller Should A Drawer Be Than the Opening
The width of your drawer really depends on the drawer slides you decide to use. I used low-cost Euro Slides for this project. They need a half inch of space on either side to operate properly. Be sure to read the directions that come with your slides before figuring out what size your set of Easy DIY drawer boxes needs to be.
Quick Note, If I was building drawer boxes for indoor furniture, like my DIY Farmhouse Console Table, or built-ins; I'd go with nicer soft-close drawer slides.
What Size Should My Drawer Boxes Be?
For this type of drawer, we won't be attaching a face to the drawer box. So, you want the width of the front and back of the drawer to be the "width of the opening" minus "the space needed for the slides to work". Then you have a full piece of lumber on the front and the ends of the side pieces won't be showing when the drawer is closed.
When I use plywood, I usually have the height of my drawer 1/2" or 3/4" below the opening. But, again, the overall height of your drawer depends on where you mount the slides. I say, if you're new to building drawers and all the math that goes along with that, install your slides before you build the drawer. Then you'll know for sure how much room you have above the slide so you can figure out how much clearance you have.
Also, I used 1x Dimensional Lumber to build these drawers. A 1x10 was perfect for my drawers. It left me with about a 3/4" gap above the drawer boxes. If you want your drawers to be simple and quick to build, pick a standard size for your opening to avoid cutting along the length of the lumber.
So, if a 1x4 leaves a 1" or 1 1/2" gap but you just want a quick and easy to build drawer box and would rather avoid cutting the length of the board, then go with it. It's your drawers, after all. OK, now that you know how to set the width and height of this Easy DIY Drawer Boxes, let's get to the build steps.
How about a bigger woodworking project? Check out this DIY Laundry Table Over Washer and Dryer. It’s a huge improvement in looks and function in a Laundry Room.

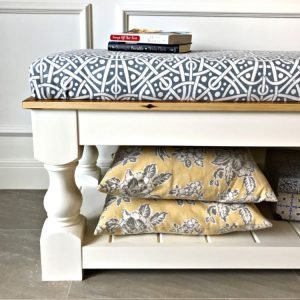
And, I love this DIY Modern Farmhouse Bench too.
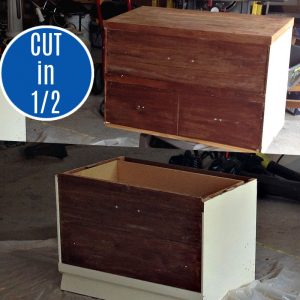
If you have an old dresser that needs a new life, here’s how to cut a dresser in half to make 2 new pieces of furniture.
You might also like this DIY for How to Whiten Tile Grout. It’s a Game Changer!

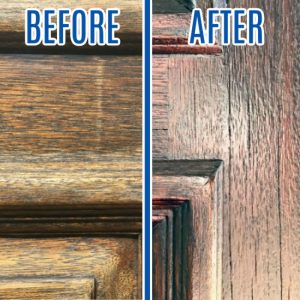
And, if it is time to Stain your Front Door, check out these steps for how I restain a front door without stripping it or removing it. 🙂
Feeling inspired? Now that you’ve read these steps for Easy DIY Drawer Boxes, you can do it too. Let me know if you have questions.
Don’t forget to sign up for the Abbotts At Home email newsletter to get DIY, Remodeling, and Crafty ideas in your inbox.

Stephanie Abbott has been remodeling homes, updating & building furniture, and working on DIY home maintenance and cleaning tips for over 20 years. Her remodeling has been featured in Better Homes and Gardens Magazine. And, her DIY YouTube channel has had more than 8 million views.
Most of the DIY tutorials and videos on this site focus on beginner to intermediate level DIY Projects that can be done in an affordable way without high-end, expensive tools. All of the cleaning tips on this website have been tested in her home.