
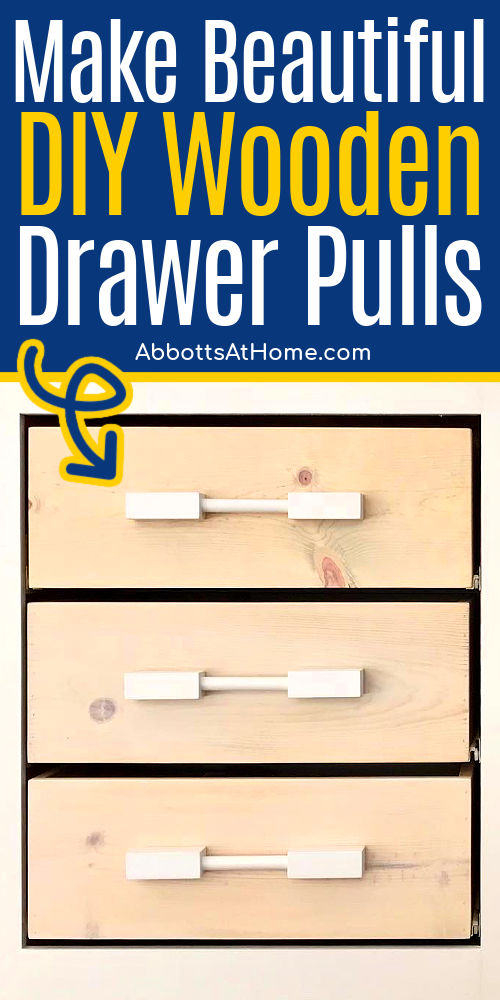
How to Make DIY Wooden Drawer Pulls using dowel rods and 2×2’s. I love this chunky, handmade dowel drawer pull on cabinets & furniture!
Easy DIY Wooden Drawer Pulls
I was inspired to make these easy DIY Wood Drawer Pulls after watching a show on HGTV. I saw a similar style drawer pull on an expensive piece of furniture and realized it was basically just a 2×2 and dowel rod design.
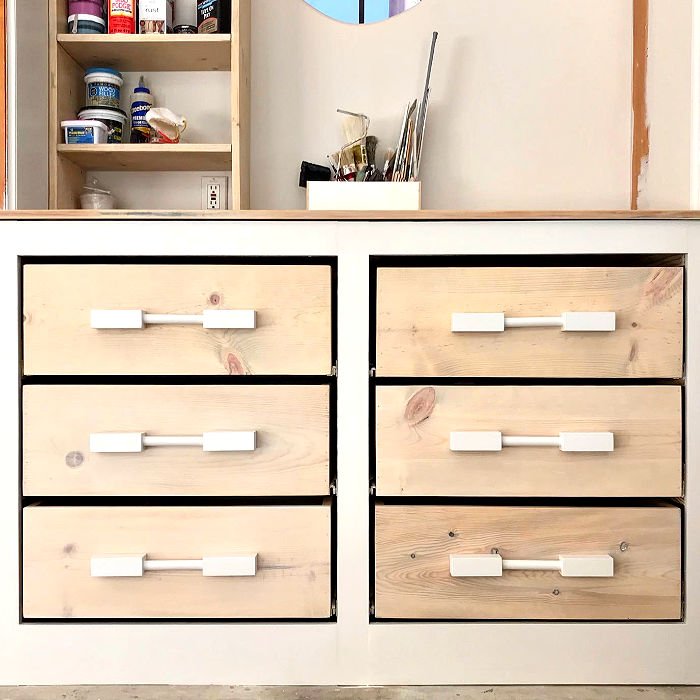
So, of course I had to make them! And I absolutely love how these chunky DIY dowel drawer pulls turned out.
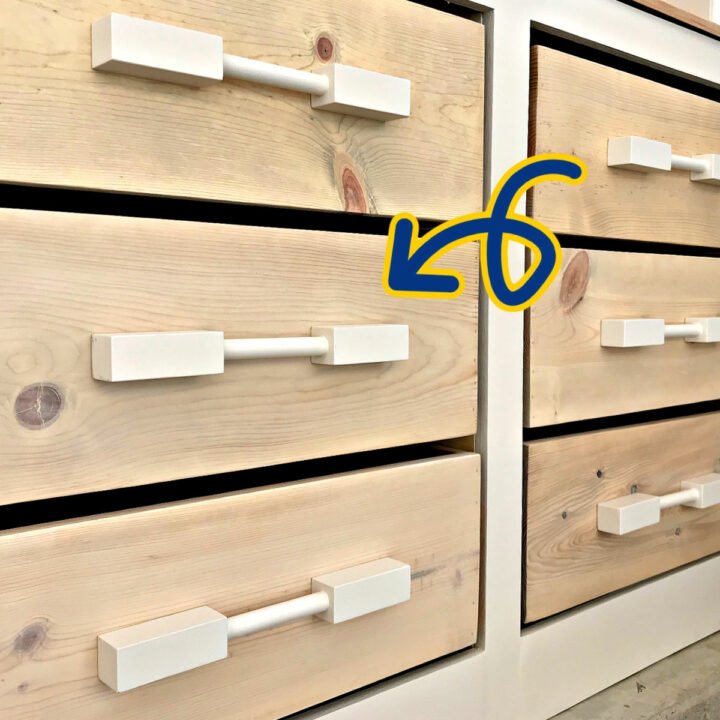
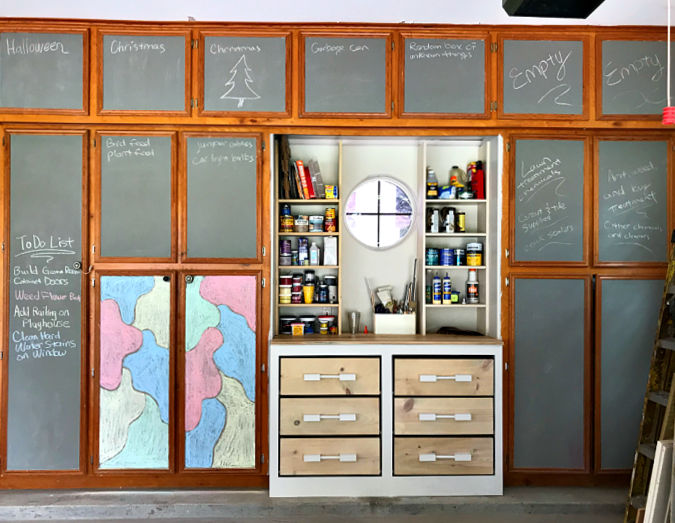
I made these drawer pulls for the Easy DIY Drawer Boxes and storage I’ve been building for my garage. I love this dowel drawer pull with that rustic whitewash finish I used on those drawers and the DIY Scrap Wood Table Top above it.
If I was going to use this Easy DIY Wood Drawer Pull on furniture with a higher end look, I think adding a nice chamfer on the front edges of the 2×2 blocks would look beautiful.
In fact, you could play around with a few different router bits to find the perfect custom look for your DIY wood cabinet pulls.
Now, let’s get to how to make those Easy DIY Wooden Drawer Pulls. 🙂
How To Make DIY Wood Drawer Pulls
What You Need to Make Handmade Wooden Drawer Pulls
Build Note – I went with Select Pine for the 2×2’s because it’s generally knot free and I wanted the crisp, sharp corners of Select Pine for this build. But, you can go with any type of wood you’d like.
- 2×2 Dimensional Lumber
- 3/4″ Dowel Rods – I Used Poplar
- Miter Saw
- Drill & 3/4″ Drill Bit
- Wood Glue
- Sanding Blocks or Sandpaper
Build Steps Video
If any of the steps below for the DIY Wood Drawer Pulls are confusing, I highly recommend watching this short video. Hopefully seeing it done can help clear up any confusion.
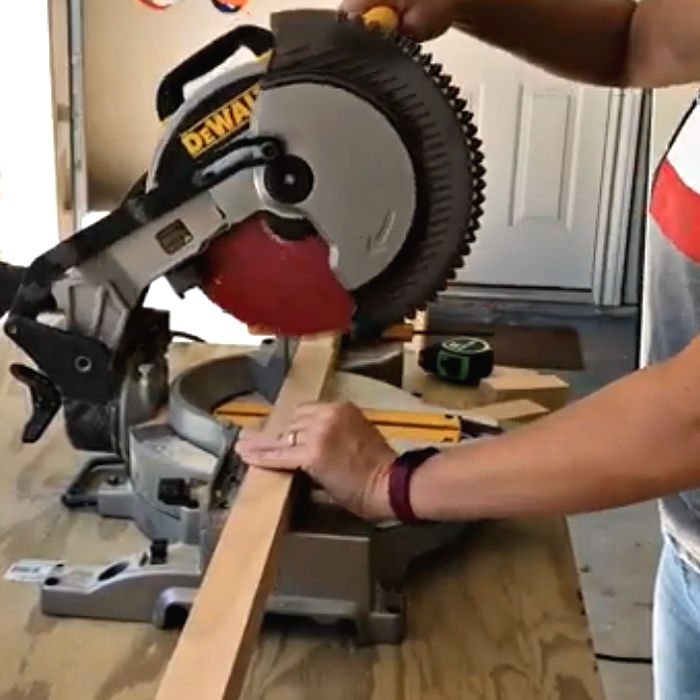
Step One
Start by cutting 2 – 4″ long pieces of 2×2 for each drawer pull you’re making. Use a stop block clamped to your Miter Saw to make quick and easy same length cuts.
Another quick build note, you can change the size of the 2×2’s or dowel rods for these drawer pulls to design your own custom look. Or, to get a better sized pull for larger or smaller drawers.
Square 2×2 blocks with longer dowel rods might look great on long thin drawers. Go with your gut to design a look you love.
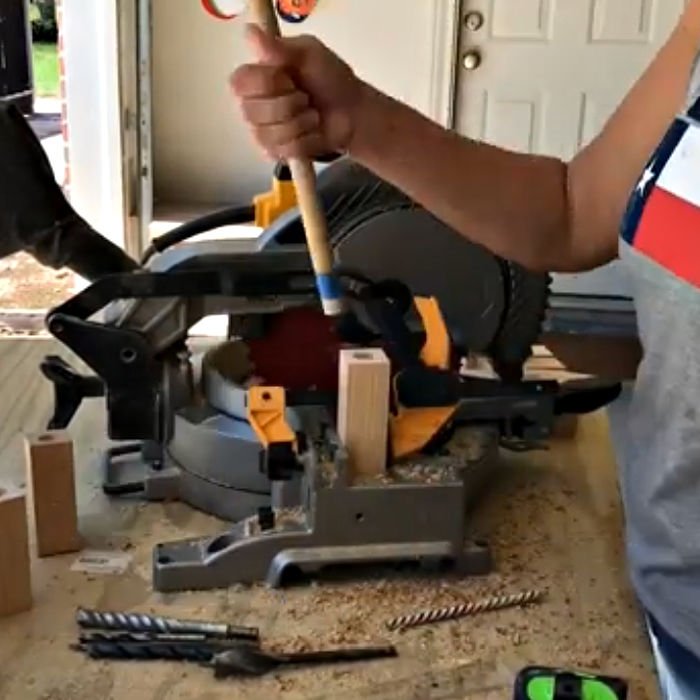
Step Two
Then, drill a 3/4″ deep & 3/4″ diameter hole in one end of each 2×2 piece. I used a spade drill bit to drill this hole. But, others would work. You want to have that hole centered on the end of that 2×2. Draw an X across the 2×2 to easily find the center of the 2×2.
Put painters tape 3/4″ up the end of the dowel rod to use as a depth guide when drilling your hole. You want all of the holes the same depth so that your DIY Wooden Drawer Pulls are all the same size.
You also want to make sure you are holding the drill straight and centered to drill a centered hole. A hole drilled at an angle will stop the wooden drawer pulls from laying flat against the drawer or cabinet you’ll use it on.
Step Three
Use your Miter Saw again to cut a 6 1/2″ long piece of 3/4″ dowel for each drawer pull. Be careful cutting circular objects on a Miter Saw. It can cause them to start spinning and fly up.
So, Cut clean through the dowel, then release the power on the Miter Saw and let the blade stop spinning BEFORE lifting the blade back up. You can see me do that at the 1:10 minute mark in the video above.
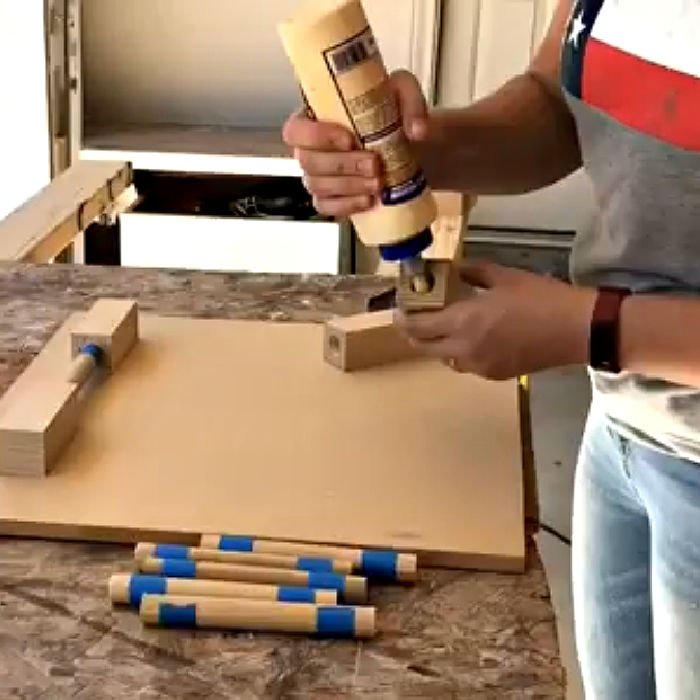
Step Four
Mark each piece of rod that you’ve cut 3/4″ up each end of the dowel rod. You can use pencil or painters tape. Then line the inside of each hole in the 2×2’s with wood glue before putting the dowel rod into the 2×2.
Use the 3/4″ mark on each end of the dowel rod to make sure you got the rod deep enough into the 2×2 block. Once the dowel has a block on each end, lay it on a flat board so that your Easy DIY Wooden Drawer Pulls dry with the 2×2’s flat and even with each other.
Also, be sure to wipe away any excess wood glue with a clean, damp rag.
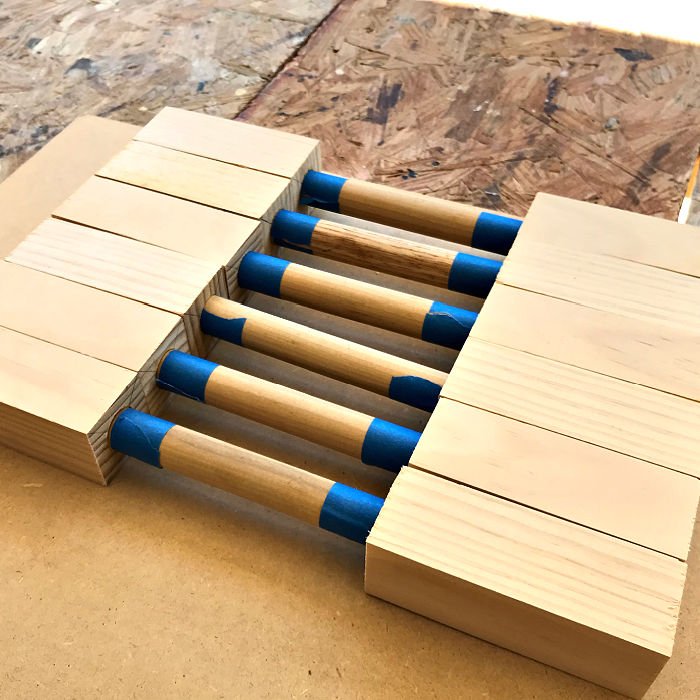
Step Five
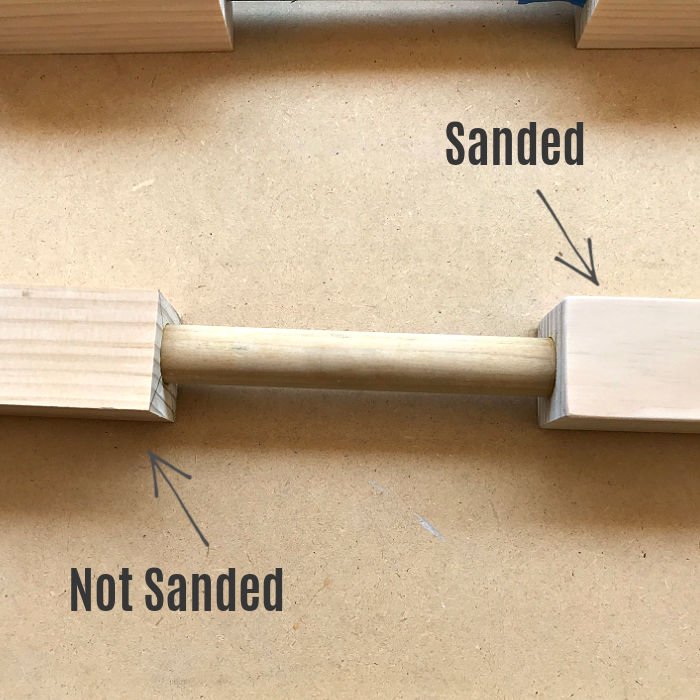
Leave your pulls for a few hours to let the wood glue dry. Then sand the pulls with a sanding block, small detail sander (like this one) or sandpaper. I started with a 120 grit sanding block on the 2×2’s and dowel rods. Be sure to sand the ends of the 2×2’s too.
I also lightly sand the corners and edges down on the 2×2’s for a more polished look. Then use wood filler anywhere that might need it. Let that dry. Then sand those spots again with 120 grit.
If you are planning to stain your DIY Dowel Drawer Pulls, you should sand to a higher grit and be extra careful to sand away any wood glue that might have gotten on your pulls.
Step Six
I cleaned off all the sanding dust before applying some Chalk Paint. For this project, I made my own with this DIY Chalk Paint Recipe using latex paint and plaster of Paris. Making your own chalk paint is incredibly easy and generally a lot cheaper than buying the store bought stuff.
After applying a few coats of chalk paint, I wet sanded the chalk paint to get that store-bought smooth finish with chalk paint that always feels and looks professional.
Once the paint was smooth, I cleaned it and let it dry before applying 2 coats of a water-based top coat. I love General Finishes Flat Out Flat Top Coat. It has a beautiful matte sheen, is durable, and very easy to apply.

Step Seven
Once that dries, you can attach the pulls to your drawers or cabinets. I drilled pilot holes in my drawers first. Then I attached the pulls with self-tapping screws through the inside of the drawer.
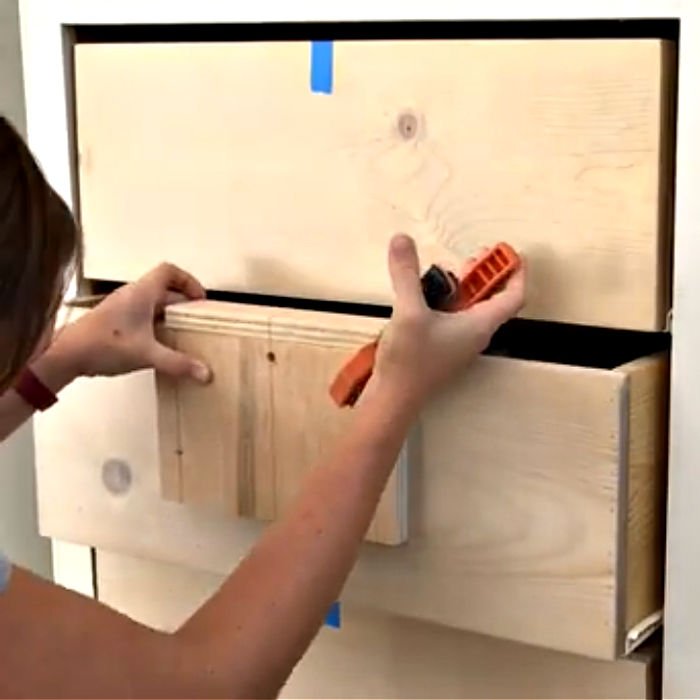
You can see how I made a quick and easy jig to center and install my drawer pulls in the video above. You might have to adjust that jig depending on how your drawers or cabinet doors are made.
But you can use that jig as a rough idea for how to make your own.
That’s it, guys. Thanks for checking out this tutorial for easy DIY Wooden Drawer Pulls.
More DIY Projects For You
- Easy DIY Wooden Curtain Rod and Brackets: Steps & Video
- I LOVE This Easy DIY Long Wooden Table Runner Tray
- Cheap And Easy DIY Canvas Frame (Quick Steps And Video)
- Make This Easy DIY Wood Picture Frame With Trim Molding
- 50 Best BUY OR DIY Outdoor Planter Ideas for your Front Porch
- DIY Activity Wall For Toddlers, Kids, & More (With 20 Fun Board Ideas)
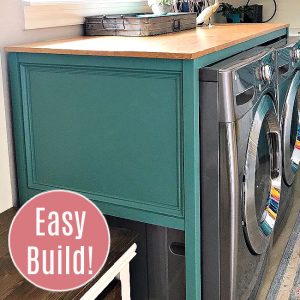
Looking for a bigger build? Check out this DIY Over Washer and Dryer Laundry Table with free printable build plans.
You might also like this DIY for How to Whiten Tile Grout. It’s a Game Changer!

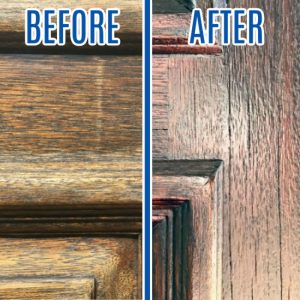
And, if it is time to Stain your Front Door, check out these steps for how I restain a front door without stripping it or removing it. 🙂
Feeling inspired? Now that you’ve read how to make these Easy DIY Dowel Drawer Pulls, you can do it too. Let me know if you have questions.

Stephanie Abbott has been remodeling homes, updating & building furniture, and working on DIY home maintenance and cleaning tips for over 20 years. Her remodeling has been featured in Better Homes and Gardens Magazine. And, her DIY YouTube channel has had more than 8 million views.
Most of the DIY tutorials and videos on this site focus on beginner to intermediate level DIY Projects that can be done in an affordable way without high-end, expensive tools. All of the cleaning tips on this website have been tested in her home.