
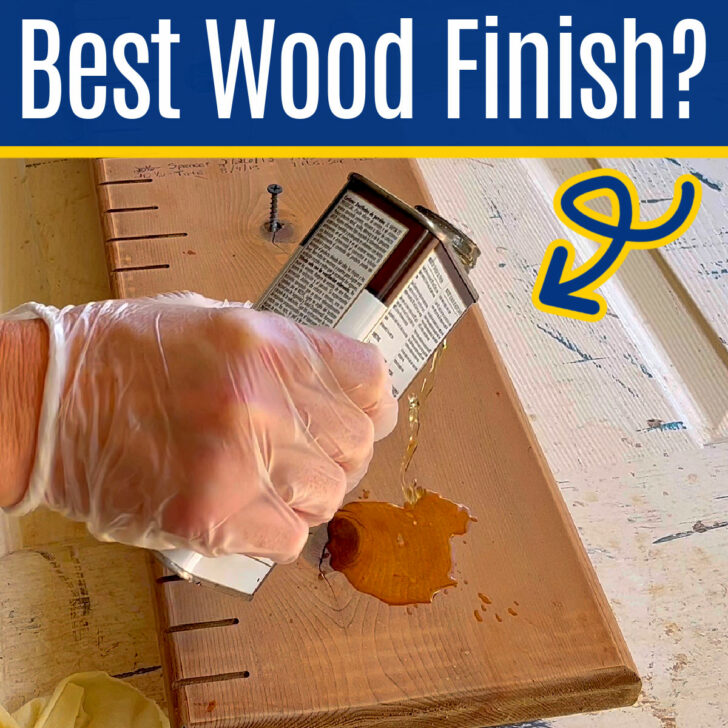
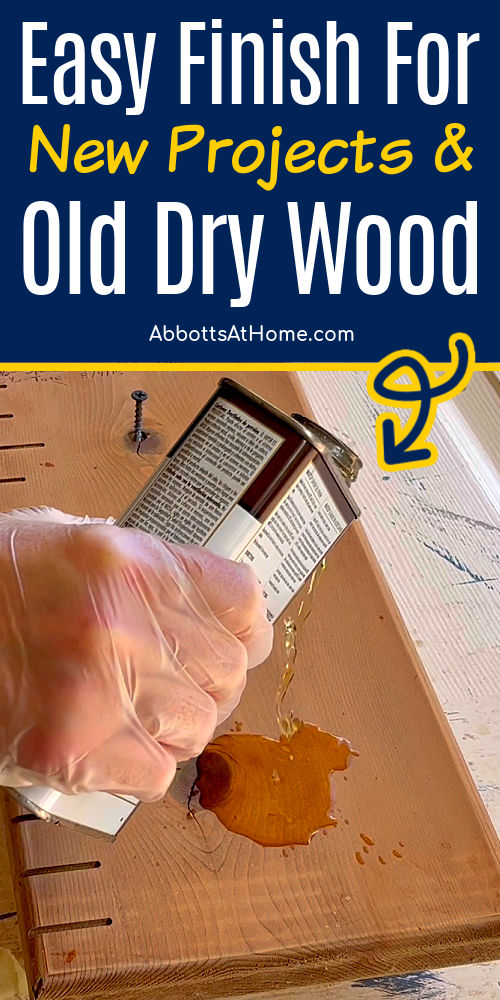
Danish Oil makes it SO EASY to finish new wood. !t’s also PERFECT when you need to restore old dry wood FAST!. And, the finish is BEAUTIFUL!
Can You Restore Old Dry Wood?
Typically, you can restore old dry wood with great results. If your wood piece is just dry looking, you can easily get a beautiful, store-bought look with Danish Oil.
If your wood décor or furniture has been dry and/or outdoors for so long that it actually has small cracks across the surface, then Danish Oil can make it look and feel a lot better.
But, it won’t get rid of the cracks UNLESS the cracks are so shallow that they can be easily sanded away.
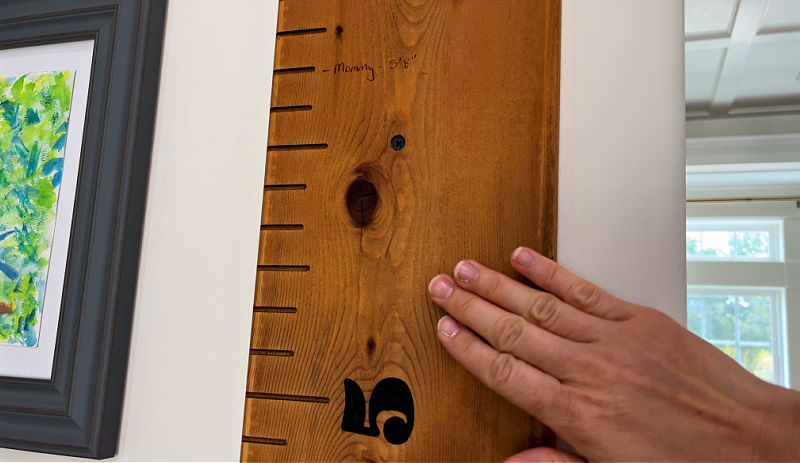
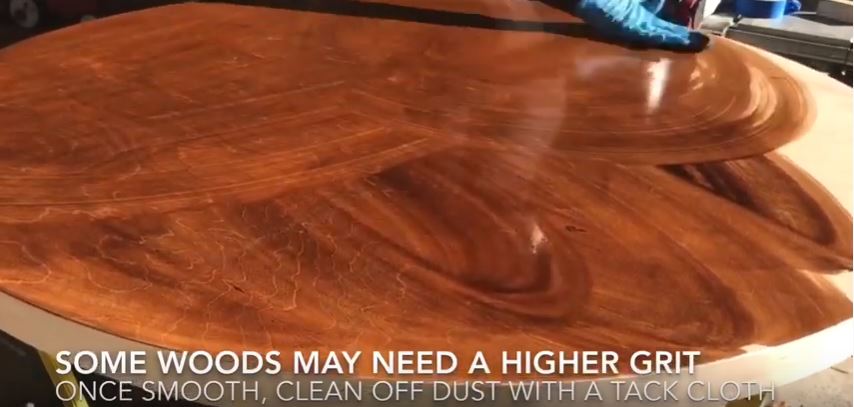
Since sanding from 120 grit to 220 grit is part of prepping before applying Danish Oil, the sanding and oil combo will still get great results, even on dry old wood!
But, don’t be intimidated by the sanding. It doesn’t take long on most things. AND, Danish Oil is SO FAST and EASY to apply that you’ll see why I always use it after just one use.
That’s one of the reasons I think Danish Oil is the best oil to use on dry wood.
There’s actually 12 BIG reasons that Danish Oil is my go-to when I restore old wood and for new wood finishing. So, let’s get to why I use Danish Oil to Restore Old Dry Wood.
Table of contents
Using Danish Oil To Restore Old Dry Wood (Video Steps)
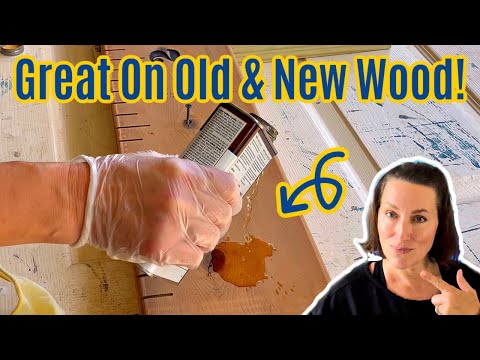
Want to see how I rehydrate dried wood with Danish Oil? Watch this video for a look at how incredibly EASY it is to use. Scroll down to see the detailed written list and tips.
What Is The Best Finish For Wood Furniture?
There are a handful of popular ways to finish wood furniture. Some people prefer Shellac, some like Linseed Oil, others might like wood conditioner and a water-based stain.
There are a few others, of course. But, my pick for the best finish for wood furniture is Danish Oil. You’ll see all 12 reasons I LOVE to use Danish oil to finish wood projects, new and old.
But the main reasons are that Danish Oil is SO EASY to use, SO QUICK to apply, it looks BEAUTIFUL, and it’s practically foolproof.
What Is Danish Oil Good For?
Danish Oil is good for new wood projects and to restore old dry wood. In fact, it has 12 main benefits that keep me using it year after year. Here’s why I LOVE it!
1. Danish Oil is SO EASY!
The NUMBER ONE best thing about using Danish Oil on new wood or to restore old dry wood is how EASY it is to use! You can see in the video, I pour it on then wipe off the excess after 15 minutes.
On new, unfinished wood, I do a quick sanding with 150 to prep for Danish Oil. Danish Oil recommends sanding to 220 for the best result. I’ll admit, I cheat, but it always looks good with the wood I use.
On older wood, finished and unfinished, sand off any existing top coat. Then Danish Oil recommends that you sand from 120-grit to 220-grit to get the best results.
Just be sure to follow the safety directions for storing and disposing of used rags soaked in Danish Oil. Spontaneous combustion can happen with these oils if they get too hot.
But, don’t worry, it’s never happened to me. And, I live in a HOT city. I just lay my used rags flat to dry, in a cool, shaded spot, after each use.
2. It Hardens In The Wood
Another great thing about Danish Oil is the way that it penetrates and HARDENS in the wood. So, it’s making even soft woods a bit tougher and more resistant to damage. I LOVE that!
That hardening and protection comes from what Danish Oil is made from.
Danish Oil is a blend of mineral spirits, penetrating oil (Linseed and Tung oils) and varnish. The penetrating oils soak in to restore old dry wood and harden.
The varnish provides waterproofing, protection from light scratches, and a pretty, subtle sheen.
3. Smooth Finish
Once the 1 or 2 coats of Danish Oil have dried, the finish feels butter-smooth! Even when you’re using it to rehydrate dried wood.
That’s pretty amazing compared to how rough some clear coats feel after just 1 coat. Every Danish Oil finish I’ve applied feels amazingly smooth!

4. Subtle Sheen
That buttery smooth finish also has the perfect subtle sheen. A Danish Oil sheen is somewhere between a matte sheen and a slightly shinier satin sheen.
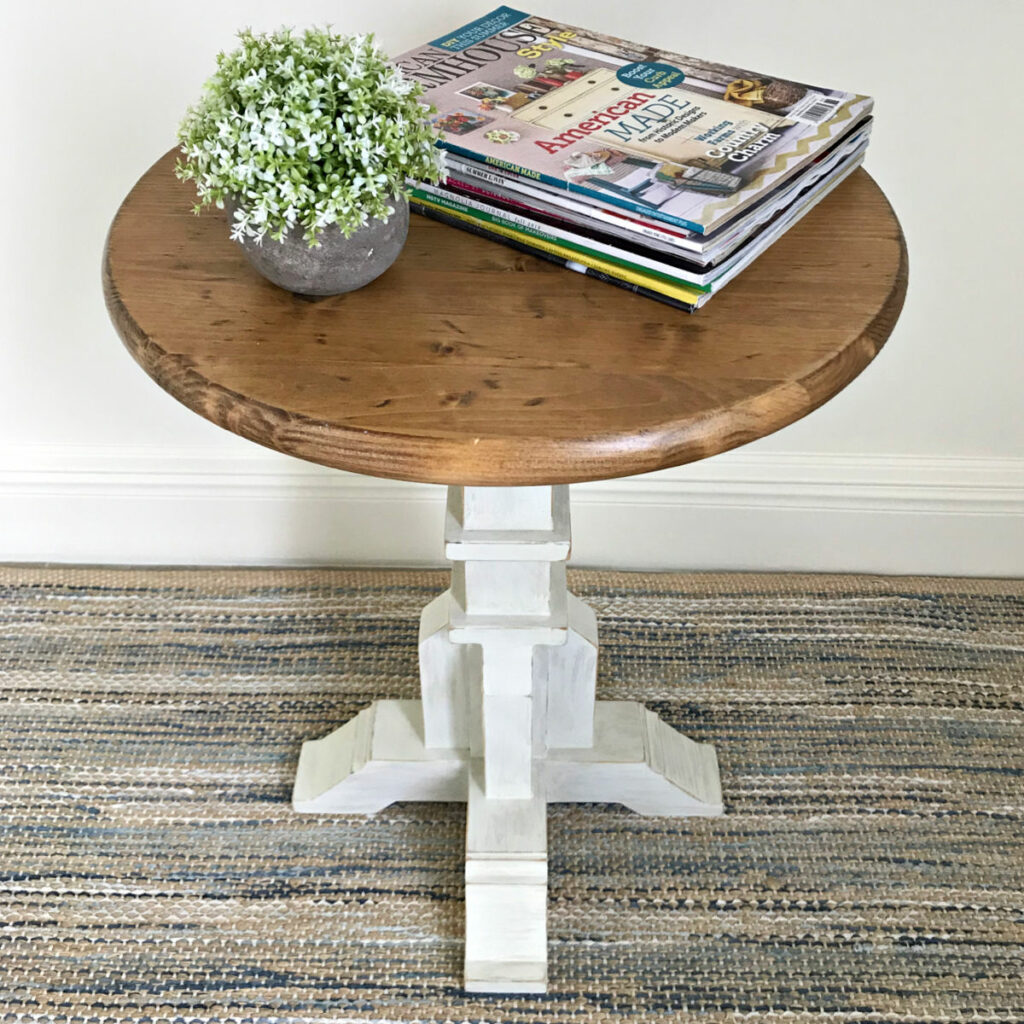
This subtle sheen looks beautiful on everything from rustic décor to Laundry Table tops, to higher end furniture designs.
5. Great Stain Colors
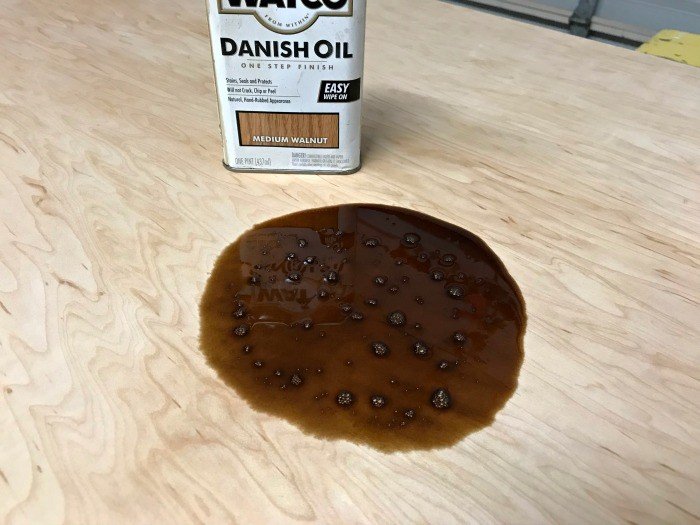
Generally, you’ll find Natural and Medium Walnut Watco Danish Oil in most hardware stores. That’s because those two are the most popular.
BUT, you can actually get Watco Danish Oil in 8 great stain colors. I always use the Watco brand Danish Oil. But, you can find other brands of Danish Oil in even more colors.
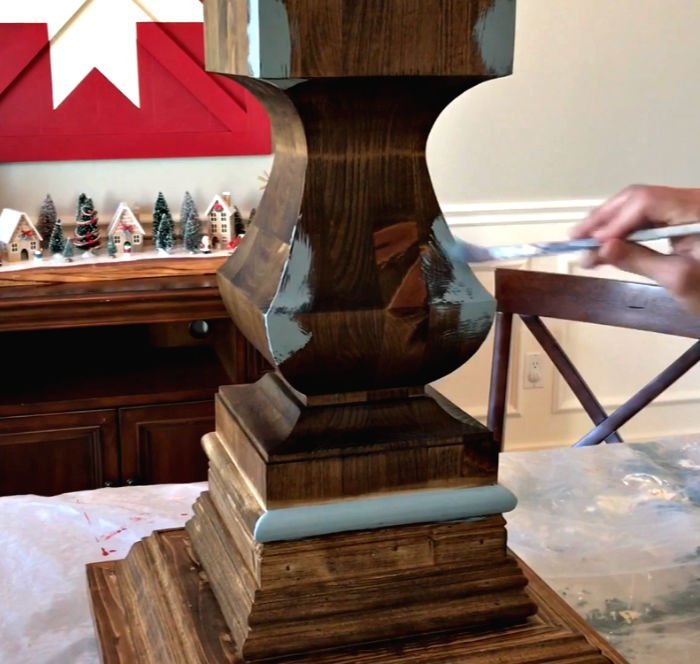
I usually keep Dark Walnut, Medium Walnut, and Natural in my garage. Dark Walnut is perfect when you want a dark stain finish. I like to use it when l layer chalk paint over stain.
6. It’s A Primer
Did you know that Danish Oil can be used as a primer? That’s right! Danish Oil can be used as a primer under paints. I use it as a primer for most of my DIY furniture projects.
I’m a big fan of this trick because applying Danish Oil is so much faster and easier to apply than normal water-based paint primers.
It also hardens the wood a bit. So, I like to use it as a primer whenever I build with soft woods, like Pine. That way, my furniture can resist dings a bit better than without Danish Oil!
Just be aware, it might not block all wood knots from seeping through paint. The varnish in it always blocks my knots. But, I don’t know that it would work on all knots as well as a paint primers.

7. Doesn’t Crack, Peel, Or Chip
A Danish Oil finish has enough elasticity that it won’t crack, peel, or chip. Over the years, it will slowly wear off. So, you can scuff sand with steel wool and reapply, when needed.
That makes this flexible oil-based finish great for restoring old dry wood, using it on new wood furniture, or as a primer under paint.
8. It’s Waterproof
Like I’ve already said, Danish Oil is made of hardening oils and varnish. So, it creates a waterproof barrier on wood. That makes Danish Oil great for wood used in bathrooms, kitchens, and more!
9. Danish Oil Is Food Safe & Non-Toxic
When I’m out thrifting, I’m always a big fan of old butcher block counters and cutting boards. After giving those finds a good sanding, you can use Danish Oil to stain and seal them.
That’s because, once dry, Danish Oil is completely food safe!
And, since it’s also non-toxic, you can use it on wooden baby toys, salad bowls, kids furniture, and anywhere else that might touch food or be chewed on.
10. Low VOC
Danish Oil is also a low VOC finish. That means that it won’t be emitting dangerous vapors while you’re using it or after you’ve put the item you used it on in your home!
11. No Brush Marks
Here’s another reason I LOVE to use Danish oil to restore old dry wood and on my new furniture projects. Danish Oil is a quick and easy to use wipe on wipe off product.
So, you’ll NEVER have brush marks in your Danish Oil finish. It’s practically foolproof to use!
12. Doesn’t Look Blotchy Even When You Restore Old Dry Wood
And, last but not least, Danish Oil never looks blotchy! As long as you follow the product recommendations for sanding your wood, you’ll get an evenly stained, beautiful finish.
This is HUGE for me! I used to use water-based stain when I made furniture. And, even after applying wood conditioner, I’d sometimes have blotchy spots from using cheap pine.
But, Danish Oil has never looked blotchy for me. It’s a fantastic way to rehydrate dried wood!
How Do You Apply Danish Oil?
- Strip or sand off any existing finish.
- Then sand the wood with 120, 150, 180, and 200 grit sandpaper.
- Remove all sanding dust with a tack cloth, vacuum, or rag dampened with Mineral Spirits.
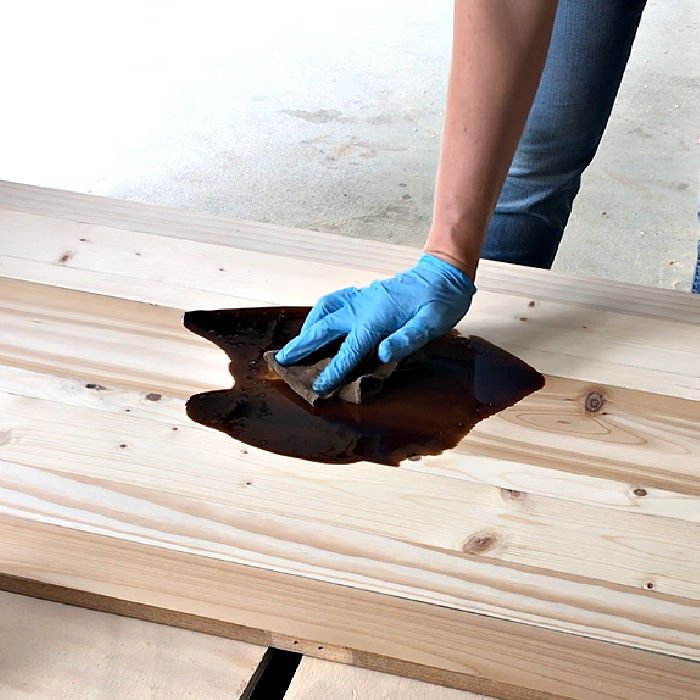
- Pour or wipe generous amounts of Danish Oil across the entire surface.
- Let the Danish Oil sit for 15 minutes before using a clean cloth to wipe excess oil off.
- Let it dry for 6 hours.
- Repeat steps 4, 5 and 6, if needed.
That’s it for why I use Danish Oil to Rehydrate Dried Wood. I hope this helped! Now, here’s a few more posts you might like.
- Best Way To Stain An Exterior Wood Door: Easy Steps, FAQs, And Tips
- How To Stain Wood Furniture Without Stripping (4 Easy Steps And Video)
- Testing 7 Easy Ways To Get A Heat Stain Out Of Wood (With Video And Tips)
- 21 Cheap And Easy Ways To Make A Home Office Look Better!
- Testing 6 Ways To Remove Scratches On Plates And Dishes: One Winner! (Video & Steps)
Some DIYs You Might Like
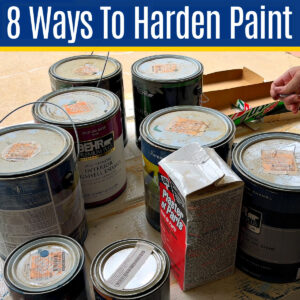
Here’s how to 8 EASY Ways To DRY Paint Cans For Disposal (How To Harden Paint).
This post about How to Remove Water Stain from Ceiling Without Paint – 1 Easy Step is always popular!
Check out my picks for the 10 Best Beginner Workout At Home Equipment Buys On A Budget.

Feeling inspired? Now you’ve seen my pick for the best finish on wood projects and to restore dry old wood, get to it. It’s easy!

Stephanie Abbott has been remodeling homes, updating & building furniture, and working on DIY home maintenance and cleaning tips for over 20 years. Her remodeling has been featured in Better Homes and Gardens Magazine. And, her DIY YouTube channel has had more than 8 million views.
Most of the DIY tutorials and videos on this site focus on beginner to intermediate level DIY Projects that can be done in an affordable way without high-end, expensive tools. All of the cleaning tips on this website have been tested in her home.