
Easy Steps to Cut An End Cap for Molding, like Chair Rail or Crown Molding. Use a pretty end when trim meets doors, windows or on open walls.
How to Cut An End Cap For Trim
Hello again! Today, I’ve got the quick and easy DIY steps for how to cut an end cap for molding.
Follow this DIY to end chair rail molding, or any type of molding. This pretty end is also called dead end trim, trim end cap, return end or trim return.
I know, so many names, but it’s pretty much all the same thing.
This can be done to end cap molding, like the chair rail in my example, quarter round, baseboards, picture rail, crown molding, and more.
Use these steps anywhere that molding meets a window frame or a door frame that isn’t as thick as the molding you’re cutting. Or, anywhere that you need molding to end partway along a wall.
Instead of babbling on, let’s get to How to Cut An End Cap for Molding. 🙂
What you Need to End Cap Moulding
You can cut molding with a Miter Box, if you really, really hate power saws or don’t want to buy one (cause they ain’t cheap).
But, guys, that saw that comes with a Miter Box can be hard to use and get a great result. So, I saw buy or borrow a Miter Saw.
- Miter Saw
- Wood Glue & Painters Tape or Dap Rapid Fuse
- Wood Filler & Sanding Block
How to End Cap Molding
Step One
The first step for how to cut an end cap for molding is to measure how long you want the piece to be.
I think it’s easiest to make the piece too long, cut and make the end cap end, then cut whatever is extra off the other end, when you’re done. So, add 2 inches to your measurement.
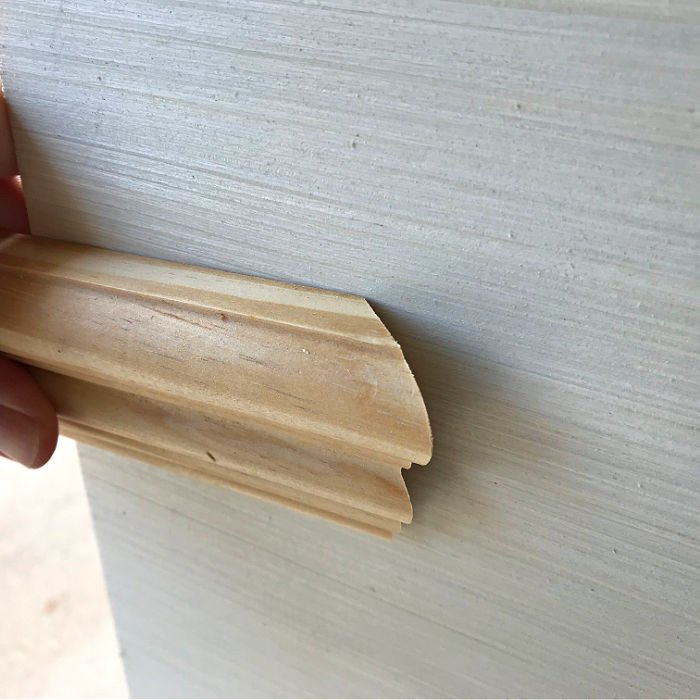
Step Two
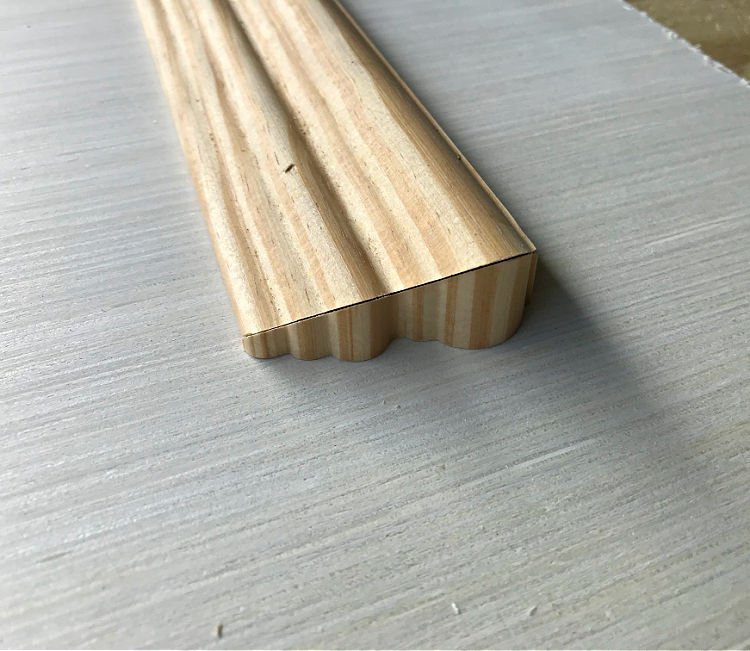
Cut a 45 degree angle on the end of the molding that needs the dead end or end cap. The back side of the molding should be shorter than the front.
Cutting an end cap for crown molding is more complicated. These steps are for molding that sits flat against a wall, like chair rail, picture, rail, shoe or quarter round, and baseboards.
Step Three
Now, you need to cut a piece to fill the 45 angle you just cut. Switch the 45 angle on your Miter Saw to the opposite 45 of what you just cut. Then use another piece of molding to cut your filler piece.
Follow all safety rules that go along with using a Miter Saw. Use a long piece of molding to make your filler so you can keep your fingers far away from the blade.
Step Four
Once the second 45 is cut for the filler, hold it up to the first piece to make sure it is correct. It’s easy to accidentally cut the wrong angle. 😉
Then, set your Miter Saw to the 0-degree or straight cut setting to trim off the filler piece. You want to trim the filler for the end cap on molding along the corner or back edge of the 45.
Step Five
The last step for how to cut an end cap for molding is to attach the filler to the original piece of chair rail, or whatever type of molding you are using.
To be fast, you can use something like DAP Rapid Fuse. It’s like a super glue for woodworking project. It will set that piece in place and let you attach it to the wall fastest.
BUT, you can always use wood glue and painter’s tape to hold the filler piece in place until the wood glue dries.
Once the filler is set in place and the adhesive is dry, measure your molding from the widest edge of your end cap, or dead end, to the other end to mark and cut your molding to size.
How To End Chair Rail – Video
If any of the steps for how to cut a chair rail end cap are confusing, I highly recommend watching this short video. Hopefully seeing it done can help clear up any confusion.

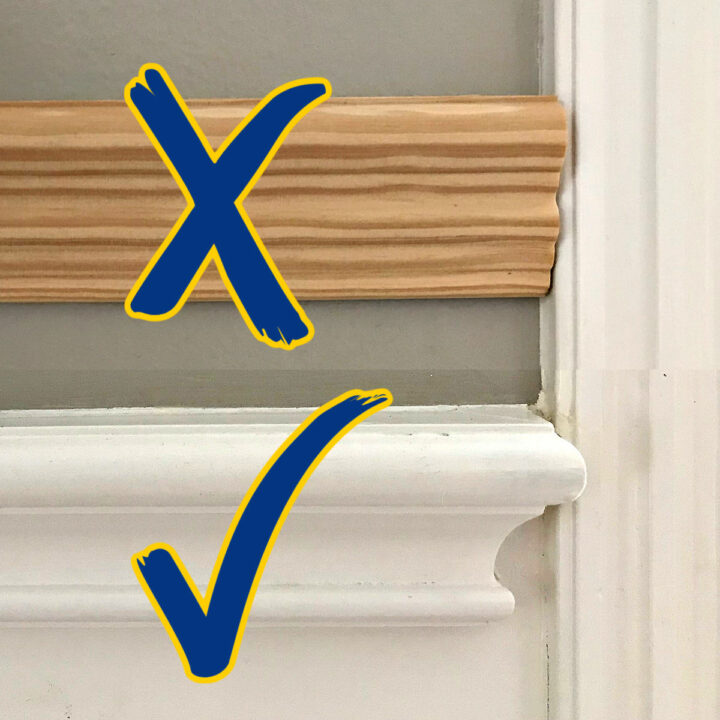
When to Use a Dead End or Moulding End Caps
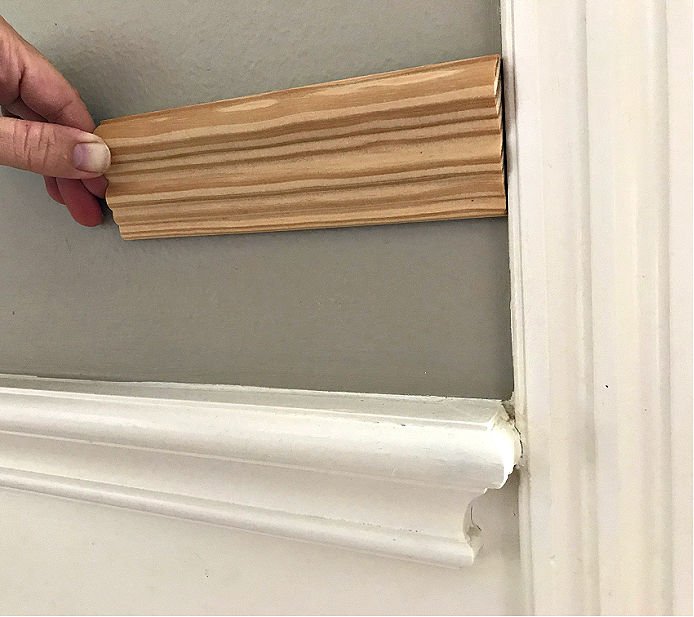
You want to put an end cap on molding whenever trim ends on an open wall or wherever the molding you are using is thicker than other molding it will touch, like on a window frame or door frame.
That’s it for how to cut an end cap for molding, guys. Looking for more of my Home Remodeling Videos? Check out this DIY Home Improvement playlist on YouTube.
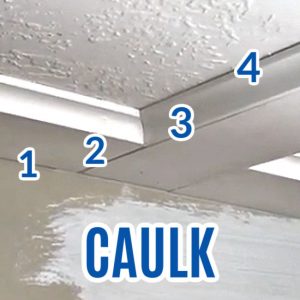
Looking for more tips and inspo for DIY Trim Work and Finish Carpentry? Here’s When to Use Wood Filler or Caulk on Wood Trim.
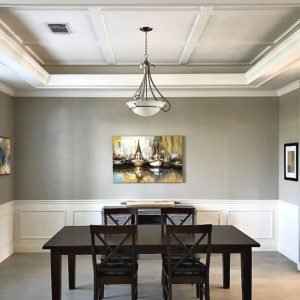
And, the DIY Steps for a Simple, Low-Profile DIY Coffered Ceiling Design.
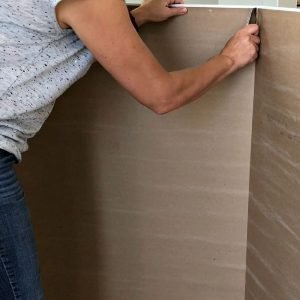
You might also like this post for 15 beginner tips for How to Cut Drywall and Hang Drywall, by yourself.
You might also like this DIY for How to Whiten Tile Grout. It’s a Game Changer!

And, if it is time to Stain your Front Door, check out these steps for how I restain a front door without stripping it or removing it. 🙂
Feeling inspired? Now that you’ve read these tips for How to Cut An End Cap Molding, you can do it too. Let me know if you have questions.
Don’t forget to sign up for the Abbotts At Home email newsletter to get DIY, Remodeling, and Crafty ideas in your inbox.

Stephanie Abbott has been remodeling homes, updating & building furniture, and working on DIY home maintenance and cleaning tips for over 20 years. Her remodeling has been featured in Better Homes and Gardens Magazine. And, her DIY YouTube channel has had more than 8 million views.
Most of the DIY tutorials and videos on this site focus on beginner to intermediate level DIY Projects that can be done in an affordable way without high-end, expensive tools. All of the cleaning tips on this website have been tested in her home.