
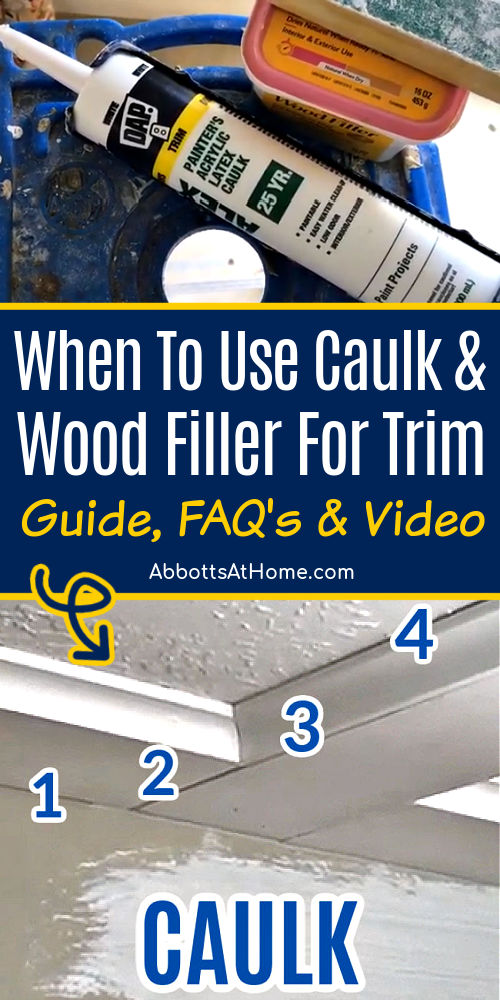
WHEN & HOW to use CAULK, SPACKLING or WOOD FILLER on wood trim, baseboards, crown molding, miters, and more. Easy Beginner Guide, Video, & FAQ’s.
Should You Use Caulk or Wood Filler on Trim?
Hi guys! I don’t know about you, but I love crown molding, wood paneling, wainscoting, picture frame molding, basically any and all wood trim updates.
In fact I do trim and molding updates so much around here that I have a post with 18 Beautiful DIY Trim And Molding Ideas For Your Home (With Steps). Check that out if you need steps or trim ideas!
Traditional molding looks beautiful and adds so much charm and character to a room. On Instagram, I’m always drawn to photos and videos of homes with tons of gorgeous trim. It has my heart.
So, I’ve learned a lot over the last 20 years about DIY trim and molding. Including when to use caulk vs wood filler. Don’t worry, it’s not hard to learn. You just need a few tips to get a professional look, at home.
If you’re new to installing MDF or wood trim, here’s my quick and easy guide for where to use caulk or wood filler on trim. With answers to common questions and a short video to help you do it too!
Now, let’s get to that guide for where to use caulk or wood filler for trim.
Table of contents
Should You Use Wood Filler or Caulk on Trim?
It’s not really a wood filler vs caulk question. You’ll need to use caulk AND wood filler, or spackling, on any wood trim project to get a professional finish.
Use wood filler, or spackling, to fill nail holes, dents, and cracks on wood trim. You should use caulk to fill gaps or joints between trim pieces and/or drywall.
In other words, wherever you have dents, cracks, nail holes, or damage on a piece of trim, use wood filler or spackling to fill that.
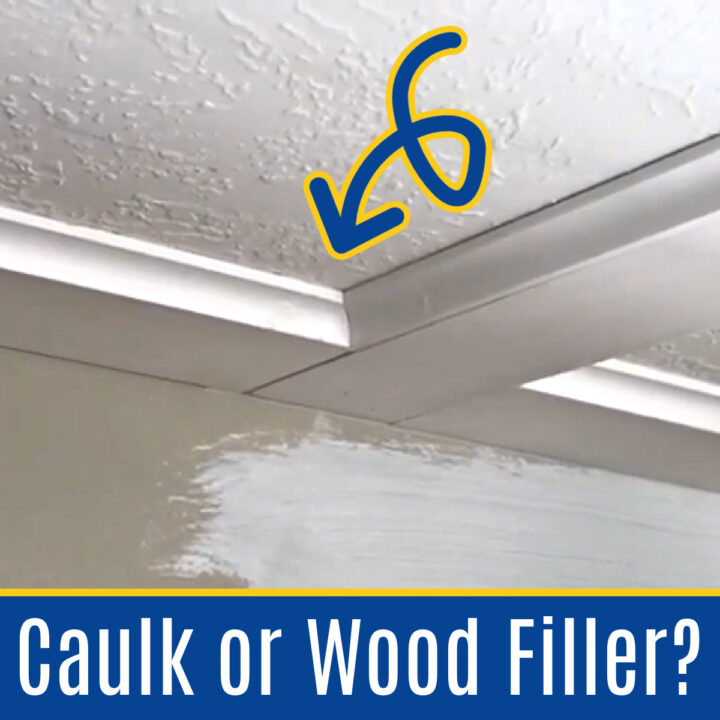
When 2 different pieces of trim meet (called trim joints) or trim and a wall or ceiling meet, use a quality, paintable caulk.
Caulk is better at handling the little bit of flex that happens in cold weather between joints and walls.
Caulking and filling holes on wood trim takes time. So, don’t try to rush it. It’s all about the details when it comes to finishing baseboards, crown, and other molding.
Keep reading for answers to more common questions about when to use caulk vs wood filler.
DIY Steps for Using Wood Filler & Caulk on Trim
What You’ll Need
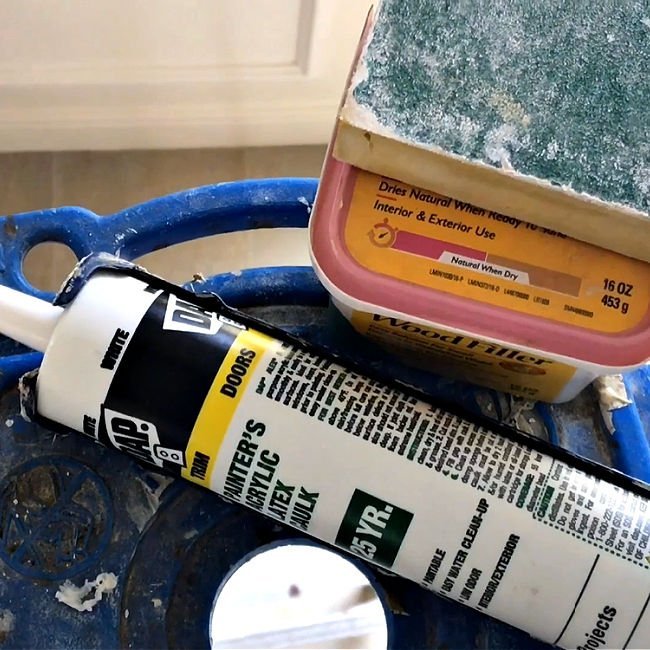
- Paintable Wood Filler
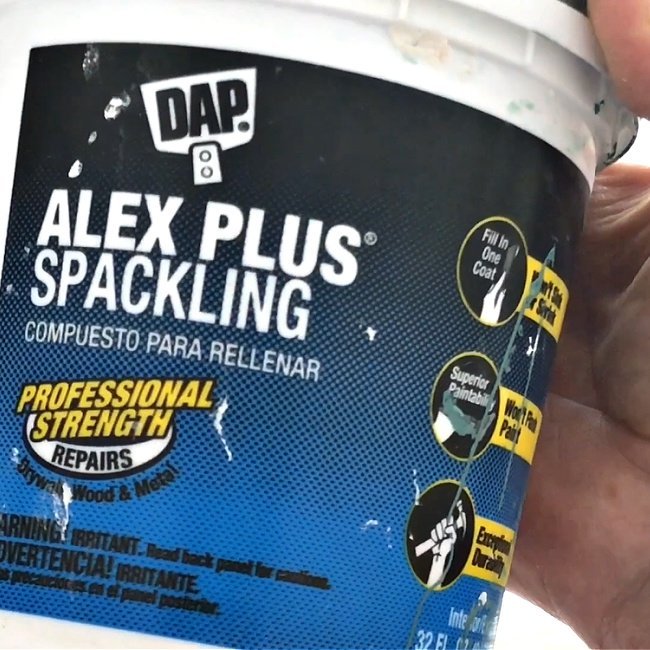
- Dap Spackling Compound
- Gator Micro Zip Sander
- Sanding Sponges
- Dap Painter’s Acrylic Latex Caulk
Here’s the quick steps (and proper order) for prepping wood trim for paint. Keep reading for full details about each step below this list.
- Start by filling all nail holes and dents with wood filler or spackling. Let Dry.
- Sand the wood filler or spackling smooth.
- Do a second pass of wood filler or spackling where needed.
- Sand again after it dries.
- Dust away all dust with a tack cloth or clean rag.
- Caulk all joints where 2 pieces of trim or a wall and trim meet.
- Wipe away excess with a damp rag BEFORE it dries. Let Dry.
- Do a second pass of caulk where needed.
- Wipe away excess with damp rag. Let Dry.
- Paint.
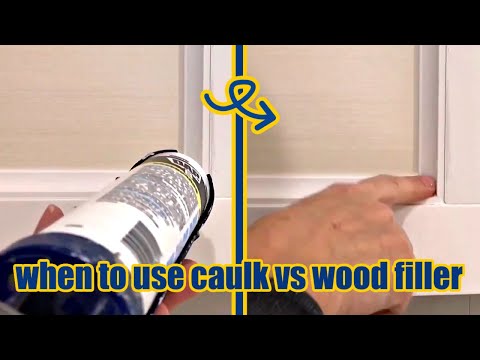
Watch the VIDEO below to see me using caulk and spackling on my DIY painted built in bookshelves and cabinets.
How To Use Caulk And Wood Filler On Trim
Watch this short video to see a detailed explanation of how to use wood filler and caulk and where to put caulk, wood filler, or spackling using one of my recent home remodeling projects as an example.
What is the Best Product to Fill Nail Holes in Trim?
To fill nail holes on trim, you should use wood filler or spackling. In fact, you should use spackling or wood filler to patch nail holes, dents, damage, or cracks on a single board or piece of molding.
Lately, I prefer Spackling over Wood Filler because it sands smooth quickly and with less effort than wood filler. But, both work great. So, use what you have.
And, as I mentioned in the steps above, I highly recommend using your wood filler, or spackling, before using caulk to fill trim joints.
Apply the filler everywhere you need it and let it dry completely. Then come back and sand it smooth.
I like to use sanding sponges or this little gator zip sander to sand filled areas smooth. Then, when everything is sanded, wipe away the dust before moving onto caulk.
You can find the exact order I use to prep wood trim for paint above!
How Do You Fill Gaps in Wood Trim?
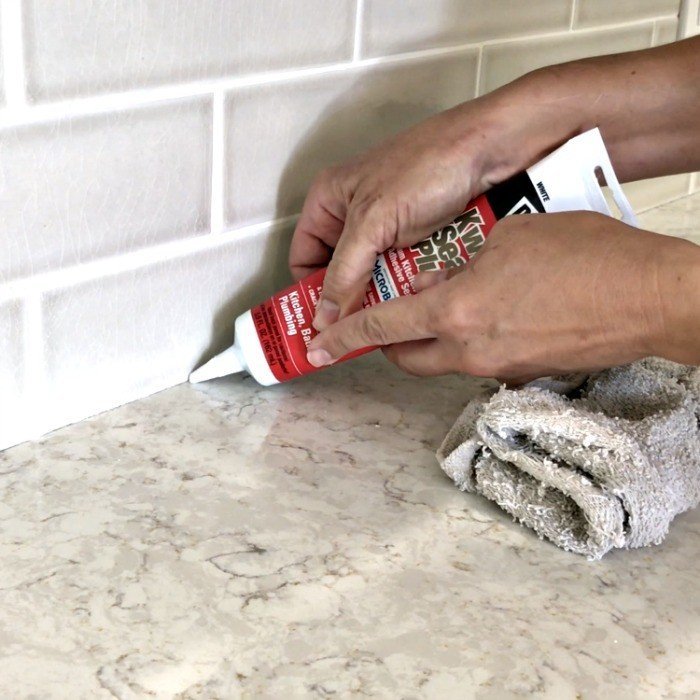
You should use caulk to fill gaps in trim joints. Joints are basically anywhere 2 surfaces meet – like, where 2 trim boards meet, where trim and a wall or ceiling meet, or where trim and other molding meets.
Caulk can start drying pretty fast, so work in small sections. And, always be sure to wipe away excess caulk before it dries. Caulk cannot be sanded or easily removed, once dry.
Apply a thin bead of caulk along any gaps, so you have less excess to wipe away. Wipe that bead of caulk into the gap. Apply more where needed to fill the gap.
Like I mention in the video above, there are a few ways to wipe away excess caulk.
The caulk I use recommends a damp sponge, but on textured surfaces sponges can leave little bits of sponge in your caulk. That’s no good.
I get a better result using a slightly damp rag to clean caulk off of trim. Other people like to use dry paper towels. None of these are wrong.
Pick the technique that you feel most comfortable with to get the best looking finish.
Caulk Or Wood Filler For Miter Joints
Generally, I use wood filler on miter joints. It goes against my rule for using caulk wherever 2 pieces of trim meet. But Miters Joints are a special case, at least they are for me.
Overlapping Miter Joints
If the miter joint is an overlapping piece of trim, like with crown molding or baseboard trim, I get a smoother joint when I fill that joint with wood filler before sanding the joint smooth.
And, since the trim is already overlapping, you don’t have to worry so much about the joint separating and causing cracks during cold weather.
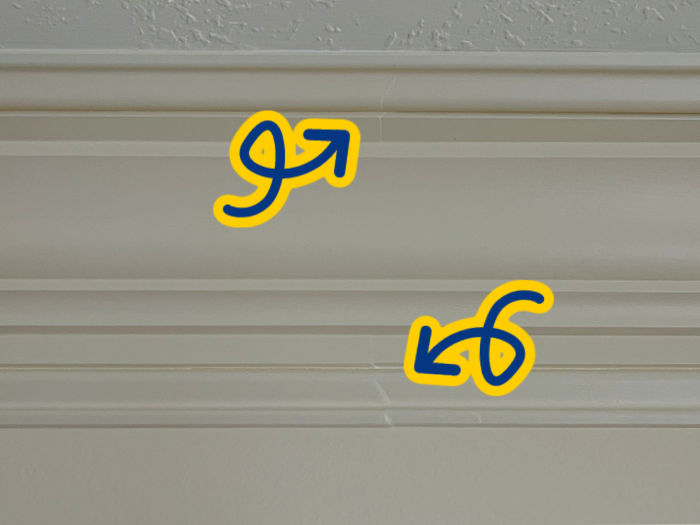
Outside Corner Miter Joints
If the Miter Joint is the outside corner on crown molding, and the 2 pieces of crown only have a very thin crack, I might just use caulk.
But, if it’s a little wider in spots, I’ll actually fill the joint in an outside corner with a hard-drying wood filler, then carefully sand it to get a sharp-looking corner.
If the outside corner gap on crown or baseboard is too big though, you should probably redo one side of that joint to get a tight fit. It will look better and last longer.

Flat Corner and Picture Frame Miter Joints
If the miter joint is the outside corner of trim boxes on a wall or ceiling, I’m back to using a hard-drying wood filler on the miter joint.
That way I can carefully sand that filler to give that trim a perfect-looking joint.

More DIY’s For You
Well, that’s it for this guide for where to use Caulk or Wood Filler on Wood Trim. If you need some wood trim design ideas. I have some tutorials you should check out.
Like, this DIY Plywood Plank Ceiling – Faux Shiplap Install, this 2 Story Foyer Remodel with Trim Molding, or this beautiful Easy DIY Wood Picture Frame With Trim Molding.
This DIY Tongue and Groove Porch Ceiling is another one of my favorite updates too. 🙂
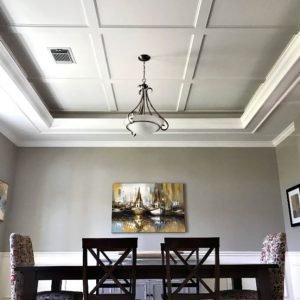
You might also like this Simple DIY Coffered Ceiling Design makeover.
Or this beautiful DIY Board and Batten Wall tutorial.

Here’s a DIY Vaulted Ceiling Makeover I absolutely love!

Check out How to Removed Glued Wood Flooring on Concrete.

And, here are 7 before and after examples of how using a light paint color on walls has brightened every room in my house.

That’s it for where to use Caulk or Wood Filler on Wood Trim. Let me know if you have questions.
Don’t forget to sign up for the Abbotts At Home email newsletter to get DIY, Remodeling, and Crafty ideas in your inbox.

Stephanie Abbott has been remodeling homes, updating & building furniture, and working on DIY home maintenance and cleaning tips for over 20 years. Her remodeling has been featured in Better Homes and Gardens Magazine. And, her DIY YouTube channel has had more than 8 million views.
Most of the DIY tutorials and videos on this site focus on beginner to intermediate level DIY Projects that can be done in an affordable way without high-end, expensive tools. All of the cleaning tips on this website have been tested in her home.