
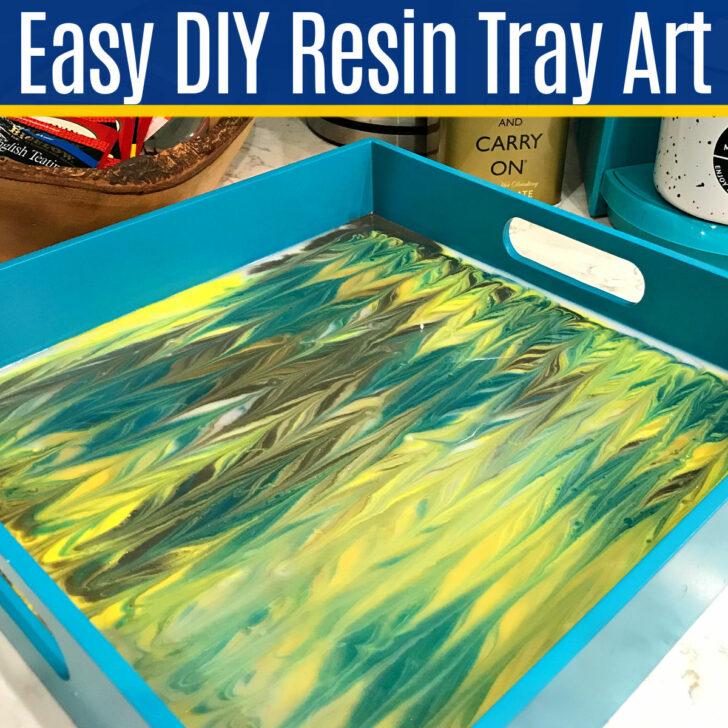
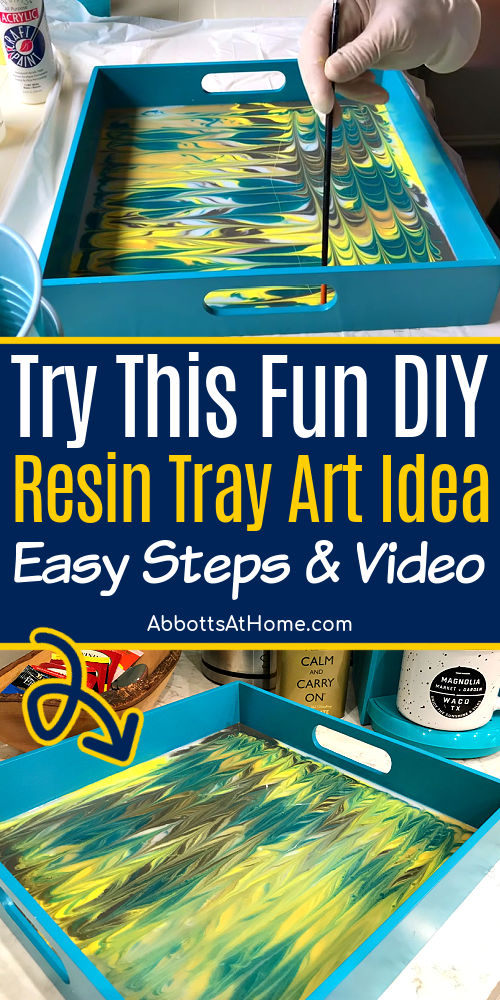
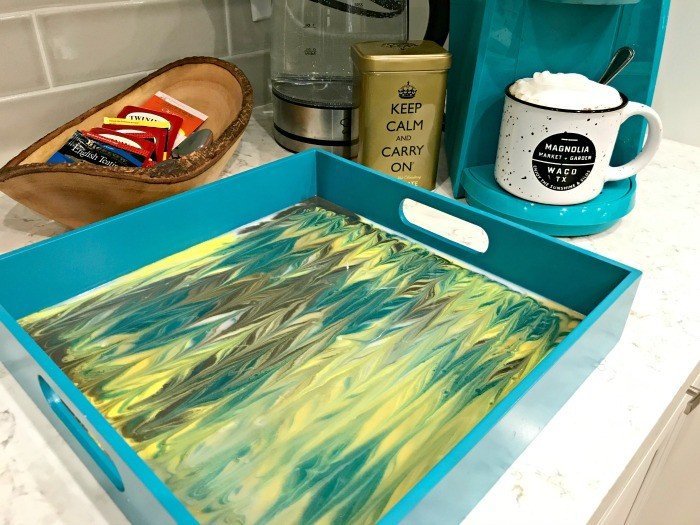
I LOVE this QUICK and EASY DIY Resin Tray Art Idea using EnviroTex Lite resin and acrylic craft paints. With written instructions and video.
I LOVE This Easy DIY Resin Tray Idea
I’ve had crafting with resin on my to-do list for such a long time. But I have to admit, I was kind of scared. Mixing liquids together that magically harden into awesomeness had to be complicated, right?
Wrong! It was so easy, guys!
For this project, I followed the instructions for Envirotex Lite Resin. They were pretty simple really. Just be sure to read them completely before starting and have all of your supplies ready before you start mixing.
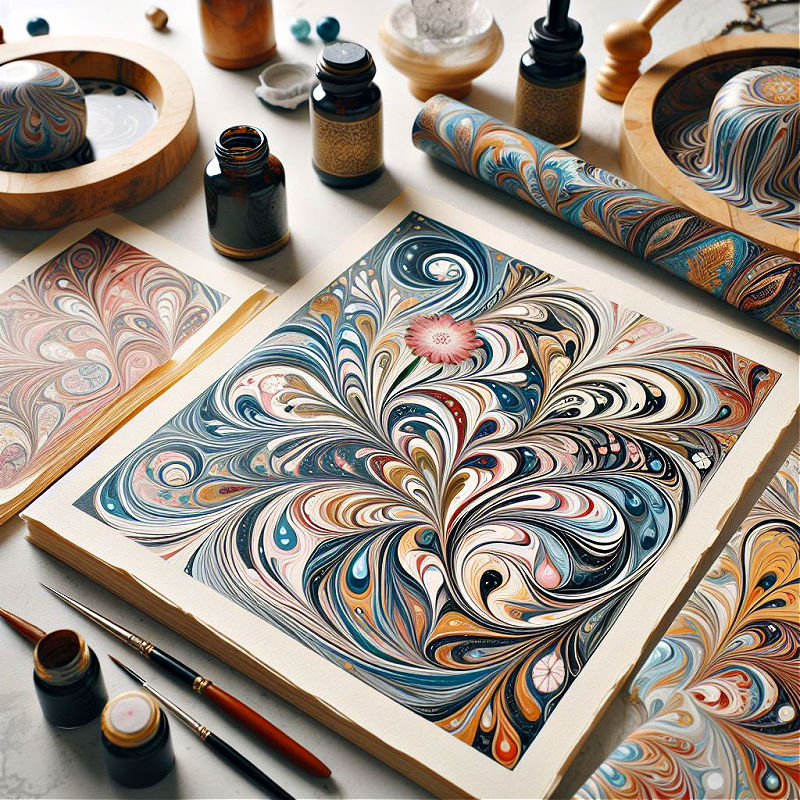
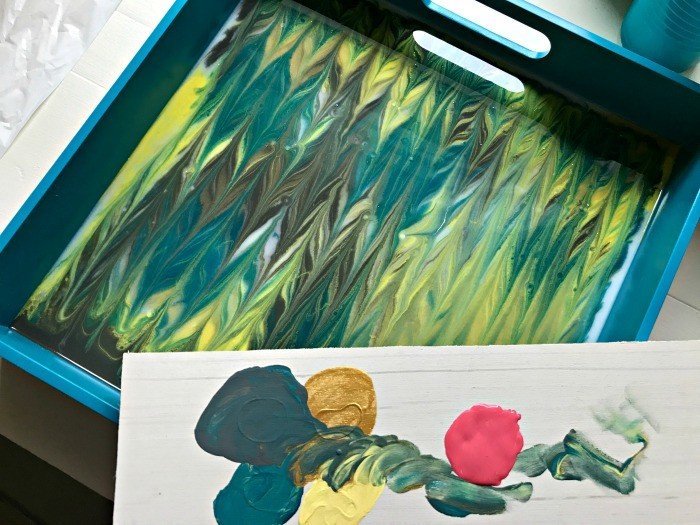
I Went With An Ebru Marbling Pattern
I love Ebru Marbling patterns on paper. You might have seen ebru marbling inside older books. Seems like they were always on the inside covers of Readers Digest when I was a kid.
I decided to use some of those ebru paper marbling design techniques to create a really cool pattern with this resin. Don’t worry, you can see exactly what I did by watching my YouTube video below.
When you watch the video, you’ll see that I created this DIY Resin Tray Art by dragging lines through the resin to recreate a popular marbling pattern. It’s one of my favorites!
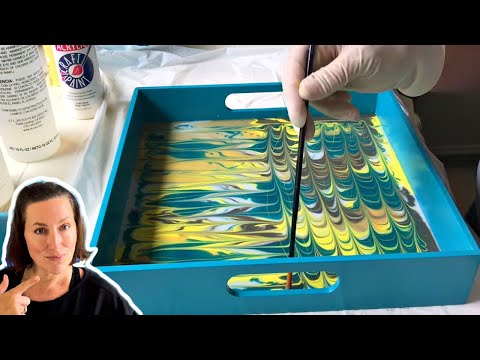
DIY Resin Art Tray Video Guide
If any of the written steps below are confusing, watch this 4 minute video to see how I did it.
EnviroTex Lite Resin Tray Art Instructions
Time Needed for this DIY Project
You’ll need about 30 minutes for all of the mixing, pouring, designing, and blowing out bubbles.
Materials Needed
- Envirotex Lite Pour On Resin
- 4 to 6 colors of acrylic paints, I used these acrylics
- 3 plastic cups for mixing the resin and 1 additional cup for each acrylic color
- craft Popsicle sticks or other clean items to stir with
- Straw or butane torch to blow out bubbles
- And a tray, of course
DIY Tip: Make sure you have multiple colors mixed around the tray to give the best result. And you want the resin to be about 1/4″ deep so that you can create a pattern.
Step One – Prep
Get all of your materials ready and set up BEFORE opening the resin. Once you start mixing, there will be no time to find something or put drop cloths down. Also, have your straw and/or butane torch ready.
Step Two – Thin Coat Your Tray
You may need to put a thin coat of resin on your wood or tray before starting to prevent bubbles. Read the EnviroTex Lite resin instructions for more info about when you need a thin coat.
When in doubt, do that thin coating of resin and allow it to dry completely before starting this ebru marbling technique.
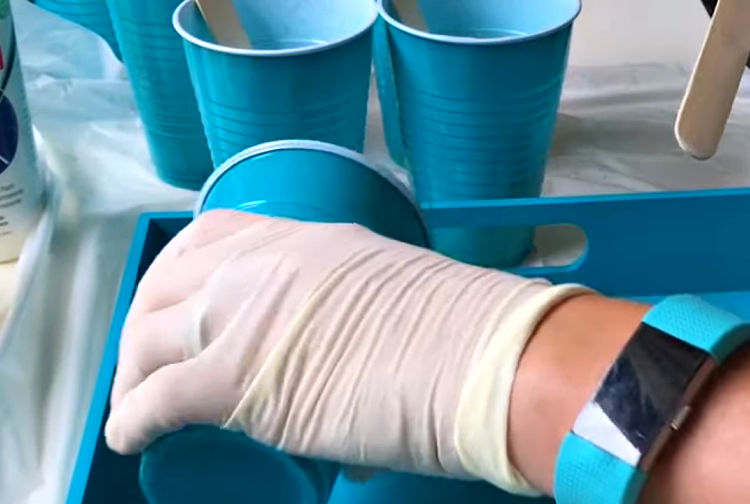
Step Three – Prep Your Paint Cups
I put about 1 tsp of each color of acrylic into it’s own cup before mixing the resin. I also had 1 clean popsicle stick ready for each cup, for mixing.
Step Four – Mix Your EnviroTex Lite Resin
It’s important to follow the directions that came with your resin. Envirotex Lite strongly states that the product should be mixed in a 50/50 ratio for it to harden properly.
I used the lines in my Solo cups as measuring lines to make sure each cup had the same amount.
Step Five – Add The Mixed Resin To The Paint Cups
After mixing the resin exactly as the directions say, pour some resin into each of the cups with the teaspoon of acrylic paint in it. Then mix each cup with it’s own clean stick.
Work quickly, but make sure to mix the acrylic into the resin completely.
Step Six – Start Pouring
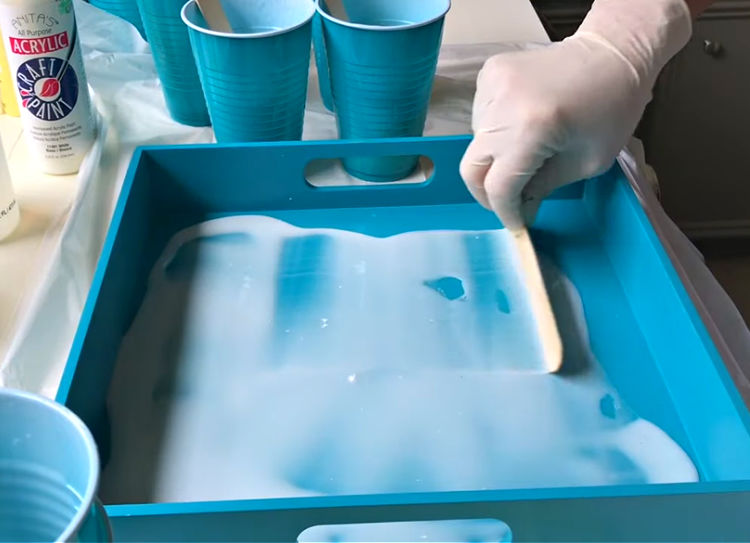
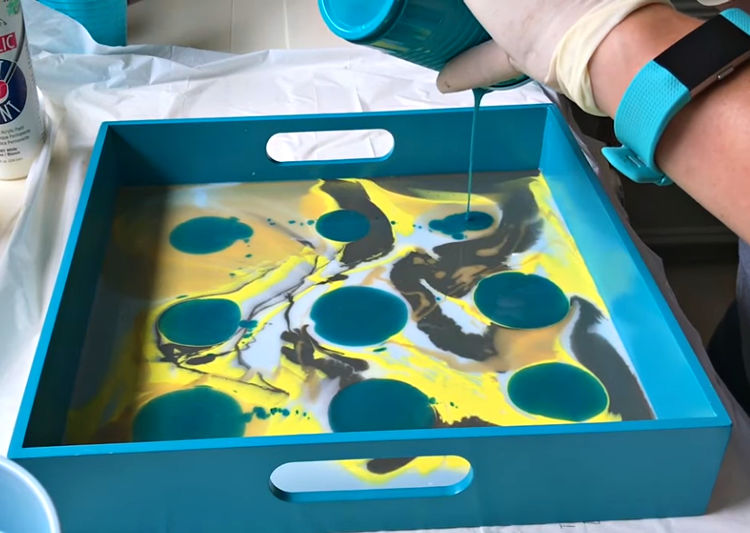
Pour each of those cups out into a random pattern on the tray. You want a little bit of each color everywhere. I spread the white resin mix out first in the video, but that’s not necessary.
For this DIY Resin Tray idea, you could also just pour or drop circles of random color around.
Step Seven – Tilt To Cover The Tray Bottom
Once you have poured out all of the resin, tilt the tray slightly to make sure the entire bottom of the tray is covered.
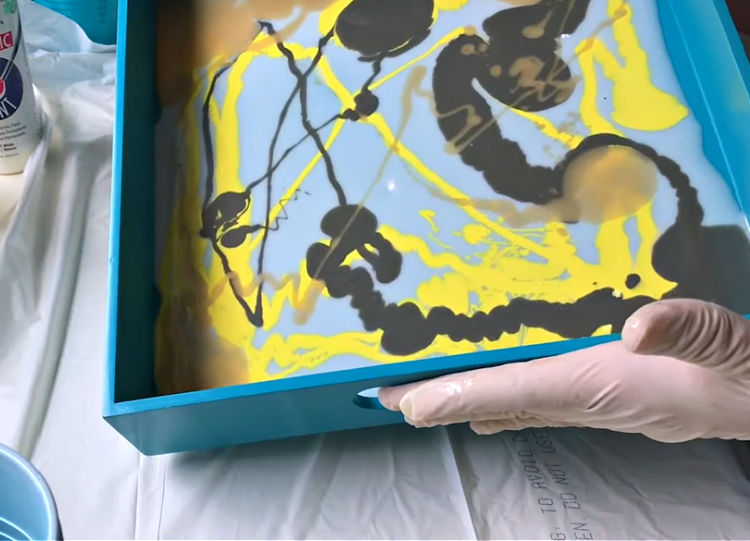
Step Eight – Create The Marbling Pattern
Set the tray on a level surface and follow the dragging pattern above (shown in video), to create this ebru marbling design.

Step Nine – Use A Straw To Blow Out Bubbles
Once you have finished the pattern, use your straw to lightly blow on any tiny bubbles that may come to the surface for the next 10 minutes. You can also use a butane torch to lightly blow out the bubbles.
Don’t use a blow dryer, the heat will cause more bubbles. I had a butane torch that I couldn’t get to work when I was ready to blow out the bubbles. So, I recommend having a straw on hand, just in case.
Step Ten – Let It Dry
Once the resin stops bubbling, let it harden on that flat, level surface for the next 8 – 12 hours. It should fully cure in 72 hours.
That’s it for this DIY Resin Tray Art tutorial. Good luck with your project!
More Arts & Crafts Projects For You
- How to Wrap A Picture Frame with Gift Wrap: Easy Christmas Wall Art
- 25 Scenic Landscape Wallpaper Murals: Beautiful Vintage Art and Realistic Nature
- Super Easy Peel And Stick Framed Wallpaper Mural DIY Steps And Video
- I LOVE This Easy DIY Scrapbook Paper Wall Art Idea – It’s Beautiful!
- How To Make Beautiful DIY Scrap Wood Wall Art (Easy Steps & Video)
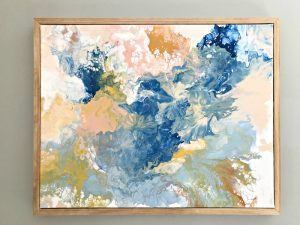
Looking for more awesome DIY Home Decor? Try this Acrylic Paint Pour Art Project.

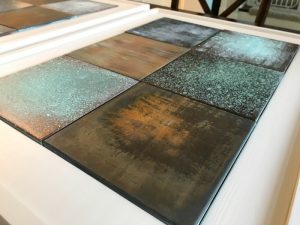
Or this tutorial full of DIY Patina Metal Looks with Chalk Paint.
I love this beautiful DIY Acrylic Paint Pouring Wall Art tutorial.
Feeling inspired? Follow this DIY Resin Tray Idea. Have fun and let me know if you have questions.

Stephanie Abbott has been remodeling homes, updating & building furniture, and working on DIY home maintenance and cleaning tips for over 20 years. Her remodeling has been featured in Better Homes and Gardens Magazine. And, her DIY YouTube channel has had more than 8 million views.
Most of the DIY tutorials and videos on this site focus on beginner to intermediate level DIY Projects that can be done in an affordable way without high-end, expensive tools. All of the cleaning tips on this website have been tested in her home.