
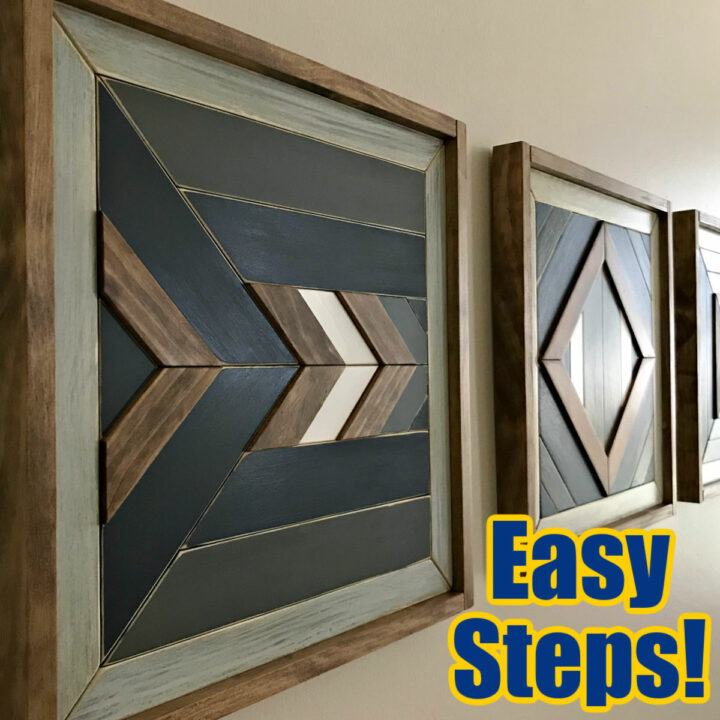
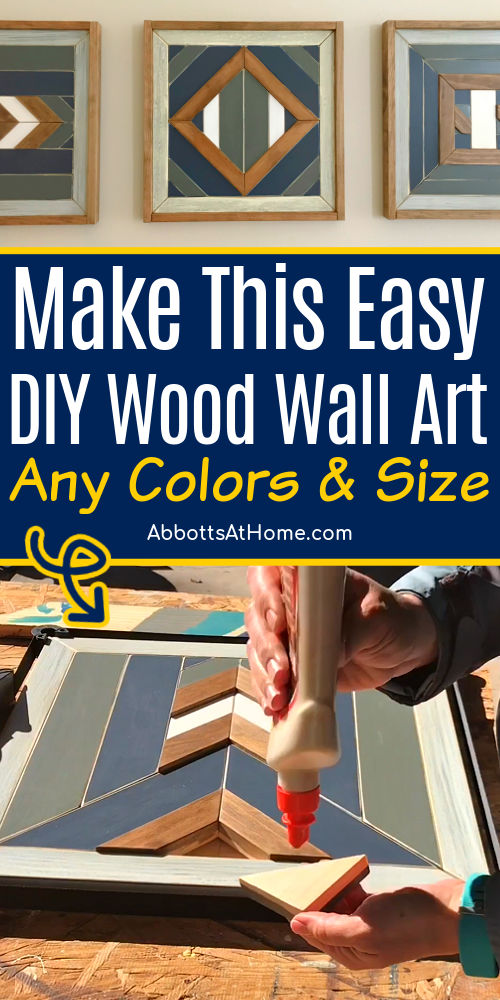
Wondering how to make wood wall art? Here’s a simple DIY scrap wood wall art tutorial for beginners that looks good enough to give as a gift!
DIY Scrap Wood Wall Art
I am always drawn to wood wall art in the stores. But even if I love it, the colors, size, or design never seem quite right for the room I want it for. So, I decided it was time to make my own DIY wood wall art.
And of course, I had to share the steps with you! These steps are easy enough for a beginner woodworker. You’ll just need to be comfortable using a Miter Saw to make this simple wood wall art.
But first, here’s what you need to know about picking the wood for your wall art.
Which Wood Do You Use for DIY Wood Wall Art
When I make my Geometric Wood Wall Art, I usually use scrap Select Pine because I tend to use it for a lot of my DIY Furniture Build Plans.
But, you can use different widths or types of wood for your design. Pick the wood that you like for your build. If you’re painting the pieces, go with a smooth wood like Select Pine or Poplar.
I like to use Select Pine over Common Board or Whitewood for these projects because it’s generally very straight, smooth-textured and knot free. Oak and Poplar boards work just as well.
But they are more expensive. So, only use those when you’ll be staining the wood and want to show off the wood grain and tone. Also remember that Oak will have a textured grain, instead of a smooth feel.
The Cedar boards you find at Lowes or Home Depot can work too. But they tend to be rougher than other dimensional lumber. So, carefully pick out the straightest boards with the least amount of imperfections.
Ok, let’s get to that DIY Wood Wall Art tutorial!
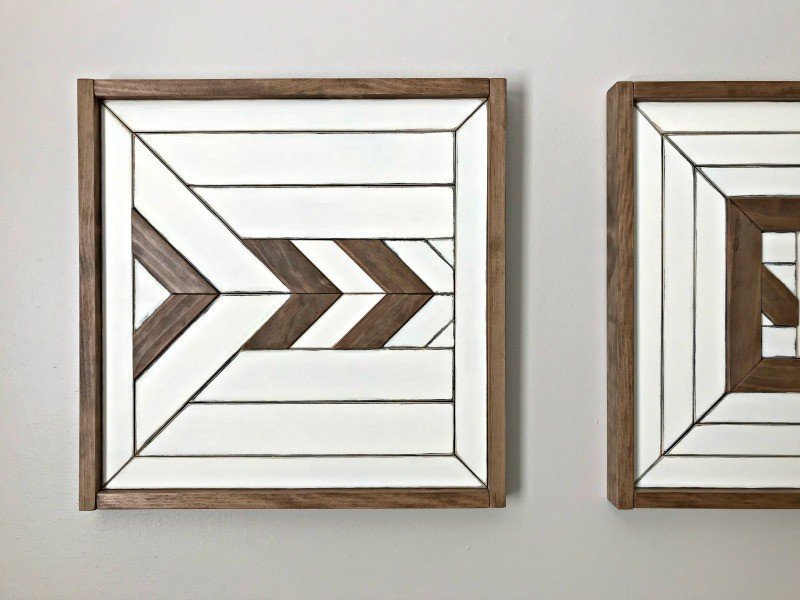
How To Make Geometric Wood Wall Art
Wood Used For This Build
- 1/4″ Plywood or Luan Base
- 1″x2″ and 1″x3″ Dimensional Lumber
Tools & Supplies Needed
- Brad Nailer and Brad Nails
- Miter Saw
- Circular Saw
- Clamps, I used this great Bessey Angle Strap Clamp
- Power Sander and 150-grit Sandpaper
- Wood Glue
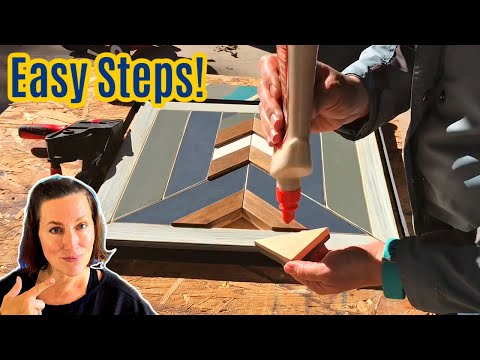
Watch the DIY Scrap Wood Wall Art Build Video
If any of the steps below are confusing, check out this quick video for a better look at each step of the build. Sometimes seeing something done makes it easier to understand.
Design Note: I only used nails on my outside frame. But you can nail and glue each piece in place, if you like the look of the nails. Just be sure to use a thicker plywood base and the right length of brad nails.
Step One
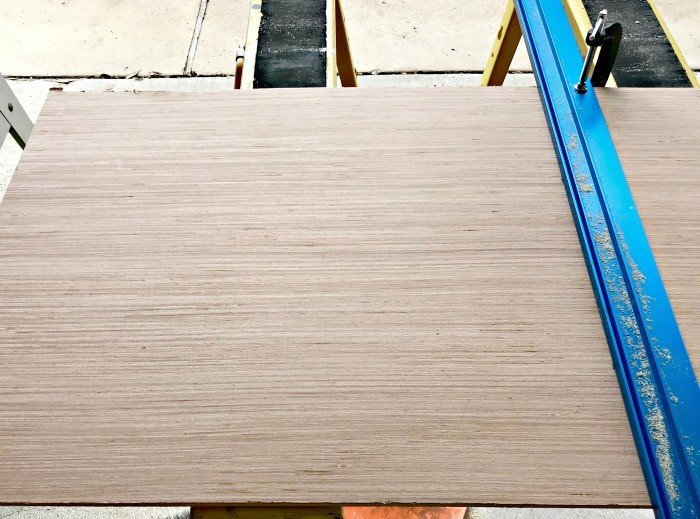
Decide on the best size DIY Scrap Wood Wall Art for your space. I went for 3 – 18″ x 18″ pieces for a large wall. Cut your plywood base to size.
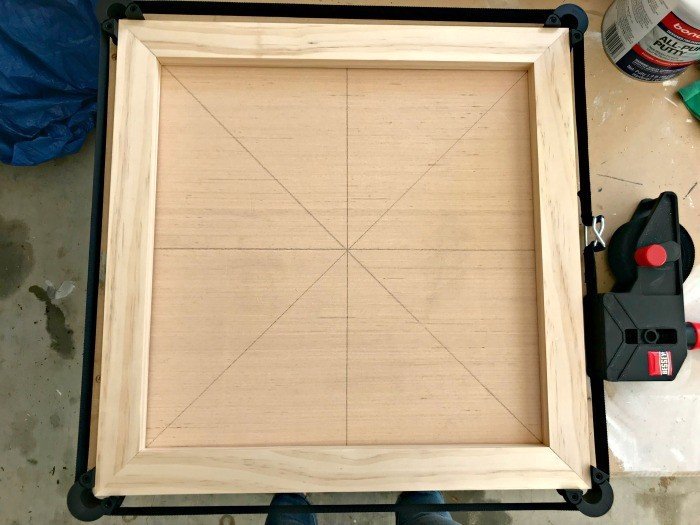
Cut the plywood base 1/2″ smaller on both sides. Keeping the plywood smaller will keep it out of sight when you hang it on a wall. So, my plywood base was 17 1/2″ x 17 1/2″.
Step Two
Next, I used a straight-edge to mark corner to corner and across the middles. Those marks just helped me make sure the design stayed centered.
Step Three
Each of my 3 Geometric Wood Wall Art designs, started with an outside frame. Clamping those together made it easier to hold the inner pieces in place while I worked on the design.
Each piece has to be cut to the exact same length to get a perfect square. I usually use the first piece as a cutting guide for the rest.
Just clamp the piece to the top and line the blade up with the edge on the top piece before cutting the bottom piece.
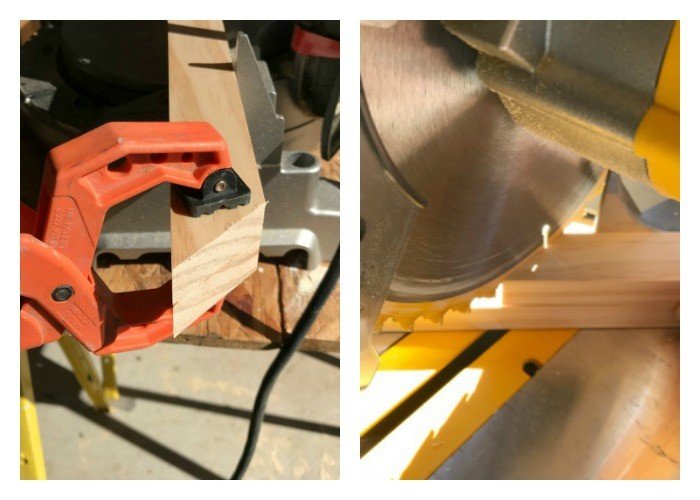
Step Four
Once the outside frame is cut and clamped in place, you can start cutting the inner pieces for your DIY wood art.
You can use my designs as a guide or pick your own. Instagram and Pinterest are full of inspiration. I decided that I didn’t want to make cuts along the length of any boards, to avoid using my table saw.
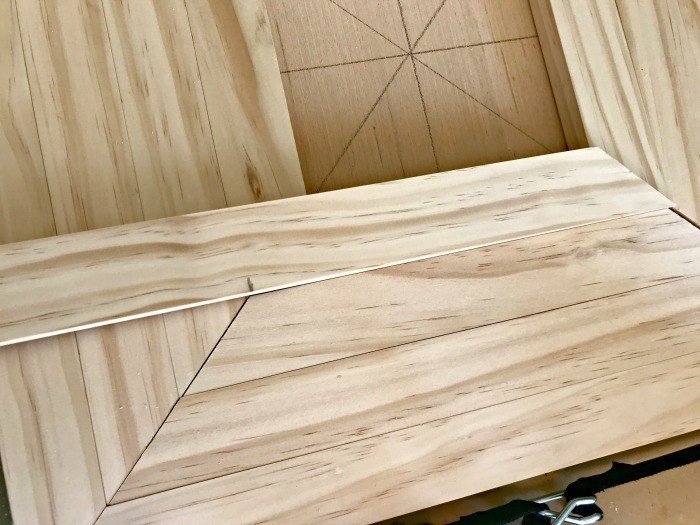
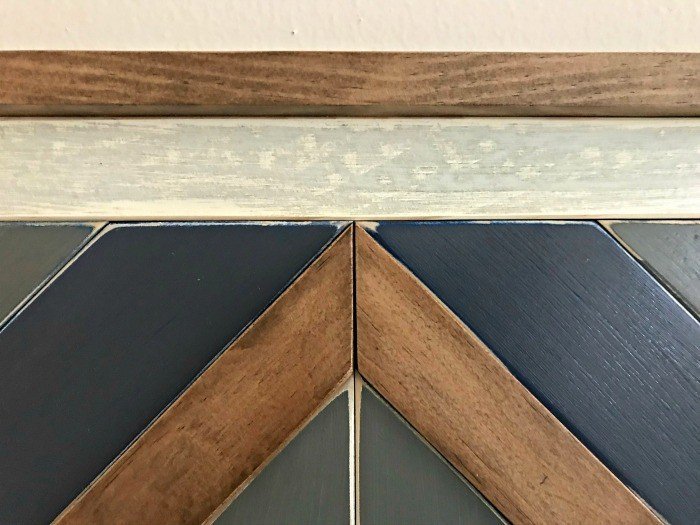
So I worked my way from the outside to the inside, using 2″ or 3″ wide boards to give more variation and interest to the design. I also stuck with just 45-degree angle cuts, to make things simple.
Use as many full width pieces as possible. My small triangles in each piece are the pieces that needed cutting on the width and length of the design.
If you’re not sure how to safely cut small pieces on a Miter Saw, you can find 4 tips for How to Safely Cut Small Wood Pieces on a Miter Saw in another post.
Step Five
When you have the whole design finished and dry fit, pick a few boards to raise with small pieces of 1/4″ plywood. I went with 1 pattern in each piece to raise.
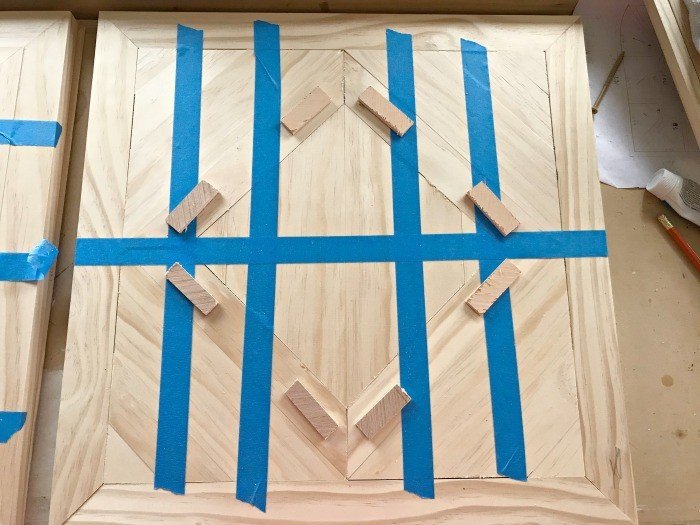
Step Six
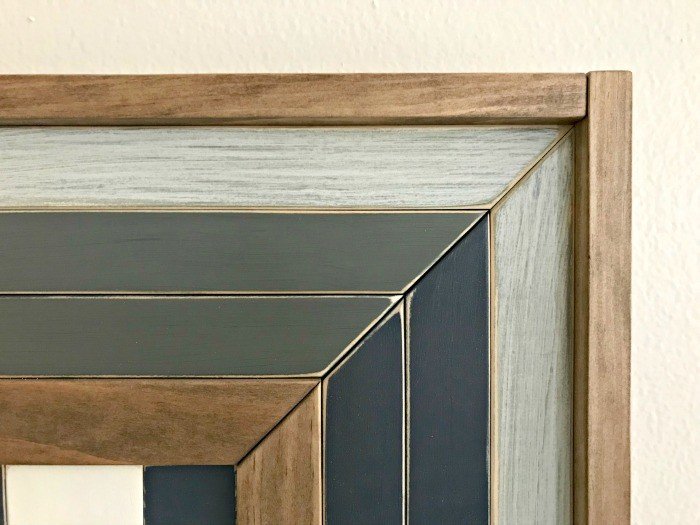
Now you can sand the boards with a medium grit sandpaper, around 150-grit. But make sure you remember where each piece goes. I sanded the top and sides of each board.
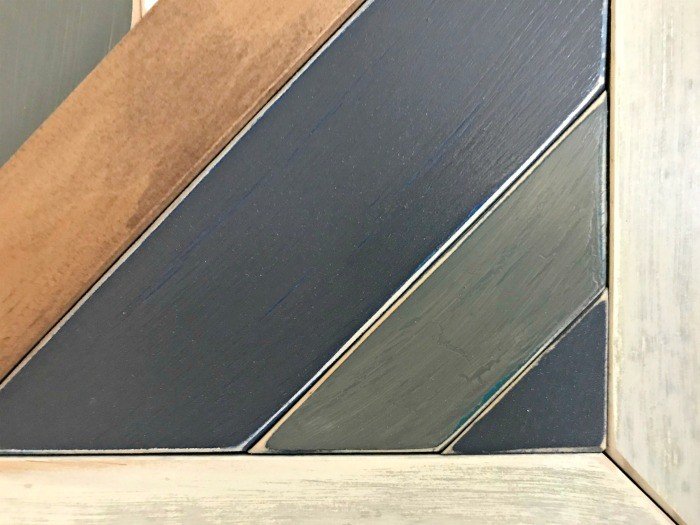
I also sand down all corners a bit to give it a rounded, finished look. You can see what I’m talking about in the close up. It’s a bit like creating a Chamfer edge with sandpaper. So, it’s not perfect but I love the look.

Step Seven – Paint Or Stain Each Piece
Now, before assembling my scrap wood wall art, I apply the finish. Pick whichever acrylic paints, chalk paints, latex, and/or stains will work with your design.
You should use a good nylon paint brush or foam sponge brushes to get a smooth finish on the pieces.
If you have a latex paint you want to use, I highly recommend using the steps in this DIY Chalk Paint tutorial to turn latex paint into quick drying and easy to use chalk paint. Chalk paint is easier to sand and dries harder than latex.

Wipe off all dust on your pieces. Then apply the paint and stain colors you picked. Let them dry completely before moving on to the next step.
I played around with colors and looks for a while before settling on mine. I also used layers of acrylic with my homemade latex chalk paint to create layered looks.
I used Elmer’s School Glue to add a crackle finish to most of the pieces. I was hoping it would mimic an aged wood look and give the pieces more character. I ended up going with a similar design and color scheme to the one I used on my DIY L-Shaped Backyard Bench.

Step Eight – Distress & Top Coat
After painting and staining all of the pieces, I lightly sanded the edges on all of the pieces to add more character and extra dimension to the look. Finish by applying a matte poly top coat over each board.
Step Nine – Glue Up And Assembly
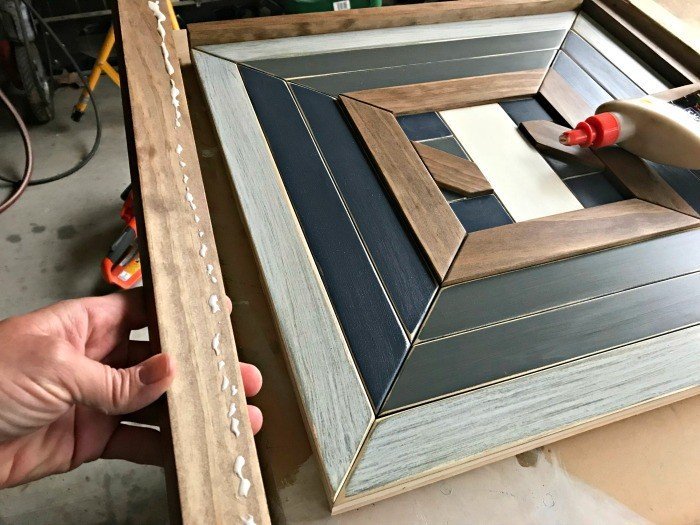
Once dry, you can glue everything in place. For these projects, I only use wood glue on the bottom of each piece, not the sides.
I started by gluing the surrounding outer boards (from step 4) in place first. Then I placed them inside the Bessey Strap Clamp again. To hold them in place while the glue dried.
Then, I added the other pieces one by one, using plenty of Wood Glue as I went. Press every piece tightly in place. Let this fully dry before gluing and nailing the frame on.
Check out the video above these steps for a good look at how I glue these pieces in place.
Step Ten – Add The Frame
For the outside frame, I used 1×2’s with the 1″ (really 3/4″) side facing up. I used wood glue and brad nails to attach the outside frame to the rest of the geometric wood wall art.
Then I attached a large Sawtooth hanger to the back to hang it from. Wood art can be pretty heavy, so be sure to buy the right anchors or hanging hardware for the weight of your design.
That’s it, you’ve built your own DIY Scrap Wood Wall Art. Give yourself a pat on the back.
UPDATE: After a couple years, I decided to give this wall art a new look so that I could use it in another room. Check out how I gave this a makeover in this Simple Scrap Wood Wall Art Tutorial.
More DIY Geometric Wood Tutorials
- Beautiful DIY Geometric Wood Table Top Design: Steps and Video
- How to Cut a Dresser in Half to Make New Furniture (Wow)
- Beautiful DIY Wood Mosaic Table Top Design: Steps and Video
- 28 Best Small Scrap Wood Projects With Easy To Follow DIY Steps & Videos
- 13 FREE PDF Furniture Build Plans And 13 Popular Woodworking Projects
- Cheap And Easy DIY Canvas Frame (Quick Steps And Video)
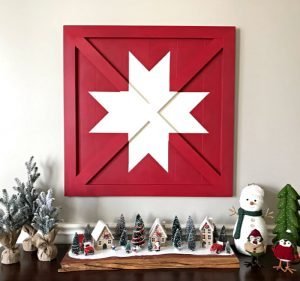
Try this Wooden DIY Barn Star Art for your next build.
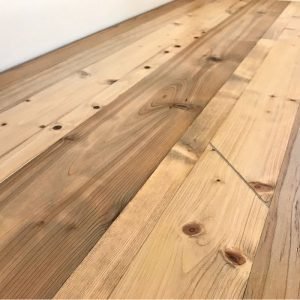
Here’s another great way to use Scrap Wood. Check out this DIY Scrap Wood Table Top Tutorial.
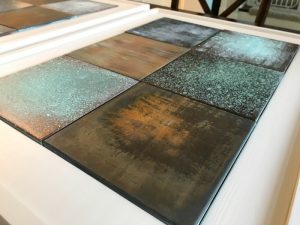
Or, have a look at how to faux paint 20 different metal patina looks.
Feeling inspired? Get out there and make your own DIY Scrap Wood Wall Art. Have fun and let me know if you have questions.
Don’t forget to sign up for the Abbotts At Home email newsletter to get DIY, Remodeling, and Crafty ideas in your inbox.

Stephanie Abbott has been remodeling homes, updating & building furniture, and working on DIY home maintenance and cleaning tips for over 20 years. Her remodeling has been featured in Better Homes and Gardens Magazine. And, her DIY YouTube channel has had more than 8 million views.
Most of the DIY tutorials and videos on this site focus on beginner to intermediate level DIY Projects that can be done in an affordable way without high-end, expensive tools. All of the cleaning tips on this website have been tested in her home.