
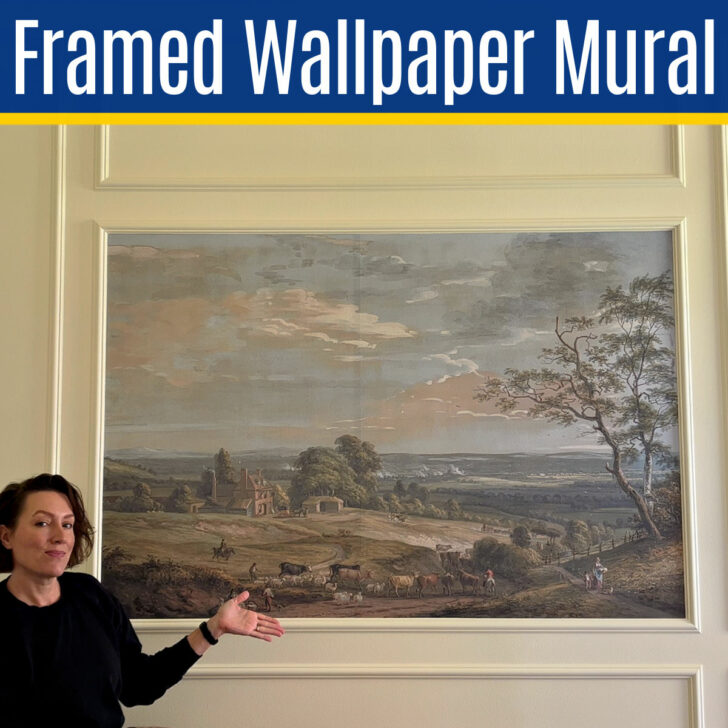
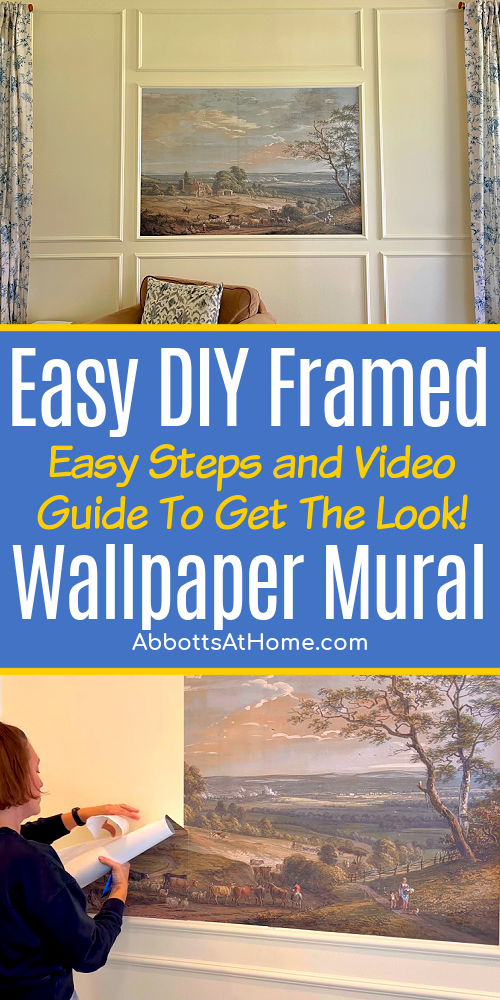
Turn a peel and stick wallpaper mural and trim molding into beautiful wall art with this SUPER EASY framed wallpaper mural DIY.
Easy Framed Wallpaper Mural DIY
Hi, guys! I’m back with another easy DIY home decor project. Today, I’m going over the quick steps to install a peel and stick framed wallpaper mural inside trim on your wall.
If you want to install a full wall to wall, floor to ceiling mural most of these steps will still be the same. You’ll just be trimming the excess wallpaper at the end of the wall instead.
If you’re looking for some beautiful mural options, available in tons of sizes and styles, then check out my top picks for 25 Scenic Landscape Wallpaper Murals.
Alright, let’s get started!
Does A Framed Wallpaper Mural Go Under The Trim?
No, you shouldn’t install a wallpaper mural under trim. Sometimes people think the trim will help to hold the edges of the wallpaper down.
But a quality peel and stick wallpaper mural doesn’t need to be held down. If you put trim over wallpaper, that trim will need to be removed if you decide to remove the mural or replace it.
And, installing trim over wallpaper makes it much harder to properly finish that trim with wood filler, caulk, and paint.
How To Frame A Wallpaper Mural In Trim
Note: This tutorial goes over how to hang a peel and stick wallpaper mural in trim that is already installed and painted. If you want the steps to install picture frame trim, like mine, watch this YouTube video.
See The Current Price For My Beautiful Vintage-Style Wallpaper Mural On ETSY.
Step 1 – Buy The Right Size
This project really starts with picking the right size for your wallpaper mural. I recommend buying a wallpaper mural that is at least 1″ wider and 1″ taller than your picture frame trim box.
It’s easier to trim away a little extra wallpaper at the edges than it is to get all 4 sides of the mural lined up perfectly.
And, on top of making your work easier, you can also use this as a way to get rid of certain aspects of the mural.
For example, I thought my mural had too much sky compared to land. So, I purposely bought a mural 6″ taller than my picture frame trim so that I could cut away 6″ of that sky.
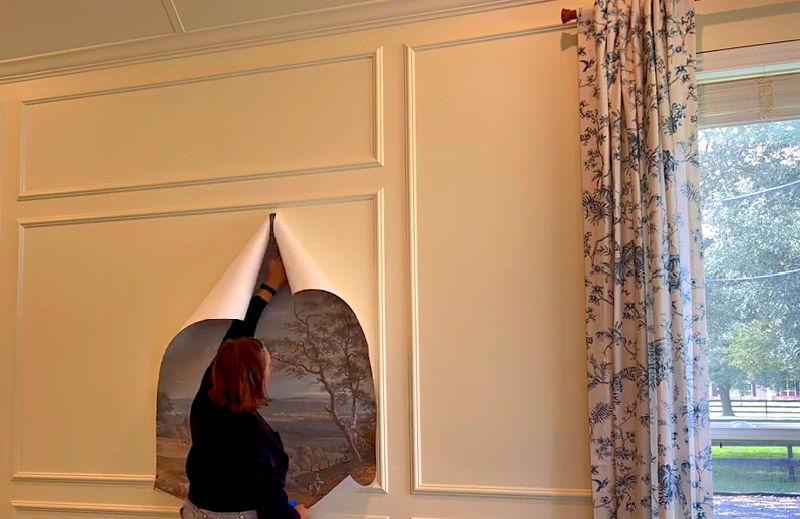
Step 2 – Start At A Corner
Start by only removing about 6″ of the backing paper on your mural. I started by installing my peel and stick wallpaper mural at the bottom right corner.
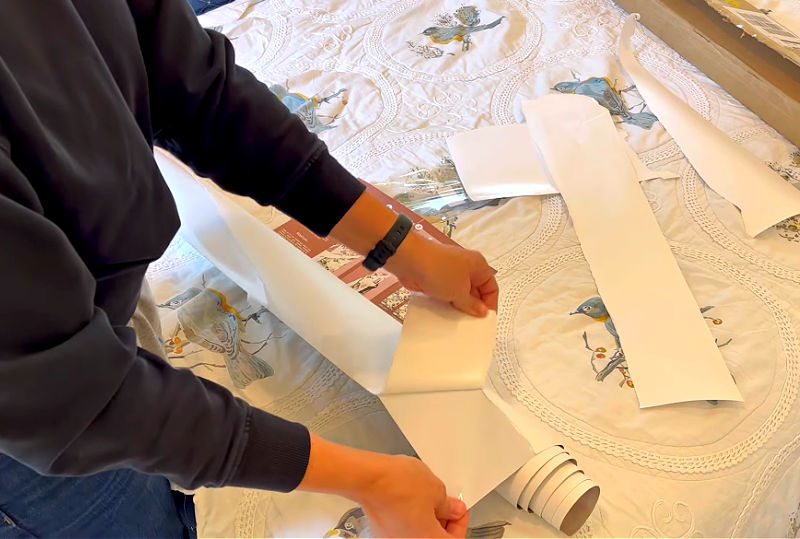
Working with only small sections of sticky wallpaper makes it easier to line up the wallpaper and peel it off as needed to get it straight.
I lined up the right side of my mural with the inside of the trim box. Keeping one side of the mural lined up with the trim is an easy way to make sure the mural is also installed straight on the wall.
Try to overlap the bottom of trim with about an 1/8″ or 1/4″ of the wallpaper mural. This slight overlap will be trimmed away later.
The overlap just makes sure that you don’t have to worry about falling short at the trim with any of the pieces you’ll install.
Once you get that corner and the right-hand side of the mural lined up properly, peel back 5 or 6 more inches of the backing to install the next section.
Step 3 – Use A Smoothing Tool
Luckily, my wallpaper mural came with a smoothing tool. If yours doesn’t, grab one of these cheap wallpaper kits to get a smoothing tool and a sharp knife for trimming wallpaper.

As you finish each small section of wallpaper, use a smoothing tool to remove air bubbles from the wallpaper mural and to keep the wallpaper nice and smooth against the wall.
Peel back the paper for a small section, carefully press it onto th wall, then use the smoothing tool to get a tight bond between the wallpaper mural and the wall.

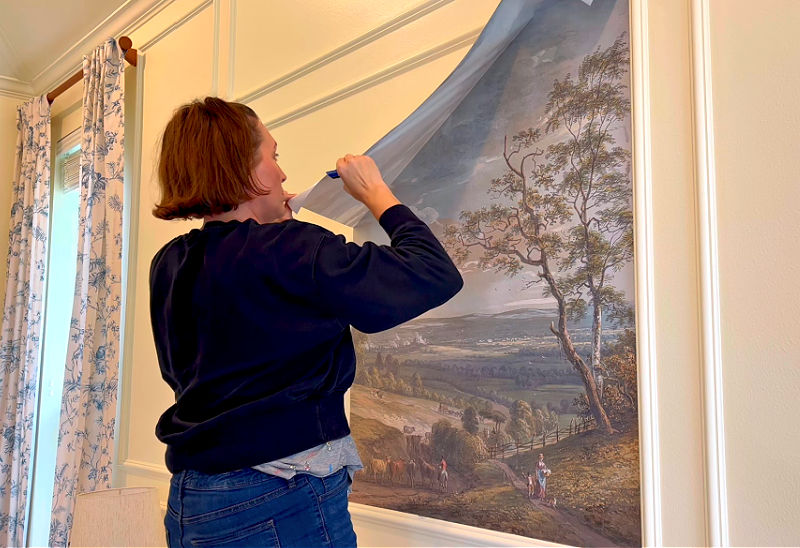
Step 4 -Finishing A Row
Once, you’ve worked from the bottom to the top for one sheet of your wallpaper mural, smooth the piece down, then leave any overhang in place as you move on to the next piece.
DO NOT trim off the overhang until you’ve completed installed the entire mural, just in case.
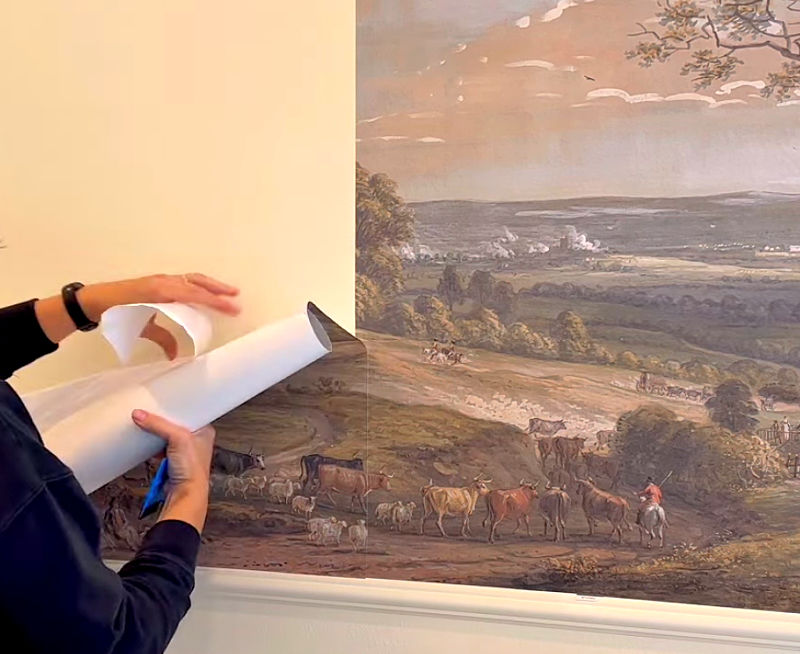
Step 5 – Repeat For The Entire Mural
Some wallpaper murals are printed so that the design butts up next to the last sheet of wallpaper. But, most are printed with about a 1/2″ overlap of the design.
So, if your mural has an overlap, like mine, you’ll have to carefully line up the pattern of the next piece with the last piece that you installed.
Don’t worry, wether you’re installing peel and stick or a pasted wallpaper, you’ll be able to peel off the paper and adjust it as much as needed to get the pattern right.
Watch the video of me installing my framed wallpaper mural below, if you want to see it done. Then, just follow steps 1 to 5 for each sheet of wallpaper mural until it’s completely installed.
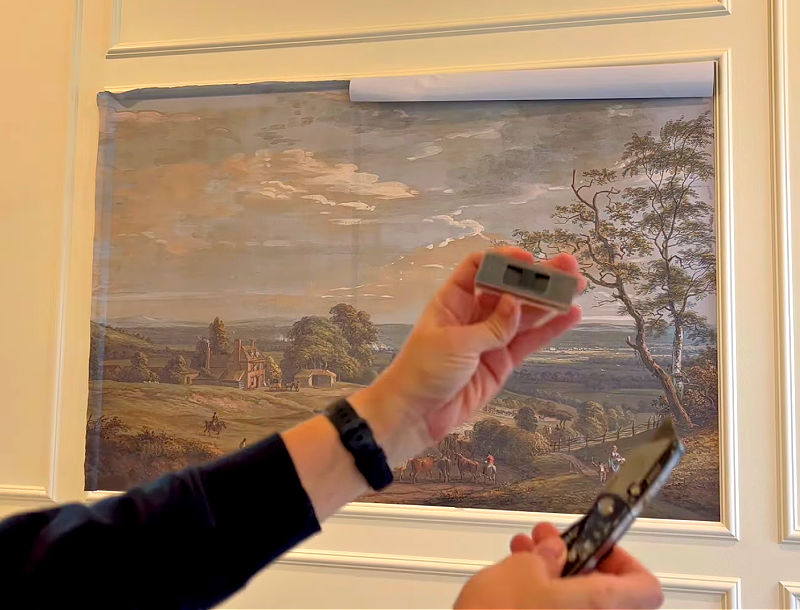
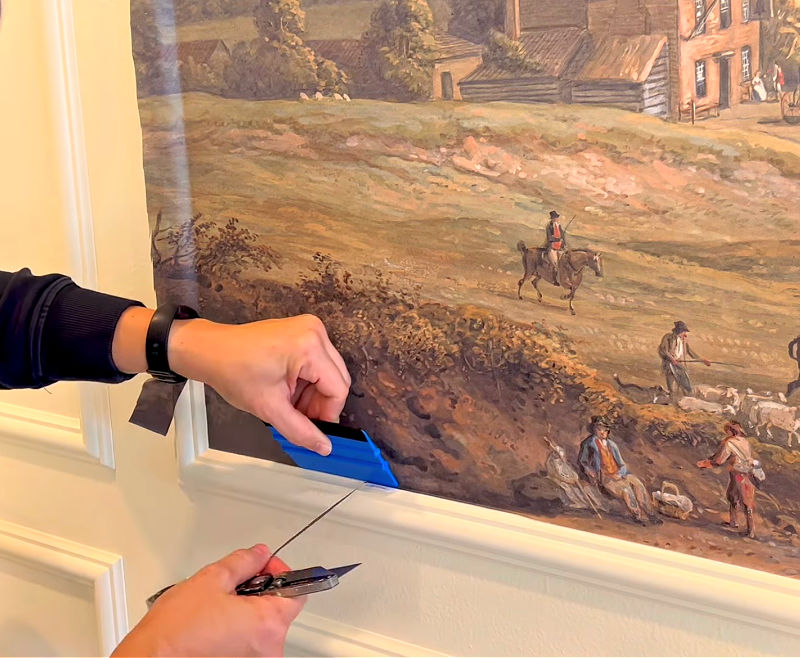
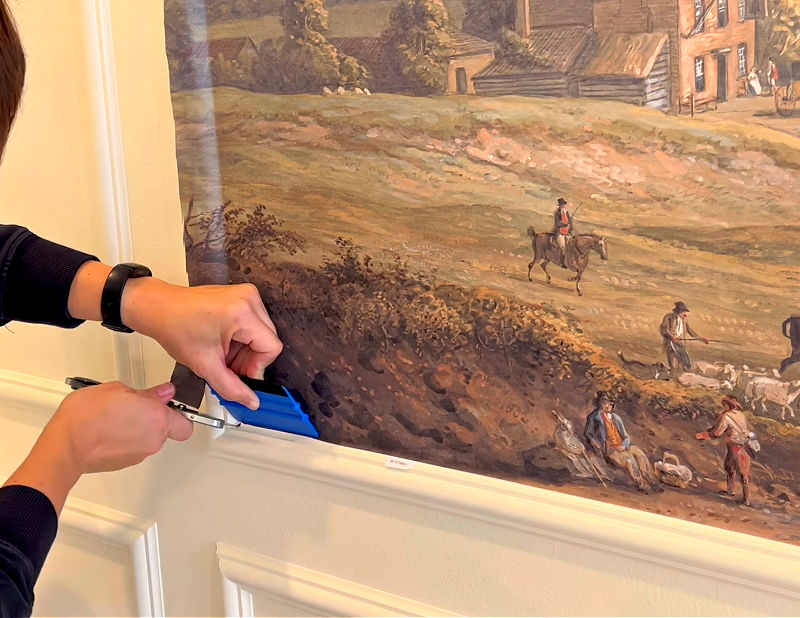
Step 6 – Trim Away Any Overlap
Now that the entire framed wallpaper mural has been installed and smoothed to remove air bubbles, it’s time to trim the overlap.
This is actually a lot easier than it sounds. You’ll need a long, flat, hard edge as a guide and a sharp craft knife or utility knife to do this part. This wallpaper kit has a smoother, hard edge and knife for cutting.
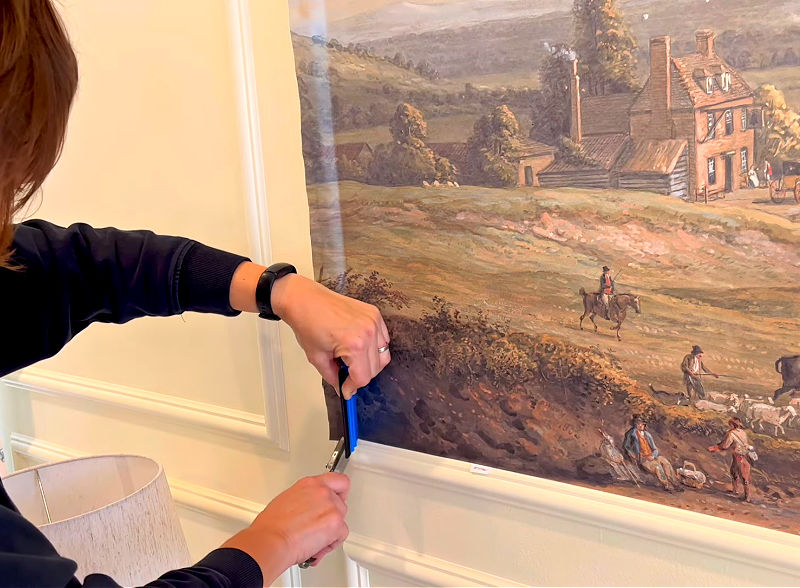
I recommend changing the blade in your utility knife before you start. That way you have the sharpest, cleanest blade possible.
To trim the excess wallpaper off, press the hard edge guide firmly against the trim. Then lightly drag the blade along that edge to cut through the paper. Repeat that all along the wallpaper mural frame.
See The Current Price For My Beautiful Vintage-Style Wallpaper Mural On ETSY.
That’s it for how to install this easy peel and stick wallpaper mural in trim. Keep reading for answers to common questions.
How To Put A Mural On A Wall
If any of the steps above are confusing, watch this short video to see how to put a peel and stick wallpaper mural on a wall.

How To Install Peel And Stick Wallpaper In Corners
When you install peel and stick wallpaper in corners, you won’t get a perfect corner until the excess wallpaper is trimmed away.
Be sure to use a hard, straight-edge as a guide and a new, sharp blade to cut each side at the corner. That’ll make getting perfect wallpaper corners easy peasy.
How To Frame A Mural On A Wall
The easiest way to frame a mural on a wall is to install the trim moulding first. Then caulk and paint the trim before installing the mural inside the trim.
Installing the frame before the mural makes it easier to remove or replace the mural without removing the trim. Read the DIY steps above to see my full guide to install a peel and stick wallpaper mural.
That’s it for how to frame a wallpaper mural in trim. Now, here’s a few more popular posts you might like.
5 More Home Decor Posts For You
- 7 Helpful Tips for Decorating a Large Wall in a Living Room
- 13 Best FREE PDF Furniture Build Plans And 12 Popular Woodworking Projects
- How to Wrap A Picture Frame with Gift Wrap: Easy Christmas Wall Art
- 55 Absolutely Beautiful Vintage Style Art Posters for Your Walls
- I LOVE This Easy DIY Scrapbook Paper Wall Art Idea – It’s Beautiful!
Some DIYs You Might Like
You might also like this post with 3 Best Ways To Clean White Kitchen Cabinets – Plus, 3 To Avoid!

Or this post with 7 Easy Ways To Get A Heat Stain Out Of Wood (With Video And Tips).

Here’s how to How Do I Get Rid of Cable And Still Watch TV: Easy Guide

That’s it for this How To Install A Peel And Stick Framed Wallpaper Mural. Let me know if you have questions.
Don’t forget to sign up for the Abbotts At Home email newsletter to get DIY ideas in your inbox.

Stephanie Abbott has been remodeling homes, updating & building furniture, and working on DIY home maintenance and cleaning tips for over 20 years. Her remodeling has been featured in Better Homes and Gardens Magazine. And, her DIY YouTube channel has had more than 8 million views.
Most of the DIY tutorials and videos on this site focus on beginner to intermediate level DIY Projects that can be done in an affordable way without high-end, expensive tools. All of the cleaning tips on this website have been tested in her home.