
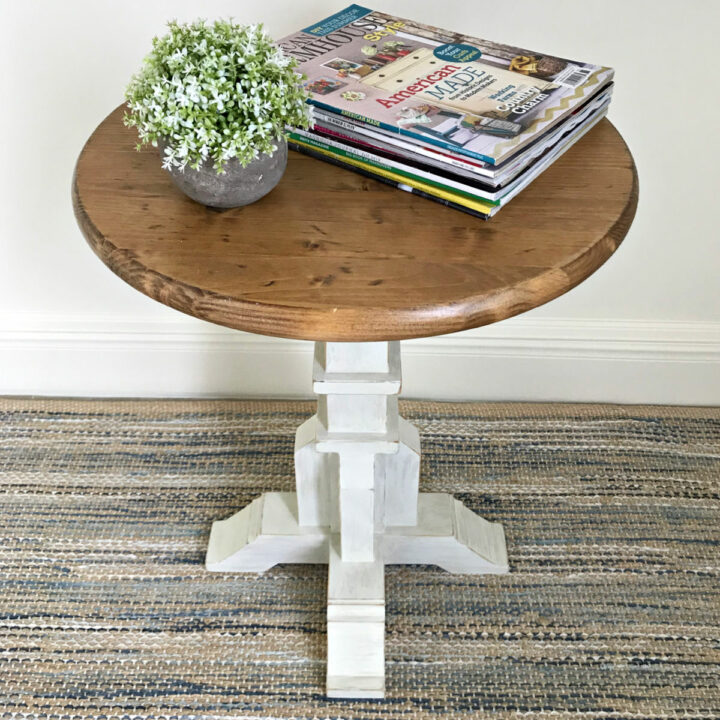
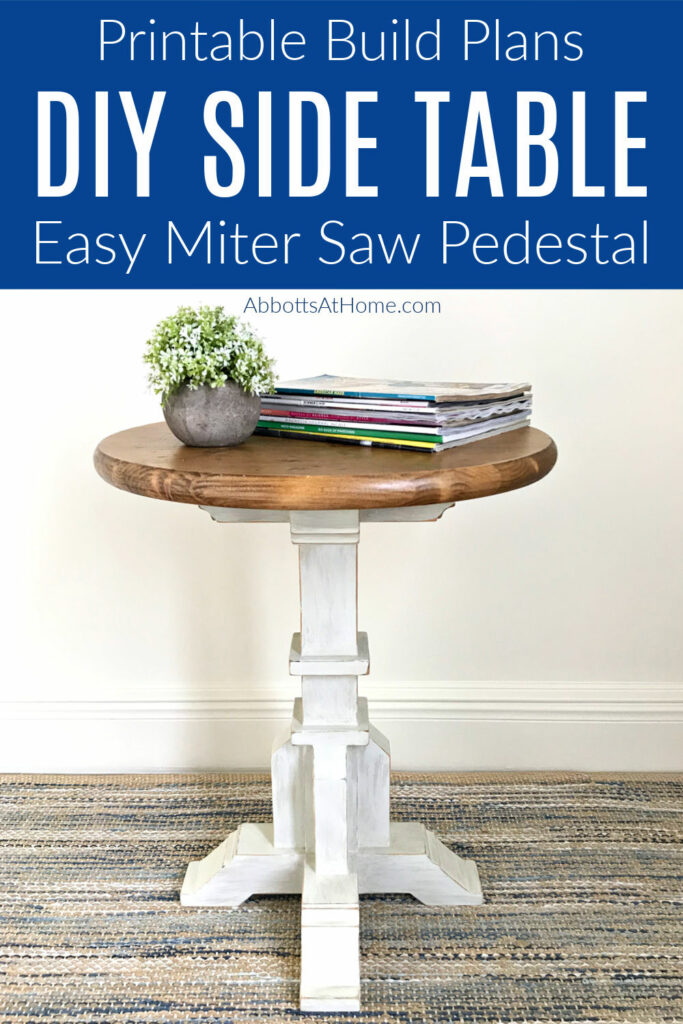
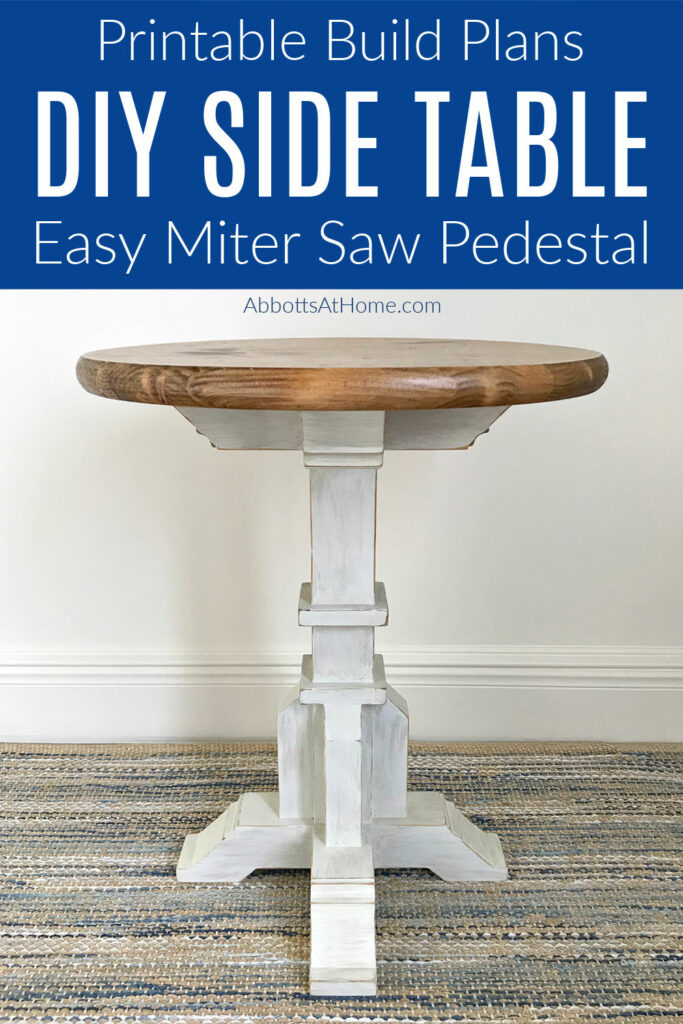
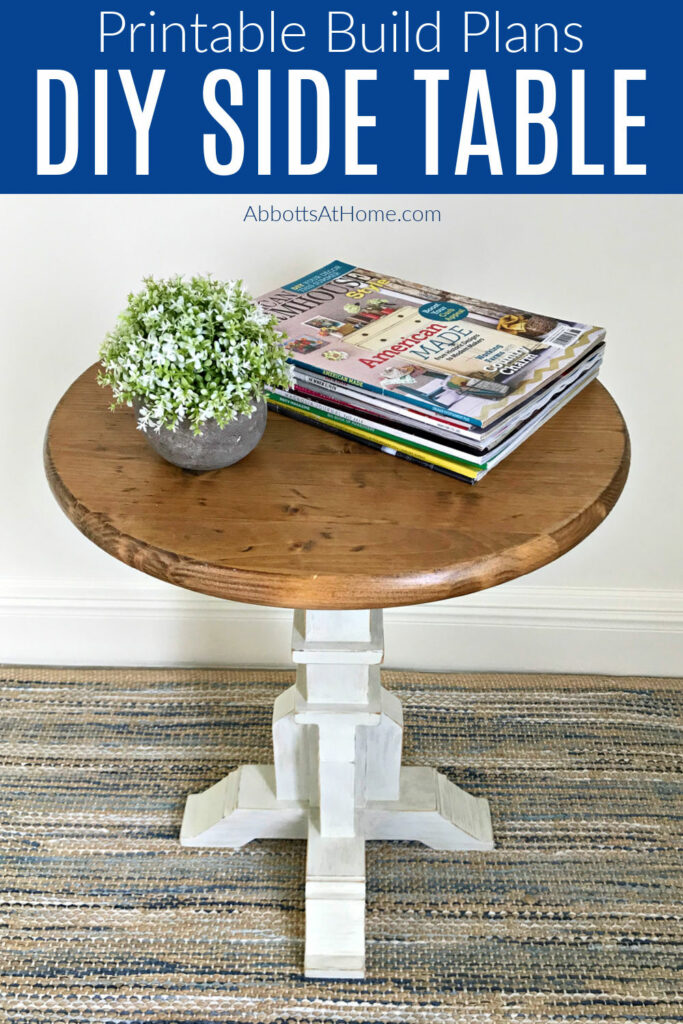
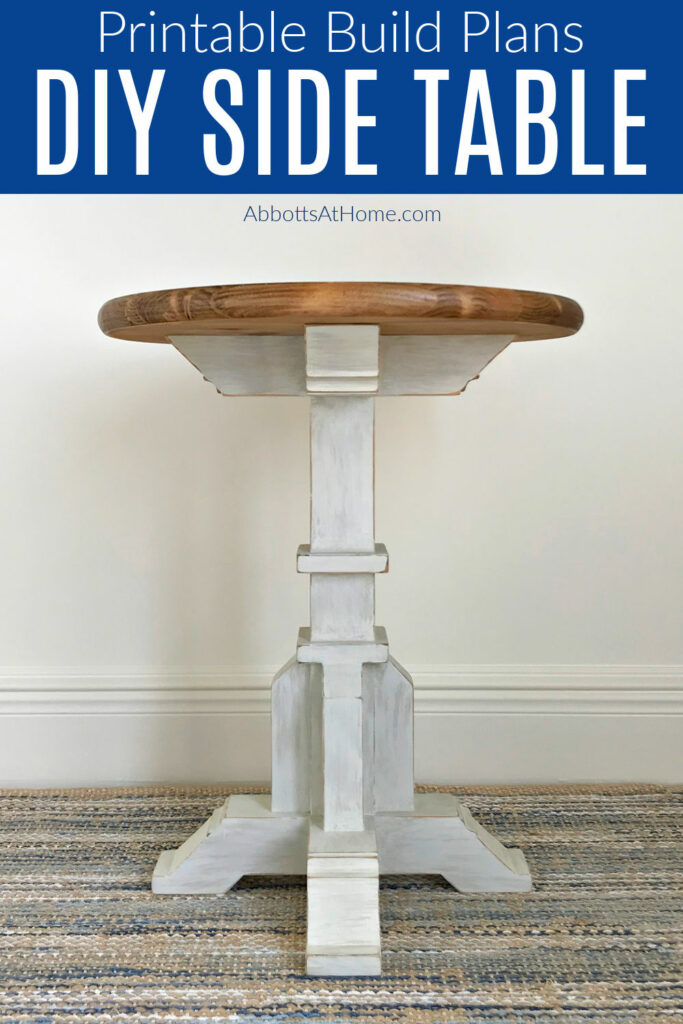
Build this sweet round top, pedestal base DIY Side Table Woodworking Plan for less than $50. Win! Full tutorial & printable build plans.
DIY Side Table With A Pedestal Base
So excited to finally be sharing my DIY Side Table Woodworking Plan with you guys today. I love pedestal tables.
But the design of some of them can get pretty complicated. I always try to design furniture that most beginner and intermediate woodworkers can do without any expensive woodworking tools or lumber.
I wanted this table to have a beautiful design, but still be quick and easy enough to build with just dimensional lumber and a Miter Saw.
The round top is a really cheap, premade wood round that you can find at Home Depot of Lowes. So, no need to try to cut your own circle with a router.
And, I designed the pedestal base on this side table to look as pretty as the curvy bases that you’d normally need a band saw to build. But this pedestal base can be built with just your Miter Saw.
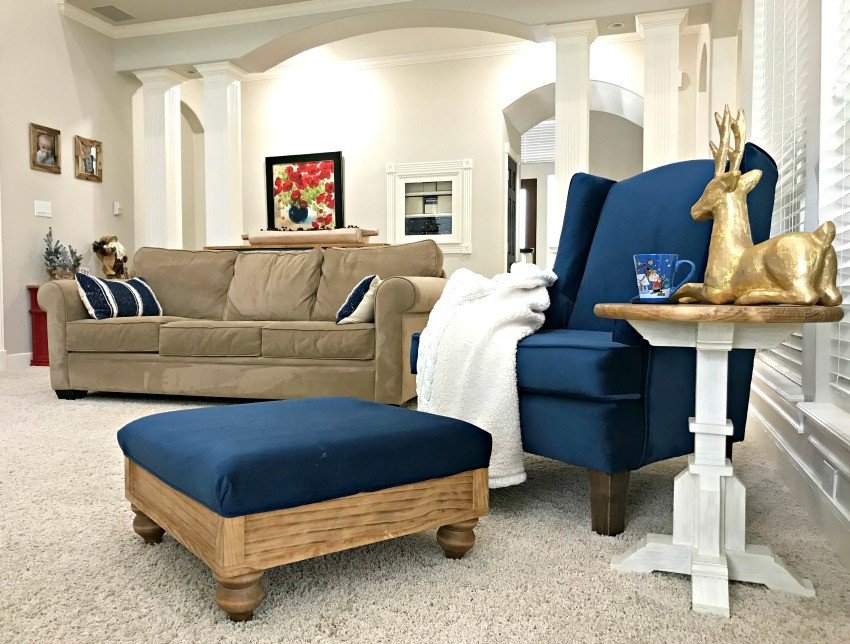
I built this round top wood table for my big Modern Farmhouse Living Room Makeover. But, I was so busy with all of the DIY furniture and remodeling projects in there, that I haven’t had a chance to share this, until today.
The best part of this DIY Side Table Woodworking Plan is the material costs. You can build 2 of these for less than $100. I hope you love it as much as I do!

Materials Needed
Exact measurements needed are on the printable plans. Be sure to double-check everything, as you build. It’s always possible that I could have mis-typed something. Bloggers don’t have editors. 😉
- 1 – 18″ Unfinished Pine Round – I bought mine at Lowe’s
- About 20′ of 1×3 Select Pine (or similar)
- About 2′ Pine Cove Molding
- About 2′ – 1/2″ x 3/4″ Pine Molding
- About 2 1/2′ of 2×2 Select Pine (or similar)
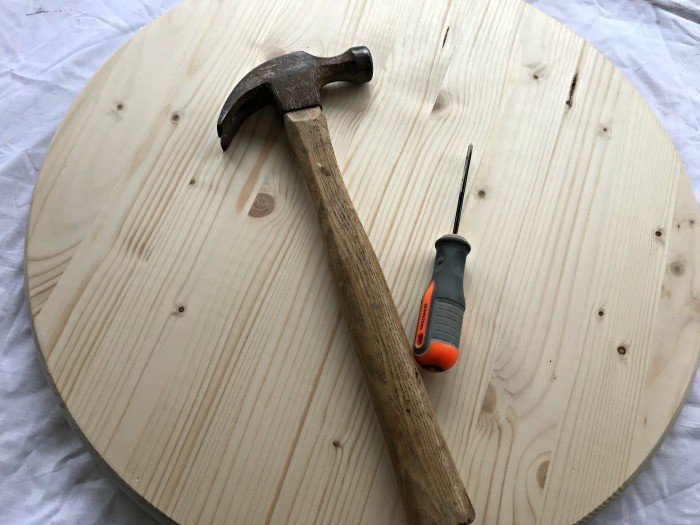
Tools Needed
- Kreg Jig, Screws and Drill
- Wood Glue
- Brad Nailer and Nails
- Miter Saw
- Sander and Sandpaper
DIY Pedestal Side Table – Build Steps
Once finished, this small side table is 18″ in diameter and 22 1/4″ high.
Step One
We’ll start with the cross pieces for the base and table top. Cut the long 1×3’s. Glue and Nail 2 sets of 2 of them together. Make sure to line them up as perfectly as possible. It’ll be less sanding for you later.
2 or 3 nails along the top should be enough to hold the pieces tightly together while the glue dries. BUT, keep the nails 2″ away from each end so that they are kept away from the angle we’ll cut next.
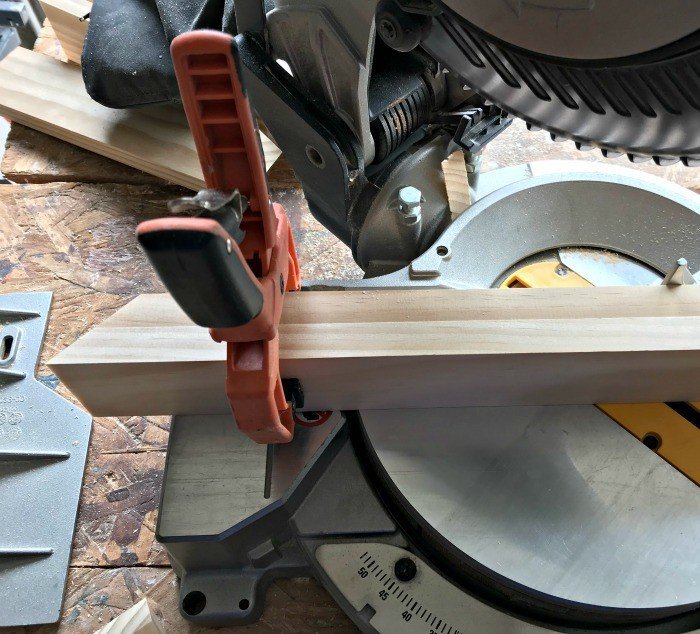
Step Two
Turn the 2 new pieces on their side to make 45-degree Miter cuts on each end. When you make your cuts, face the nail holes towards you.
That’ll put them on the hidden side of this DIY Side Table. 🙂
Step Three
Now, cut 8 1×3’s for the feet. Glue and Nail 4 sets of 2 of them together. Make sure to line them up as perfectly as possible.
2 nails along the top should be enough to hold the pieces tightly together while the glue dries. BUT, keep the nails 2″ away from one end so that they are kept away from the angle we’ll cut next.
Step Four
Shave a 90-degree cut off one end of each of the 4 blocks, to make sure it is a perfectly flush end. Then, turn it on it’s side, and cut a 45-degree angle on the other end of each block.
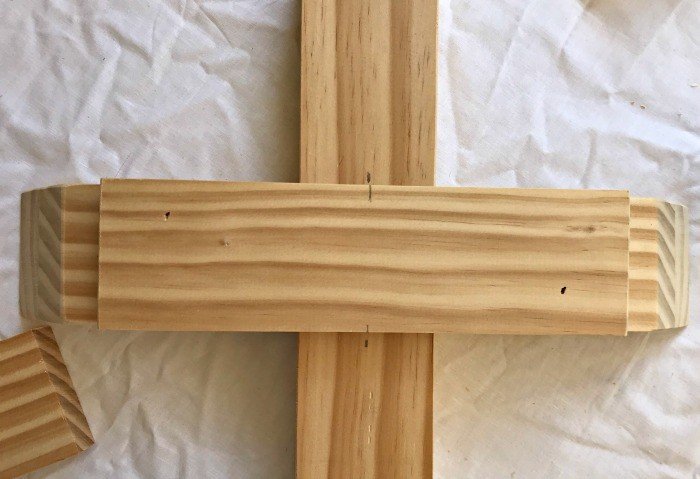
Step Five
Put a pocket hole in the bottom of each of the 4 blocks. Use that to glue and screw the short blocks to the middle of the long blocks, to form 2 X’s.
To help you line things up evenly, mark the center of the long block on each side. Then mark the center of the short blocks, in front of the pocket holes.
Step Six
Now, we need to add the top level to the X’s. Cut the 1×3’s. Glue and nail them across the top of each X. Make sure it is centered on the X. I like to glue this top piece in the opposite direction of the original whole pieces.
Step Seven
Cut 4 more 1×3’s. Glue and nail them to complete the top of each X for this DIY Side Table Woodworking Plan.
Step Eight
We’ll add the Cove Molding to each X, next. Cut 8 – 2 1/2″ long pieces of Cove Molding. Glue and Nail them on to the 4 ends of the top of the X.
Step Nine
We can attach feet to one of the X’s now. Cut 4 – 1×3’s with 1 90-degree end and 1 45-degree end. Glue and nail them to the bottom of one of the X’s, with 1/2″ hanging off the outside edge.

Step Ten
Cut 3 – 1×3’s for the post, then glue and nail them together. Put 4 pocket holes on this post with your Kreg Jig, 2 on each end (on opposite sides). Glue and screw the post into the center of each X base.
The post is 2 1/2″ x 2 1/4″, so it will line up perfectly with the 1×3 base on 2 sides, but will need to be centered on the other 2 sides.

Step Eleven
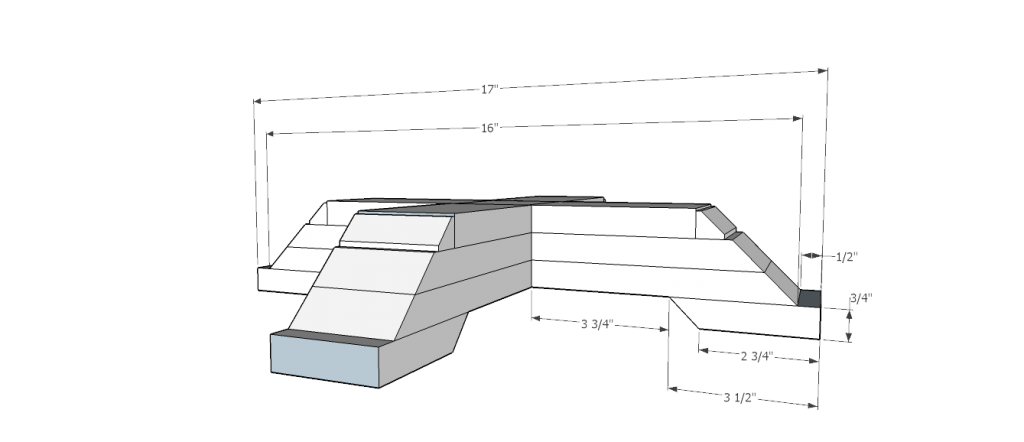
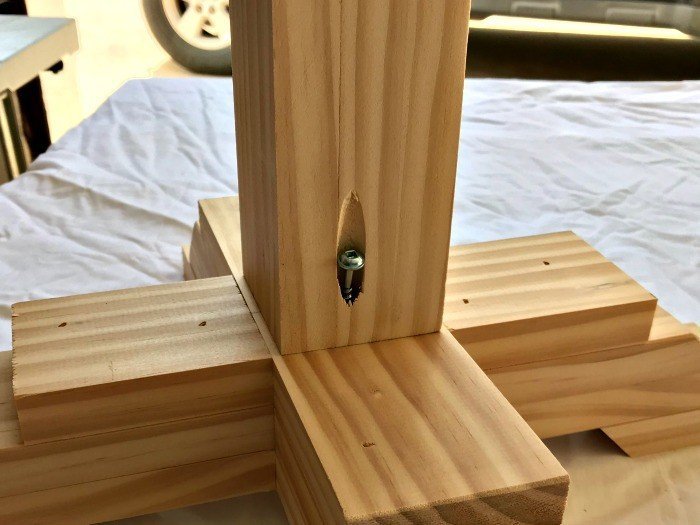
Cut 4 – 2×2’s. Then cut a 45-degree chunk out of the end of each one, BUT leave 1/2″ at a 90-degree (see photo below).
Glue and nail these to the center of each side of the bottom of the post of the DIY Pedestal Accent Table.
Step Twelve
Cut 4 – 2 1/2″ long – 1/2″ x 3/4″ dowels and 4 – 3 1/4″ long – 1/2″ x 3/4″ dowels. Glue and nail 2 of each on top of those 2×2’s. You want the 3/4” side of the dowels attached to the post.
The 3 1/4″ long pieces should be on the 2 1/4″ long post sides. Glue and nail the other 4 pieces 3 1/2″ above the first row.

Step Thirteen
Sand everything smooth, then fill in pocket holes, nail holes, cracks and gaps with wood filler. Let that dry, then sand everything smooth again.
I used a medium grit first, then finished with a fine grit. I also like to knock down all sharp edges with a light sanding too. I think it gives furniture a nicer, more finished look.
And by every sharp edge, I mean every edge, top, bottom, sides, feet, angles…all of them.

Step Fourteen
Since I wanted a painted base with a stained top. I finished the base and top completely before attaching them.
So, you can stop here and apply whatever stain and/or paint you’d like before moving on. You can see the details about my finishing steps below.
I’ve also have a quick video showing you how I distressed and stained the top on my DIY Pedestal Side Table.
Step Fifteen
When you’re ready to attach the top, just glue it on, make sure it’s centered. Use a nice layer of glue to get a strong bond.
Then nail it in, through the top, in 5 or 6 spots to get a tight bond. Angling the nails a little seems to get the tightest grip. Fill those holes with a matching wood putty and they’ll completely disappear.
Build Note: If this was a heavier table, I wouldn’t want to just rely on glue and nails for a top. But this Pedestal Side Table is pretty light and you’ve got a huge surface area covered in glue holding it together.
So you can pick it up with the top and not worry about breaking the bond between the top and the base.
Finishing Steps
You can stain, paint, or just poly this DIY Side Table Woodworking Plan to match your style.
If you need ideas, I have 25+Beginner Furniture Painting Tutorials to pick from. But, here’s how I finished mine.
I painted the base in a creamy, off white color called One Horn White. It’s part of JoAnna Gaines paint line with Kilz. You can get this shade at Target. I used Eggshell sheen.
I’ve used this Kilz paint line on a lot of walls and furniture lately, like this DIY Christmas Tree Box Stand. And, I used it for my How to Paint Built In Bookshelves and Cabinets tutorial.
This paint dries fast and cures fast, like a chalk paint. And it always looks so pretty.
I usually have to use my DIY chalk paint recipe to turn wall paint into chalk paint before using it on furniture, but not with this Magnolia Homes line with Kilz.
I can paint it directly on furniture and still sand it and work with it like Chalk Paint. It’s really a great paint line!
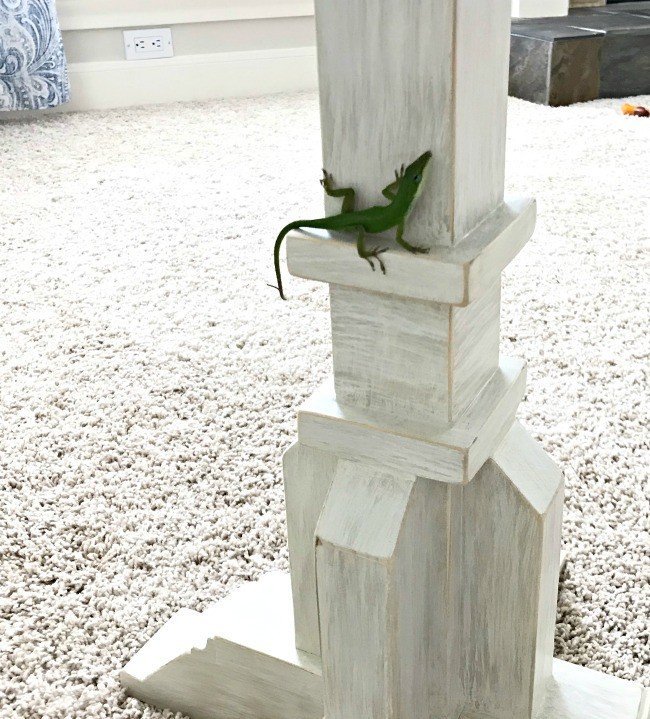
Painting The Pedestal Base
Anyway, I painted the whole table white. Once dry, I sanded all of the edges lightly, back to wood.
Then I grabbed a cheap chip brush and lightly dry brushed on a color a few shades darker (Behr’s Sandstone Cove mixed into a Chalk Paint).
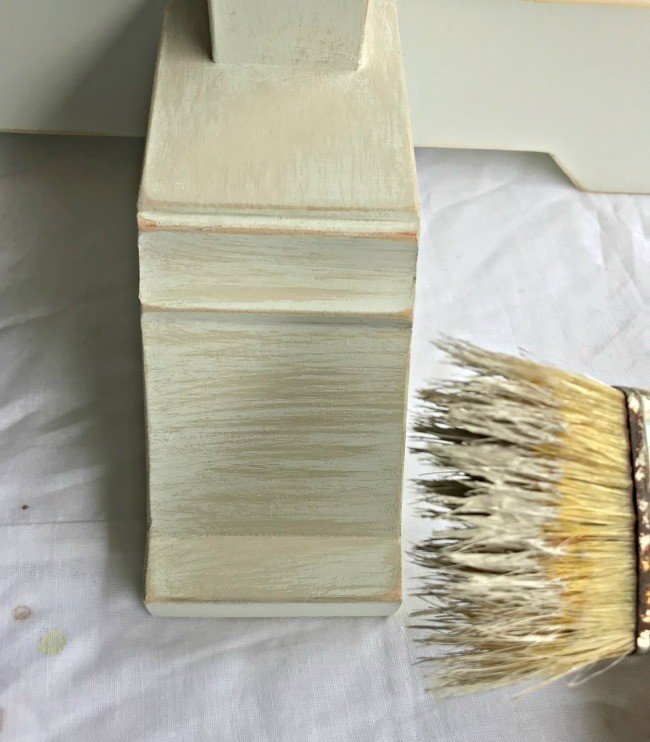
Dry brushing is just using the tiniest amount of paint, just on the tips of the brush. Then lightly swiping it across the surface to slowly put on the right amount of paint.
I followed that up with a very light dry brushing with the first color, to get a more layered, even look with the paint.
Then I lightly sanded those edges again, with my little Gator Micro Zip hand sander. Clean away all the dust and apply 2 coats of a water-based poly. I used Varathane’s Polyurethane Clear Matte.
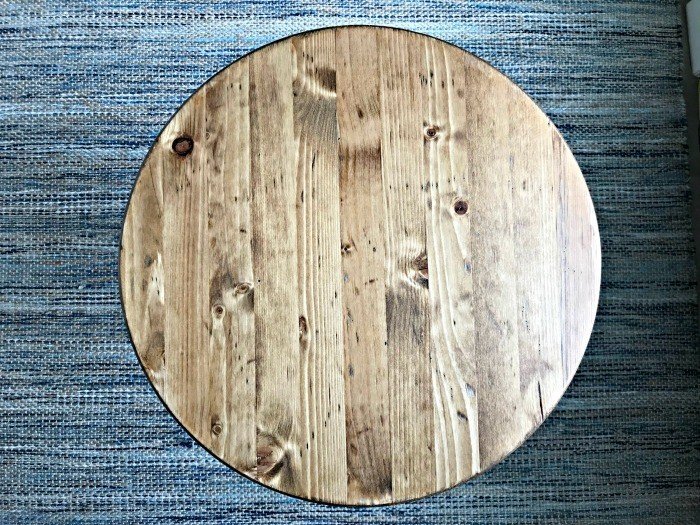
For the top, I made a short video on how I quickly added some character and distressing to the 18″ Round Top, I bought at Lowe’s.
I finished it off with 2 coats of Watco Medium Walnut Danish Oil. And 4 coats of the Varathane. I like a lot of protective finish on table tops. 🙂

That’s it! You’re done. Enjoy you’re new DIY Pedestal Side Table. 🙂
If you like watching furniture build videos, check out some of my favorite DIY Furniture Videos on my YouTube channel.
Hello, DIY friends! You can find the DIY Side Table Woodworking Plans at a great low price here. These plans are for personal use only. They cannot be shared or sold without my permission. Please let me know if you have any questions and enjoy your build! 🙂
The printable plans include Full Steps and Measurements, 3D Drawings, and Materials List.

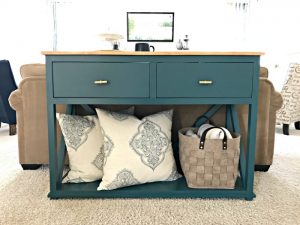
Looking for more DIY Furniture? Check out my DIY Modern Farmhouse Console Table.
And, this DIY Table Over Washer and Dryer is always popular.

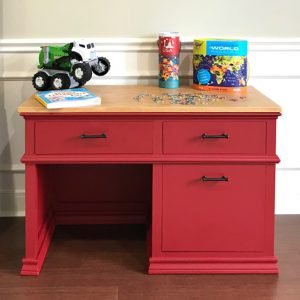
If you need a great little desk for your elementary age kids. Check out this DIY Childrens Desk with Storage Drawers.
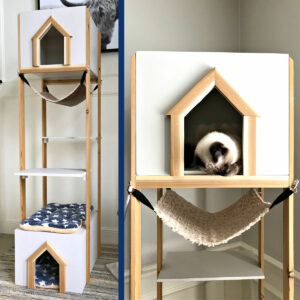
Or this easy DIY Cat Tree Build Plan for Cat Lovers!
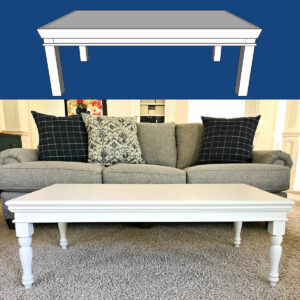
And, I love this DIY Coffee Table with Turned Legs. It’s a great build for beginner woodworkers.
Feeling inspired? Now you’re ready to build your own DIY Side Table. Let me know if you have questions. Don’t forget to sign up for the Abbotts At Home email newsletter to get DIY, Remodeling, and Crafty ideas in your inbox.

Stephanie Abbott has been remodeling homes, updating & building furniture, and working on DIY home maintenance and cleaning tips for over 20 years. Her remodeling has been featured in Better Homes and Gardens Magazine. And, her DIY YouTube channel has had more than 8 million views.
Most of the DIY tutorials and videos on this site focus on beginner to intermediate level DIY Projects that can be done in an affordable way without high-end, expensive tools. All of the cleaning tips on this website have been tested in her home.