
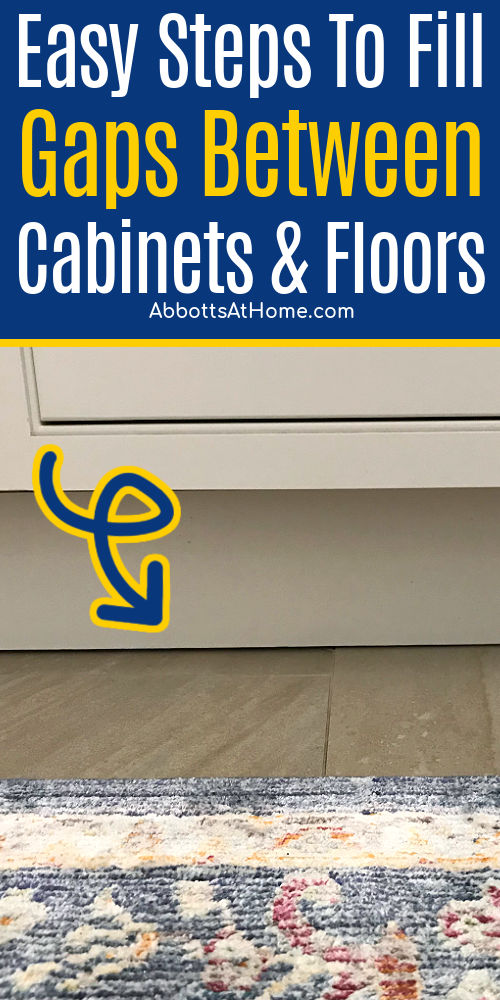
Quick & Easy Steps to Seal or Fill the Gap Between Cabinets and Floors. Works under kitchen cabinets and in the gap between vanity and floor too.
How to Fill the Gap Under Cabinets
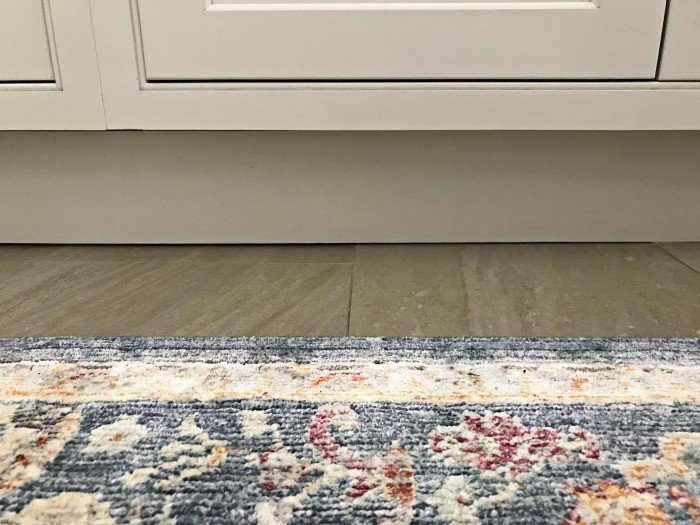
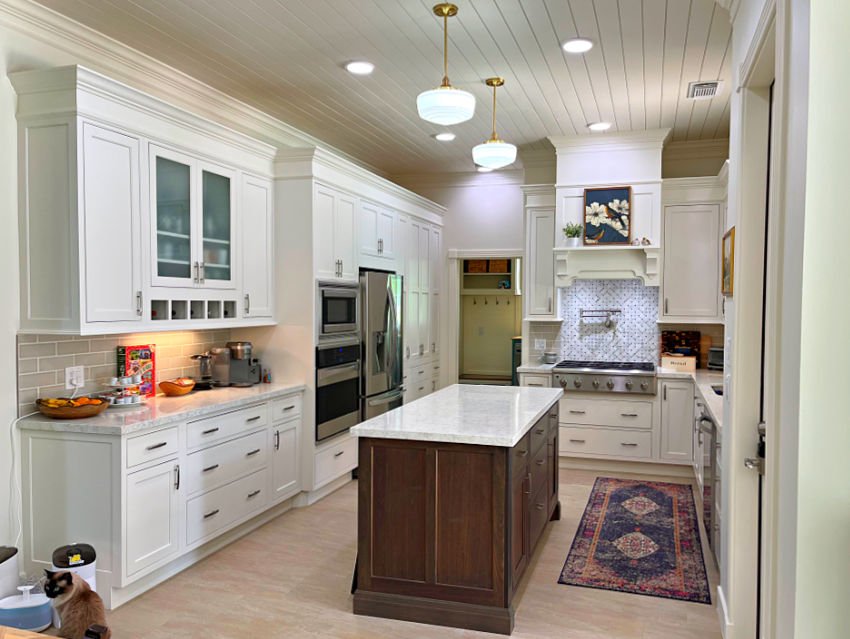
If you have that annoying small gap between the cabinet toe kick and the floor, like mine. There’s a super easy fix for that.
A thin bead of caulk can seal or fill that small gap between cabinets and floors in less than 30 minutes. I love a quick win, guys!
This DIY works on gaps 1/4″ and smaller. If your gap is larger than a 1/4″, you should use trim first, like quarter round. It’ll look much better and hold up longer than a larger bead of caulk.
I have the full step by step guide and pictures showing how to seal gaps under kitchen cabinets, or the gap between vanity and floor in your bathroom, below. 🙂
Table of contents
- How to Fill the Gap Under Cabinets
- Should you Fill in the Gap Under Cabinets
- Video Guide
- What you Need to Fill the Gap between Floors and Cabinets
- How to Seal Gaps Under Cabinets with Caulk
- Best Way To Fix A Large Gap Between Cabinet And Floor
- How To Cover Gap Between Cabinet And Floor
- How To Fill A Gap Between Toe Kick And Cabinet
- More Quick & Easy Kitchen Updates
Should you Fill in the Gap Under Cabinets
Now, I realize some people probably wouldn’t worry about a gap this small. It isn’t something that jumps out at you when you’re in the room. But it definitely annoyed me.
In fact, I’ve wanted to take care of this since our big kitchen remodel. I kinda mentioned the tile and toe kick issue in my 80+ tips for building or planning a remodel.
I like to get rid of that small gap between cabinets and floors because it tends to attract crumbs and spills that are impossible to clean.
Filling any small gap under cabinets in the kitchen, bath, and laundry means you don’t have to worry about dirt and sticky liquids collecting there.
And, filling that gap under your cabinets means you won’t have to worry about losing anything under the cabinets either.
One of my boys even managed to slide a puzzle piece across the floor, right into the gap under the cabinets. There was no way for me to get it out. He was so sad.
Now that I’ve filled the gap with caulk, he won’t have to worry about losing anything under the cabinets again.
OK, let’s get this DIY to fill that small gap between cabinets and floor in your kitchen, laundry, or bathroom started!
Video Guide
If any of the written steps below are confusing, watch this short video. Sometimes seeing something done can really help.
What you Need to Fill the Gap between Floors and Cabinets
- Painter’s Tape
- Caulk (I used this one) and Caulk Gun or a Tube of Caulk that doesn’t require a Caulk Gun – Comes in White, Clear, Almond, Gray and Black.
- Damp Rag, to clean up
- Cleaner
How to Seal Gaps Under Cabinets with Caulk
Pick a color that matches your cabinets. If you can’t find one, then picking a caulk that matches the floor might work.
Just use your best judgement before you apply it. DAP has a range of colors that work with most flooring, even wood floors!

Step 1
Wipe down the cabinets and floor with a simple cleaner and degreaser. Dawn in hot water should work.
Then wipe that dry with a cloth. You want the area clean and completely dry so that the tape and caulk can stick.
Step 2
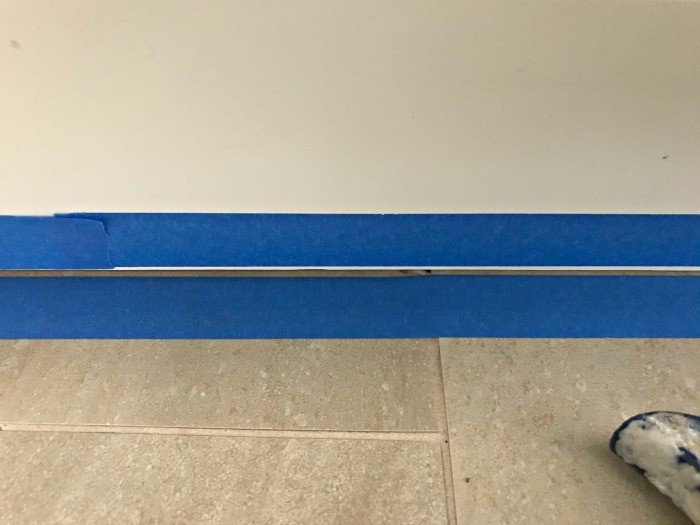
Once dry, tape off the smallest gap possible with Painter’s tape.
You want the tape on the floor to be directly beneath the cabinet toe kick, but not under it. And keep just a hair of cabinet toe kick showing for the top tape line.
Make sure you tape all connecting cabinets in one go. Applying tape to a new section next to wet caulk would be pretty messy. 🙂
Step 3
Before using the caulk, make sure you have enough time to caulk the whole tape line before starting. You will work in small sections to get the caulk looking great.
Now to fill that gap under your cabinets, apply a bead of caulk across the tape line. Work in small sections of 2 or 3 feet so that the caulk doesn’t start drying before you can smooth it.
Use your finger to spread the caulk across that section, while pushing it into the gap. You want it to have a smooth look. It also needs to not be too thick or too thin.
Just evenly fill the crack without creating a bubble or hump of caulk. Wipe excess from your finger onto a wet cloth or paper towel.
Then, once the whole line is caulked, you remove the tape before it dries.
Step 4
Once the line is smooth and completely filled, you can remove the tape. Make sure you remove that tape before the caulk dries. This will leave you with clean, crisp lines that look great.
Leave that caulk to dry. Caulk shrinks a tiny bit after drying.
If, after 24 hours, you have a small gap in a spot or two, just tape off that section and apply a 2nd round of caulk.
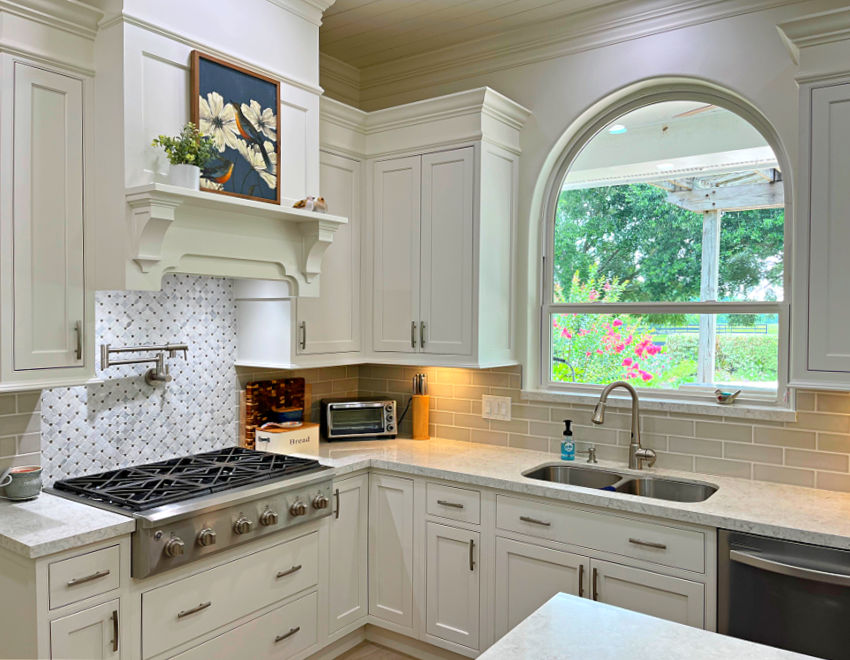
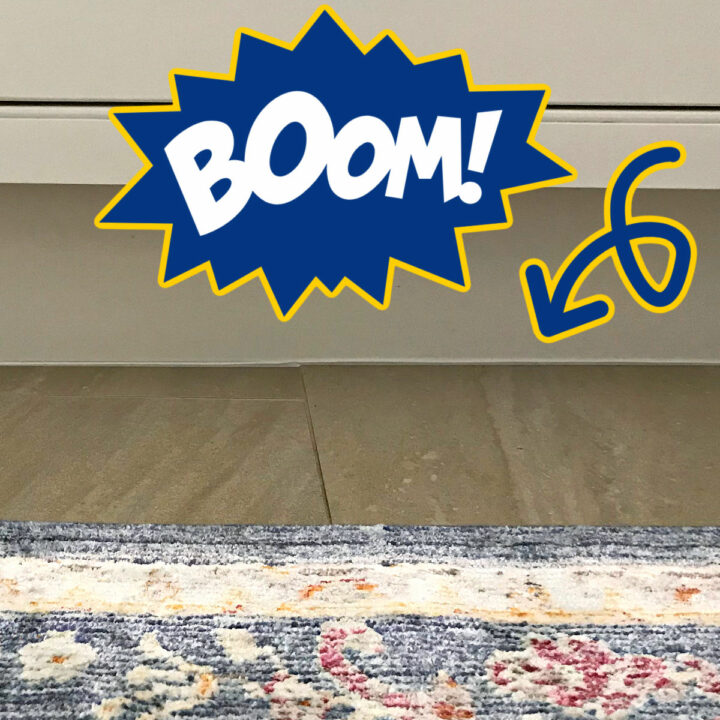
After filling this gap under kitchen cabinets our kitchen feels refreshed and more finished. That’s it. You’ve just blocked off that crumb and spill catching eye sore that was driving you crazy. 😉
Like I said before it’s a quick win! Nice job!!

Best Way To Fix A Large Gap Between Cabinet And Floor
There’s 2 common ways to fix a large gap between cabinet and floor, or vanity and floor. First, if the gap is wider than the recommended width on the caulk you are using, you can use a backer rod.
Push it between the cabinet toe kick and the floor to fill in the back of the gap. Then cover that backer rod with caulk following the steps above.
The second way is to cover a large gap between cabinet and floor with quarter round that can be finished to match the toe kick under the cabinet.
If the large gap is larger than 1/4″, very uneven, or just pretty rough looking (for whatever reason), using a toe kick will probably give you the best result.
How To Cover Gap Between Cabinet And Floor
If you’d rather cover a gap between cabinet and floor, instead of sealing the gap with caulk, you can install paintable or stainable toe kicks.
Toe kicks give cabinets or baseboard a beautiful polished look!
How To Fill A Gap Between Toe Kick And Cabinet
If you have a small gap above the toe kick, aka a gap between the toe kick and cabinet, you can also fill that with caulk to make it look better.
Follow the steps above for how to fill a gap between kitchen cabinet and floor above.
Just be aware, this is a strange spot to fill, you’ll definitely want a caulk that matches the toe kick OR that can be painted to match it.

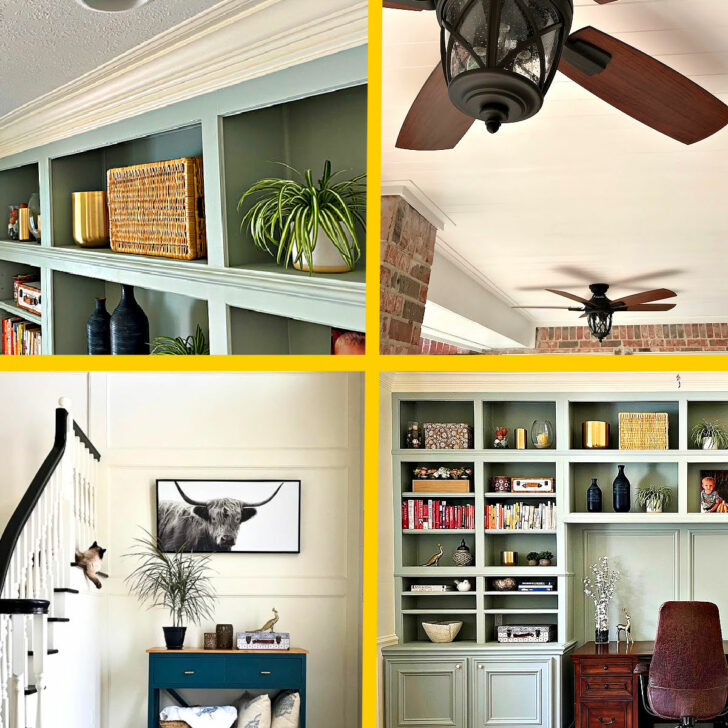
More Quick & Easy Kitchen Updates
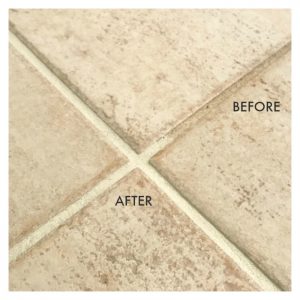
- If your grout is dingy, stained, or just a bad color, check out this DIY for how to whiten grout. With 30+ colors available, you can even go for a fresh grout color.
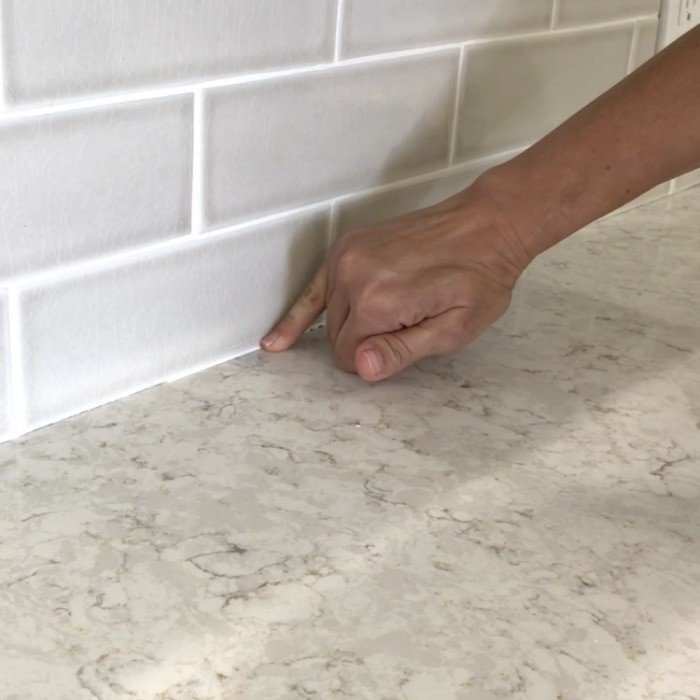
- If you have crumbly grout between your backsplash and countertop, there’s a quick and easy fix for that too. Here’s how to caulk a kitchen counter.
- Everyone gets a ceiling leak from time to time. If you have a water stain on your ceiling here’s how to fix water stains on ceiling leaks.
- And, if your baseboards, door trim, crown molding, or other trim needs a refresh and paint, check out this post on where to use caulk or wood filler on wood trim.
Looking for another Easy Home Maintenance Project?
Here’s how I caulked the backsplash along our kitchen counters too.

Looking for another DIY project with results you’ll love? Check out my easy fix for ugly grout.
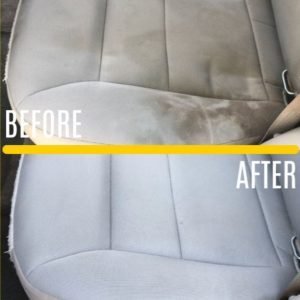
This DIY saved my car seats! Check out How to Clean Car Seats at Home here.
And, here’s the 1-Step Fix for a Sun-Damaged, Dry Wood Front Door. I love this DIY!

Or, see how to get that beautiful gas light look by just changing a bulb.
Feeling inspired? Now you’re ready to Fill the Small Gap Between Cabinets and Floors in your Kitchen, Laundry, or Bathroom.
Have fun and let me know if you have questions. Don’t forget to sign up for the Abbotts At Home email newsletter to get DIY, Remodeling, and Crafty ideas in your inbox.

Stephanie Abbott has been remodeling homes, updating & building furniture, and working on DIY home maintenance and cleaning tips for over 20 years. Her remodeling has been featured in Better Homes and Gardens Magazine. And, her DIY YouTube channel has had more than 8 million views.
Most of the DIY tutorials and videos on this site focus on beginner to intermediate level DIY Projects that can be done in an affordable way without high-end, expensive tools. All of the cleaning tips on this website have been tested in her home.