
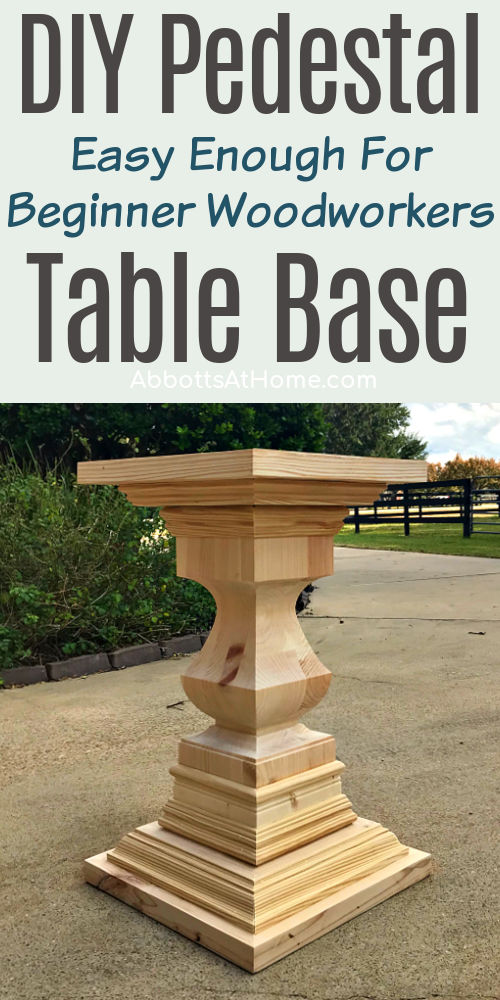
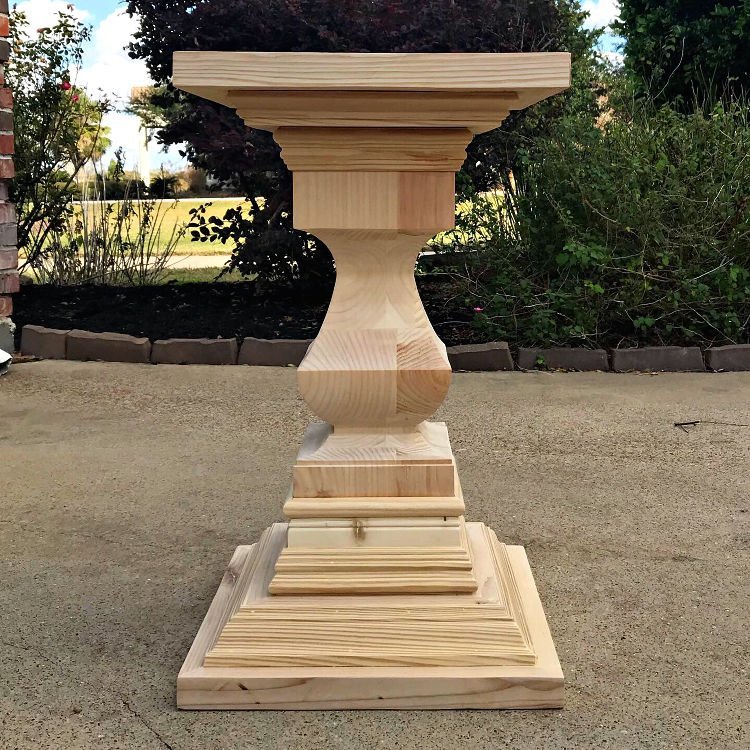
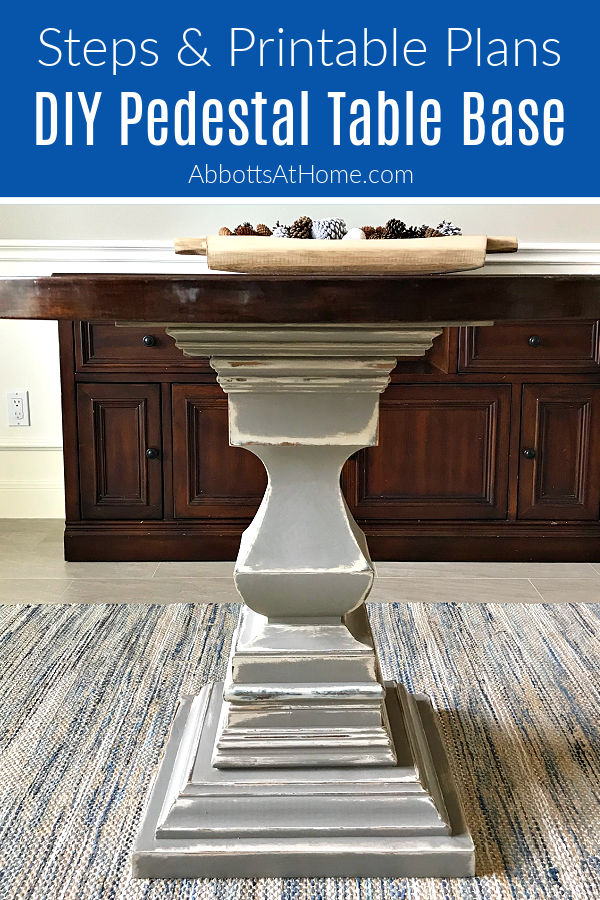
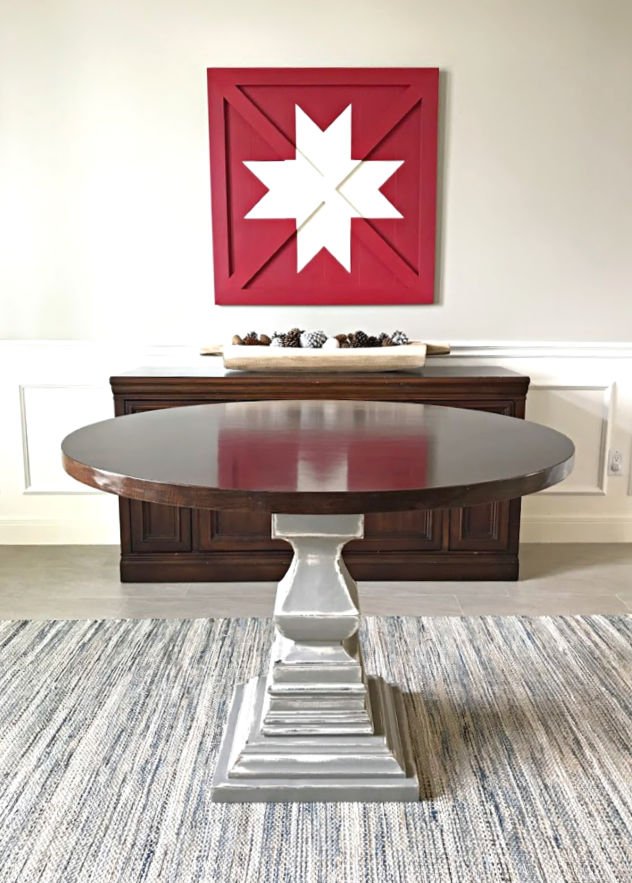
I’m totally happy dancing all around my kitchen today. I’ve recently built a new round table for our kitchen. And, it all started with this beautiful and surprisingly simple DIY Pedestal Table Base.
Simple DIY Pedestal Table Base
Hello, hello! I’ve wanted to build a round kitchen table for a few years, guys. I thought that having a round table to break up all of those squared edges and straight lines would look so much better in our kitchen.
And, I always think smaller kitchen-sized tables with legs on the corners are a bit of a pain. You have to push the chair so far back to get your legs out.
Does anyone else think that’s annoying, or am I just being lazy about this? Well, no more pushing chairs back for me. LOL.
Another bonus with round tables, you get to sit next to 2 people. Which is a huge deal for our kiddos.
They don’t have to fight over who they get to sit next to now. Yay, again. One less fight is always a win for parents, right?!
Designing This Pedestal Table Base
I cheated on this build! I used a premade table leg, to get the curvy look I wanted. But, I changed up the design, got rid of feet, and added layers of chunky molding to get the custom look that I wanted.
Using a premade wood pedestal center from Osborne Wood Products means this DIY Pedestal Table Base could have all of the beautiful curves made by lathes and bandsaws, even though I don’t own either of those pricier tools.
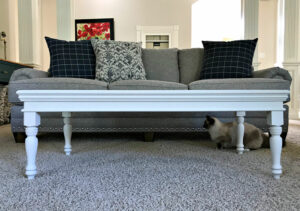
Osborne makes great Coffee Table Legs too. I used these beautiful, chunky coffee table legs to make this DIY Modern Farmhouse Bench / Coffee Table
Full disclosure, Osborne Wood Products sent me this beautiful, chunky pedestal center for free. OK, let’s get to this DIY Pedestal Table Base build.
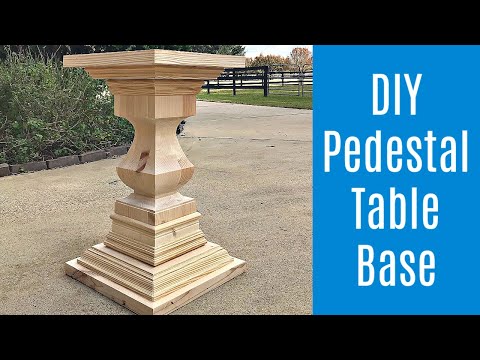
Watch this 4-Minute Build Overview
If any of the written steps are confusing, watch this short build video. Seeing someone do something always helps me understand the directions better. 🙂
Here’s What You’ll Need
- Osborne Wood’s Transitional Table Pedestal #11732
- 22′ of 2″ x 6″ Pine Framing Lumbar
- 1 – 8″ – 3/4″ thick wood, plywood, or MDF square (will be hidden under moulding)
- 1 – 12″ – 3/4″ thick wood, plywood, or MDF square (will be hidden under moulding)
- Pine Moulding
- 8′ of 2 3/4″ Pine Crown Moulding
- 3′ of 3 1/2″ Thin (about 1/4 to 1/3″) T&G Pine Plank
- 3′ of 1″ Half-Round Pine Moulding
- 7′ of 2 1/4″ Chair Rail Moulding
- 5′ of 1 1/4″ Base Cap Moulding
- Tools
- Table Saw and Miter Saw
- Brad Nailer, Kreg Jig R3 and Power Drill
- Wood Glue and Wood Filler
- Screws and drill bits of various sizes
Quick Overview Of The Build Steps
Here’s a quick look at the build steps. Detailed steps are below.
- Start with a Premade Wooden Pedestal Center.
- Build up the top and bottom to add width and height.
- Add molding around the top and bottom to finish the pedestal base.
- Use wood filler, sand, paint or stain, then protect with poly.
How To Make A Pedestal Table Base
Please note, I painted my Pedestal Table Base. This pedestal would look great stained too!
But, you’ll need to sand it to a higher grit and be extra careful to sand off any excess wood filler or wood glue, before staining.
THE STEPS BELOW DON’T INCLUDE THE FULL STEPS. They’re just included here to give you a good idea of how this table base is built. You can find the full build steps in the FREE printable plans available for in my Gumroad store.
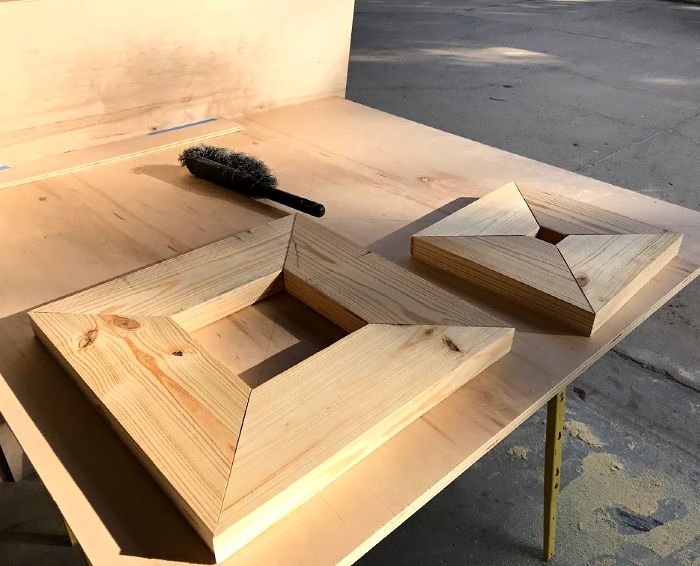
Step One – Build the 1 1/2″ and 3/4″ Squares
Start by resawing the 2″ x 6″ Pine boards on your table saw, to square the edges. About 1/8″ off each side should work.
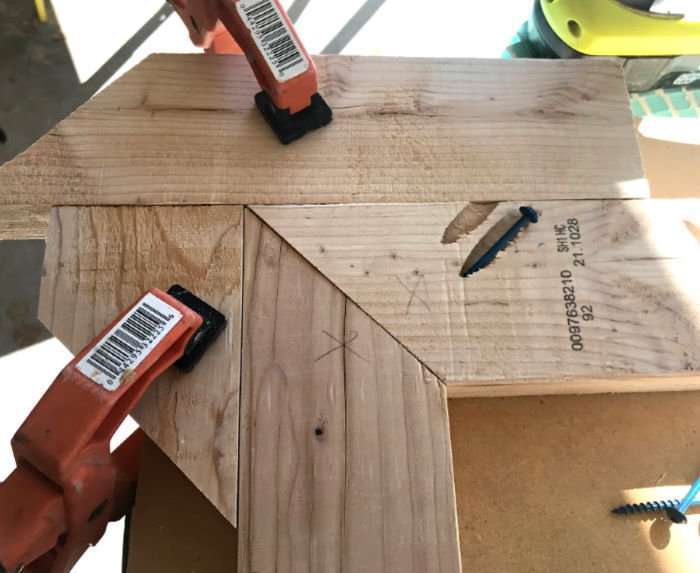
Then, build 2 large – 2″ x 6″ squares. Use your Miter Saw to cut 45-degree angles. If your Miter Saw isn’t big enough to cut clean through the board, you can finish the cut with a Circular Saw or JigSaw.
I used Kreg Jig Pocket Holes and wood glue to join the squares on this DIY Pedestal Table Base.
Wood glue alone with clamps to hold the pieces tight while drying, would be strong enough, but I didn’t want to wait for the glue to dry before moving on.
So, the pocket holes help me keep building instead of waiting for glue to dry.
Now, build the 2 smaller 2″ x 6″ squares. Use the same steps to cut and join the smaller wood squares.
Sand both squares smooth up to 150-grit before continuing. Sanding these squares is easier before assembly than after.
Finally, cut 2 – 3/4″ squares from wood, MDF, or plywood. These will not be seen, so feel free to use whatever you have on hand. These squares add extra height to this Wood Pedestal Table Base.
Step Two – Build Up the Bottom of the Wooden Pedestal Base
Glue and screw one of the smaller 1 1/2″ thick pine squares to the bottom of the Osborne Wood Pedestal. Countersink the screws – use 2 1/2″ screws so that they go through the smaller square into the Osborne pedestal.
Make sure it is centered before screwing them together. Also, make sure those screws are at least an inch inside the smaller 3/4″ square pedestal base.
Using glue and screws to attach the pedestal to the squares makes this DIY pedestal base strong enough to handle decades of use.
Now, glue and brad nail the larger 3/4″ thick square to the bottom of the smaller – 1 1/2″ thick square. Then, you’re ready to add the bottom square. Countersink 4 holes in the bottom of the larger square.
This time use 4 – 3″ screws to attach the larger square, from the bottom. Again, make sure everything is centered.
The 3″ screws can be 3″ Kreg Screws or 3″ self-tapping #8 screws. These screws are long enough to go through the bottom, middle, and part of the top level of the squares.
Carefully measure where the screws will go, to make sure they will be at least an inch inside that square. Those screws add extra strength to your DIY Pedestal Table Base.

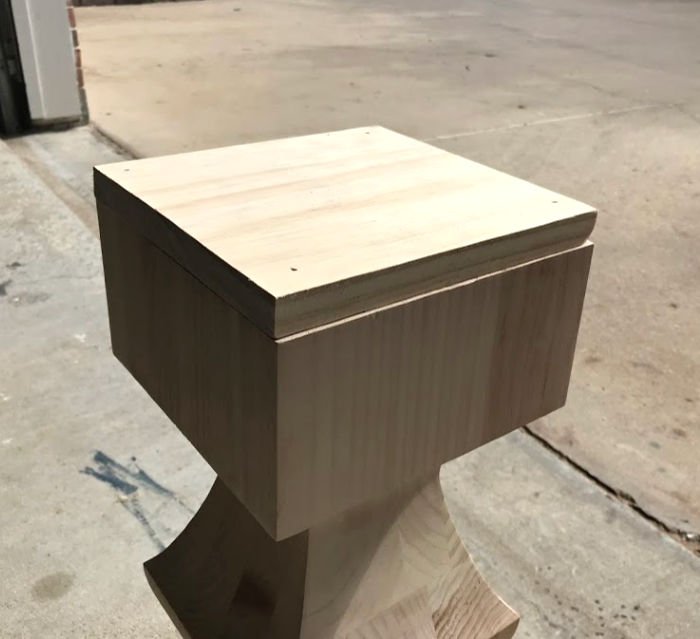
Step Three – Building up the Top of the Pedestal Base
Now we can add the square layers on the top of the pedestal.
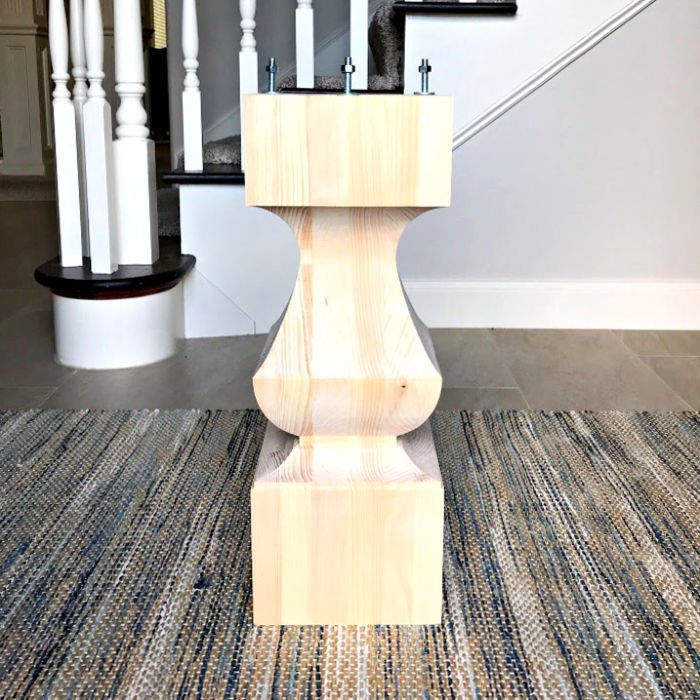
First, unscrew and remove the bolts that were attached to the pedestal when Osborne sent it. Then, glue and brad nail the 3/4″ thick smaller square on to the top of the pedestal.
Make sure it’s lined up with the pedestal edges. Then glue and screw the 1 1/2″ thick square to the top of the pedestal.
Countersink 4 – 3″ long screws to make sure the screws connect that square all the way into the smaller square Osborne Wood Pedestal.
Carefully measure where the screws will go, to make sure they will be at least an inch inside that 8″ square. Then glue and screw the 1 1/2″ thick square to the top of that 3/4″ square.
Countersink 4 – 2″ long screws to make sure the screws connect that 1 1/2″ square to the 3/4″ square.
Carefully measure where the screws will go, to make sure they will be at least an inch inside that square. That’s it for building up this DIY Wood Pedestal Table Base. Yay!
Step Four – Add Molding to the Top of the Pedestal Base
Now it’s time to add the finish trim and molding. This part of the table build was inspired by a photo on the @Hammerari Instagram account.
I just happened upon it while trying to find examples of how other people have used molding on a pedestal base. You might recognize him as the very talented carpenter on HGTV’s Windy City Rehab.
I’m a huge fan of his work on that show. 🙂
Molding Tips
Before we get started, let’s talk molding. You can probably find PVC or MDF versions of some of this molding. BUT, I really recommend using wood in this case since it is stainable, stronger and much easier to sand and get a nice smooth finish.
I love finish carpentry and molding as much as I love chocolate. And, that’s a lot, guys! So, I use it often and have a lot of practice with it.
If you don’t, just take your time and double-check all measurements before making them. I think it’s easier to cut and attach 1 piece at a time. Then measure for the next and attach that. My cuts tend to be more precise that way.
The trim molding on the top of this pedestal base is a bit simpler than the bottom. I wrapped 2 rows of different types of trim molding around the top of the pedestal.
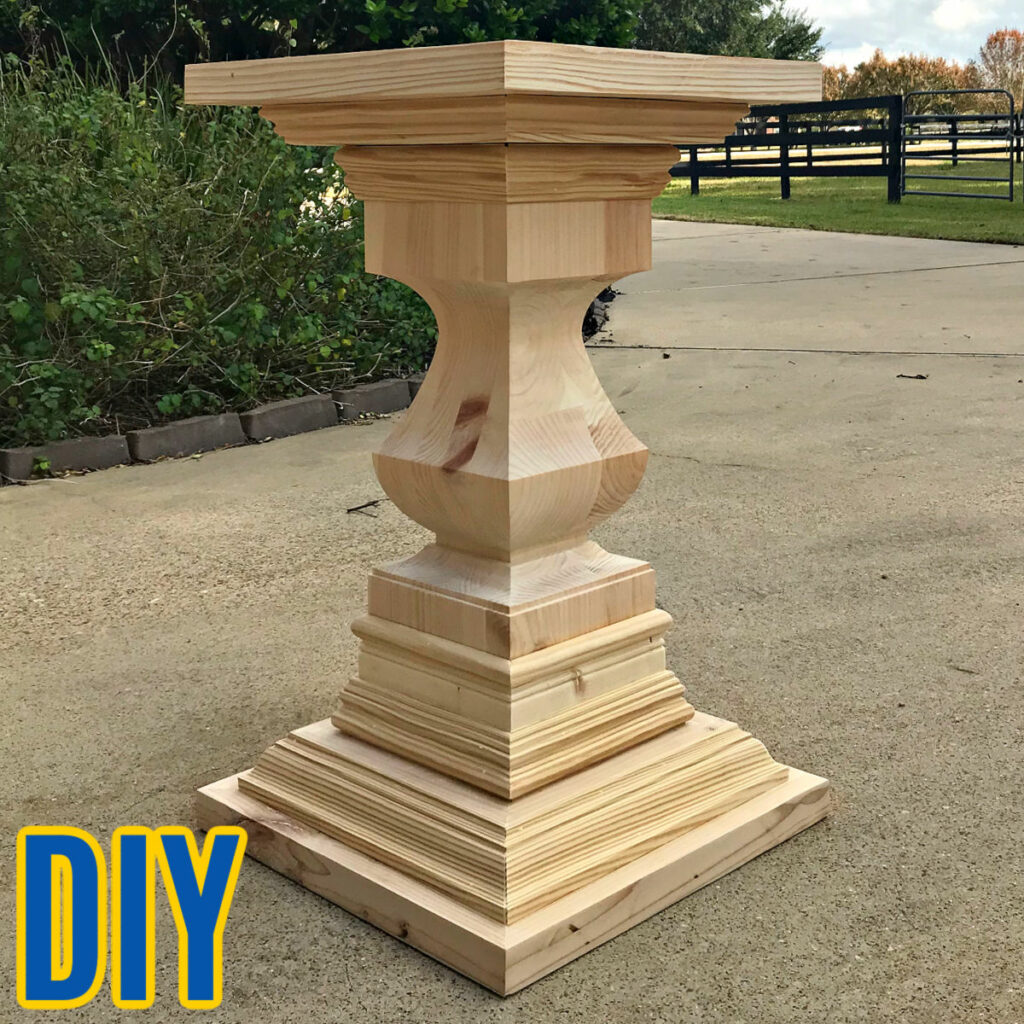
That’s it for the top of this DIY Pedestal Base trim molding.
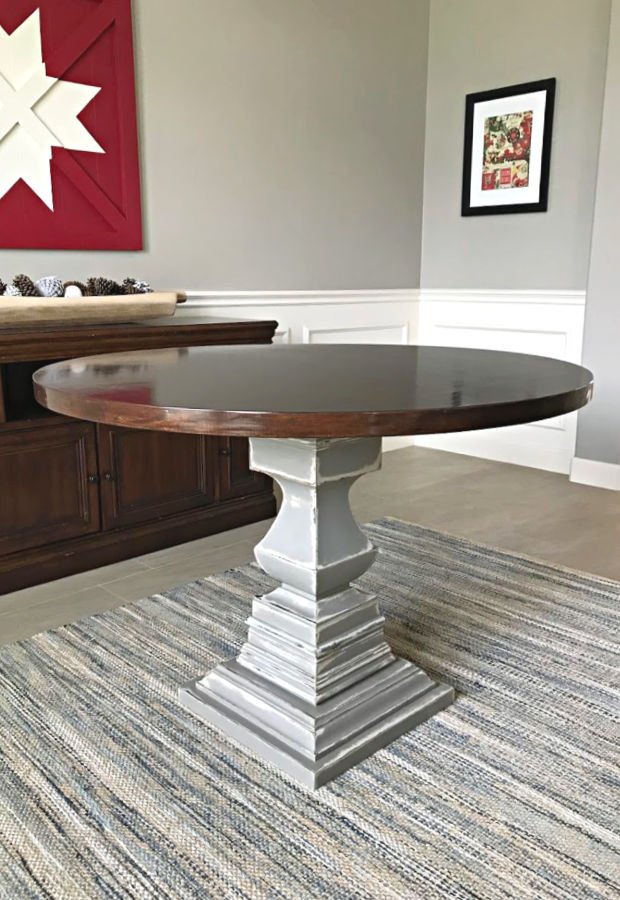
DESIGN NOTE: I picked the size of the base to make sure it looked nice and chunky, wasn’t so small that it would tip easily, and also wasn’t so big that our feet wouldn’t fit under the table. I added a 42″ Round Top to this pedestal table.
In my opinion, this size of pedestal would work with 41″ to 44″ round tables. If you want a larger top, I’d increase the size of the squares to prevent the table from easily tipping when someone presses down on the edges.
Step Five – Add Molding to the Bottom of the Pedestal Base
Then I added multiple layers of bead board and trim molding around the bottom of the pedestal table base.
I used left over bead board style T&G planks that I had leftover from my DIY Kids Play Kitchen. If you don’t want to buy a whole pack of T & G planks, you can substitute anything you want, like maybe just 1/4″ plywood.
That’s it for the bottom of this DIY Pedestal Table Base. You can find the trim I used, full instructions and measurements for this build in the FREE printable build plans available in my store.
Hello, DIY friends! You can find the DIY Pedestal Table Base Build Plans by clicking the image below.
These plans are for personal use only. They cannot be shared or sold without my permission. Please let me know if you have any questions and enjoy your build! 🙂
The printable plans include Full Steps and Measurements, 3D Drawings, and Materials List for this build.

Finishing this Pedestal Table Base
Now, let’s make everything look pretty. Use your favorite wood filler (I used this one) on all of those brad nail holes, where all the molding corners meet, and in any gaps between the molding and the pedestal.
Let that dry according to the directions.
Sand the wood filler flush with the wood. I used 150-grit. Reapply the wood filler in any spots that need it. Then let dry and sand again.
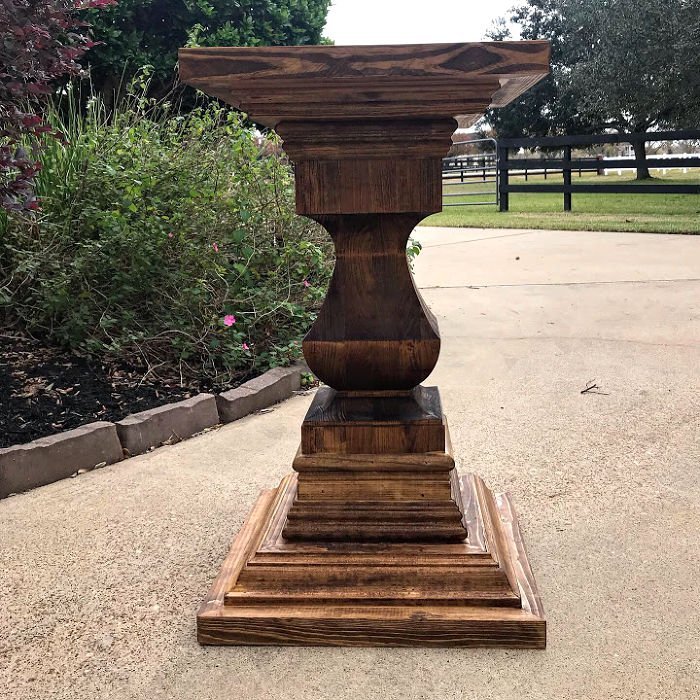
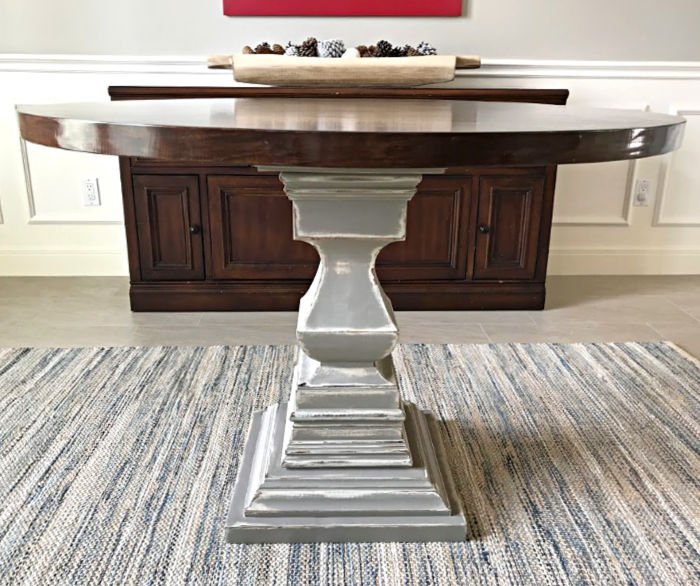
Here’s a look at my pedestal after applying Danish Oil in Black Walnut. Now, I didn’t sand this wood or apply wood conditioner, like I would if I wanted to leave it stained.
That would have made the stain finish look more even. Still, it looks nice stained, right?! I love using Danish Oil under paint because it soaks into the wood and hardens, making the wood more durable and stronger.
It’s a good way to strengthen pine a bit. And, it looks really nice under paint when you want a distressed look. Which is exactly what I did. You can find the DIY White and Grey Distressed Chalk Paint tutorial in another post.
You can find more furniture painting inspo on my DIY Furniture Painting YouTube Playlist.
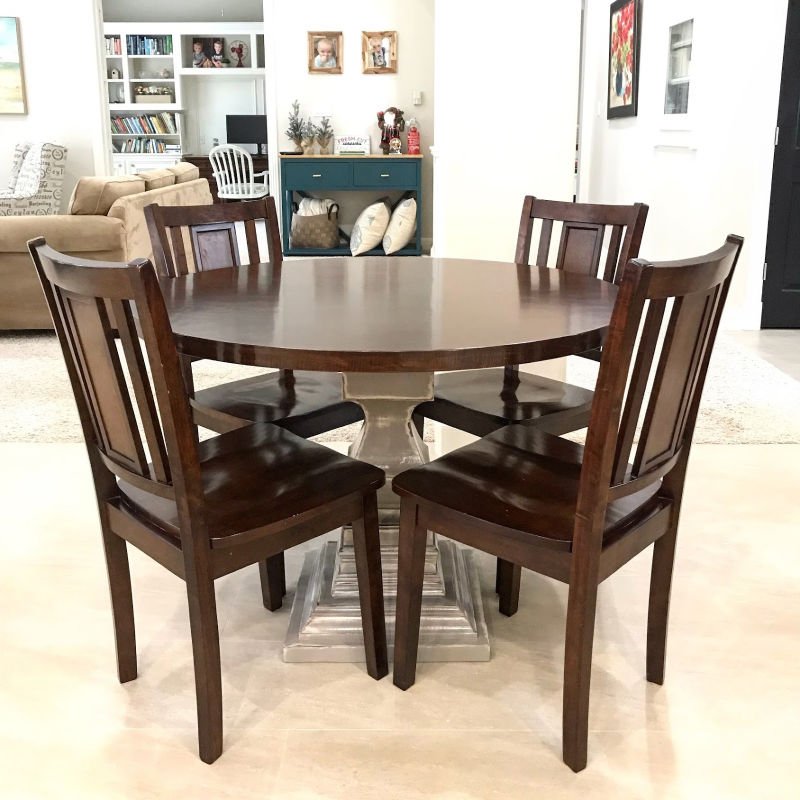
More pictures of this DIY Round Pedestal Kitchen Table
Check out all 4 DIY Tutorials from this Wooden Kitchen Table Build!
- DIY Wooden Kitchen Table – Pedestal Base (this post)
- DIY White and Grey Distressed Furniture Paint Steps
- DIY Round Table Top from Plywood Circles
- DIY Store Bought Stain Finish Steps
More DIY Projects You Might Like
Looking for more DIY Build Projects? I love this easy DIY Coffee Table Build Plan.
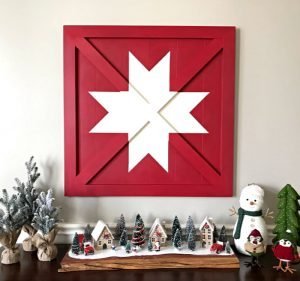
Check out this beautiful DIY Barn Star Quilt Tutorial.
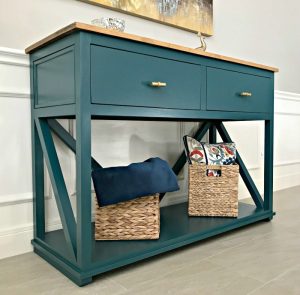
Or this great DIY Farmhouse Console Table tutorial. Those deep drawers are a must-have for me.
And, this DIY Table Over Washer and Dryer is always popular.

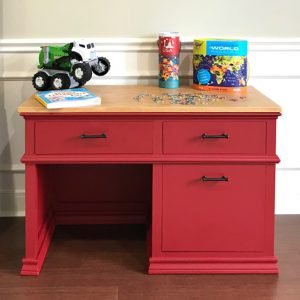
If you need a great little desk for your elementary age kids. Check out this DIY Childrens Desk with Storage Drawers.
Feeling inspired? Now that you’ve seen How To Make A Pedestal Table Base, you can build it too.
Let me know if you have questions. Don’t forget to sign up for the Abbotts At Home email newsletter to get DIY, Remodeling, and Crafty ideas in your inbox.

Stephanie Abbott has been remodeling homes, updating & building furniture, and working on DIY home maintenance and cleaning tips for over 20 years. Her remodeling has been featured in Better Homes and Gardens Magazine. And, her DIY YouTube channel has had more than 8 million views.
Most of the DIY tutorials and videos on this site focus on beginner to intermediate level DIY Projects that can be done in an affordable way without high-end, expensive tools. All of the cleaning tips on this website have been tested in her home.