
I am loving this easy craft project idea! Make your own beautiful & easy DIY Scrapbook Paper Wall Art with Mod Podge & Craft Wood Squares.
Easy DIY Scrapbook Paper Wall Art
Every time I’m in the craft store I waste at least 10 minutes in the scrapbook paper aisle. I don’t go to the store looking for scrapbook paper. I’m just drawn to that aisle, guys!
I stare at all of those beautiful paper patterns trying to think of a way to use them. And, I almost NEVER think of a good way to use it.
But, that doesn’t mean I don’t buy any. I can’t stop myself! 😉
This month, I finally found a great way to use up some of my favorite scrapbook paper. This scrapbook paper wall decor idea is an easy craft project, almost anyone can do.
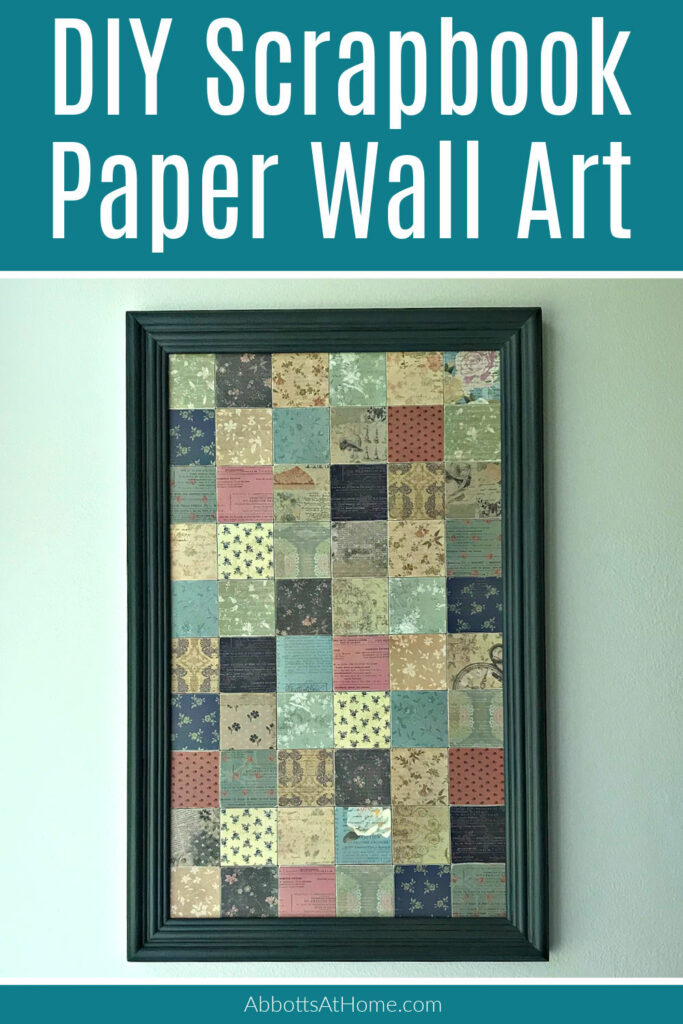
It’s basically just mod podge or decoupaging the paper onto square craft wood. Then gluing those squares onto plywood. Then, you can pop that in a frame. That’s easy, right?!
You can pick any paper colors and patterns that work for your room. This would be cute with kids prints in a playroom or with seasonal prints for holiday art projects too.
Speaking of holiday scrapbook paper ideas, check out 12 Handmade Christmas Ornament Ideas and 6 Easy DIY Christmas Ornament Ideas to see how I’ve used scrapbook paper to make cute ornaments.
OK, let’s get to How to Make this Framed Easy DIY Scrapbook Paper Wall Art!
How To Make This Scrapbook Paper Wall Decor
I LOVE this easy wall decor idea! It’s a great excuse to use your favorite scrapbook paper AND it looks beautiful.
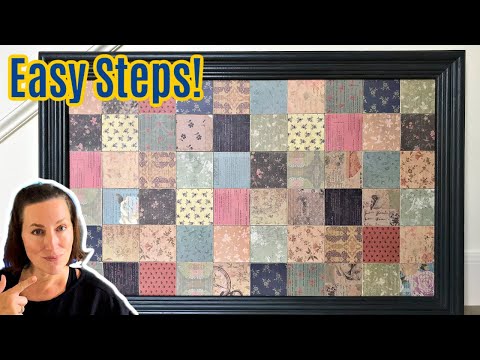
If any of the written steps below are confusing, watch this video to see how I did it.
Materials Needed
- Your Favorite Scrapbook Paper (I used this Theodosia Square paper)
- Matte Finish Mod Podge
- 3×3 Craft Wood Squares
- Nylon Paint Brush
Quick Step Guide
- Pick Your Scrapbook Paper
- Cut Scrapbook Paper
- Decoupage Paper to Wood Squares
- Sand Down Edges
- Seal Top with Mod Podge
- Glue Wood Squares to Plywood
- Frame & Hang
Before You Start: If you don’t want to build a custom frame to fit your scrapbook paper wall art, you should pick a frame for it before you start. Then make this project the right size to fit your frame.
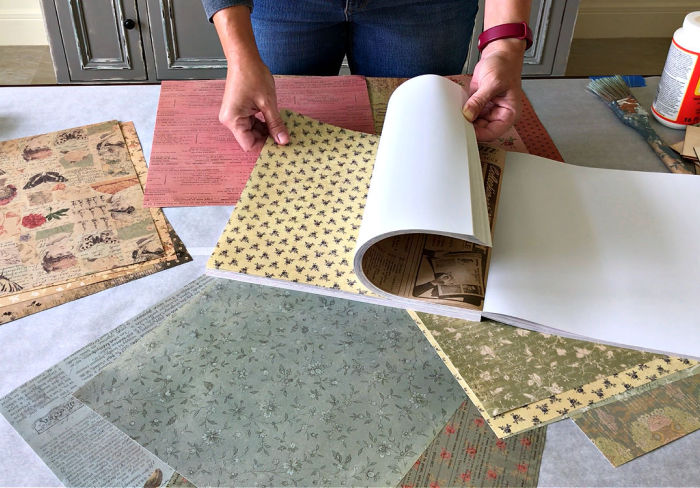
Pick Your Scrapbook Paper
For my wall art, I picked 20 different pieces of scrapbook paper for my 60 craft wood squares. So, each pattern was only used on 3 squares.
That gives this DIY Scrapbook Paper wall art a lot of variety in the patterns and colors. I like that each pattern doesn’t repeat too much.
More colors and patterns are visually more interesting to look at. And, it makes balancing the mix of colors and patterns easier.
You wouldn’t want too many of one color or one pattern too close to each other.
I also made sure I had a nice mix of colors picked out. I didn’t want too many of one color OR too few. That would make odd squares pop out in a way I didn’t want for this project.
And, I didn’t want colors that didn’t blend well together. So, I spread all of the scrapbook paper out on a table to make sure the colors worked together, as a whole.
I ended up switching out a couple that I thought wouldn’t work.
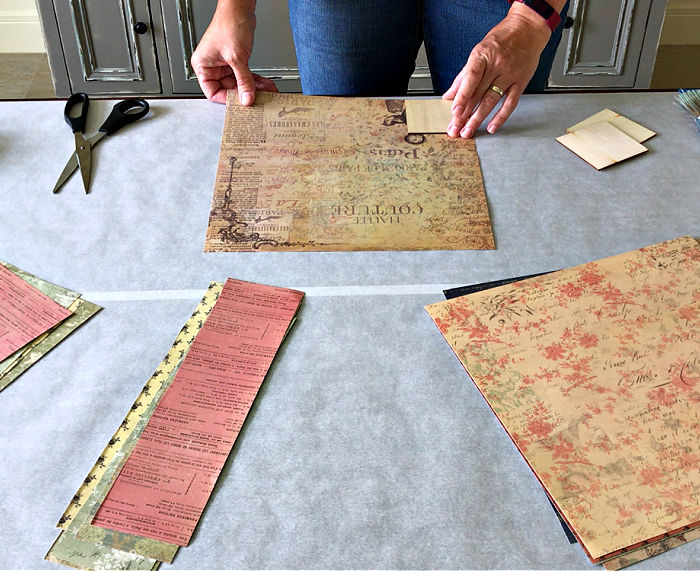
Cut Scrapbook Paper for Squares
After picking my scrapbook paper, I placed a wood square on the paper to mark where to cut the paper.
Then I cut the paper about 1/2″ bigger than the squares so that gluing the paper onto the blocks would be easier.
I cut the paper for all 60 squares before I started gluing, or decoupaging the paper onto the wood squares.
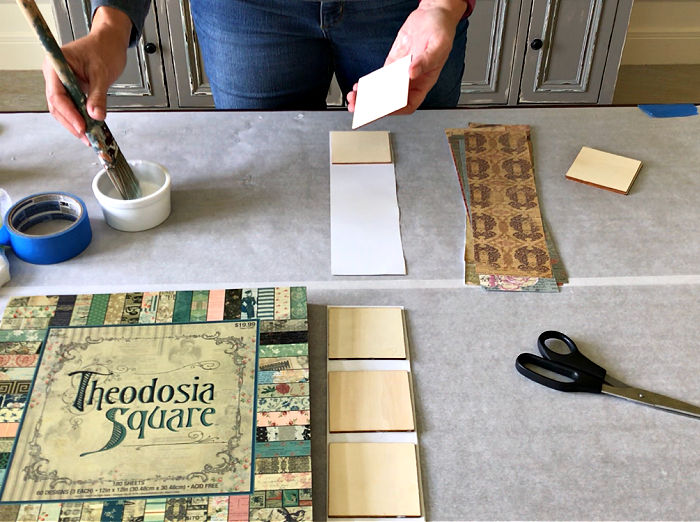
Decoupage Scrapbook Paper to Wood Squares
Once all of the paper pieces were cut, I poured a some of the Mod Podge into a dish. That made it easier to dip my paint brush into the Mod Podge glue.
With the paint brush I applied an even, generous layer of Mod Podge onto the wood square.
When I made this wall art, I stuck the paper onto the wood at this point. BUT, I think I probably should have applied glue to the back of the scrapbook paper too.
If the wood squares and the paper each have Mod Podge, that’ll make it even easier to get the paper to stick evenly across the entire surface of the wood square.
Finish decoupaging the scrapbook paper onto all 60 squares. Then let them dry for a couple of hours.
Be sure to wash out the paint brush completely with warm water.
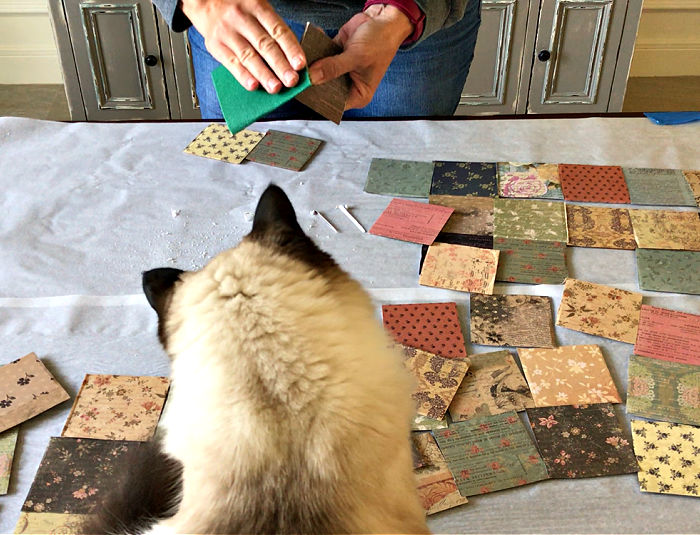
Sand Down Edges
Once the Mod Podge on the craft wood squares is completely dry, you can sand the edges. This will make a mess, so you might want to do this outside.
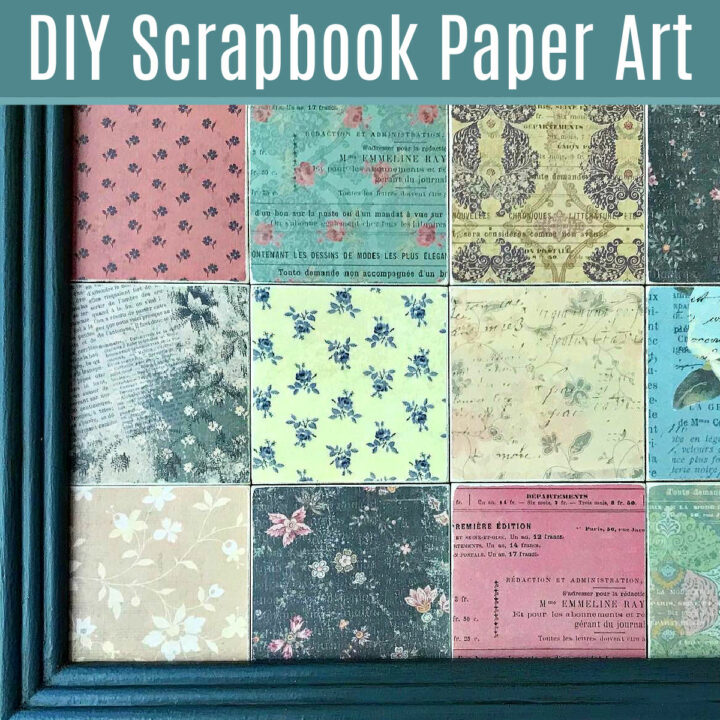
I used 100-grit sandpaper on all 4 edges of each square. This trimmed off the excess paper on each square. It also revealed a little bit of the wood around the edges.
That distressed scrapbook paper edge looks beautiful up close. I’m really loving the way this turned out.
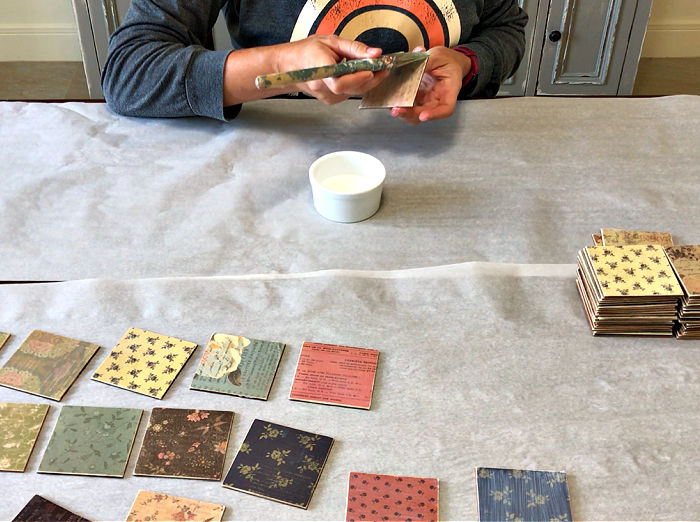
Seal Top with Mod Podge
After sanding all of the blocks, clean off any dust left on the wood squares.
Then you can seal the top of the scrapbook paper with 2 coats of Matte Finish Mod Podge. I applied it with a paint brush again.
I like Matte Finish Mod Podge because the sheen is subtle and always looks great. The glossy sheen Mod Podge will reflect brush strokes on the top coat. So, I don’t recommend using it.
Watch the video above to see the difference between a glossy sheen and flat finish sheen on this DIY Scrapbook Paper Wall Art.
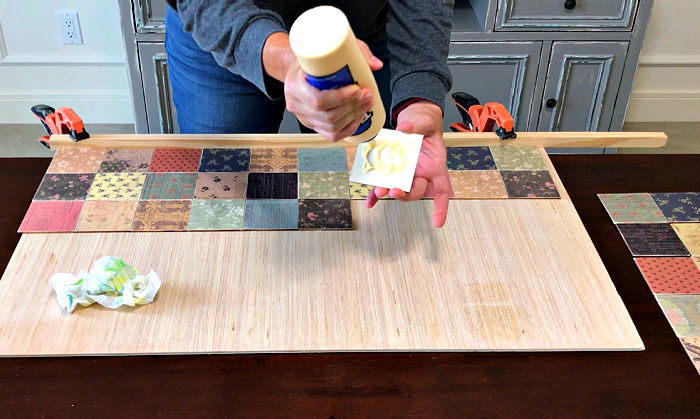
Glue Wood Squares to Plywood
Here’s the only part of the project that requires tools. Cut a piece of 1/4″ plywood to the right size for your wood squares and frame.
If you don’t have a saw, it’s possible that a stiff, thick piece of cardboard can be used as the backing instead. Just be sure not to bend it after the pieces are attached. They might pop off.
Before gluing the squares down, layout the square blocks in a pattern that you like. I moved pieces around to make sure that not too many of one color or pattern were near each other.
Also, if your scrapbook paper has words on it, make sure they are all the correct way up before you glue them down.
Once the pattern is set, use wood glue to attach all of the square blocks to your plywood or cardboard base. Make sure the edges of the squares touch each other.
To keep the blocks in perfectly straight rows, I clamped a straight board to one side of the plywood back.
Let that wood glue dry for a few hours before framing.
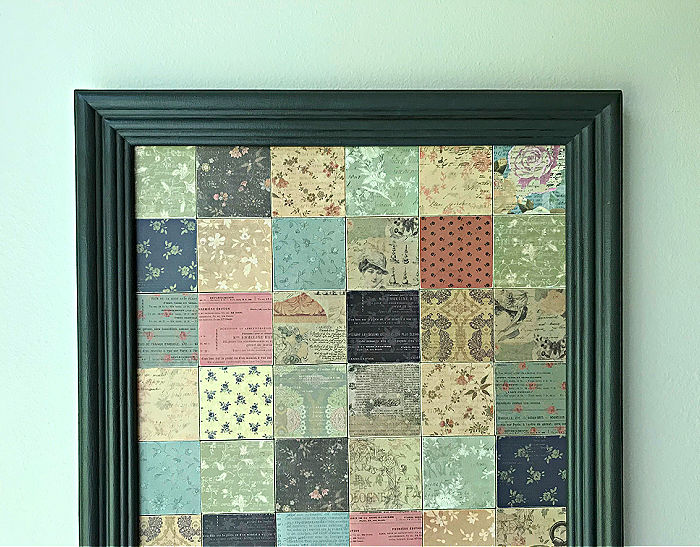
Frame and Hang your new Wall Art
Frame your new art project. You can use a store bought frame. Or make your own.
Check out How to Make a Wood Picture Frame to see how I made the frame I used.
I also have a DIY Wood Frame for Canvases that can be adjusted a bit to work for this wall art project.
That’s it for how to make this Framed Easy DIY Scrapbook Paper Wall Art.
That’s it for this Framed Easy DIY Scrapbook Paper Wall Art, guys. Be sure to check out more of my Easy DIY and Home Makeover Videos on my YouTube Channel.
And, here’s a few more DIY projects you might like!
How about another easy wall decor project? Check out this Easy DIY Wood Slice Coat Hook.
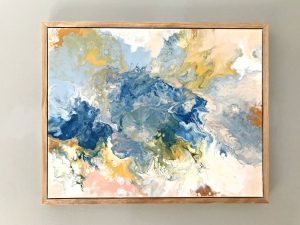
And, I absolutely love this Easy DIY Acrylic Paint Pouring Wall Art too!
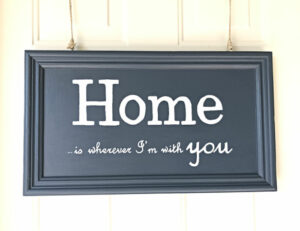
Here’s How to Make Painted and Chalkboard DIY Signs on Old Cabinet Doors.
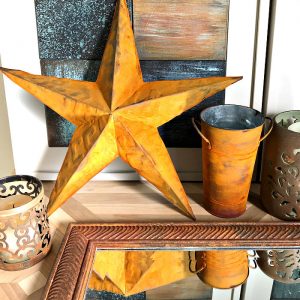
You should also see this Easy DIY Rust Paint Effect. If you love rust, like me, this is a beautiful way to paint old decor.
Make some fun 3D DIY Felt Wall Art for your Kid’s. I even have some free patterns to use as inspiration for this project!

Feeling inspired? Now that you know how to make this DIY Scrapbook Paper Wall Art, have fun and let me know if you have questions. Or post pictures of your work and tag Abbotts At Home on FB, I’d love to see it!

Stephanie Abbott has been remodeling homes, updating & building furniture, and working on DIY home maintenance and cleaning tips for over 20 years. Her remodeling has been featured in Better Homes and Gardens Magazine. And, her DIY YouTube channel has had more than 8 million views.
Most of the DIY tutorials and videos on this site focus on beginner to intermediate level DIY Projects that can be done in an affordable way without high-end, expensive tools. All of the cleaning tips on this website have been tested in her home.