
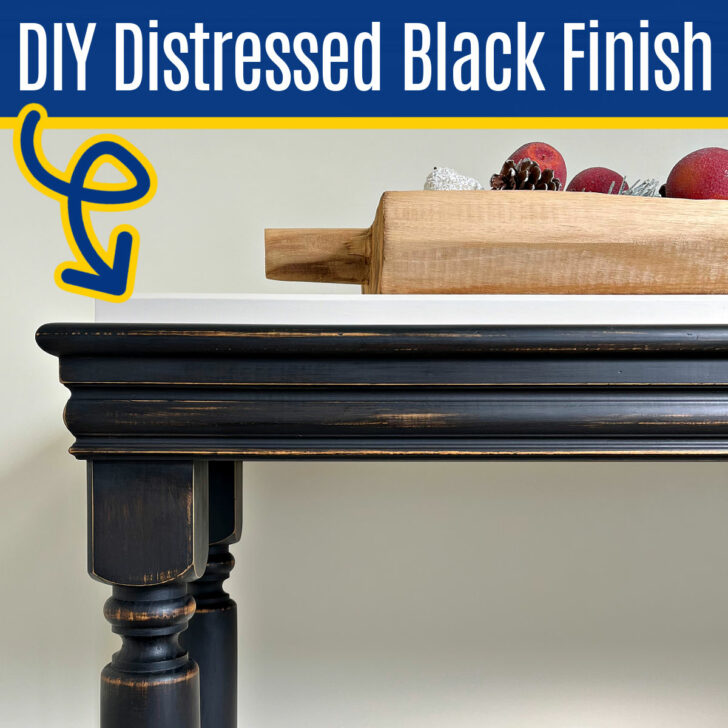
Get a beautiful Pottery Barn Black Paint Finish on unfinished or finished wood with the EASY steps & video for a distressed black paint look.
DIY Pottery Barn Black Paint Finish
I’ve tried a LOT of different chalk paint looks and techniques over the years. But, I think that distressing black chalk paint over stain is my new favorite.
In fact, my bedroom furniture and kitchen island are starting to look rough. So, they both will likely get this look soon.
Here’s the easy to follow steps to get this beautiful DIY Pottery Barn black paint finish on unfinished wood, painted furniture, and stained furniture. Good luck!
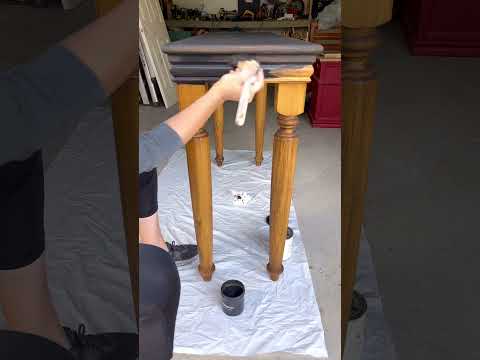
How To Do This Distressed Black Paint Look (Video)
If any of the written steps below are confusing, watch this short video to see how I went from unfinished Pine Wood to this beautiful distressed black chalk paint finish.
Steps For This Knock-Off Pottery Barn Black Finish
If you are starting with bare wood, follow all of the steps below.
If your furniture is already stained, you can clean your furniture with a degreaser and cleaner, like TSP. Then scuff sand (lightly sand) your furniture with 120 grit or 150 grit sandpaper. After the entire surface has been scuff sanded, clean it off with a tack cloth, then skip to step 4.
If your furniture has been painted, you can follow these steps for Stripping Paint from Wood Furniture With Citristrip. After stripping the paint finish off, sand the wood smooth, dust off, then follow all steps below.
Materials Needed
- Wood Conditioner
- Old Master’s Gel Stain – Provincial (optional)
- Danish Oil – Natural
- Black Chalk Paint
- Dark Finishing Wax
1. Apply Wood Conditioner
Start by applying wood conditioner everywhere. Follow the directions on your wood conditioner to get the best results. Wood conditioner helps stain apply evenly across the wood.
2. Apply Gel Stain
After the wood conditioner has time to soak in, I applied 1 coat of Gel Stain. I used Old Master’s gel stain in the stain color Provincial.
Gel stain applies a thicker amount of a rich stain color that will be harder to accidentally sand away.
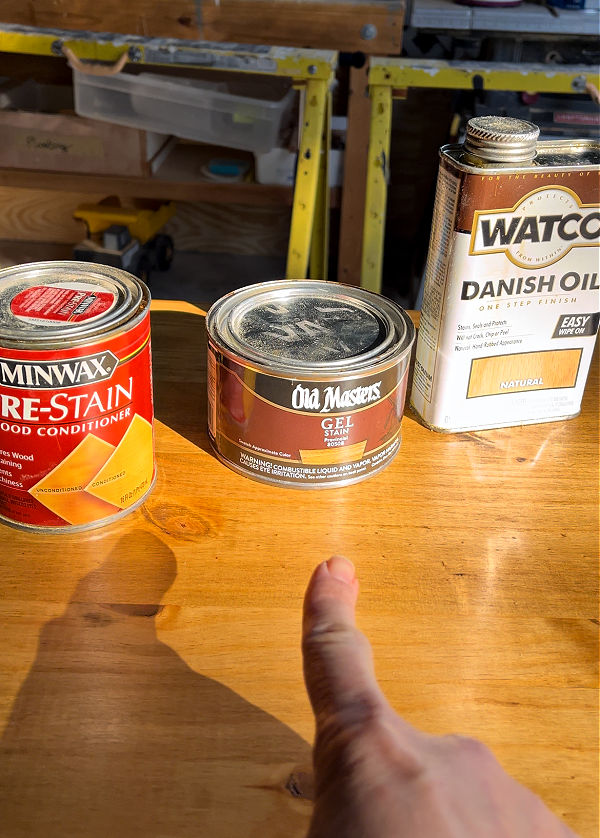
3. Apply Danish Oil
After the gel stain dried (according to the directions on the container), I applied Watco’s Danish Oil to seal and prime the furniture.
Danish Oil provides a nice surface for paint and it can actually be used as a primer under paint. It helps the paint bond to your furniture. See 12 more tips about Danish Oil here.
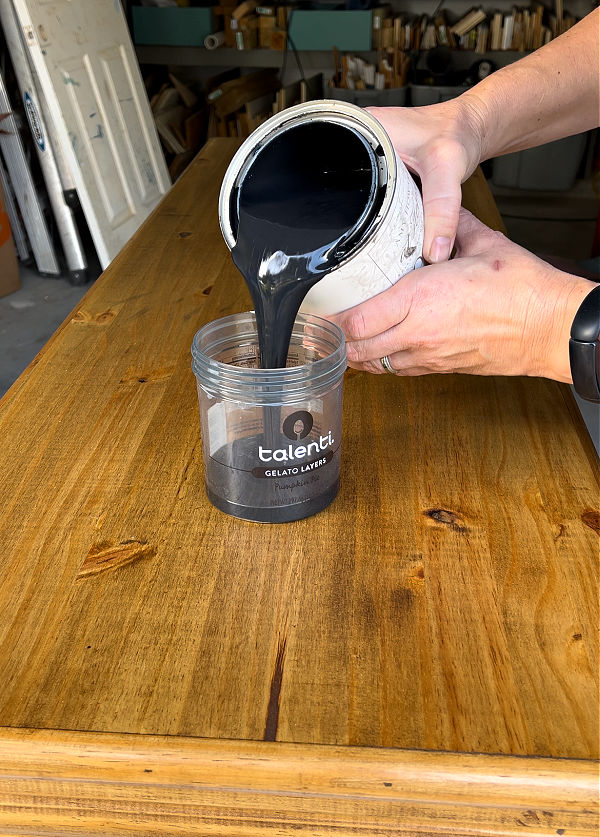
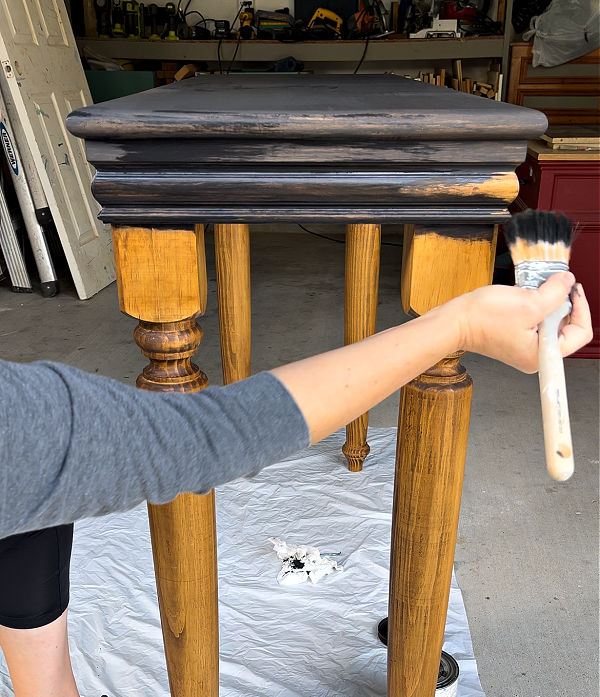
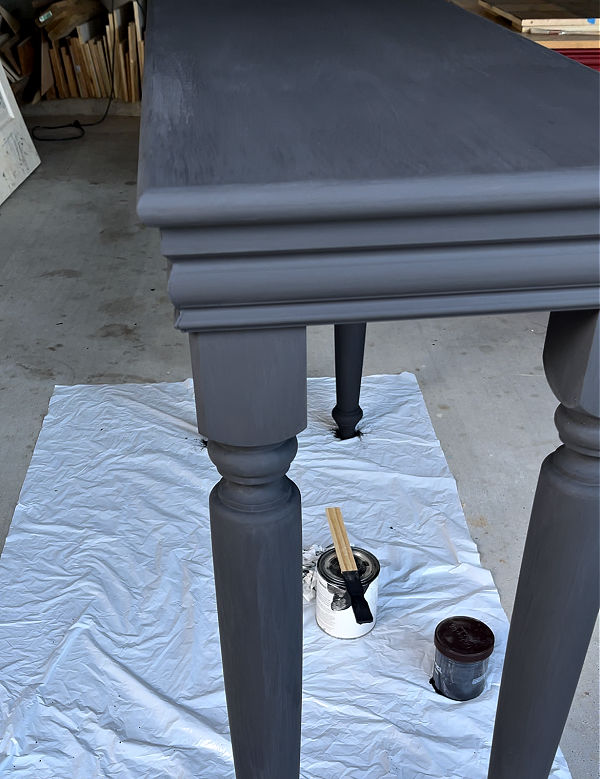
4. Apply A Black Chalk Paint Wash
I mixed up a paint wash using 2/3rd’s Amy Howard’s Black Chalk Paint and 1/3rd water. Then I used a Nylon Paint Brush to apply 2 coats of the paint wash. You could also use a foam brush.
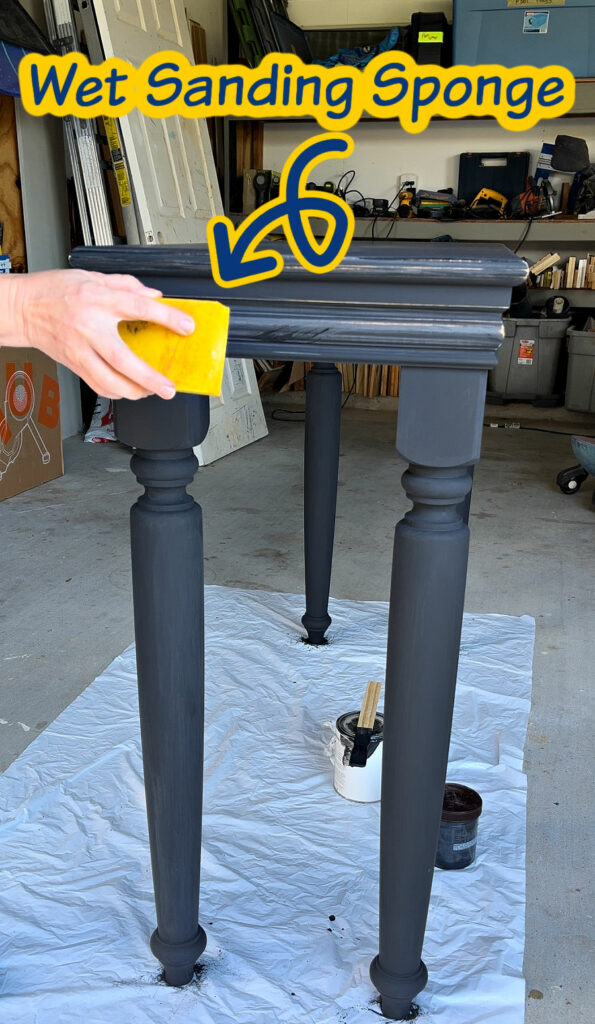
5. Wet Sand
Once the last coat of the black paint wash has dried, I wet a fine grit sanding sponge. Use a sanding sponge that is around 200 grit. Lightly sand any areas that you want the stain finish to show through.
I sanded raised areas, curves, and hard edges. You could definitely remove even more of the paint if you prefer a more distressed Pottery Barn black paint finish.
As you’re distressing, be sure to rinse the sponge as needed to remove paint build up.
6. Clean Off Paint Residue & Lint
After I’ve finished distressing the paint finish, I use a lint free, wet rag to wipe all of the leftover paint residue off of the furniture. Be sure to get everything off before you start waxing.
You don’t want to seal the residue in under the wax. After wiping the furniture down with a clean, wet rag, I let it dry. Then I go over it with a tack cloth, just to be sure to remove any bits of lint or anything else.
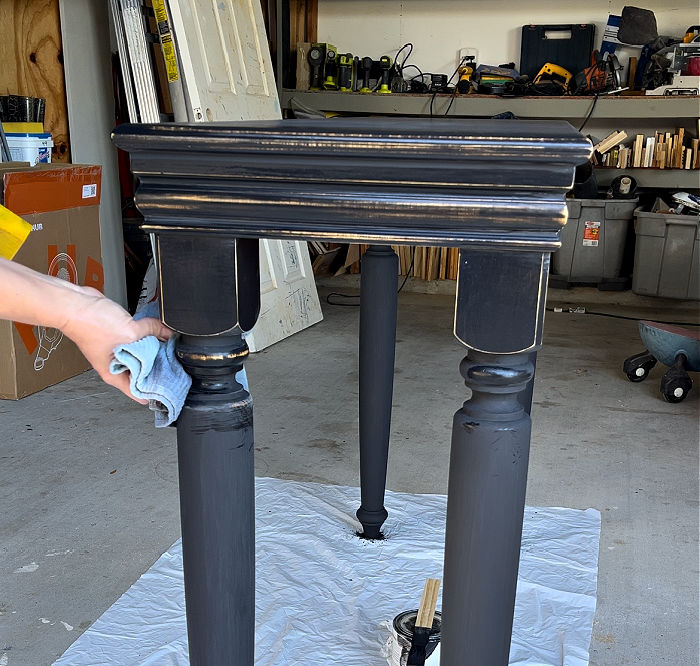
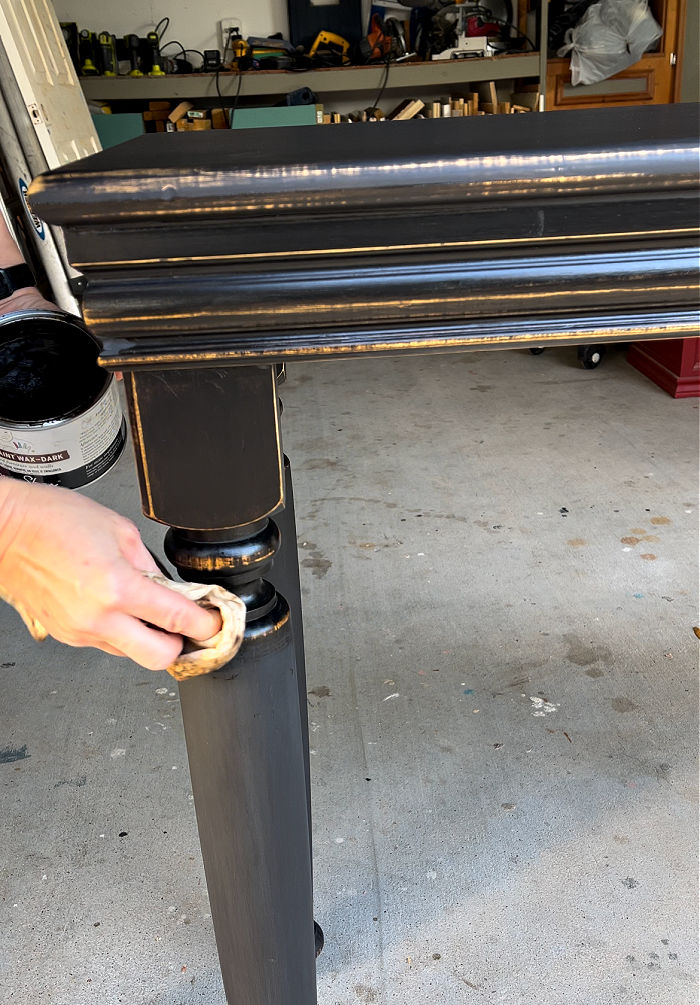
7. Apply Dark Wax
The final step gives your beautiful DIY Pottery Barn Black Paint Finish a rich color and nice shine. Apply 1 or 2 coats of Dark Wax to seal and protect your furniture.
Follow the directions on the container for the best results. Buff with a clean cloth the next day to even out the sheen.
For Dining Table tops and kitchen cabinets, use a water-based matte finish poly instead of wax. Wax isn’t hard enough to protect heavy use items, like kitchen cabinets.
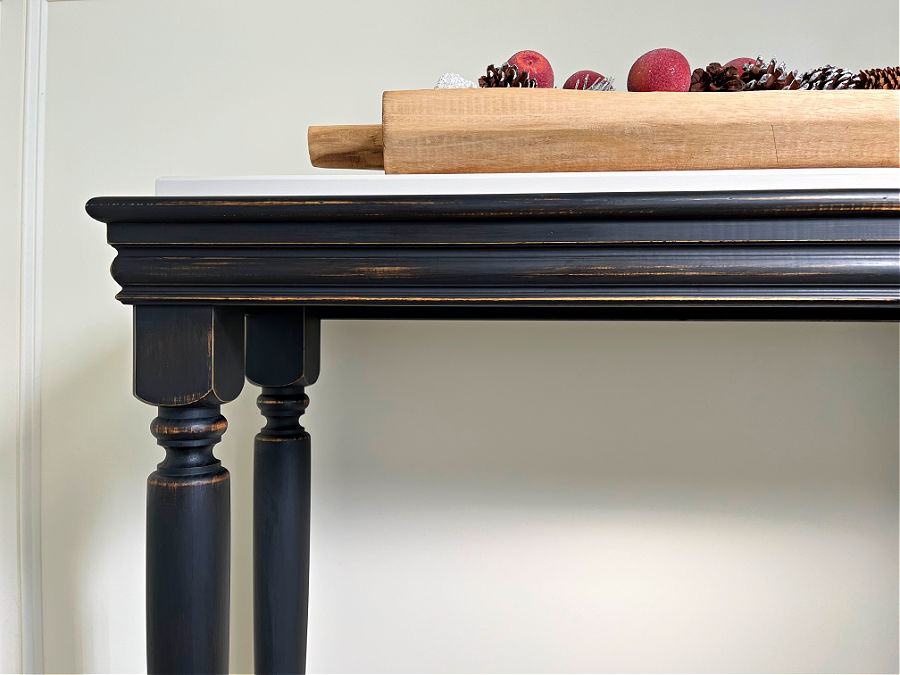
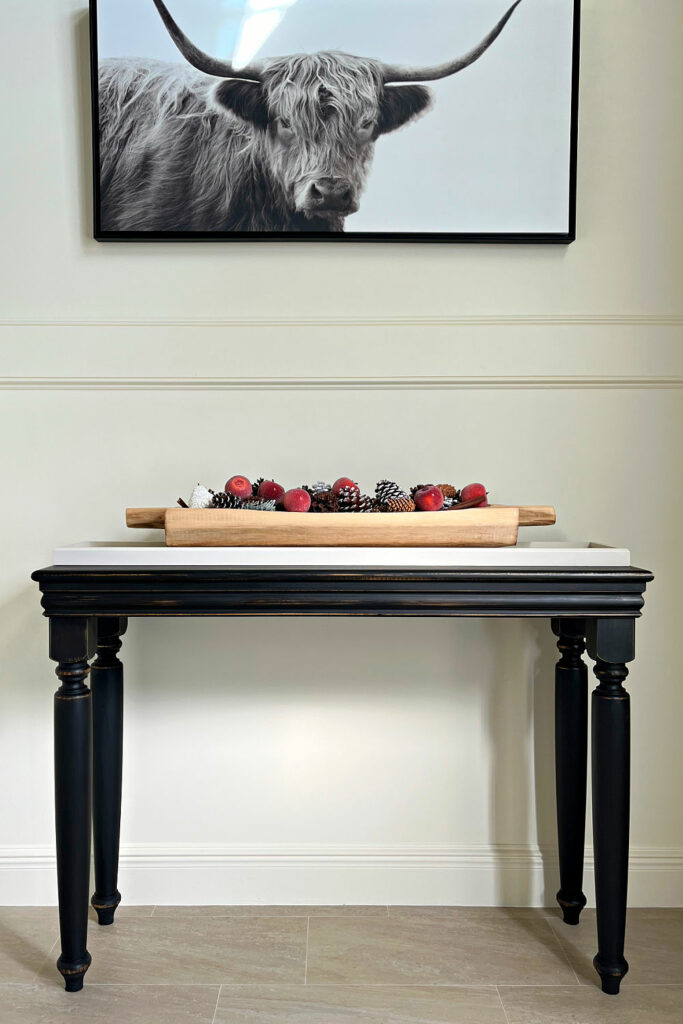
Pictures Of This DIY Distressed Black Paint Finish
Here’s a look at the finished Pottery Barn Knock Off Black Paint Finish.
This table looks great with that long white tray and carved bowl on top. You can find the steps to make that DIY Long Wooden Table Runner Tray in a previous post.
That’s it for this distressed black paint finish. Here’s a few more posts you might like.
More Popular Furniture Painting Posts
- How To Stain Over Stain Without Sanding (Quick & Easy Steps With Gel Stain)
- Beautiful DIY Distressed Gray Chalk Paint Furniture Makeover
- Try This Beautiful DIY White And Blue Distressed Chalk Paint Look
- I LOVE This Easy DIY White And Grey Distressed Chalk Paint Look!
- How To Make Chalk Paint with Plaster of Paris – Easy Recipe & Video
- How To Get a Smooth Finish with Chalk Paint (Easy Guide & Video)
- 25 Beautiful And Easy Furniture Painting Tutorials For Beginners
Other Posts For You
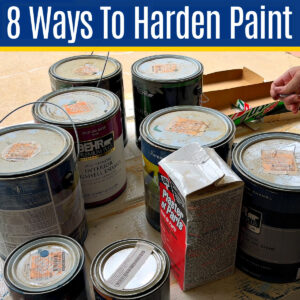
Here’s 8 EASY Ways To DRY OUT Paint Cans For Disposal (How To Harden Paint).
Check out 16 Great Ways to Repurpose an Open Formal Living Room.

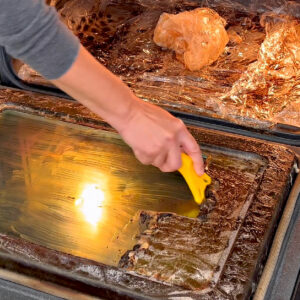
Or, this post with How To Use Easy Off Oven Cleaner Fume Free.
That’s it for this beautiful DIY knock-off Pottery Barn Black Paint finish. Good luck with your distressed black paint look. Don’t forget to sign up for the Abbotts At Home email newsletter to get DIY, Remodeling, and Crafty ideas in your inbox.

Stephanie Abbott has been remodeling homes, updating & building furniture, and working on DIY home maintenance and cleaning tips for over 20 years. Her remodeling has been featured in Better Homes and Gardens Magazine. And, her DIY YouTube channel has had more than 8 million views.
Most of the DIY tutorials and videos on this site focus on beginner to intermediate level DIY Projects that can be done in an affordable way without high-end, expensive tools. All of the cleaning tips on this website have been tested in her home.