
How to check for damage BEFORE you paint over water stains on a ceiling AND easy steps & video for painting over water stains.
How To Paint Over Water Stains on Ceiling
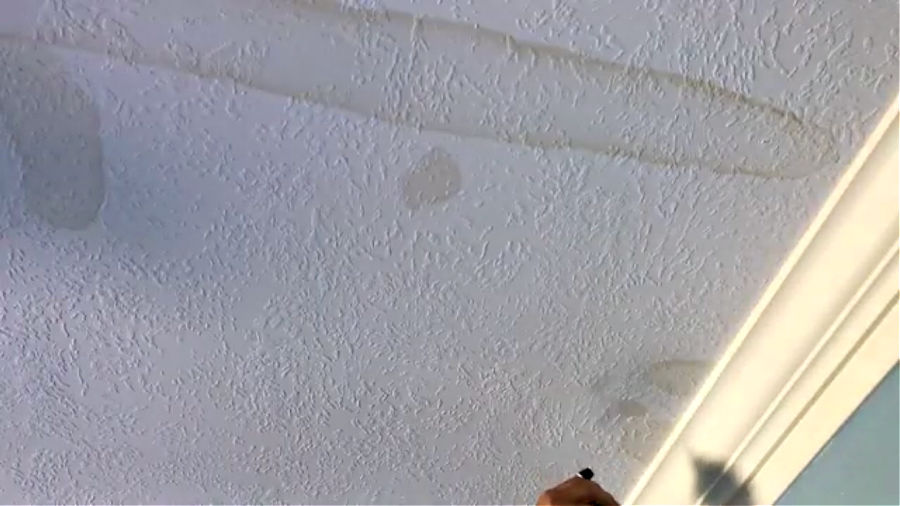
It seems like every few years something happens in our home that causes water stains on a ceiling. We don’t have basements in this part of the country, so all of the HVAC and water heater plumbing is in our attics.
And, even a small leak or condensation dripping down on drywall will cause one of those unsightly brown water rings on drywall. A leaky roof can cause water damage on ceilings too.
So, can you paint over water stains on a ceiling? Most of the time you can safely paint over water stains on a ceiling or walls.
But, you need to use the right paint to block the stain. And, you need to be sure that none of the water damage needs to be repaired before you can paint.
In this post, I’ll go over how to check for water damage before painting your ceiling, which paints you can use, how to paint the ceiling, and even how to get rid of water stains WITHOUT paint.
That’s right, I said you can fix water stains without painting! But first, here’s a quick look at what’s in this post.
Table of contents
Before You Paint Over Water Stains on a Ceiling
Before you paint over a water stain, you need to answer a few questions about the water damaged ceiling or wall.
Has the Cause of the Water Damage Been Fixed?
First, you need to check to be sure that the cause of the water damage has been fixed. If you don’t know what caused the brown spot, you should investigate all possible causes before painting over it.
Here are some possible sources of water damage on ceilings and walls; a leaky roof, water heaters leaking, overflowing toilets, or even slow leaks under toilets.
You can also check for burst pipes during a freeze, accidental plumbing punctures with screws or nails, overflowing drip pans for HVAC, and sweating duct work in a hot attic.
If you can’t find the source, wait for another heavy rain to see if the leak returns during rain.
We’ve even had a little water damage under a window from sideways rain during Hurricane Harvey. Check out these tips for cleaning flood damage in a home, if you have large areas of water damage.
It’s important that you know what caused the water stain so that it can be corrected before you paint over water stains.
Help The Water Stained Drywall Dry Out
In addition to identifying and fixing the source of the water damage, you’ll need to wait for the drywall to completely dry before trying to fix it.
If you can access the area above the water stain, use old towels to dry that area. If the source is in an attic, you might need to remove wet insulation. Wet insulation is FANTASTIC at holding onto water.
Insulation can keep your water damaged drywall wet for a long time, in the right conditions. That could make it easy for mold to grow on the paper side of your drywall.
When my HVAC leaked in my attic recently, I pulled a few feet of wet insulation out that was sitting on the ceiling drywall.
I let that attic-side of the drywall dry out for a few days before replacing that insulation with a new layer of insulation.
Inside the room with the ceiling stain, you can try using space heaters, fans, or dehumidifiers near water damage to help dry it out faster. Just be sure to follow safe usage instructions that come with those items.
Is the Ceiling or Wall Structurally Unchanged?
After fixing the source of the leak and letting the water stain dry out, you need to carefully check the damaged area. Press on the drywall to make sure there isn’t any movement or crumbling areas.
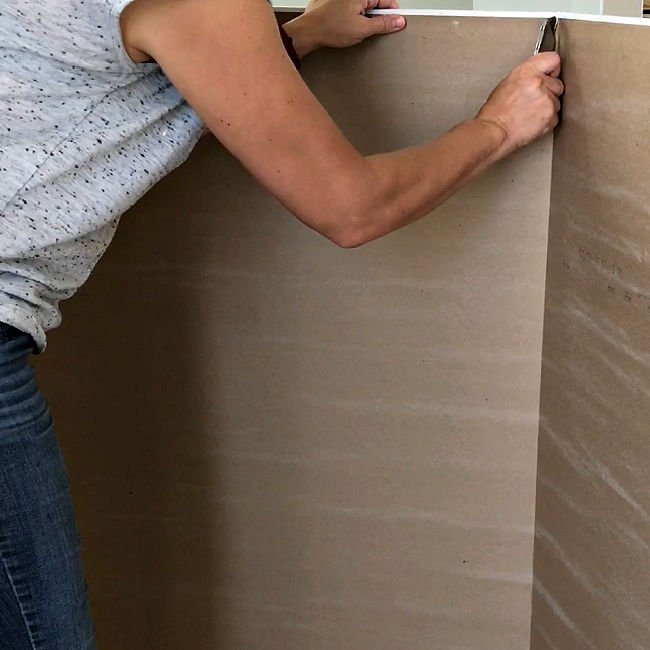
If the drywall, paint, or plaster on your ceiling has started to crumble, buckle, fall off, chip, or anything like that, you should replace that section of drywall on the ceiling.
For anyone that prefers DIY, check out my post on How to Cut Drywall & Hang Drywall – 15 Beginner Tips.
If you just have a little paint flaking on the surface of the water stain, gently brush off any paint flakes. You can patch any small spots with spackle, if needed.
If you have a small amount of mold or mildew on the surface of the drywall, you can treat that with a 30/70 mixture of bleach and water. You can find tips for how to safely use that bleach mixture in the next section.
For large sections of mold and mildew, you might need to have it professionally treated.
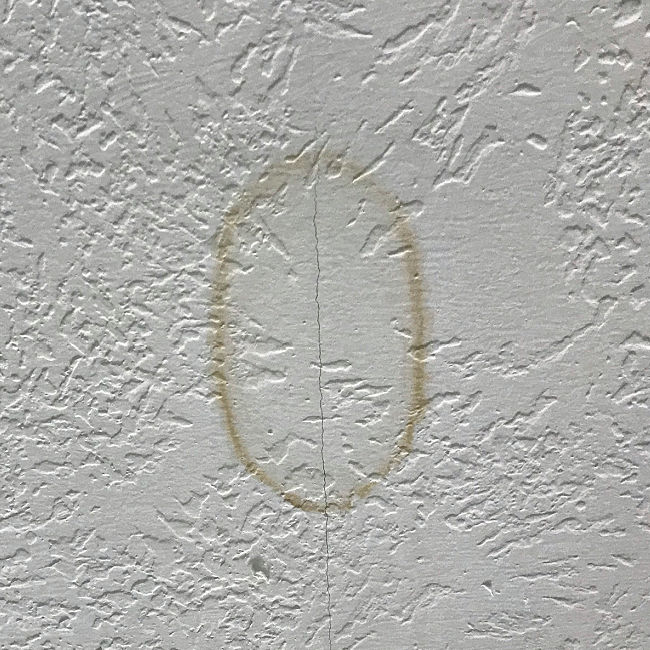
If the drywall or plaster looks undamaged and the only issue is the brown water stain, or water ring, then you can safely paint over water stains on a ceiling or walls.
BUT, you might not need to paint. There is an EASIER, FASTER fix.
How Do You Cover Water Stains on a Ceiling Without Paint
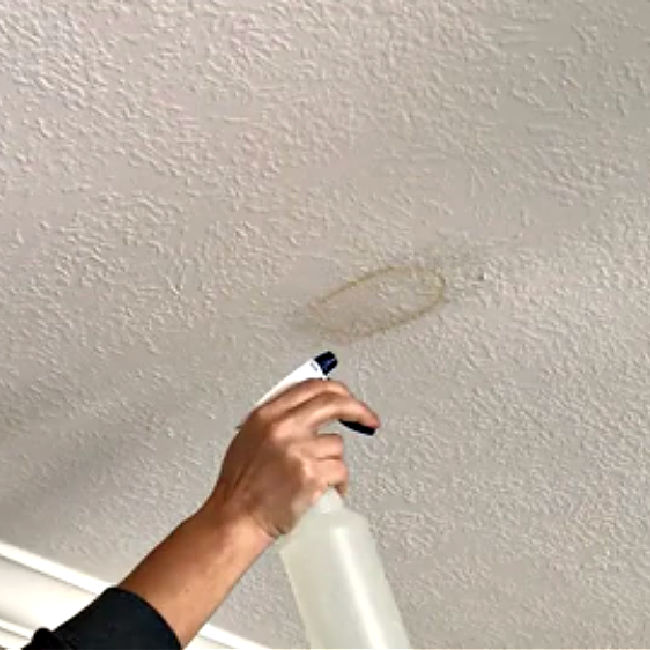
About 9 out of 10 times that I have a water stain on a ceiling, I don’t have to paint it at all. I spray on a mixture of bleach and water.
Within a few minutes, that bleach can remove ceiling stains without paint. Check out my post on how to remove water stains without painting to see the full steps and safety info.
That bleach method works on new and old water stains. It will make the water stain completely disappear, in most cases.
This bleach method won’t work if you have already painted or primed the water stain.
And, since it’s bleach, it really only works on white or very light paint. The bleach can lighten darker paints.
I have painted some of my ceilings a darker color. Those ceilings would probably need to be fully painted after cleaning to completely fix the ceiling.
If the bleach trick doesn’t work for you, I have the full steps for how to paint over water stains and a step by step video below.
What Paint to Use to Cover Water Stains?
Water stains aren’t just water. Depending on the source of the water leak and the area around it, the stain could contain rust, oils, minerals, or other substances that need to be blocked with a good primer before painting.
For the first time ever, the bleach mixture failed to fix one of my water stains. That water stain was actually a mixture of water and propane from my heat pump.
I was sure to pick a great stain-blocking primer to use over that propane. If you don’t use a strong stain-blocking primer, oils, rust, or other chemicals in your water stain can penetrate through paint, over time.
Basic water-based primers aren’t going to cover a water stain. The stain will just move into that layer of paint. Here’s some primers that will block water stains.
5 Primers That Work on Water Stains
The first 3 primers are water-based primers that are designed to block tough stains and odors. Those 3 will block almost any water stain on ceilings.
If you have an unusually tough stain, you’ll have to use the oil-based or shellac based primers. Be sure to follow the product use and safety instructions on the primer you pick.
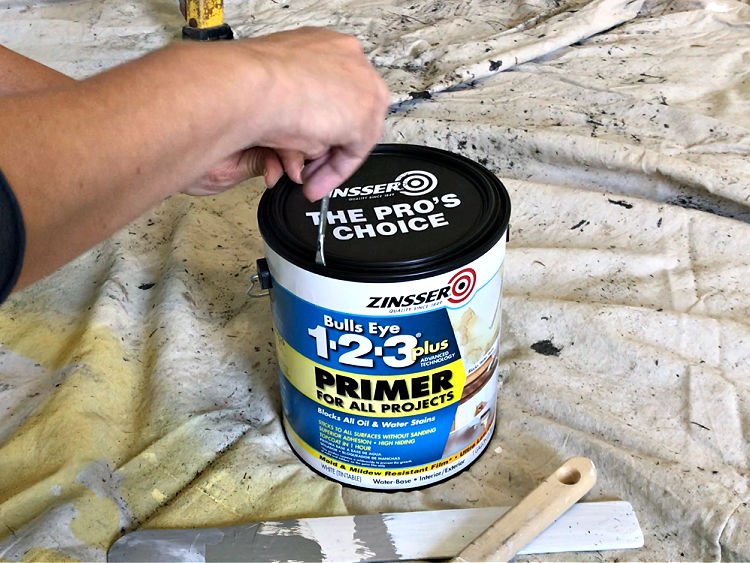
Zinsser 123 Plus
Zinsser 123 Plus is a water-based acrylic, so it’s easy to clean your brushes. This primer has zero VOC’s.
It’s proven to block water stains, rust, oils, smoke-damage, and more. I picked this one for those reasons and because I always need a good all-purpose primer for general furniture and home projects.
This primer also blocks oils in Cedar and other oily woods or knots in wood. I’ll use it on my DIY furniture projects.
Kilz Restoration
Kilz Restoration (formerly Kilz MAX) is a water-based, latex primer with low VOC’s. So, it’s easy to clean brushes again. This primer is said to provide maximum stain and odor blocking.
This primer can block water stains on drywall, block fire and smoke damage, and tough pet stains and odors. It’s a great choice for renovating old, derelict homes.
Sherwin Williams PrepRite ProBlock
Sherwin Williams PrepRite ProBlock is a great water-based, stain-blocking primer. I am a fan of Sherwin Williams paints. This primer dries fast and has low VOC’s. It can be used to block minor water stains and tannins.
Zinsser B-I-N Shellac-Based Primer
Zinsser BIN Shellac-Based Primer is well-known for being one of the best stain-blocking and odor-blocking primers available.
This primer can block dark water stains on ceilings and walls, grease, oil, ink, rust, smoke, graffiti, markers, crayons, knotholes, pet odors and more.
Zinsser Cover Stain
Zinsser Cover Stain is great at blocking tough stains and dark colors. You’ll probably get full coverage over any stain with 1-coat of this oil-based primer.
BUT, oil-based primers and paints have high VOC’s. So, use safety precautions and keep the area well-ventilated. Have paint thinner on hand for clean up, water won’t work.
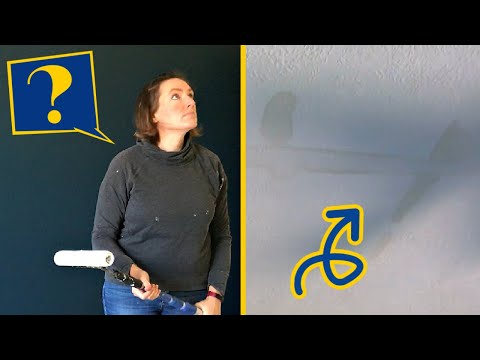
Watch This Video To See How
If any of the steps below are confusing, watch this short video to see how I painted over water damage on my ceiling.
How Do You Paint a Water Damaged Ceiling?
DIY Steps Overview
- Find and Repair the Water Leak
- Let the Water Stain Dry Completely
- Check for Drywall Damage
- Prep and Protect the Area Under the Stain
- Clean the Water Stain with Bleach
- Apply 1-2 Coats of a Stain-Blocking Primer
- Apply 1-2 Coats of Top Coat
Since I already went into detail on steps 1 to 3 in the sections above, let’s start with step 4. If you skipped those steps, be sure to follow those steps on your wall or ceiling water stains.
Prep and Protect the Area
Before you can clean or paint the water stain, remove and/or cover any furniture and wall art near the water stain. Then cover all of the flooring beneath and near the area with heavy-duty drop cloths (see options on Amazon).
Clean the Water Stain with Bleach
Next, apply a 30/70 mixture of bleach and water to the water stain. That will bleach mixture will remove any residue and mildew while also fading the water stain.
Use a sponge to wipe down the entire water stain with the bleach mixture. Be sure to wear heavy duty gloves, protective eyewear, and a mask when working with bleach.
Let the bleach solution dry completely. Then wipe the area with a clean wet cloth or sponge to remove any bleach residue. Dry the area with a rag.

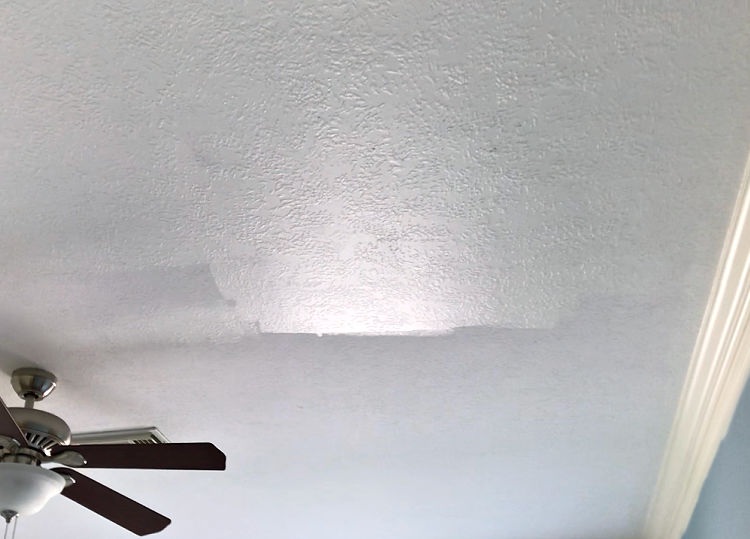
Apply 1 to 2 Coats of Primer
Now that the water stain has been cleaned and dried, tape off the walls or crown molding with painters tape. Then apply 1 to 2 coats of a stain-blocking primer that can block water stains. See above for 5 good options.
I only used 1 coat of primer on my light stain. But, if you have a really dark water stain, go for 2 coats.
I only applied primer to the water stains on my ceiling. The rest of the ceiling didn’t need primer. If you think your entire ceiling needs primer, go for it.
Most water-based primer will be partially see-through. That is normal. Primer will block-stains and seal a surface without actually hiding it.
Blocking and sealing the water stain just means that the stain won’t be able to bleed into the primer or top coat.
So, you don’t need to apply multiple coats of primer until the stain disappears. You have to apply a top coat to fully cover the stain.
Apply 1 to 2 Coats of Top Coat
After you’ve applied the primer, apply 1 or 2 coats of a good paint. It’s generally recommended to apply the topcoat within 48 hours of the primer to get the best bond with that primer.
For interior paint projects, I generally use Behr’s Paint & Primer in One, Behr’s Scuff Defense, or Magnolia Homes by Kilz. But, there are a lot of quality paint lines out there.
And, for ceilings, I always use Eggshell Sheen. The old rule of thumb was to always use Flat paint sheen on ceilings.
But, unless you have a heavily-textured ceiling, eggshell sheen on a ceiling brightens the room and makes the ceiling feel higher.
Check out more examples of Eggshell sheen on the ceilings in my home in the post Best Paint Sheen on Ceilings: Eggshell or Flat.
If you have crown molding or wood trim finish carpentry on your ceiling that needs to be painted too, I use matching Eggshell Sheen and paint color on the trim too.
Check out Do you use Caulk or Wood Filler on Wood Trim if you need to fix cracks or dents in that trim.
That’s pretty much it for How to Paint Over Water Stains on a Ceiling. It’s easy, right?!!
For tips on fixing water stains on popcorn ceilings, go to How to Fix Water Stains on Ceiling Leaks and scroll towards the bottom.
More DIY Projects for Homeowners
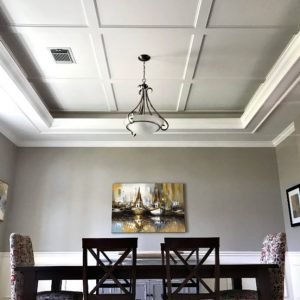
Give your ceiling a beautiful new look with this Simple DIY Coffered Ceiling Design.
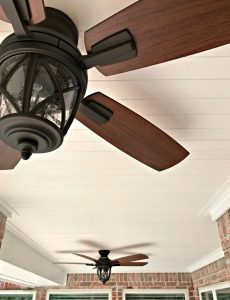
If your porch ceiling needs a style upgrade, check out this DIY Painted Tongue & Groove Porch Ceiling Makeover.
You might also like this DIY for How to Whiten Tile Grout or this Does Grout Renew Work?. It’s a Game Changer!

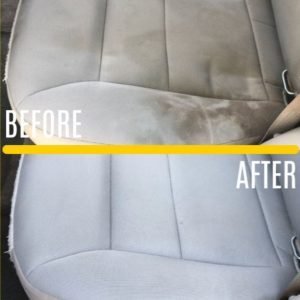
And, this super popular post for How to Clean Car Seats At Home, the Easy Way or Best Way To Deep Clean Car Seats.
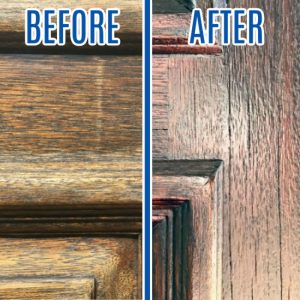
And, if it is time to Stain your Front Door, check out these steps for how I restain a front door without stripping it or removing it. 🙂
Feeling inspired? Now that you’ve read these tips for How to Paint Water Stains on a Ceiling, you can do it too.
Let me know if you have questions. Don’t forget to sign up for the Abbotts At Home email newsletter to get DIY, Remodeling, and Crafty ideas in your inbox.

Stephanie Abbott has been remodeling homes, updating & building furniture, and working on DIY home maintenance and cleaning tips for over 20 years. Her remodeling has been featured in Better Homes and Gardens Magazine. And, her DIY YouTube channel has had more than 8 million views.
Most of the DIY tutorials and videos on this site focus on beginner to intermediate level DIY Projects that can be done in an affordable way without high-end, expensive tools. All of the cleaning tips on this website have been tested in her home.