25 Best Winter And Christmas Disney T-Shirts For Adults (Men and Women)
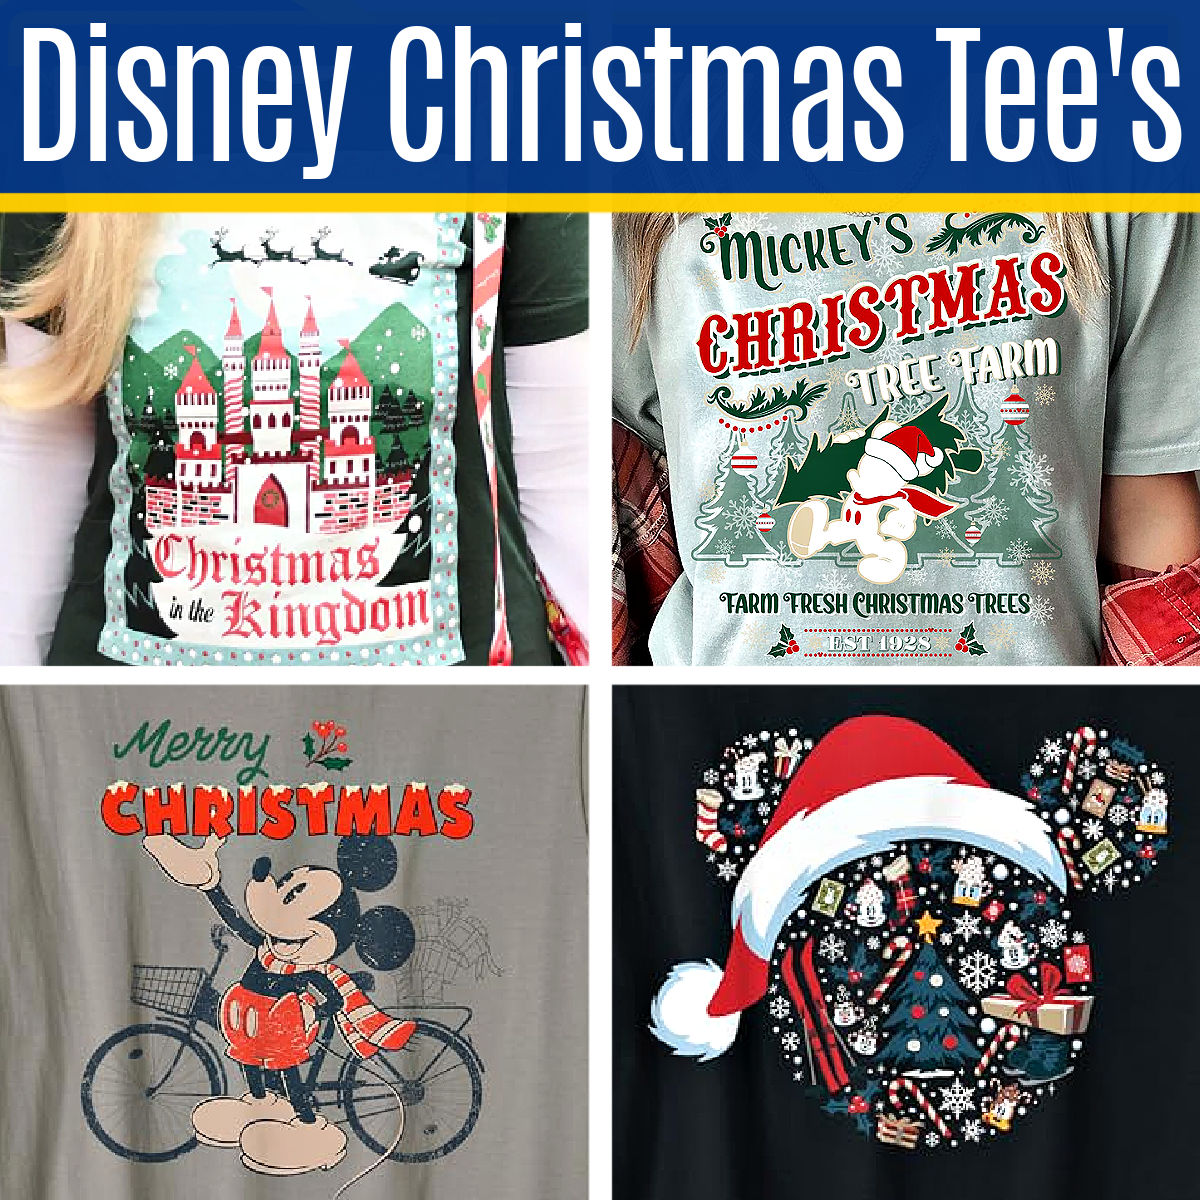
Looking for COOL winter-themed or Christmas Disney T-shirts? Here’s 20 of the best Disney T-Shirts for adults that are really STYLISH & FUN!

Looking for COOL winter-themed or Christmas Disney T-shirts? Here’s 20 of the best Disney T-Shirts for adults that are really STYLISH & FUN!
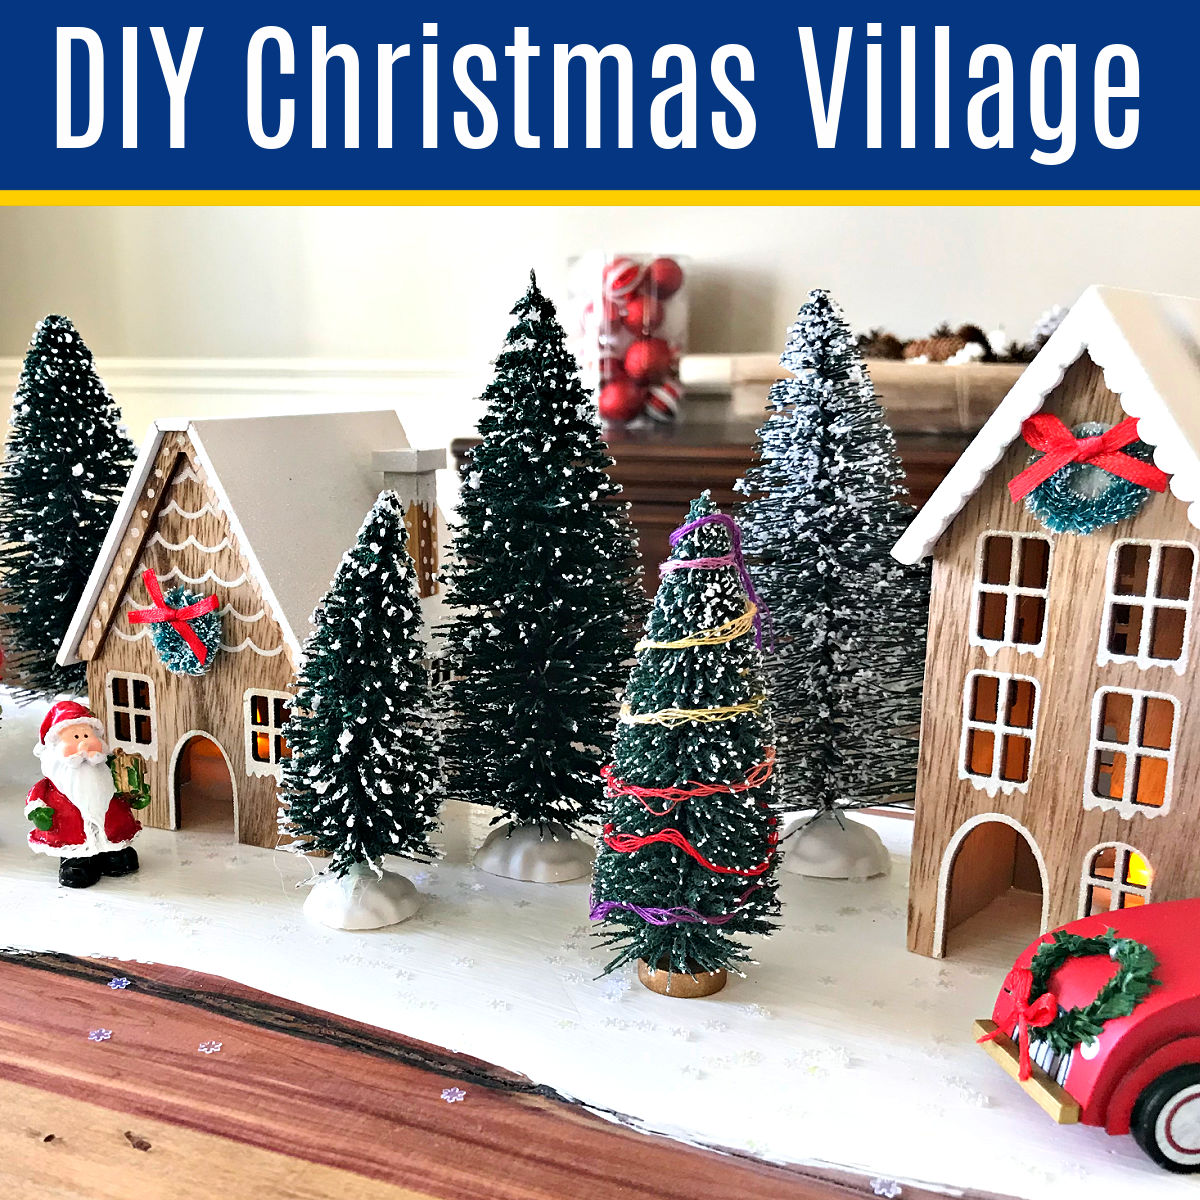
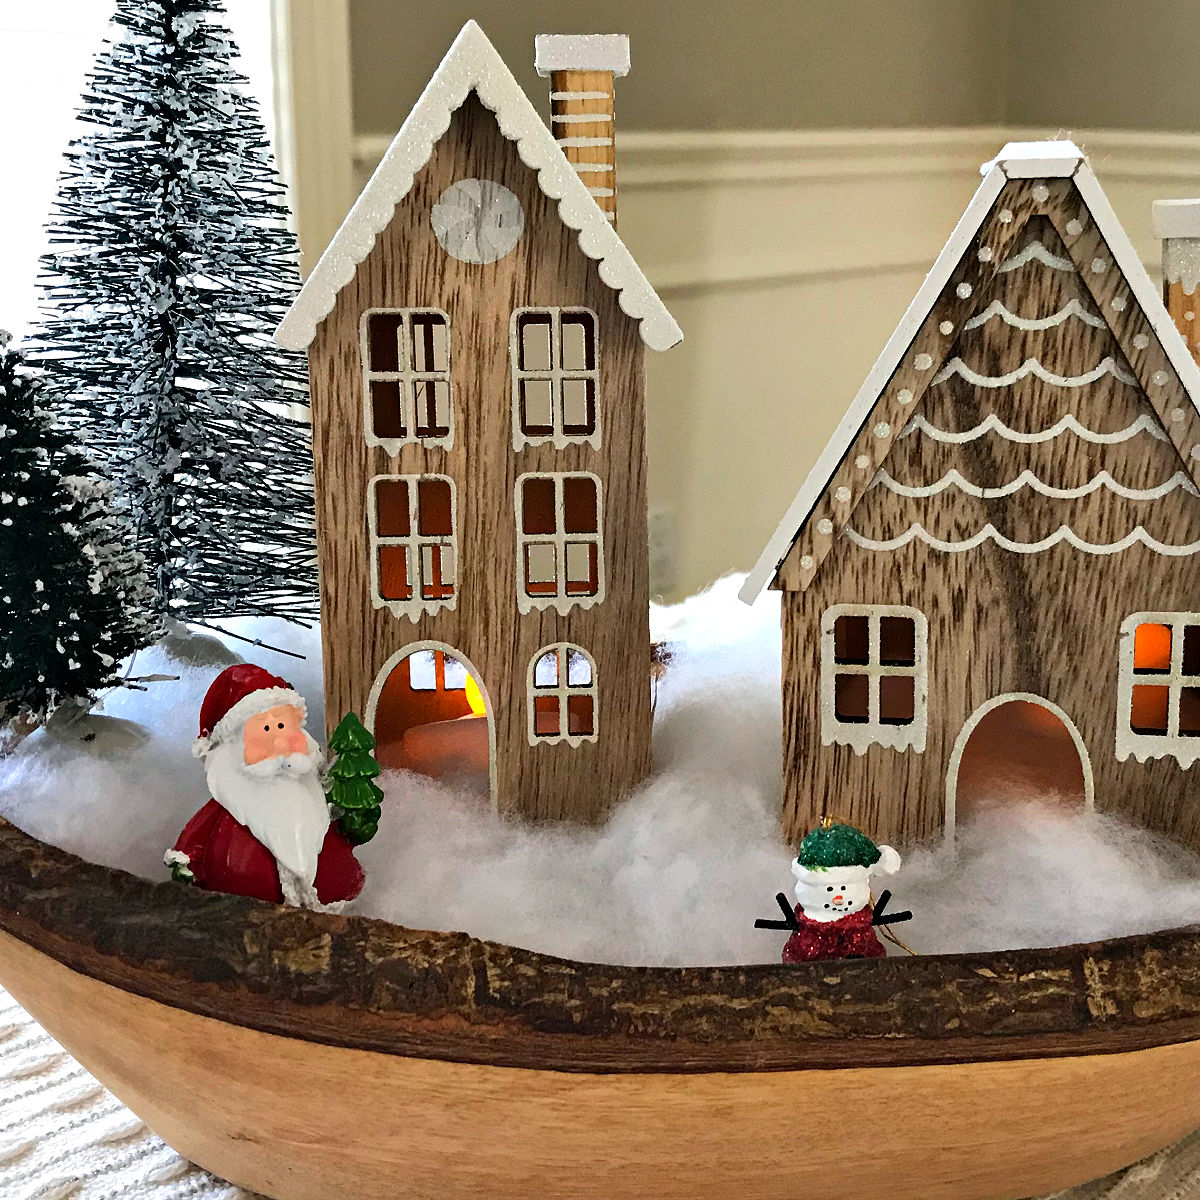
I LOVE this EASY DIY Christmas Table Centerpiece Idea. Make a FUN Red Truck Christmas Village everyone will enjoy, with steps & how-to video.
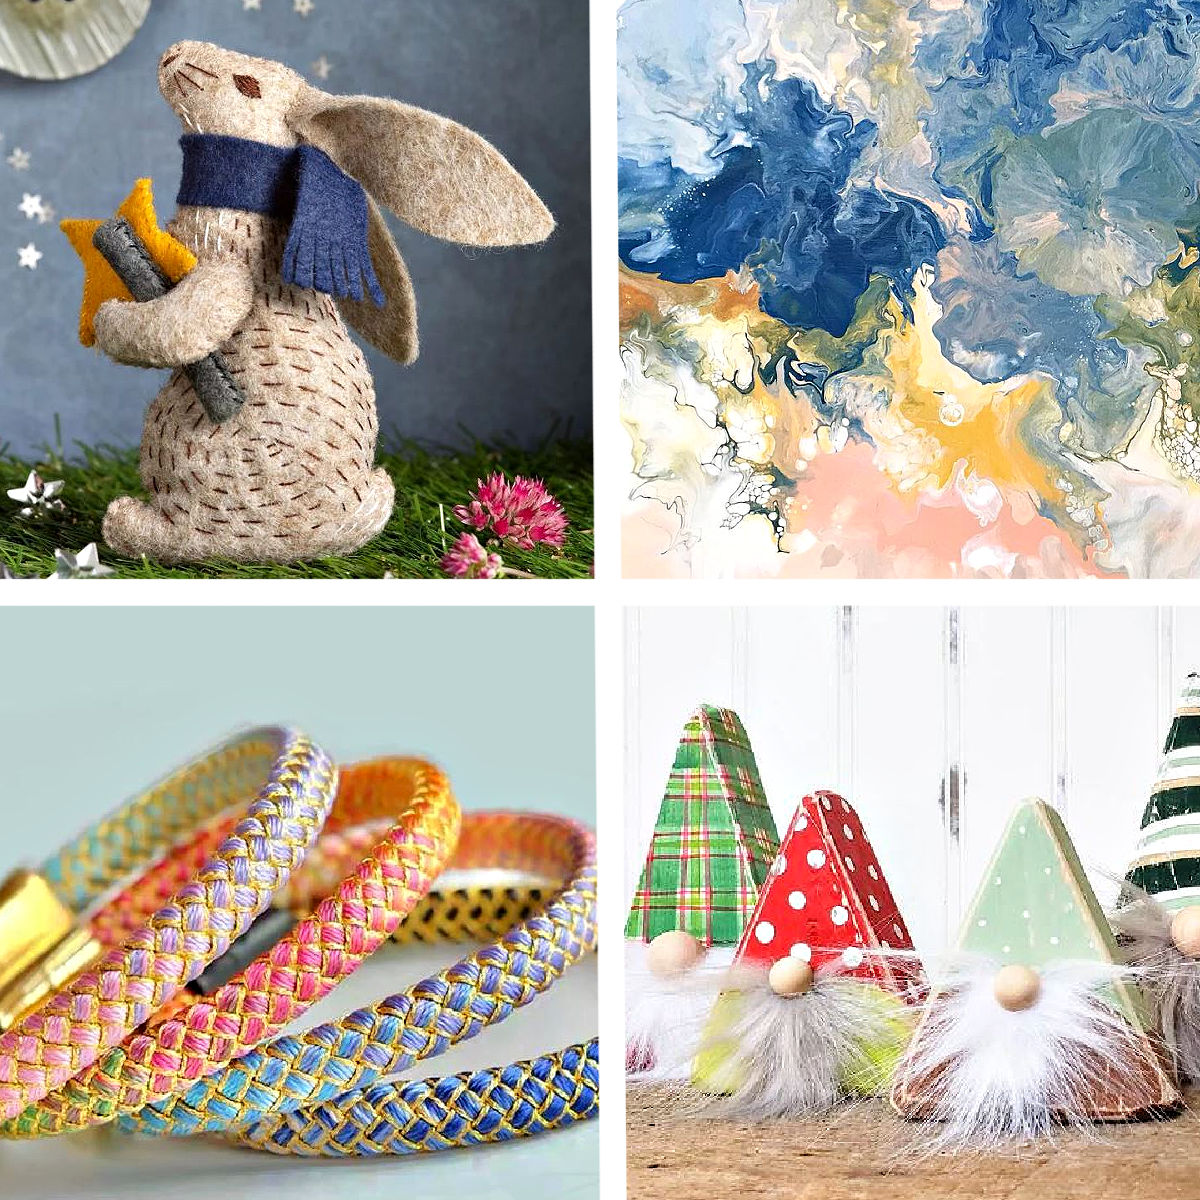
Looking for cute & clever handmade gift ideas?? Here’s 50 AWESOME & CHEAP DIY gift ideas for friends and family, under $25. I LOVE this list!

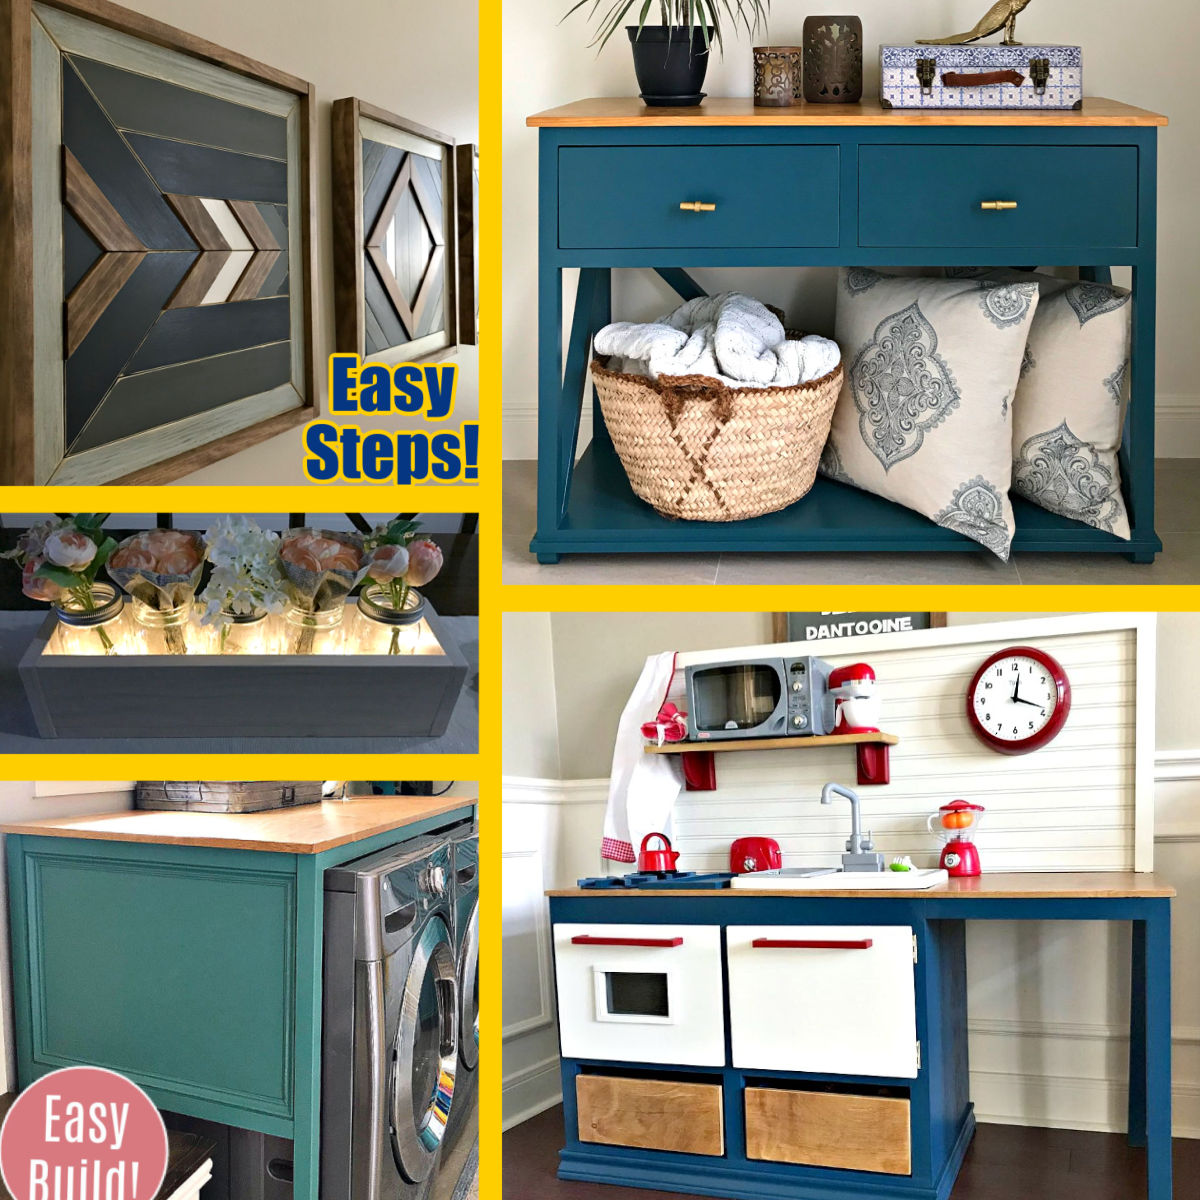
This DIY Christmas Tree Box Stand is beautiful under any tree. AND, you can store ornaments in it after Christmas! With Free PDF build plans.
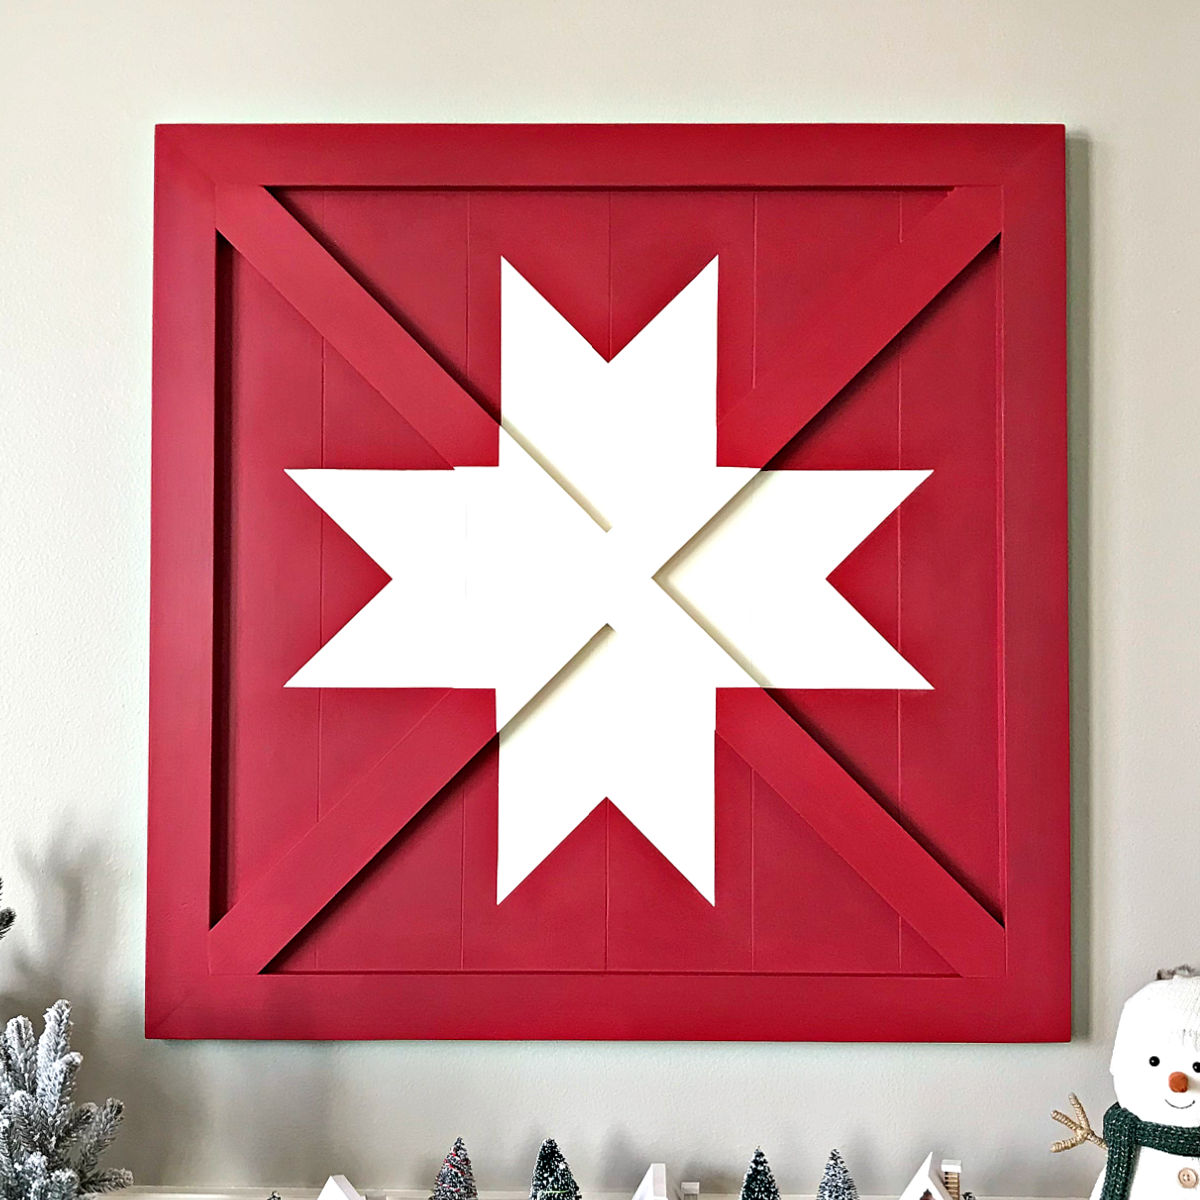
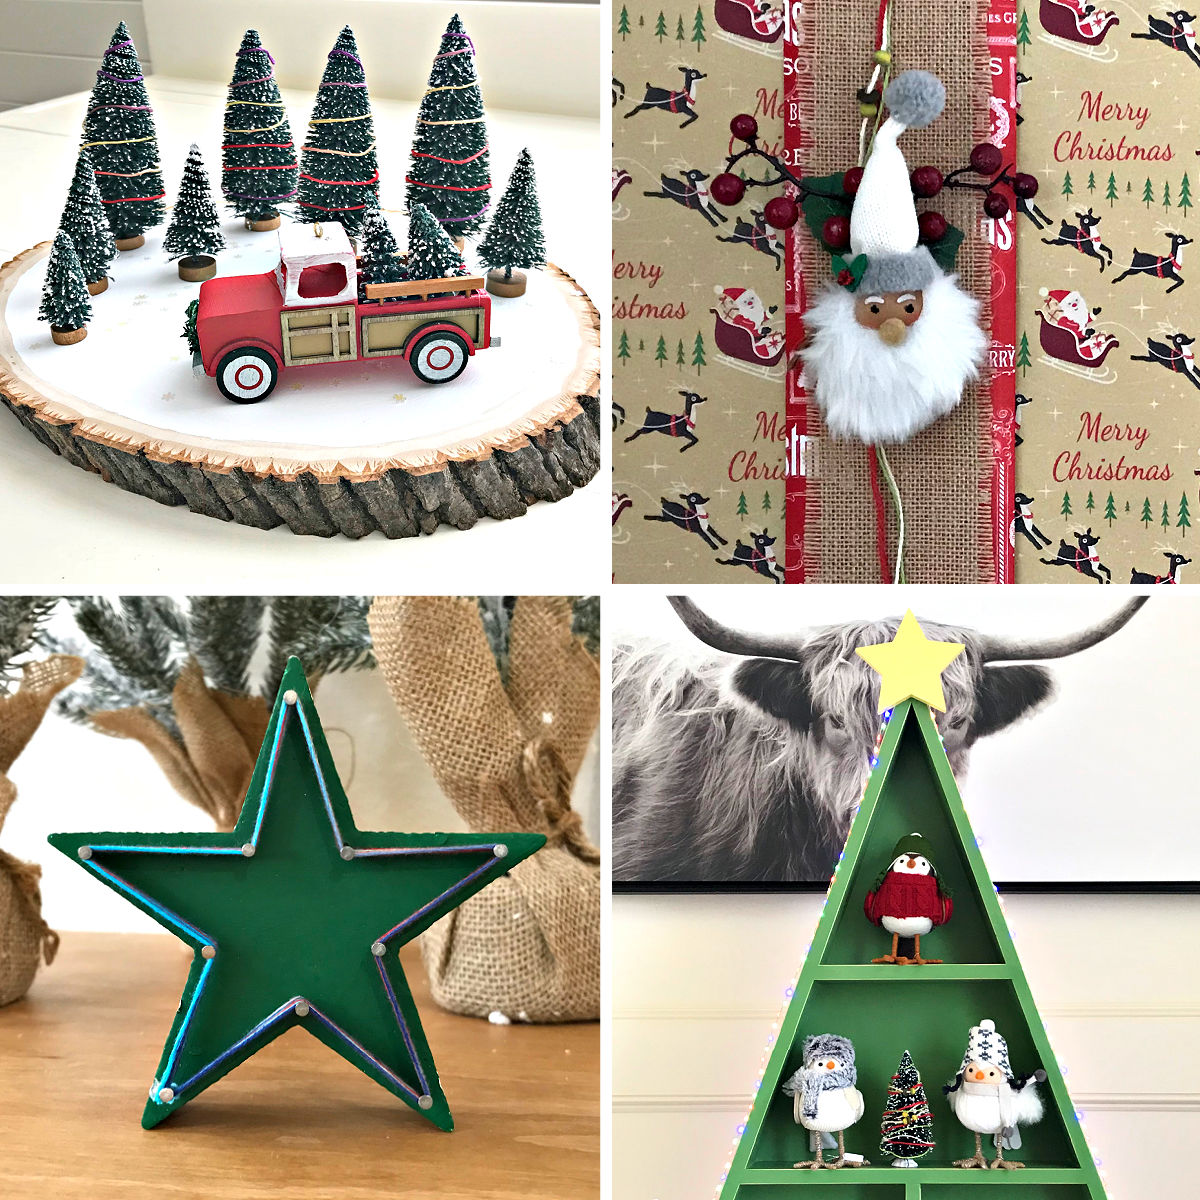
I LOVE this BEAUTIFUL DIY Wooden Barn Star Quilt Art. It’s an easy woodworking project you can build for less than $20 in lumber. Yay!
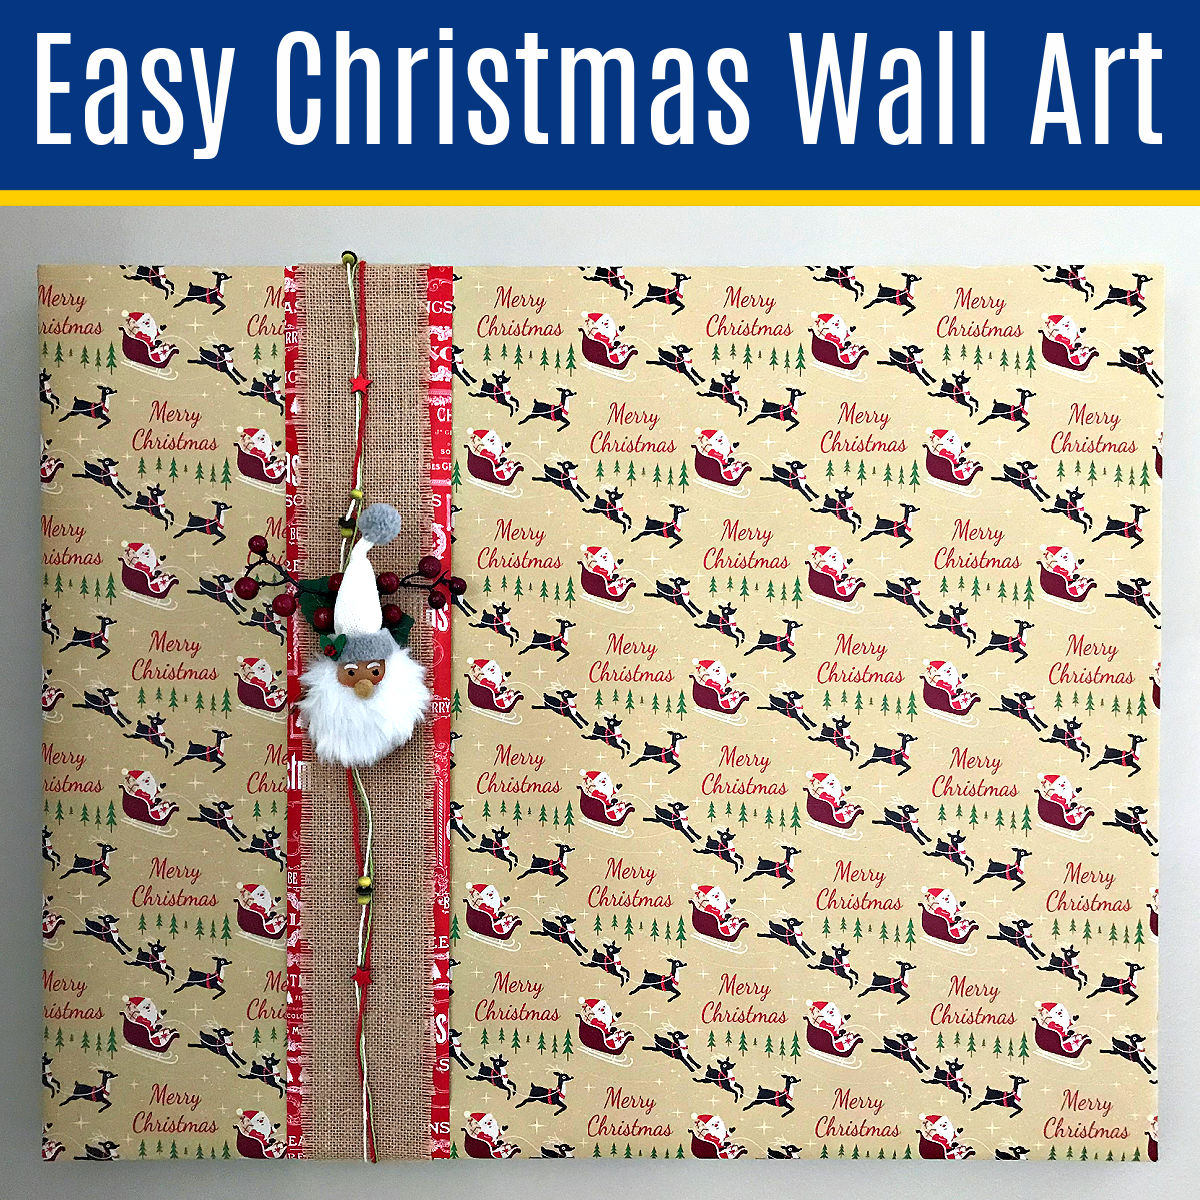
I LOVE this quick & easy Christmas Décor idea! Here’s my easy steps and How-To video showing How to Wrap A Picture Frame with Gift Wrap.
Need some new ideas for this years Christmas craft? Here’s 12 fun and easy handmade Christmas Ornament Ideas for kids and adults.
Check out this BIG list of DIY Christmas Projects & Homemade Christmas Gifts: easy crafts, ornaments, décor, and Christmas woodworking ideas.
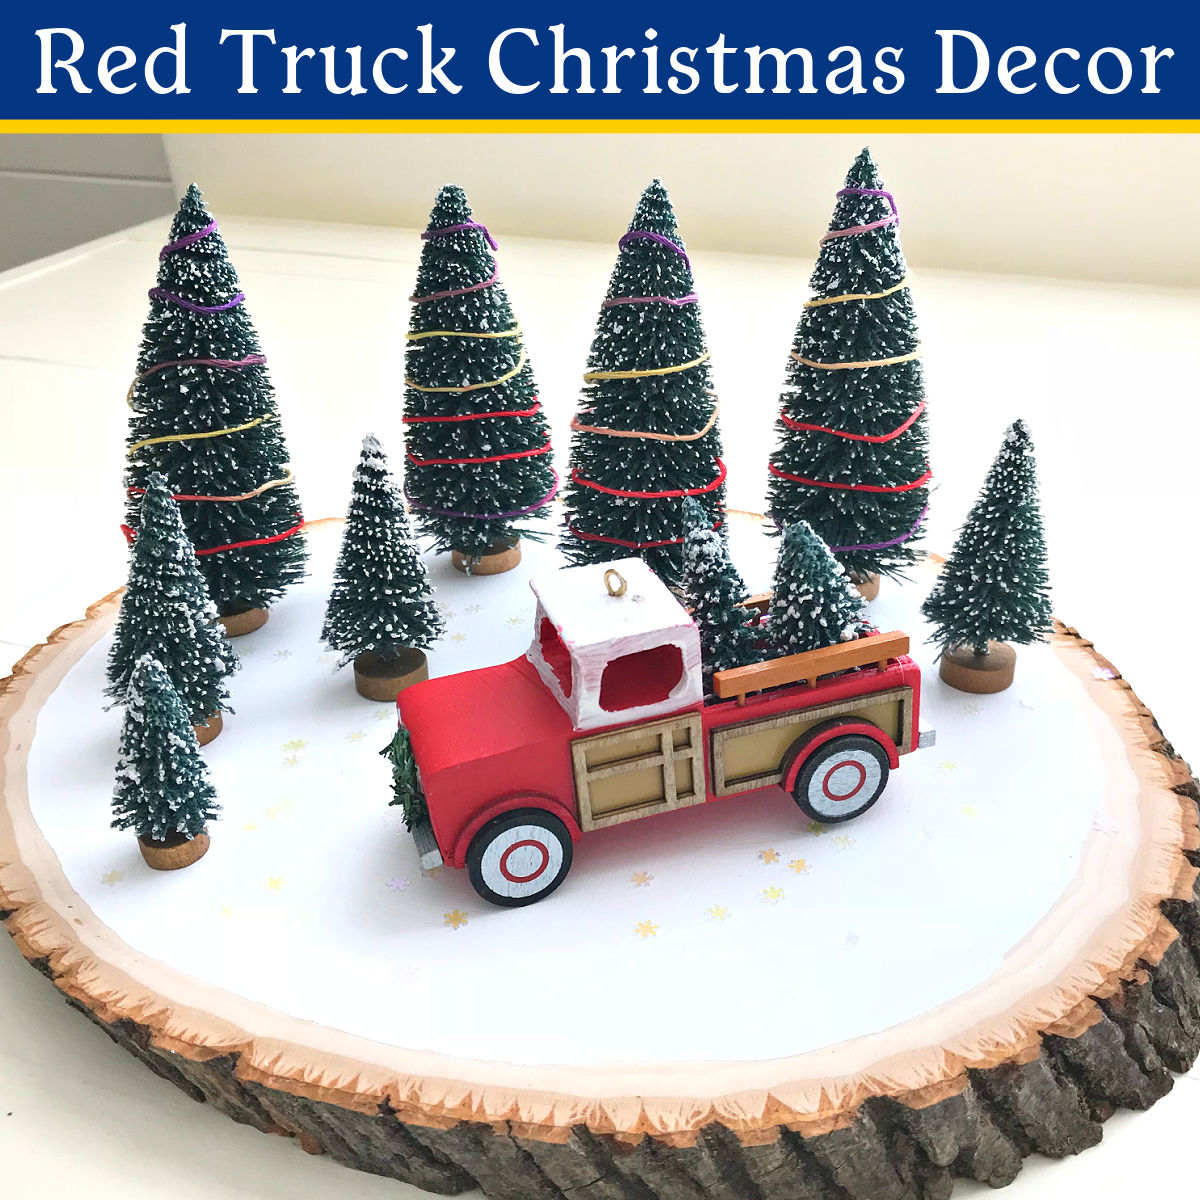
This EASY DIY Red Truck Christmas décor idea is my favorite table top Christmas decoration! The red truck & bottle brush trees are so cute!
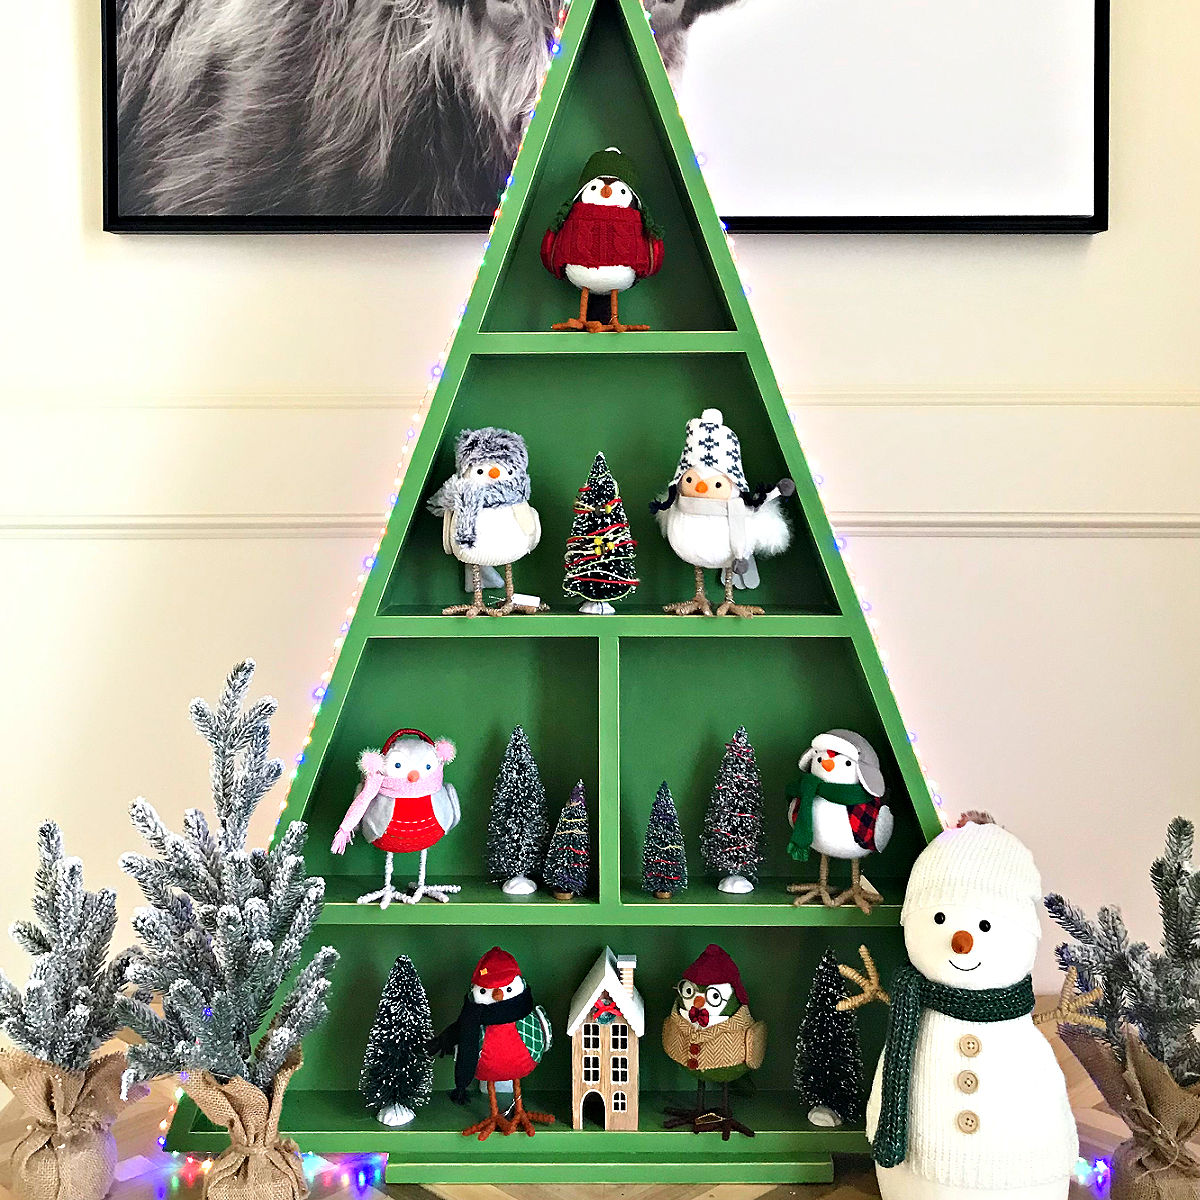
I’m loving this DIY Wooden Christmas Tree Shelf! It’s a great display shelf for Cocoa Bars, Christmas Villages, Christmas Cards & ornaments.
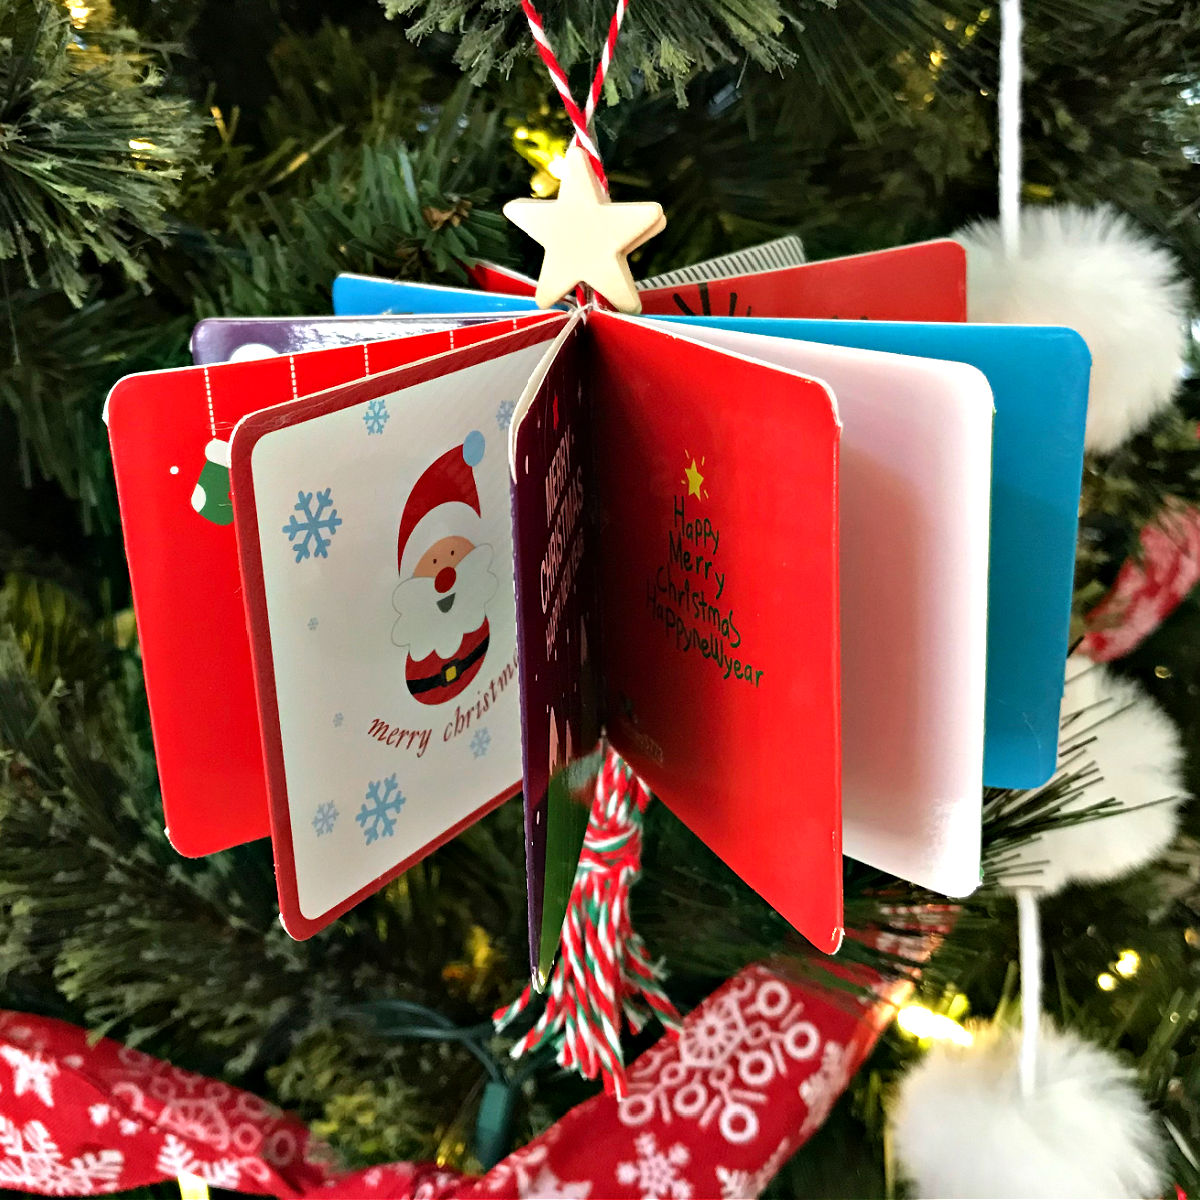
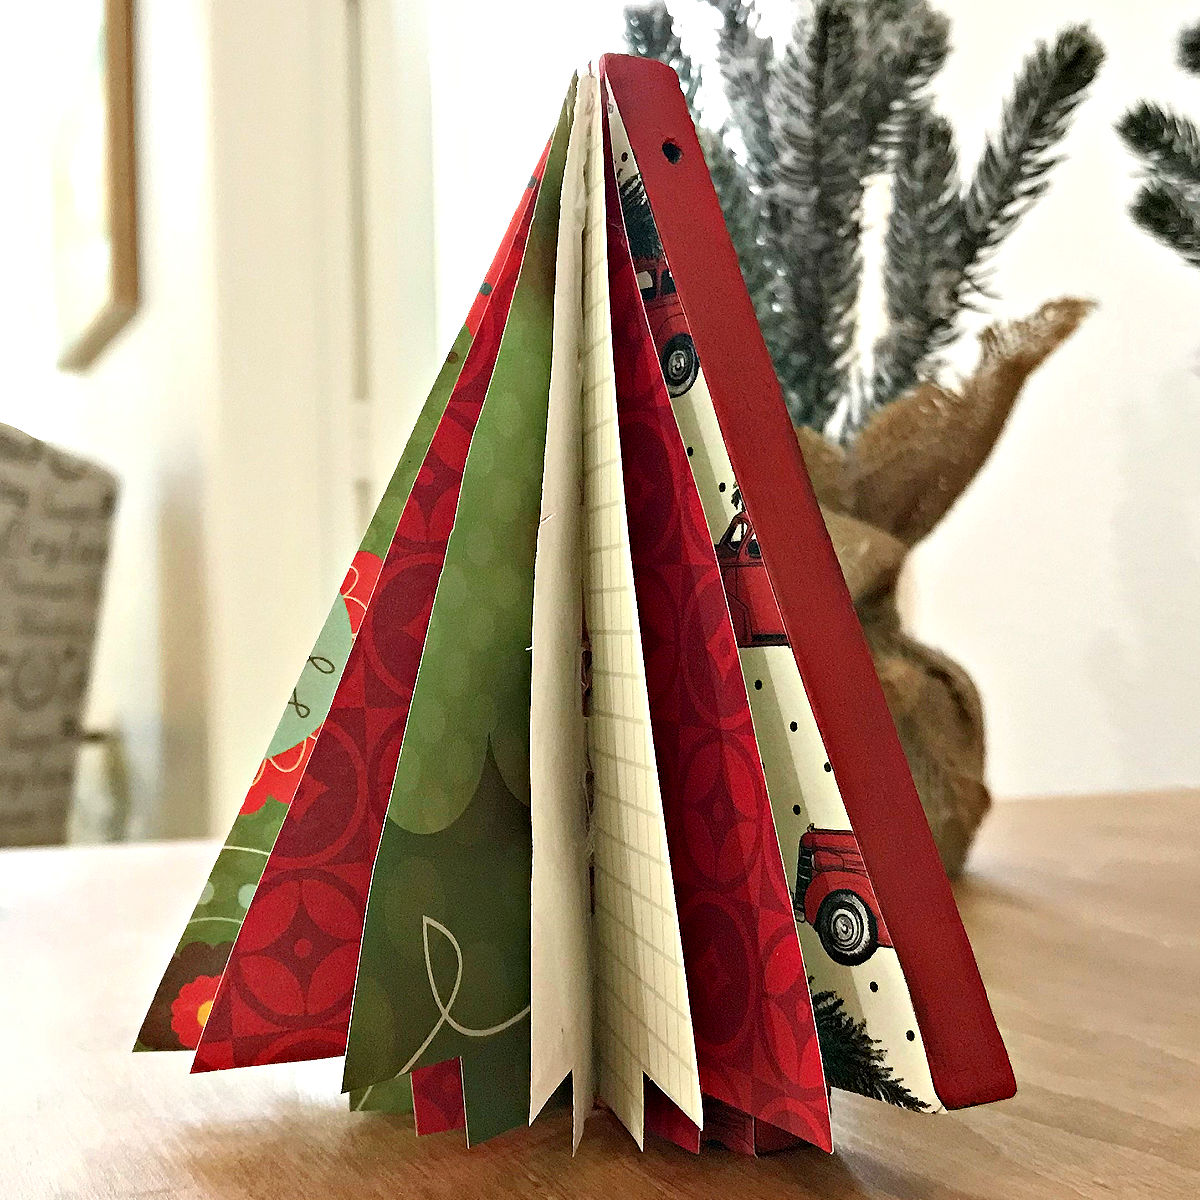
Make fun, cute, & easy 3D DIY Christmas Card Ornaments using new or old Christmas Cards. Easy Christmas Ornament Craft with video and steps.
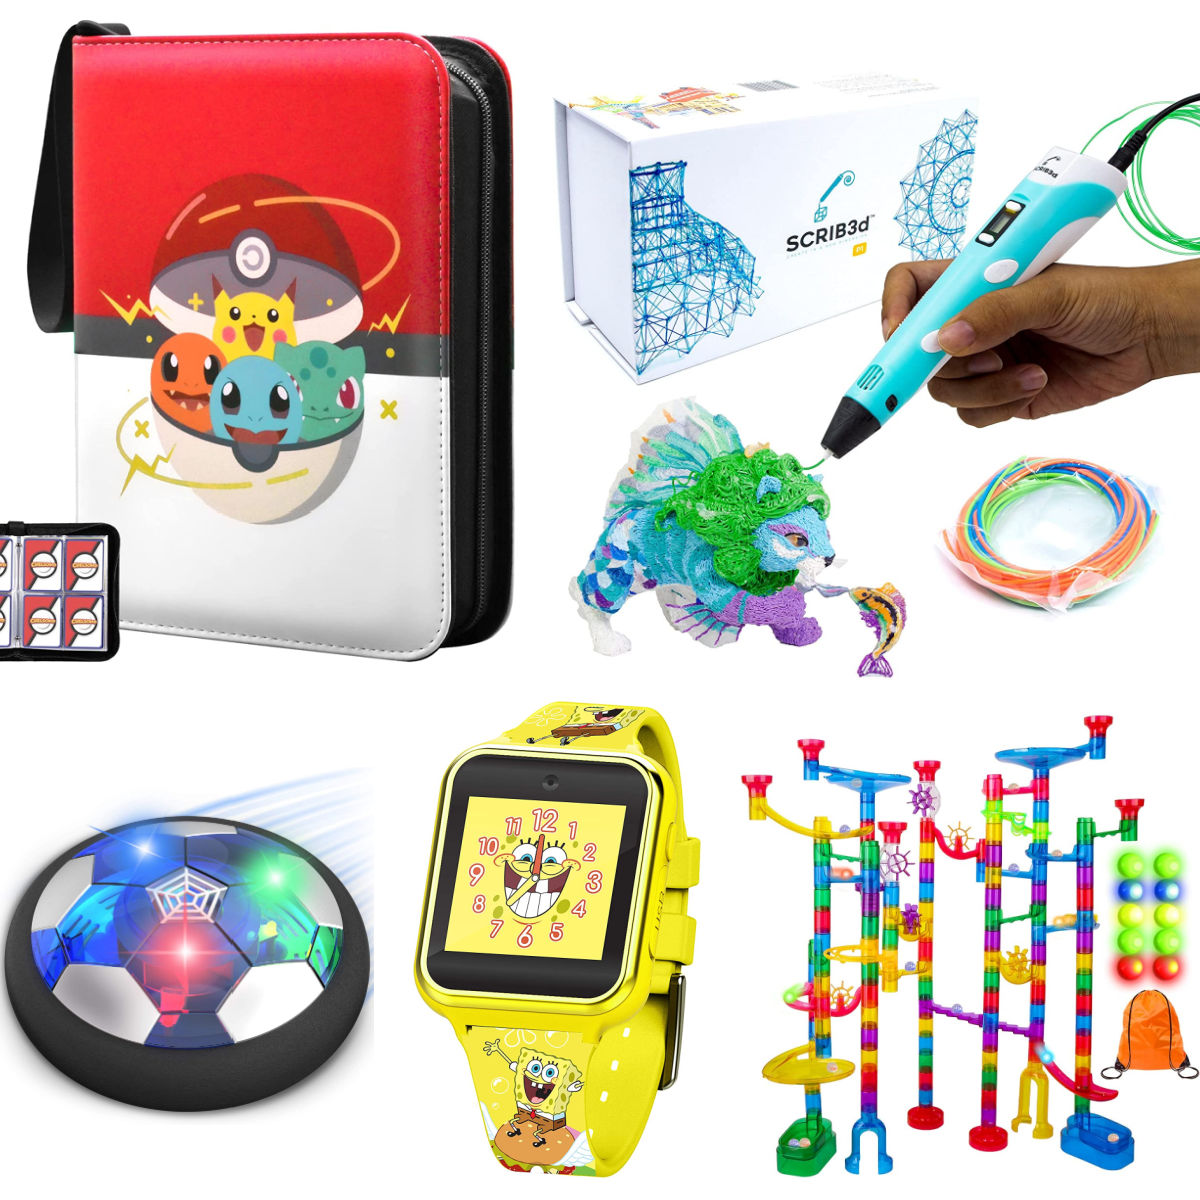
My big list of Best Gift Ideas for Little Boys, ages 4 to 10. Includes toys my kids actually play with, all the time. Plus, 5 gift fails!
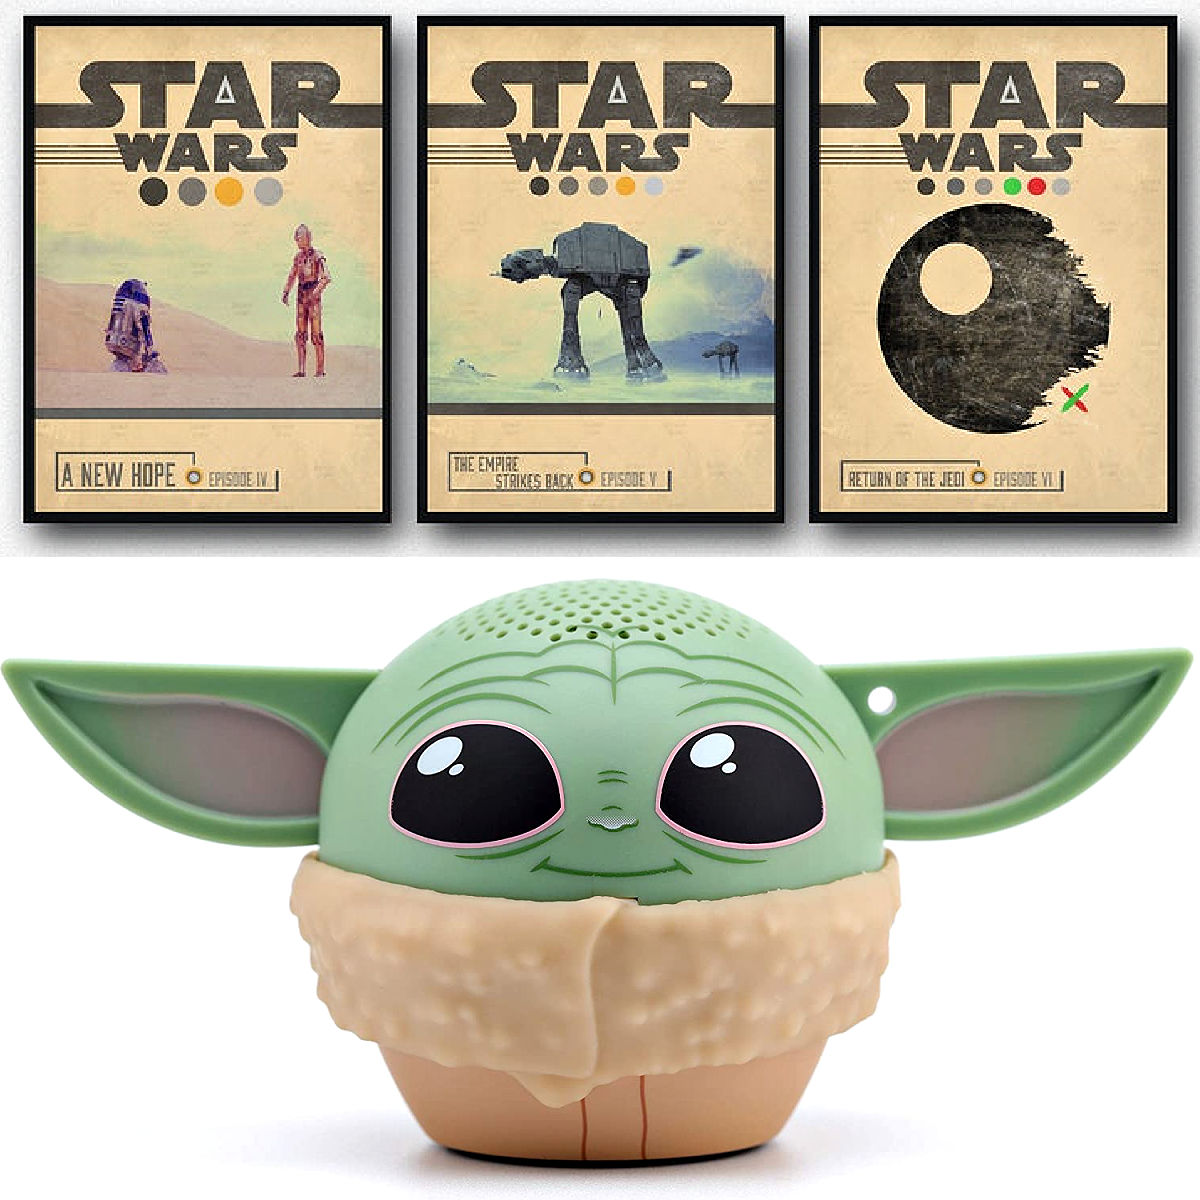
Cool Star Wars gift ideas for Her or Him, boyfriend, fangirl, kids, adults, the whole family. There is something for everyone on this list!

6 FUN DIY Christmas Ornament Crafts for Kids and Adults to make together. Try these EASY Christmas Ornament Ideas with your family.
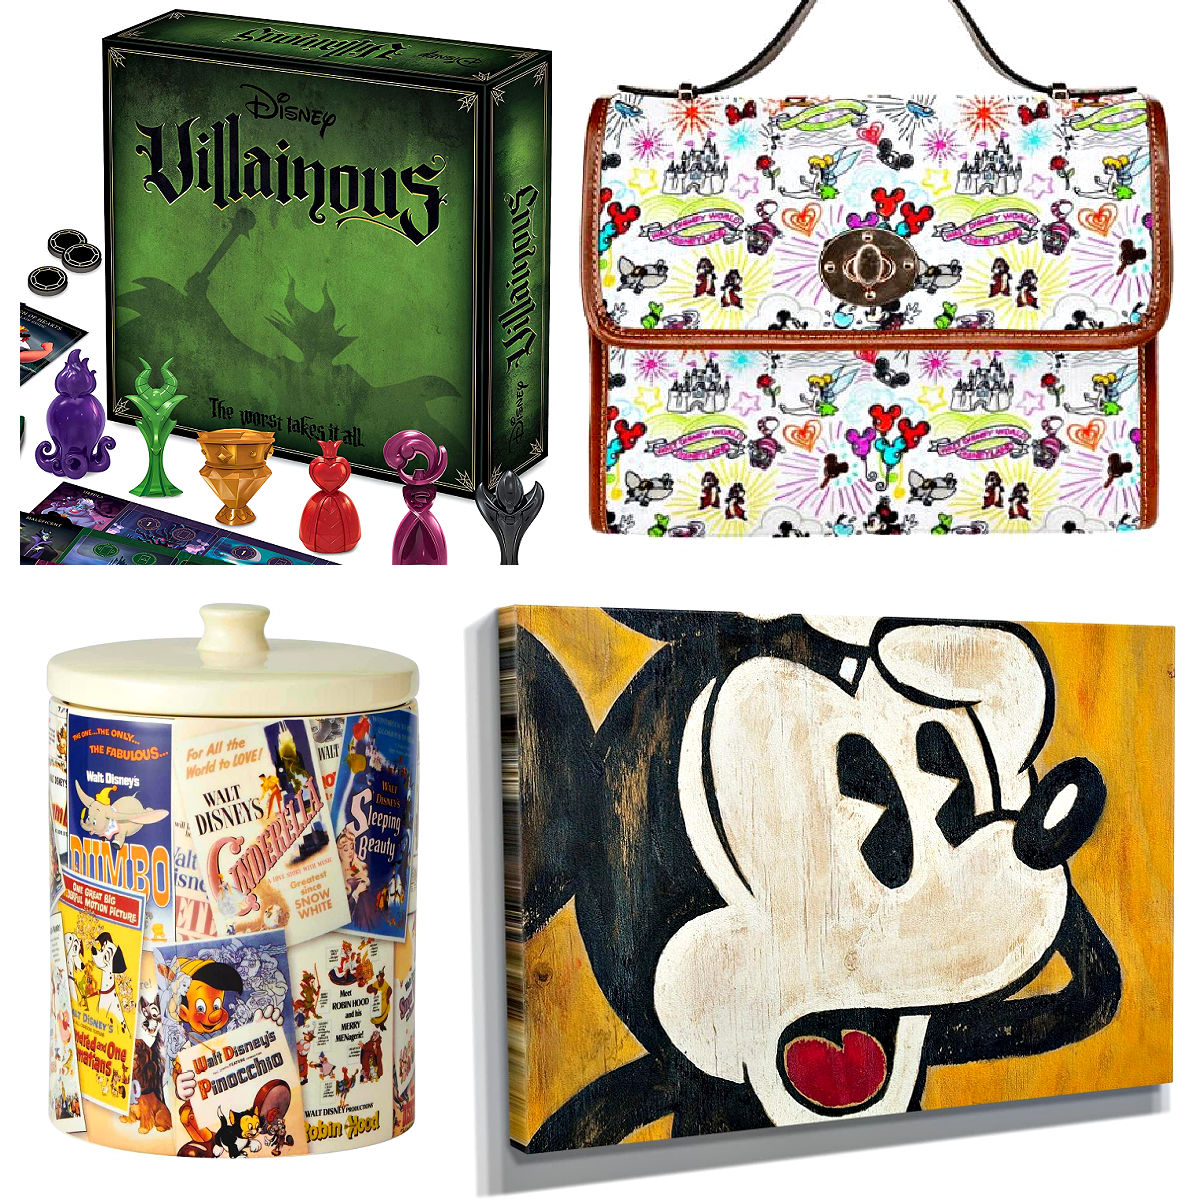
Gift your favorite Disney Fans something they’ll LOVE! Here’s the 50 best Disney Themed Gift Ideas for adults on Amazon and Etsy.

50 of the absolute best last minute gifts you can send by email or send by text. With nice gifts for parents, for kids, him, her & everyone!
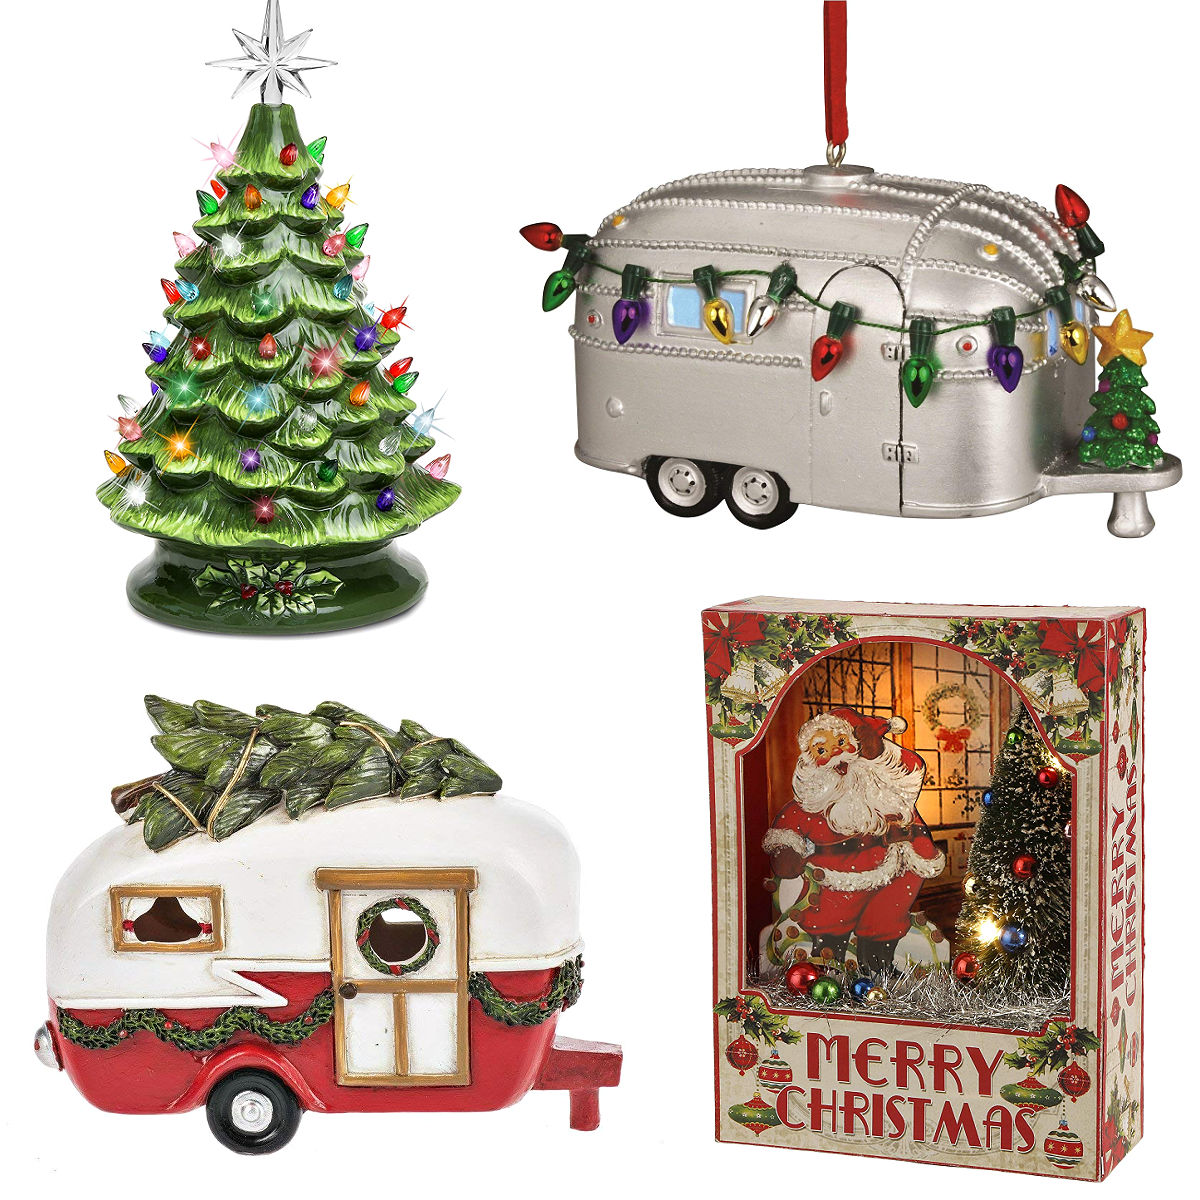
I am LOVING these cool retro & best vintage Christmas Decoration ideas. Recreate the warm, nostalgic feelings of Christmas at Grandmas.
Here’s how to make EASY DIY Christmas Table Decorations using stuff you probably already have. With simple video ideas & tons of photos!
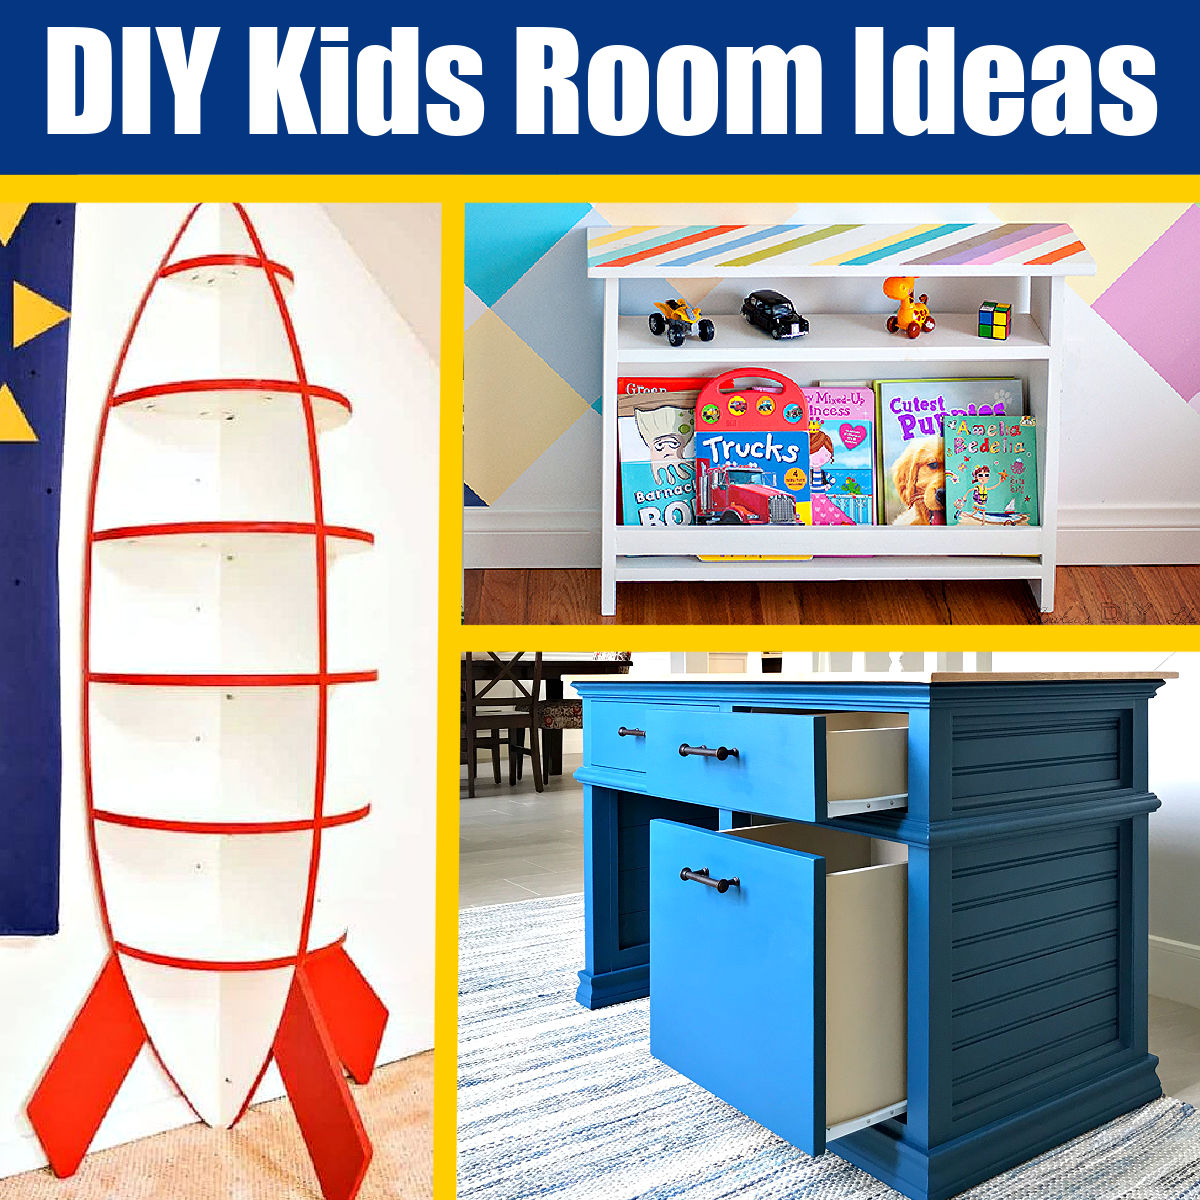
Here’s 50 awesome DIY Kids Room Ideas to help you design the coolest kids bedroom or playroom on the block. And, some of them are SUPER EASY!
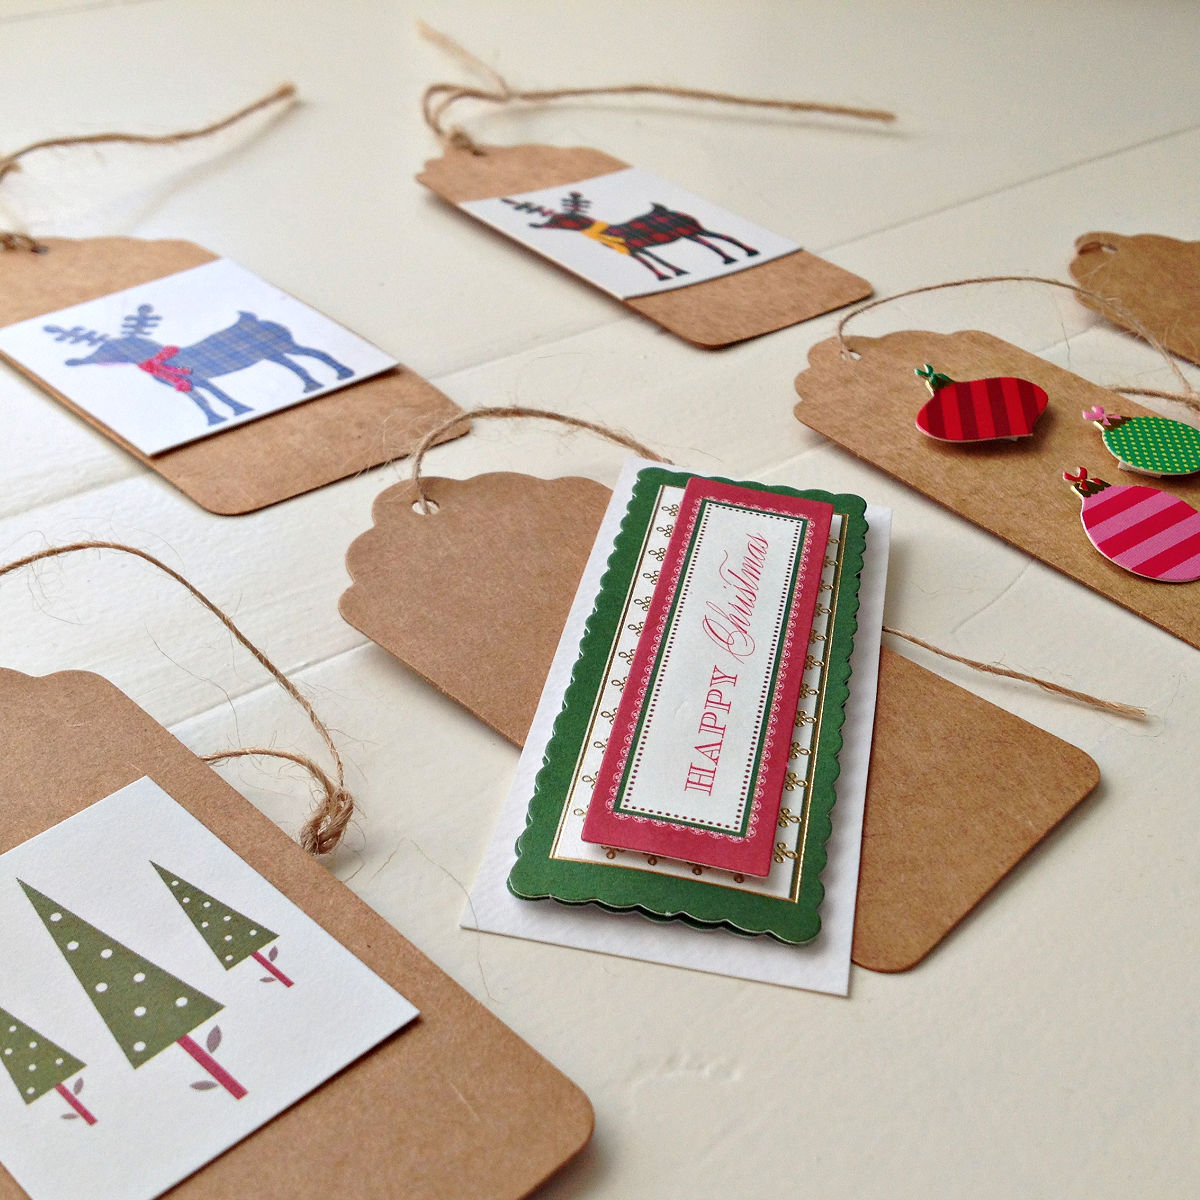
Turn your old Christmas Cards into cute Christmas Tree ornaments. This upcycle is a simple & fun Christmas craft for even little kids!
50 GREAT DIY woodworking gift ideas for the whole family. From cheap wood gifts to big furniture builds for Christmas, birthdays & more.
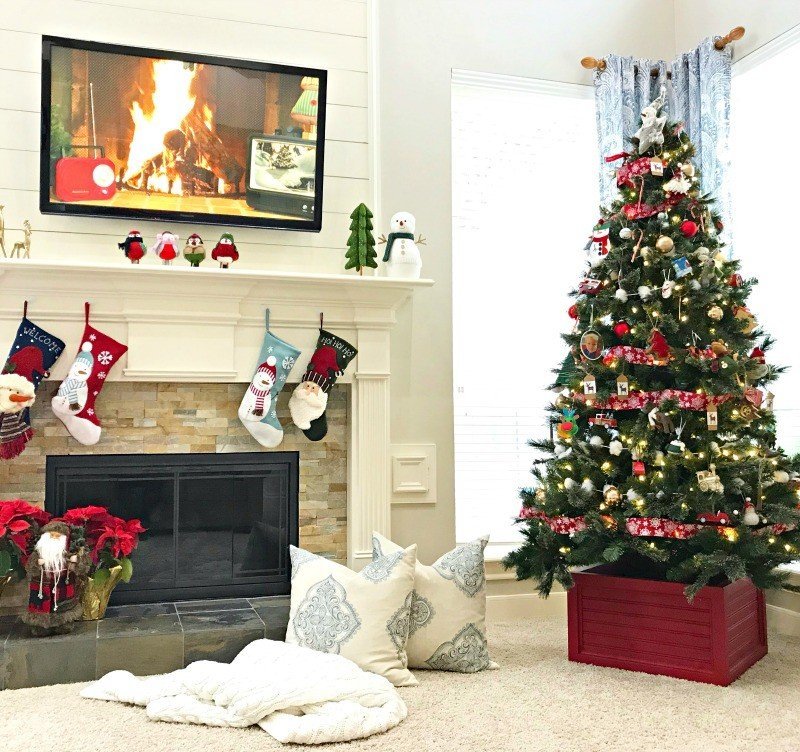
Tour our recently updated Traditional Style Living Room with this look at our fun & colorful Living Room Christmas Decorations.