
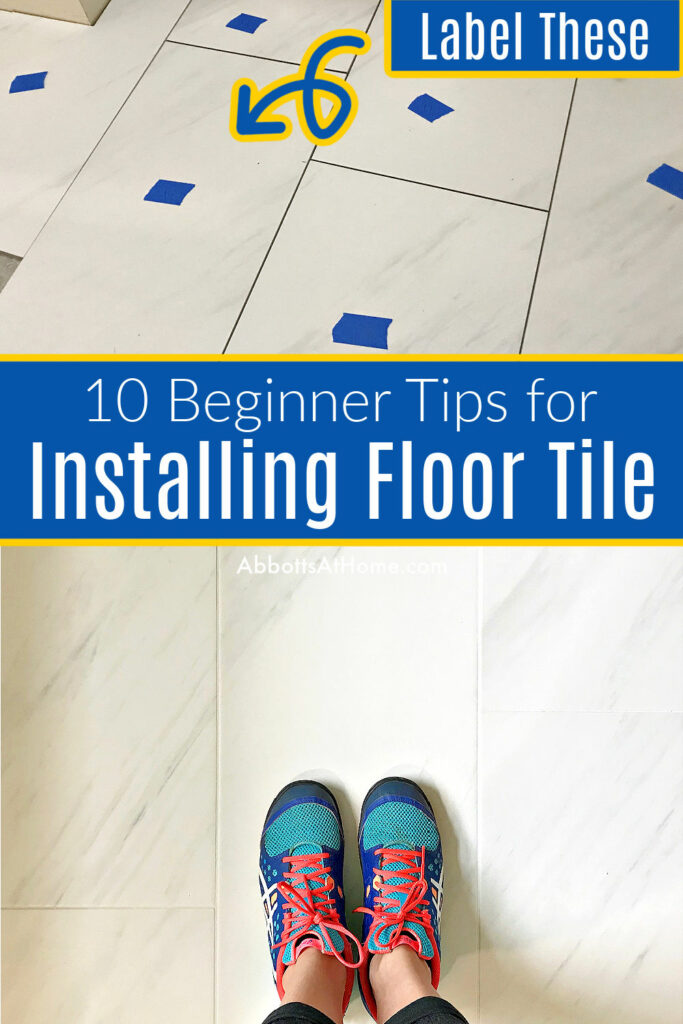
Here’s my favorite Beginner DIY Floor Tile Installation Tips and Tricks to help you tile your floor faster and with less waste.
Beginner DIY Tips for Installing Floor Tile
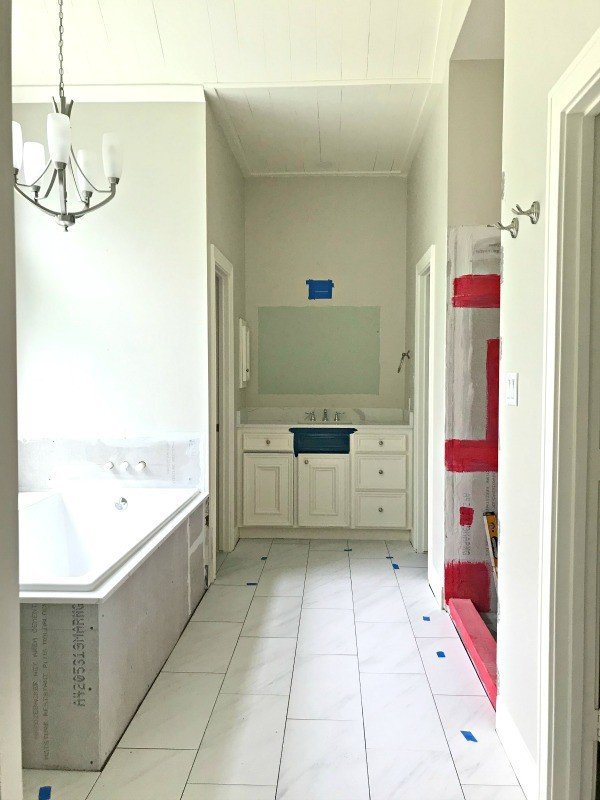
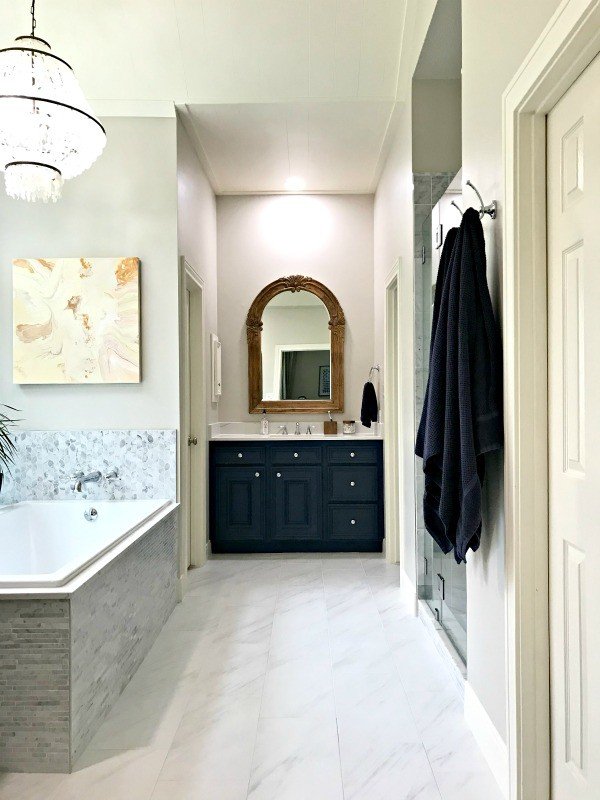
After a long week of tiling my Master Bathroom and both closets, it’s finally done. Yay!
I’m so excited to show you all this beautiful matte finish Marble Look Porcelain Tile Floor, guys! It is exactly what I was looking for when I designed this Master Bathroom.
And, I’ve got my favorite Beginner DIY Tips for Installing Floor Tile Faster and Better for you today.
First, let’s talk about the tiles I picked for our Master Bathroom remodel.
Faux Marble Porcelain Tile
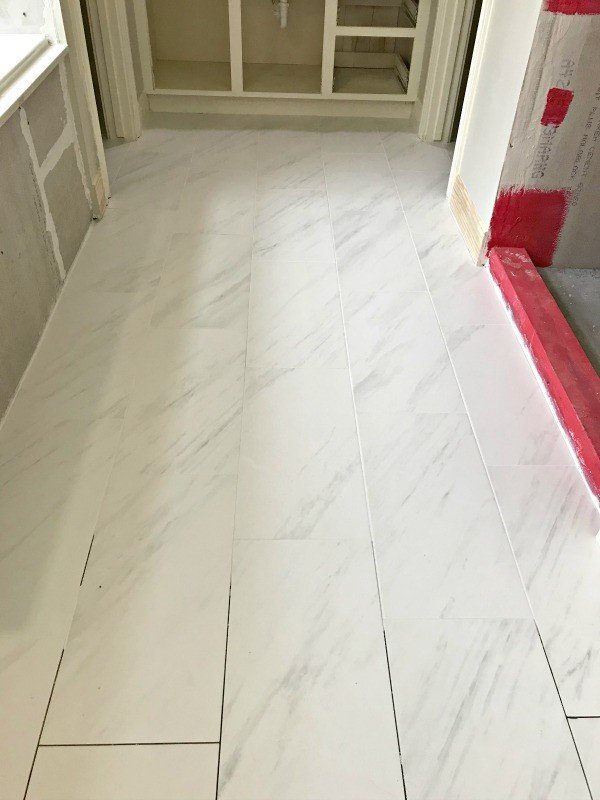
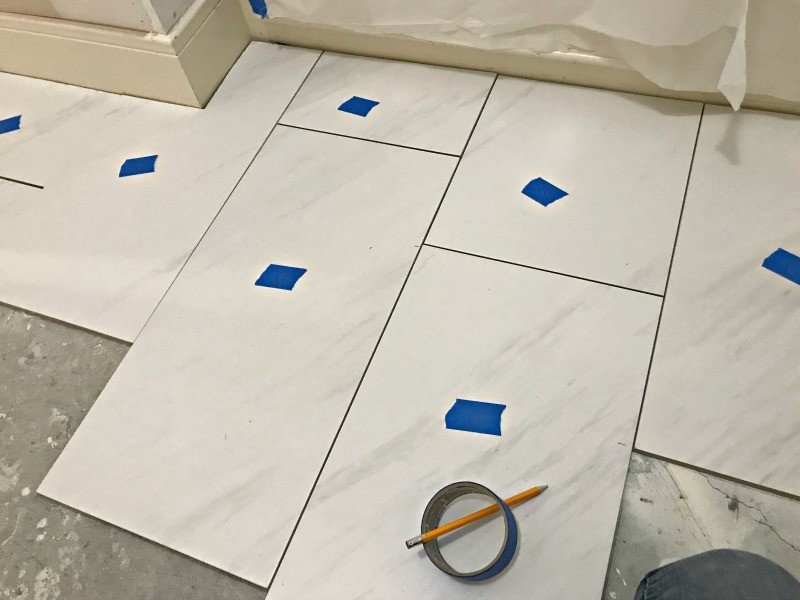
I went with 12×24 tiles because I love how nice they look in our kitchen. Tiles this big are installed with a 1/3 tile offset.
So, the next row of tiles starts 8″ away from the end of the last row. You can see what I mean in some of the photos below.
I used Matte finish tiles for both rooms. Matte tiles are fantastic. They make Faux Stone porcelain tiles look and feel more like real stone.
Using a matte finish tile is also less slippery than glossy tiles. That is ideal in a wet bathroom with little boys, or clumsy adults, around. Really, slippery surfaces with wet feet are one of my mom phobias.
I also really love that the pattern on this tile is really subtle and muted.
Some of the other marble look tiles I found in the stores have really dark grey lines. I always think that huge contrast in colors makes the pattern on a tile take over the room.
The pattern on these tiles is a nice subtle light grey marble veining. So pretty, right?! Now, let’s get to those beginner tips for installing floor tile.
Table of contents
Prepping for your Floor before Installing Tile
This isn’t a step by step guide for how to install tile. There is so much involved in that. This post is just my favorite beginner tips for anyone that is new to installing tile.
Tip One – Planning Ahead is the Key to Success
Tiling isn’t hard, but it is detailed and there’s no undo button once that thinset dries.
As a DIYer, I literally spend days thinking about each step of the project to try to avoid any mistakes or last minute decisions during install.
I noticed recently that Floor and Decor has weekend tiling classes. I think Home Depot and Lowes might offer these sometimes too. They’re probably worth checking out, if you’ve never tiled.

Tip Two – Get your Floors ready for New Tile
Floor Prep is an important step on my list of DIY Tips for Installing Floor Tile.
The plumbers that did my demo removed the old tile in our bathroom. Yay! That saved me hours of back breaking work, especially since we had 2 layers of tile.
Then I removed the carpet in the closets.
I also prepped the floors for tiling by chipping away any leftover thinset and drywall mud on the concrete.
You want that floor to be a nice smooth, clean surface for your new tile.
I even scraped away some paint on the concrete floor. Just to make sure my thinset would have nothing stopping it from really sticking to the concrete.
Vacuum the floor clean before install too.
Tip Three – Do you need an Uncoupling Membrane?
I didn’t use an uncoupling membrane here. I don’t want to tell you whether or not to use one. Research what they are and whether or not you need one. I will say that I decided to skip it for a couple of reasons.
One, none of my local installers seem to use them. They must have reason to believe they aren’t often needed in Houston.
Two, my floor is a 25-year old concrete pad. It’s not a basement floor and it doesn’t have cracks or a history of cracking tile. So, I assume the majority of settling was done decades ago.
But, again, research uncoupling membranes and decide for yourself. Ask local pros what they use in your area.
Tip Four – Pick your Floor Tiling Products Carefully
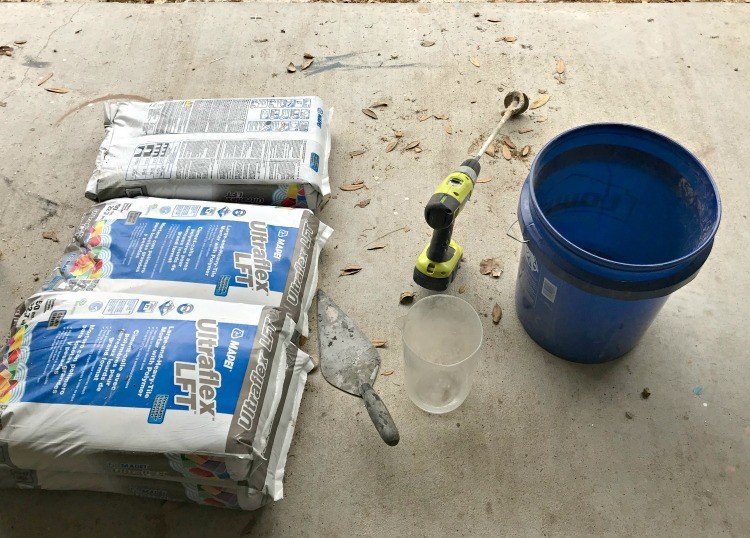
Don’t go cheap or just pick something at random. I do recommend the ‘flex’ type thinsets. They’re supposed to hold up to slight movements better, to avoid cracking later.
I also recommend mixing your own Thinset, the premixed thinset tends to work better for small jobs and smaller tiles, like on a kitchen backsplash.
BUT, I do prefer premixed grout. It will cost you more overall. But, your grout will look more smooth and consistent in color, especially with darker grouts, if it’s premixed.
Here’s what I used in my bathroom remodel. I’d recommend any of these products.
- Bianco Matte Porcelain Tile from Floor and Decor, under $2 per sq ft
- Mapei Ultraflex LFT Mortar – sold at Lowes and Floor & Decor – LFT stands for Large Format Tile (like my 12×24 tiles)
- Mapei White FlexColor CQ Grout – sold at Lowes and Floor & Decor
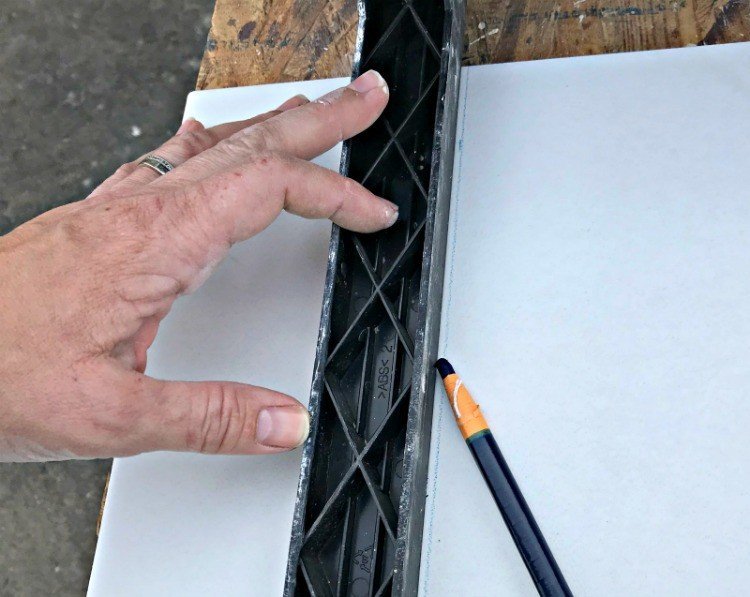
- A good wet saw with a high quality diamond blade
Keep scrolling for more floor tile installation tips for beginners.
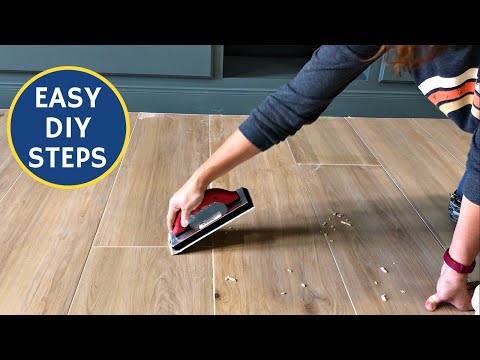
7 More Beginner Tile Installation Tips Video
Here’s a quick video with tips from my recent Beautiful Before and After Family Room Makeover. Check out Best Ways to Remove Glued Wood Flooring, if you have flooring to remove before tiling.
DIY Tips for Installing Tile
Tip Five – Plan out Where to Start
It took me a week to install my floor tile and grout. My Master Suite is basically 4 rooms; 1 water closet, 2 walk in closets, and the main bathroom.
That many connected rooms makes installing tile a bit more complicated when you want the pattern to continue across all 4 rooms.
I decided to start with the main room. I used the length of the tub as my starting point after figuring out that it wouldn’t leave me with a weird thin line of tile along the shower wall.
I planned my work in phases, since I have to stop work to pick up kids from school and feed them every 20 minutes. 😉
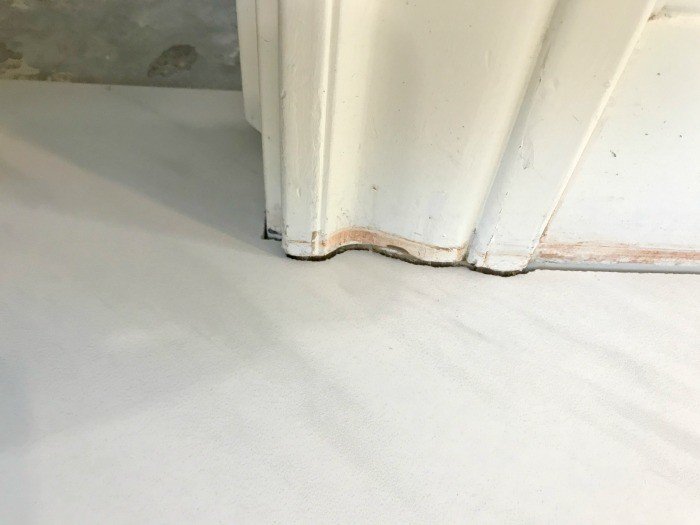
For small rooms like this, you’ll have cuts all along the walls. You’ll also need to plan how you’ll lay the tile and still get out of the room!
For example, in the walk in closets I installed tile on the left side of the closet, so I could walk out on the right. Then worked the right side after the left sides mortar set.
Tip Six – Clean the Edges Around Tiles
The first day I installed all of the full tiles I could before having to quit. Then I had to stay off that tile for 24 hours for the thinset mortar to set.
So, any work the next day had to be done without walking on that tile.
I also had to be sure that all excess mortar was removed around the outside edges of the installed tiles and that the tiles were lined up perfectly so that tile fit in the open spots the next day.
Carefully, clean away all excess mortar around and between the tiles as you work.
Once it dries, it’ll be extremely hard to remove. So use a thin tool to scrape the thinset out from between the tiles as you work.
And wipe any thinset residue off the tile with a damp rag, before it dries.
Tip Seven – Use a Light Thinset with Light Grout
Here’s one of the most important beginner DIY Tips for Installing Floor Tile that I learned on this tiling project. Always use white thinset when you’ll be using a white or light grout color.
I made the mistake of using grey thinset in this room.
That grey color stained the rough, unfinished edges of my tiles. That dark grey color was sometimes visible through the light grout I used.
So, I had to use Grout Renew to turn that grout white again in a few spots. So, avoid that if you can. You can find more info about grout renew in this Does Grout Renew Work post.
Tip Eight – Make Cuts for Large Sections Before Mixing the Thinset
Before I started tiling every day, I planned out and made all of my cuts for the section of floor tile I was installing that day. how I had to move around to different parts of the bathroom while sections were drying.
In the picture below, you can see a quick diagram I drew up to mark out the tile layout and sizes I needed.
I used that diagram to make all of my cuts at once on the wet saw outside. That way I didn’t have to keep walking back and forth, one tile at a time.
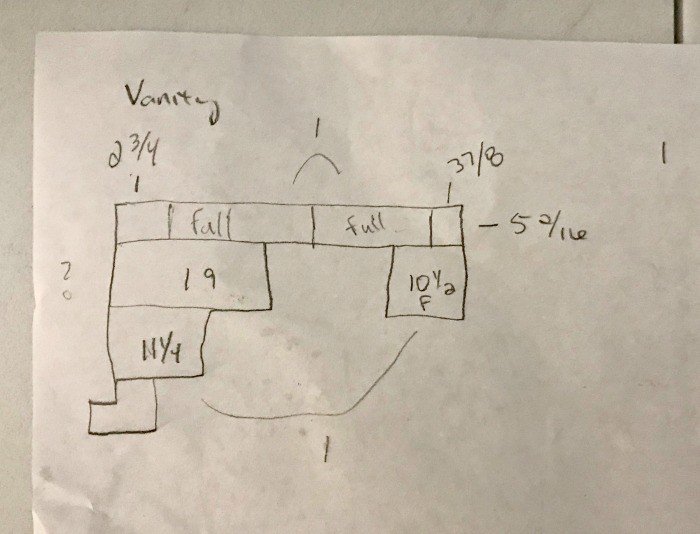
I didn’t include measurements for full tiles on my diagram. Just the outside edge pieces that would need to be cut.
I also think it saves me so much time to make a bunch of cuts at once. After cutting all of those tiles, I’d lay them in their spots and make sure everything fit before spreading any mortar.
This is called dry fitting your tile.
Tip Nine – Time for Mortar
After cutting and dry fitting the tiles for one whole section, I’d then decide which order I wanted to install them in. Usually working left to right when installing tile works best for me.
Then I’d label them with numbers and stack them up with the first one I wanted to install on top.
Next, I’d spread the mortar for that whole section, then lay all of those tiles in one go. Making sure to level and line them up perfectly.
Again, make sure to clean mortar out of cracks and off the tiles as you go.
Tip Ten – Know When You Should Hire Instead
Even after reading my beginner tile installing tips, I recommend you should watch loads of YouTube videos to make sure you know every single thing to expect before you start tiling.
There are so many details to think about when tiling. If in doubt, I say you should hire a professional.
I saved thousands of dollars installing my own floor and wall tile. But, it would have been a huge waste of time and money if I didn’t have enough experience to do it properly. 🙂
If you are a first time DIY tiler, I really recommend starting with a small bathroom floor, small entryway, or backsplash as a beginner tiling project.
More Tiling Layout And Install Tips Video
That’s it for my Beginner Tiling Tips. Watch this video for a couple extra tiling layout tips. You can also find the rest of my DIY Bathroom Remodeling Videos in this Playlist on YouTube.
More DIY Projects from this Bathroom Makeover
Want to see more of my bathroom makeover? Here’s a quick look at all of the DIY remodeling projects from that room.
Click the links below to see more about each item. And, don’t forget to check out all the bathroom before photos and plans here.
- Safely Clean A Shower Glass Door with Marble Tile
- How to Clean Marble Shower Tile and Get Rid of Mildew
- Blue DIY Chalk Paint Bathroom Vanity Makeover
- Bathroom Demo and DIY Shower Niche Installation
- DIY Plywood Plank Ceiling Install and Costs
- Marble Mosaic Tile Bathroom Installation Tips & Photos
- Classic Marble & Blue Master Bath Makeover Plans
- Build a DIY Cabinet Door Mounted Garbage Can
UPDATE: You can see the finished Before and After Master Bathroom Remodel Reveal now. I am in LOVE with this bathroom, guys. Check it out.
More DIY Tiling & Flooring Posts You Might Like
- Are Large Tiles Harder To Install?
- How to Clean Grout After Using Grout Paint or Sealer
- How to Remove Glued Wood Flooring on Concrete
- Does Grout Renew Work? My Before And After Review
- How to Change Grout Color, the easy way!
- How to Whiten Grout – Easy DIY Grout Makeover
Feeling inspired? Now that you know my Beginner DIY Tips for Installing Floor Tile Faster and Better. Let me know if you have questions.
Don’t forget to sign up for the Abbotts At Home email newsletter to get DIY, Remodeling, and Crafty ideas in your inbox.

Stephanie Abbott has been remodeling homes, updating & building furniture, and working on DIY home maintenance and cleaning tips for over 20 years. Her remodeling has been featured in Better Homes and Gardens Magazine. And, her DIY YouTube channel has had more than 8 million views.
Most of the DIY tutorials and videos on this site focus on beginner to intermediate level DIY Projects that can be done in an affordable way without high-end, expensive tools. All of the cleaning tips on this website have been tested in her home.