
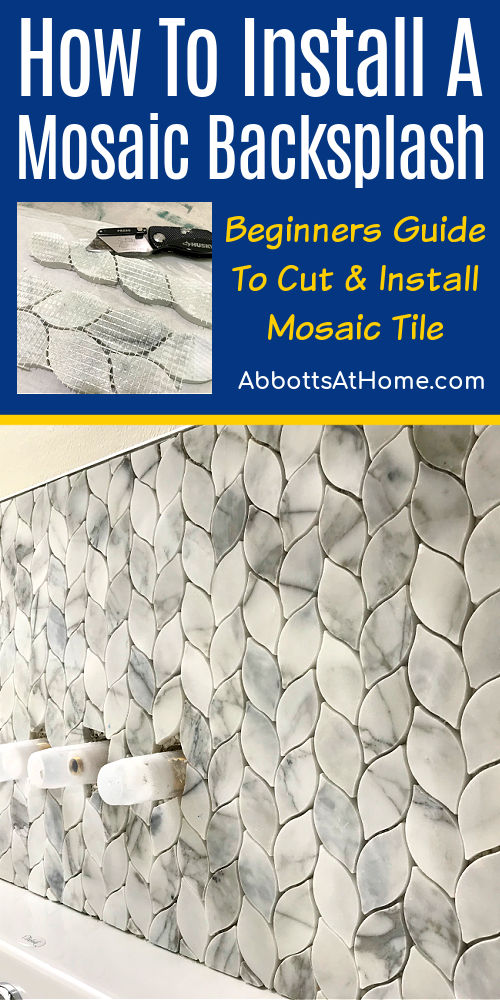
Here’s the 7 best tips and tricks I’ve found to cut and install Marble Mosaic Tile. Even beginners can get beautiful professional results.
Tips & Tricks To Cut & Install Marble Mosaic Tile
I started last weeks post with a “Yay” about finishing those pretty Marble Look Porcelain Floors.
This week, I’m saying “Holy Cow”. As in, Holy Cow, guys. This tiling work is taking me forever! But, this beautiful Marble Mosaic Tile bathroom is everything I hoped it would be.
The tile colors are soft, elegant, and pretty. I’m so in love with it. Even after hours and hours and hours of tiling!
Today, I have some beginner tips and tricks to cut and install marble mosaic tile like a pro. And, I’ve got tons of pictures to show you how to get great results too.
About Our Marble Mosaic Tile Backsplash
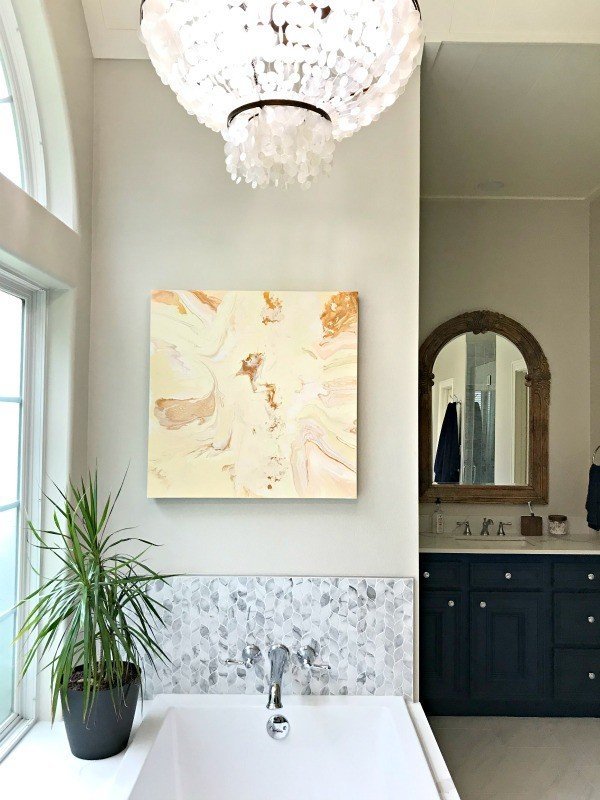
SO, let me show you what’s done. First, just look at that pretty drop in soaker tub surround in Jeffrey Court Stargazer Tile. I found that tile at Home Depot.
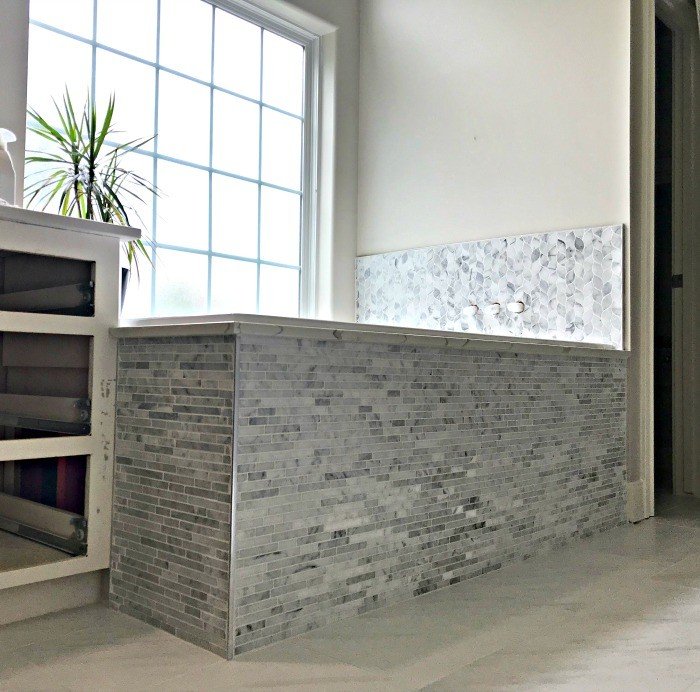
I trimmed the corner with Schluter Edging Trim to give the tile a nice, clean finish where they meet. Schluter is that metal looking edging you see on tile sometimes.
This was my first time using Schluter Edging on a DIY tiling project. I was a little worried when I bought it, but it’s actually really easy to use and install.
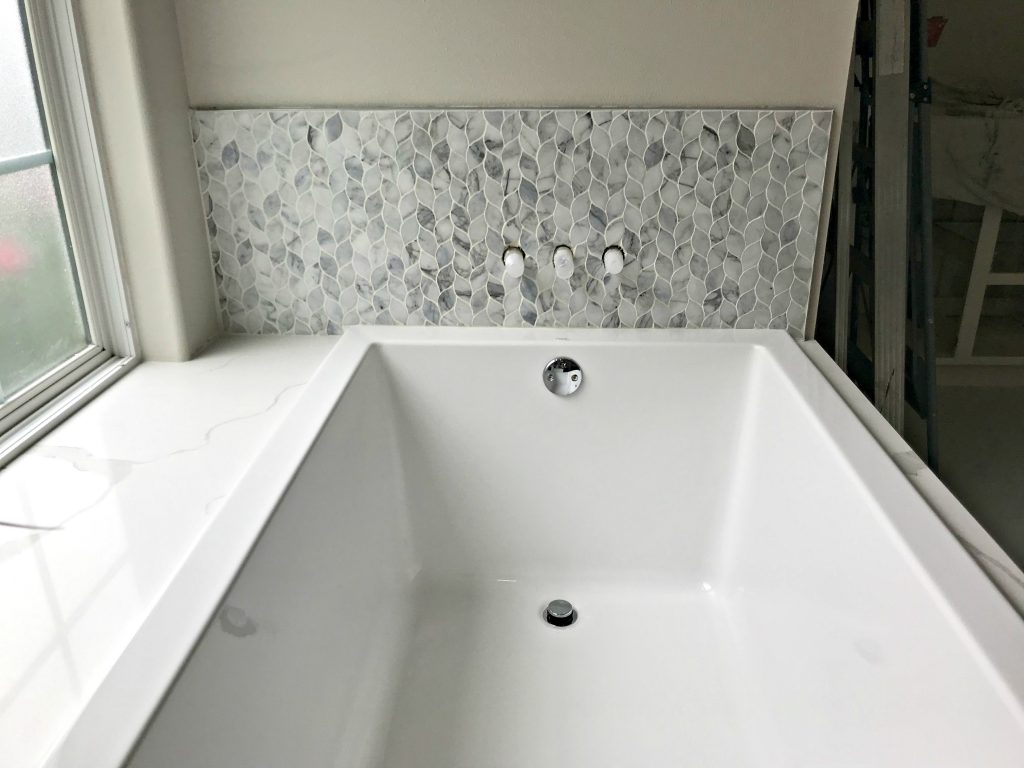
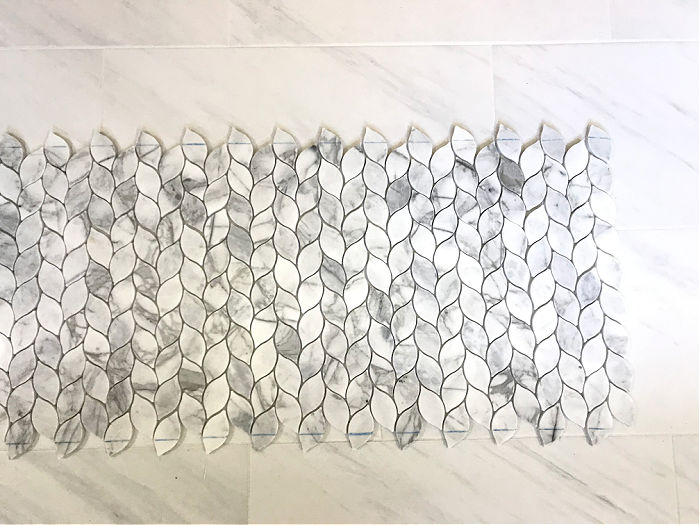
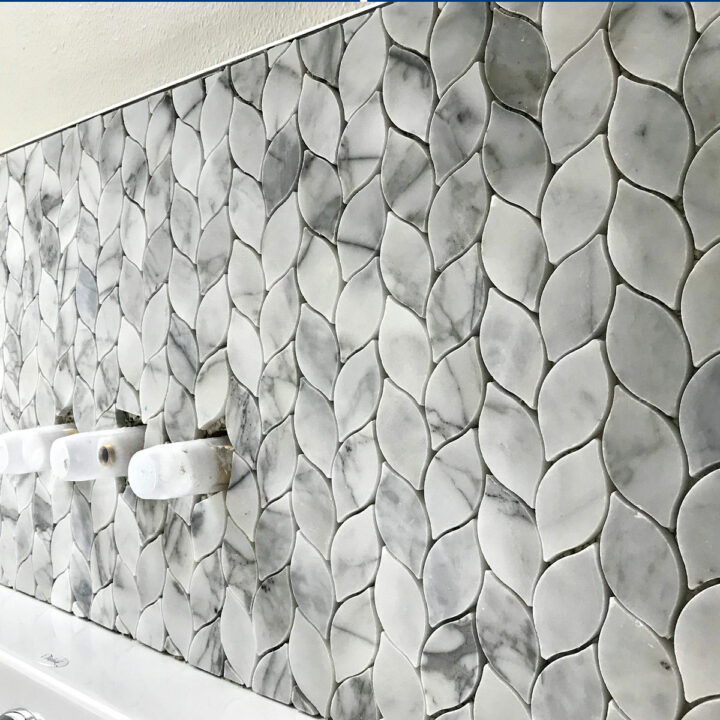
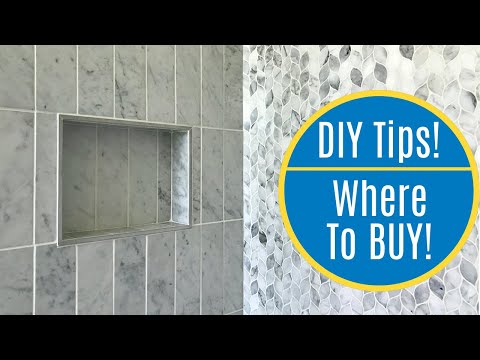
The MSI Calacatta Blanco tile I used for the tubs marble mosaic tile backsplash has a pretty leaf design that I love. I found this at Home Depot too.
It’s also trimmed out with the Schluter edging on the top and right sides. The tub is the Mirabelle Soaking Tub, in 72″ x 36″.
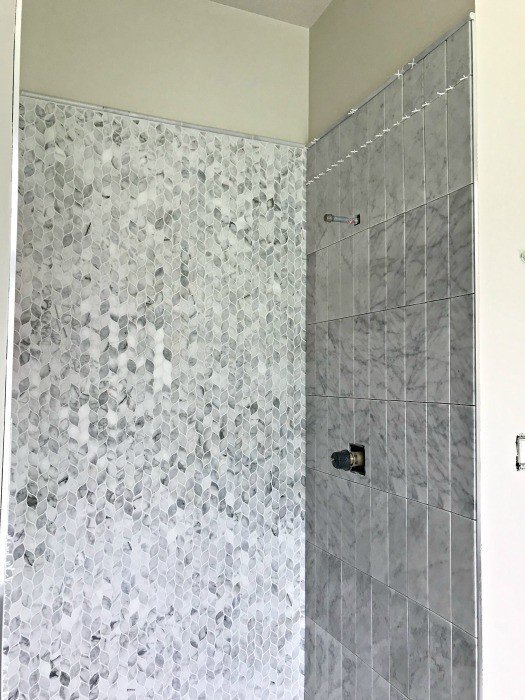
It’s no longer available on Amazon, but they still have a bunch of great deep drop in soaker tubs. And a couple weeks ago, I shared a video walk through for framing in a new shower niche.
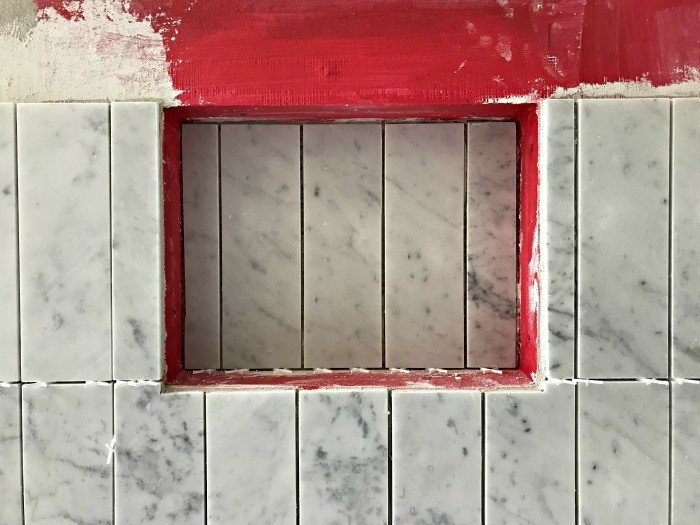
Here’s that niche getting it’s new tile. It’s looking so great already. I used 4″x12″ Marble Subway from Floor and Decor here. OK, let’s get to mosaic tiling tips and tricks.
How To Install Mosaic Tile
Tip One – Make Straight Cuts
My number one tip for getting a professional install look is to always cut straight lines. I prefer to use a wet saw when cutting marble tile. I always use a wet saw on stone tile like this marble mosaic tile.
If the outside lines on your marble tile aren’t straight, it won’t look professional. And, it will always drive you crazy.
Cutting straight lines on mosaic tile takes longer than it sounds. When you’re in the middle of installing tile & your mortar is drying fast, you don’t have much time for cutting small pieces.
So, when you are rushed, you cut the little pieces without measuring properly or marking with your grease pencil. Instead, plan your cuts and get them done before applying mortar to the wall.
Tip Two – Cut Tiles Before Mixing Mortar
I try to make as many cuts as possible for a mosaic tile backsplash before I even mix my mortar. I marked and cut my mosaic tiles beforehand to get nice clean lines.
If I tried to cut my tiles after mixing the mortar, I would have had mortar drying on the wall and a much harder time getting things perfectly straight.
Most beginners find it easier to layout all of the cut tiles for an area or section before mixing the mortar.
Tip Three – Buy the Tile for the Entire Bathroom Before Starting
Make sure you pick and buy all of your wall and flooring tile for the entire bathroom before you start tiling your bathroom.
I’ve seen a few DIY projects turn into big fails when a tiling project is started with one type of tile that the user can’t get enough of to finish the bathroom.
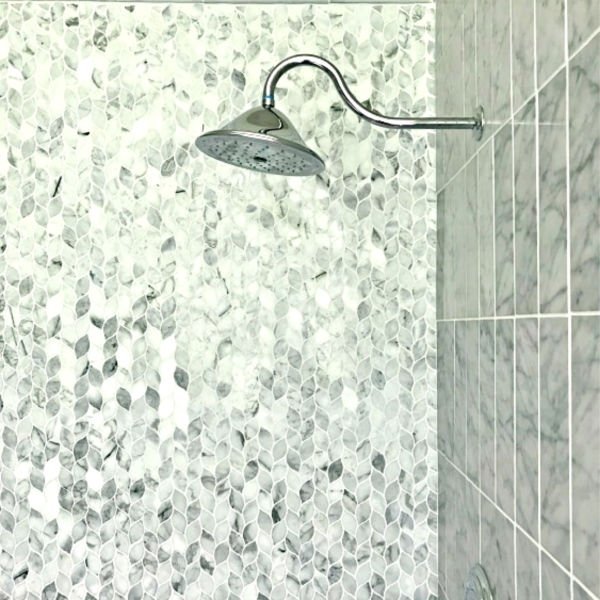
I used both styles of the mosaic tiles from the tub in the shower too. I also used a 4 x 12 marble tile I found at Floor and Decor on 2 shower walls too.
I must have gone to Lowes, Home Depot, and Floor and Decor half a dozen times each when I was trying to decide which tiles to use.
So many choices, not enough time. 😉
Tip Four – Plan the Layout and Every Detail Before Starting
Another important tip for mosaic tiling beginners is to really spend time thinking about every step of a project before starting.
I spend a lot of time thinking about where I need to start a tiling projects and which tiles I want in different areas. For example, you have to tile shower floors and the threshold before tiling the walls.
So, before starting I had to think about which direction I wanted to lay the tile, I had to cut and dry fit every tile, and get the mortar ready. Then I worked from the inside wall out to layout that mosaic tile.
Tip Five – Details Make A Room Look High End
I used a Schluter edging, a solid marble threshold, and bullnose detail tile in our shower too. Those detail pieces make the whole design of a bathroom look high end.
Floor and Decor sells 6″ wide Shower Thresholds. Make sure to get the “curb” cut style so that both sides have a nice polished edge.
Some of the thresholds are cut for window ledges. That cut style has only 1 polished side.
If you look closely where the tile meets the corner of the wall, you can see I used Schluter aluminum edging for a cleaner finish on the ends.
And, I topped off each wall with marble bullnose tiles from Home Depot.
Tip Six – Seal Natural Stone Tile Before Grouting
ALSO, make sure you use a good stone sealer on those marble tiles BEFORE grouting.
It’ll help seal out the grout and any moisture. Marble should be sealed every 6 months. But, don’t worry, it’s super easy. You just wipe on stone sealer with a rag.
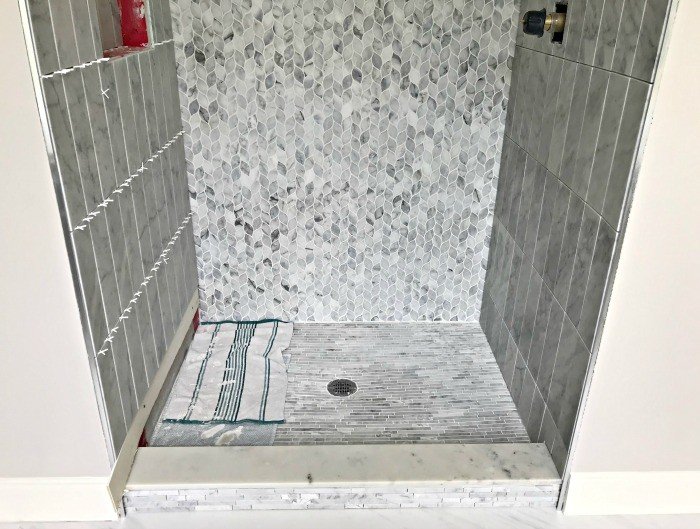
Tip Seven – Get Those Shower Drain Tiles Right
The last tip to cut and install mosaic marble tile is about the shower drain.
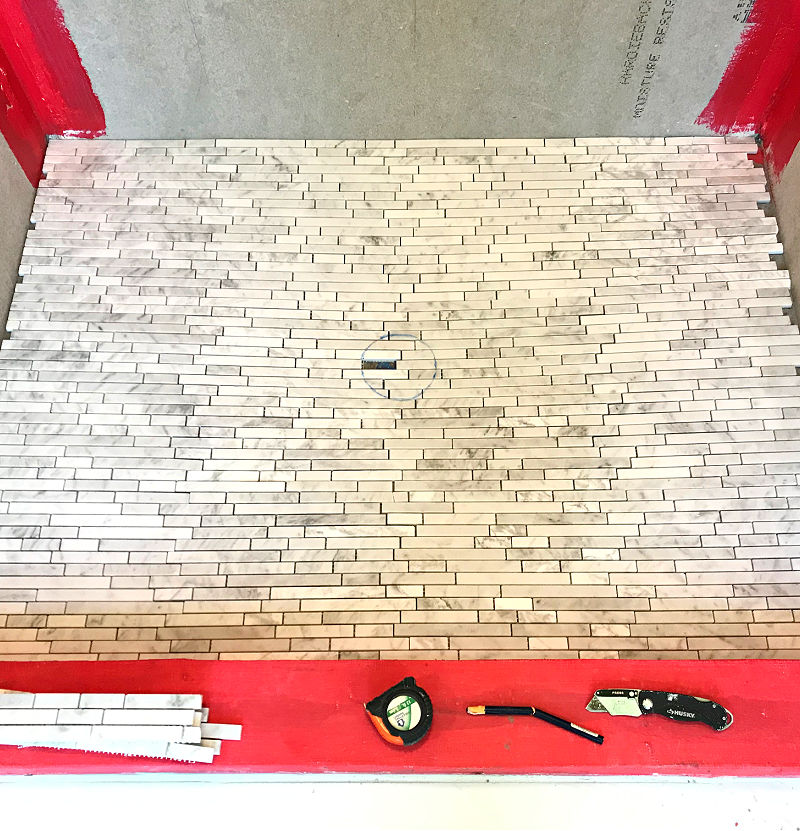
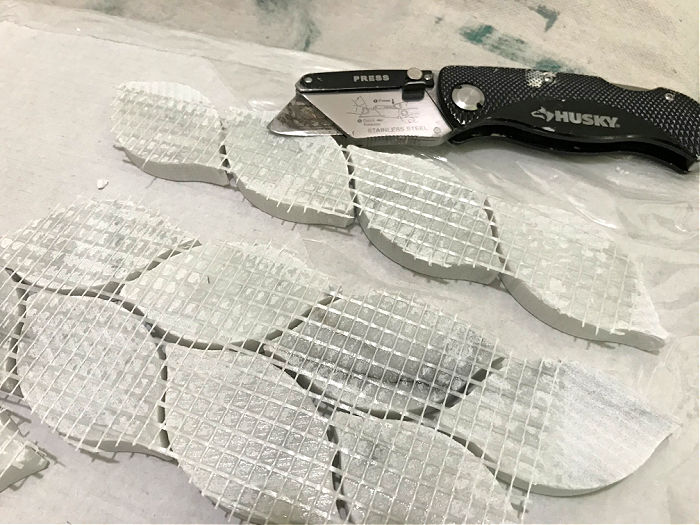
Again, I laid the tile out then marked the drain cut out with my grease pencil. Then I cut those tiles off the mosaic mesh backing with a box knife before cutting.
I also had to raise the drain to the correct level before I could start tiling. When the plumbers poured the mud floor they did a great job sloping everything to the drain, but the drain was too low for my tile.
Luckily, this drain style is easy to adjust, but needs to be done before tiling. That grey piece on top screws into the white pipe you see inside.
Once I loosened the grey piece from the mud floor, I could unscrew it enough to raise it to the correct level. You don’t want any water sitting in that grout around the drain. So, set it just a hair below the grout level.
That’s it for my Marble Mosaic Bathroom Tile today. I need to get back to work. Here’s more info about the products I used in this bathroom remodel. Products Used Installing this Mosaic Tile
- Mapei Ultraflex LFT Mortar – sold at Lowes and Floor & Decor – LFT stands for Large Format Tile (like my 12×24 tiles)
- Mapei White FlexColor CQ Grout – sold at Lowes and Floor & Decor
- A good wet saw with a high quality diamond blade
- Schluter Aluminum Tile Edging Trim
Video Tour of the Tile Used in my Bathroom
Here’s a quick video tour of the tile in our Master Bathroom. Includes a better look at all the details!
More DIY Projects from this Bathroom Makeover
Want to see more of my bathroom makeover? Here’s a quick look at all of the DIY remodeling projects from that room.
- DIY Tips for Installing Floor Tile – Bathroom Remodeling
- Safely Clean A Shower Glass Door with Marble Tile
- How to Clean Marble Shower Tile and Get Rid of Mildew
- Blue DIY Chalk Paint Bathroom Vanity Makeover
- Bathroom Demo and DIY Shower Niche Installation
- DIY Plywood Plank Ceiling Install and Costs
UPDATE: You can see the finished Before and After Master Bathroom Remodel Reveal now. I am in LOVE with this bathroom, guys. Check it out.
More DIY Tiling & Flooring Posts You Might Like
- Are Large Tiles Harder To Install?
- How to Clean Grout After Using Grout Paint or Sealer
- How to Remove Glued Wood Flooring on Concrete
- Does Grout Renew Work? My Before And After Review
- How to Change Grout Color, the easy way!
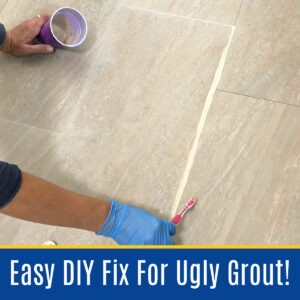
You might also like this Quick DIY to Whiten Tile Grout.
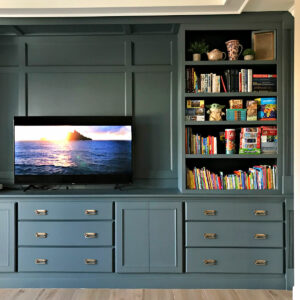
Check out this Before and After Family Room Makeover On A Budget! for more home inspiration.
Or this Easy DIY Swing Set Build Steps & Tips for an outdoor project your kids will LOVE!

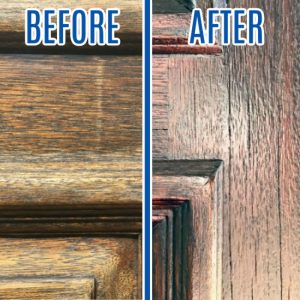
And, check out the Easy DIY Steps for How to Restain a Door without stripping or removing it.
If you’re into Home DIY as much as I am, here are a few more tutorials you might like: How to Cut Drywall and Hang Drywall for beginners, this DIY Chalk Paint Recipe from Latex Paint, how to fix damaged wood furniture with bondo, and this guide for when to use caulk or wood filler on wood trim.
What do you think of our Marble Mosaic Tile Bathroom Makeover? Let me know if you have questions.
Don’t forget to sign up for the Abbotts At Home email newsletter to get DIY, Remodeling, and Crafty ideas in your inbox.

Stephanie Abbott has been remodeling homes, updating & building furniture, and working on DIY home maintenance and cleaning tips for over 20 years. Her remodeling has been featured in Better Homes and Gardens Magazine. And, her DIY YouTube channel has had more than 8 million views.
Most of the DIY tutorials and videos on this site focus on beginner to intermediate level DIY Projects that can be done in an affordable way without high-end, expensive tools. All of the cleaning tips on this website have been tested in her home.