
I am loving this Blue DIY Chalk Paint Bathroom Vanity Makeover! Here’s the easy steps and a how-to video showing how to do it.
DIY Chalk Paint Bathroom Vanity Makeover
Hi guys. Did you notice the peeks of this DIY Chalk Paint Bathroom Vanity Makeover in the latest pictures of our Master Bathroom Remodel?
It took me a couple weeks to write up this makeover post, but I hope it was worth the wait. I love these vanities now, guys. The blue chalk paint color is absolutely perfect.
I went with an Annie Sloan paint I found while looking through a local antique shopping area. I fell in love with that rich color right away and knew it was exactly what I wanted for the bathroom vanities.
It has the same timeless, elegant, traditional look that the marble tiles have. And, they work beautifully together.
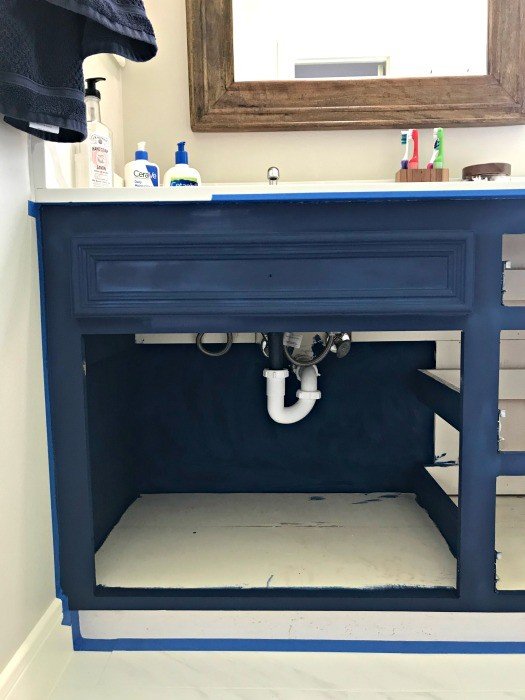
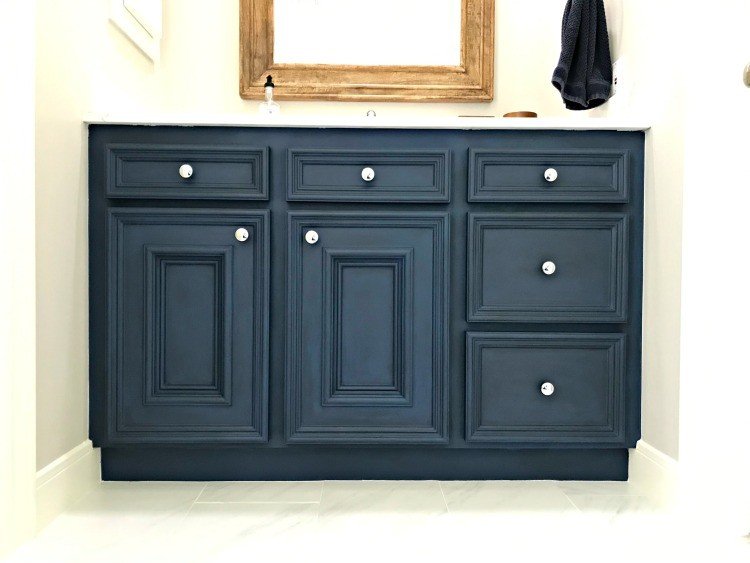
Before I get into the details about this DIY Chalk Paint Bathroom Vanity Makeover, let me show you what the vanities looked like beforehand. There was chipped paint all over these cabinets, guys.
They were in desperate need of a makeover. You can see all of the before and after bathroom makeover photos here.

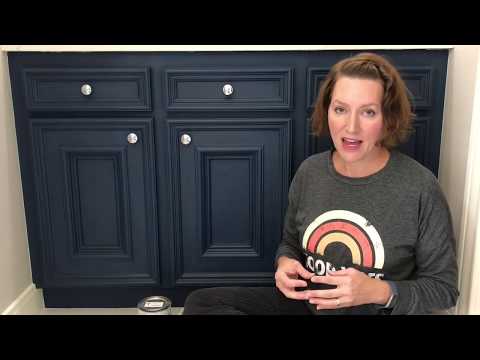
DIY Vanity Painting Makeover Video
Watch this for the exact steps I used and recommend when doing a DIY Chalk Paint Bathroom Vanity Makeover.
What I Used for the Low Budget Changes
- Annie Sloan Napoleonic Blue Chalk Paint and Dark Wax
- Good Paint Brush
- Minwax Natural Paste Finishing Wax
- Painters Tape
- Sandpaper – coarse, medium, and fine grits
- clean rags
- 1/4″ Luan Plywood for cabinet liners
- 1/2″ plywood and angle brackets for DIY garbage can
- Pretty Chrome Knobs
4 Cheap Bathroom Vanity Makeover Projects
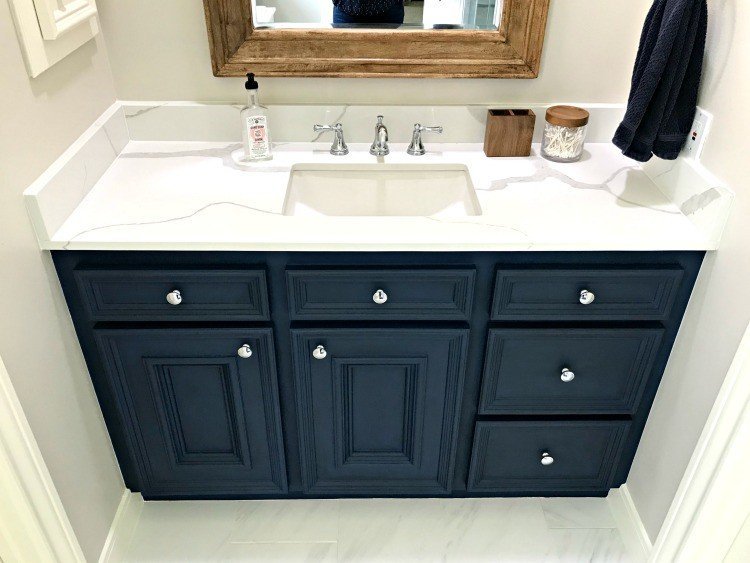
1.The DIY Chalk Paint Bathroom Vanity Makeover Steps
That beautiful DIY Chalk Paint Bathroom Vanity Makeover. This color is amazing on it’s own, but adding that dark wax over it turns it into a stunning color with a rich, antique look that works perfectly with those marble tiles I installed.
I sanded all of the chips in the cabinet paint smooth then cleaned the vanities inside and out with soapy dawn dish water.
Then let that dry before following the directions on the Annie Sloan Chalk Paint. You can hear the full steps and details about the finish in the video above.
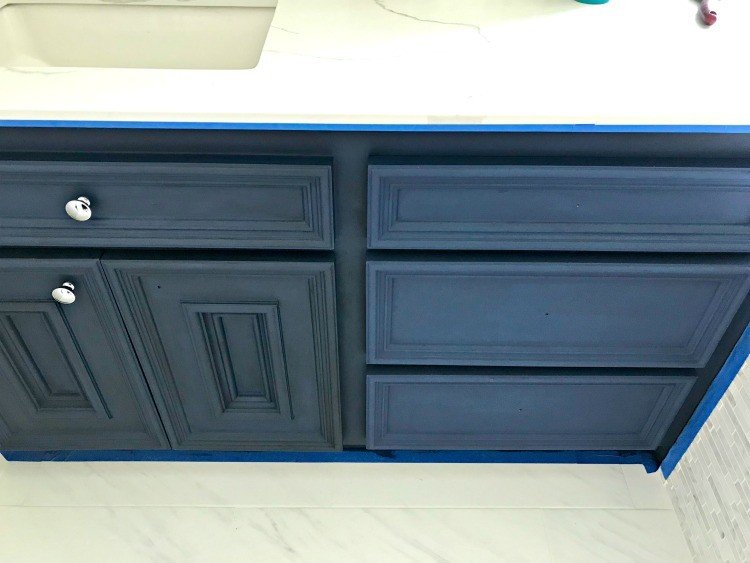
After a few coats of chalk paint, I used 1 coat of natural wax, then a coat of dark, then another coat of natural for a super smooth finish. Be sure to allow the waxes to set between coats. I just used a clean, lint-free rag to apply the wax.

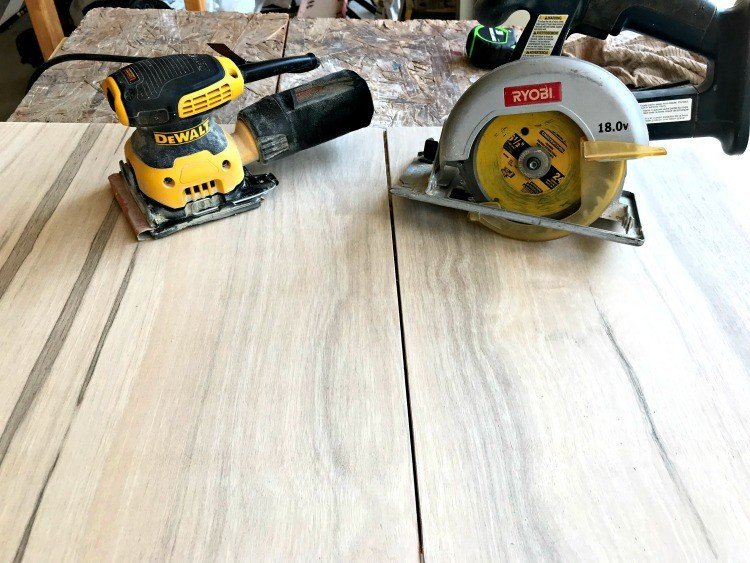
2. New Stained Wood Cabinet Liners
I wanted to add a pretty pop of stained wood to the cabinets and needed to cover up the original cabinet bottoms that weren’t in the best shape. So, I grabbed a 1/4″ thick 2×4 sheet of $6 Luan board for each cabinet.
I cut that to size, sanded, cleaned, and stained those board before dropping them into the cabinets. I used Watco’s Danish Oil in Medium Walnut as the finish.
It’s an easy pour on finish that dries fast and doesn’t require a top coat. They look so pretty, right?!
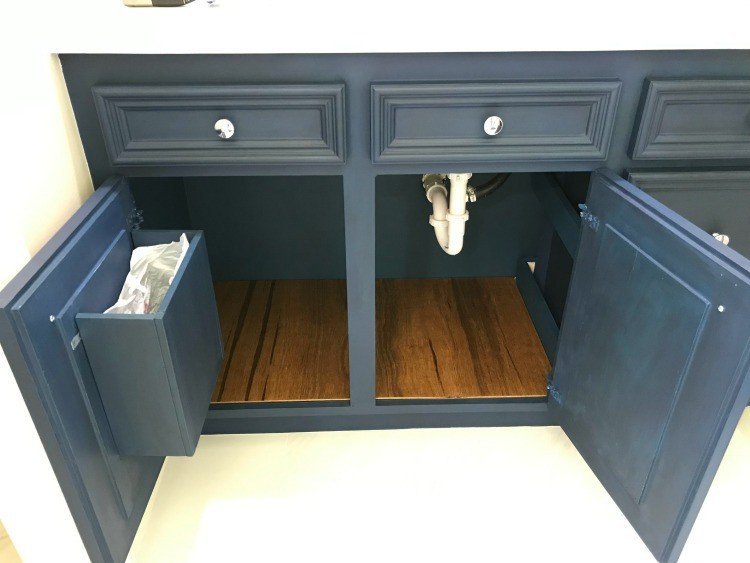
3. Built In Cabinet Garbage Cans
That DIY Chalk Paint Bathroom Vanity Makeover is tied as my favorite change with these built-in garbage cans. Each cabinet got a new built in garbage can.
I shared the DIY tutorial and video for that a few months ago. I love this garbage can, guys. Is that normal? Now I don’t have to look at our garbage anymore and it’s so great at keeping babies and pets out of the garbage. Yay!
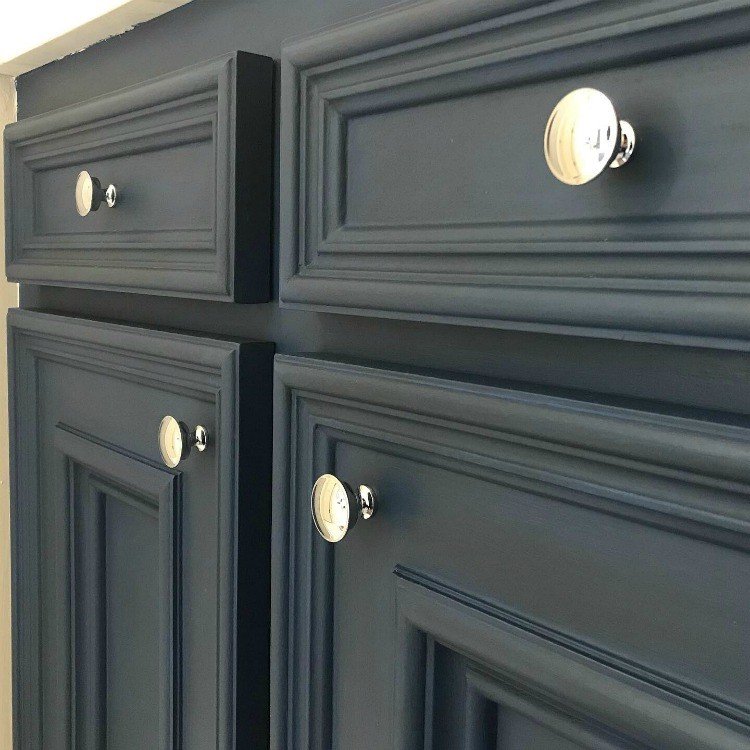
4. New Cabinet Knobs
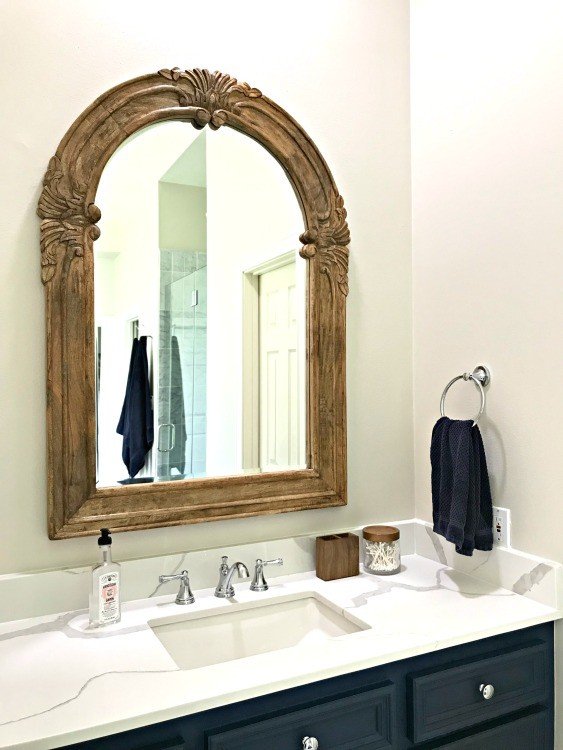
This is the easiest change of all but new pulls always make a huge impact. I went with pretty chrome pulls to match our new bathroom fixtures. It’s like the vanities have new sparkly jewelry.
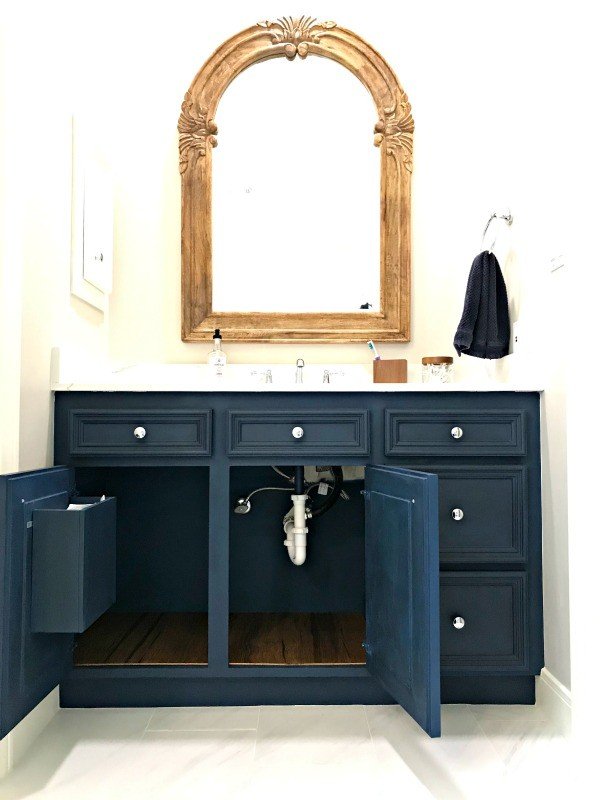
The Counter Top & Sink Details
Here are all of the details about the counter top, sink, and faucet changes we went with. These aren’t budget friendly, but we love them and they’ll last us another 20 years.
And they work beautifully with that DIY Blue Chalk Paint Bathroom Vanity Makeover.
The counter top is a marble look quartz by MSI. Find an MSI quartz dealer near you and they’ll likely have it. It’s pretty popular. 🙂 The sink is an undermount rectangular sink with a deep bowl.
They come in so many sizes, it’s pretty easy to find one that’ll fit your vanity. The faucets are Delta Silverton 8 in Widespread 3 Hole Faucets from Home Depot.
And, if you’re curious about my wall and trim paint, I used Sandstone Cove by Behr in Eggshell on the walls and my Trim Paint is Polished Pearl by Behr in Eggshell.
More Bathroom Vanity Makeover Photos
And here’s the final result. I’m so glad I didn’t rip out these old cabinets. This makeover turned out so beautiful.
The new paint, plywood liners, knobs, and that built in garbage can completely restored these vanities to better than new condition. They’re ready for another 25 years. 🙂

That’s it for this DIY Chalk Paint Bathroom Vanity Makeover tutorial. Thanks for stopping by. Be sure to follow along on Instagram to see my latest DIY Projects.
See More DIY Projects from this Master Bathroom Remodel
UPDATE: The Master Bathroom is finished. Check out the finished Bathroom or any of these DIY projects from the remodel.
- Before and After Master Bathroom Remodel Reveal
- Classic Marble & Blue Master Bath Makeover Plans
- How to Install Picture Frame Wainscoting with Video!
- The Latest Master Bathroom Remodeling Pictures!
- Marble Mosaic Tile Bathroom Installation Tips & Photos
- 10 Beginner DIY Tips for Installing Floor Tile
- DIY Plywood Plank Ceiling – Faux Shiplap Install
- DIY Shower Niche – How to Frame & Placement Tips
- Build a DIY Cabinet Door Mounted Garbage Can
Looking for another Easy Home Maintenance Project? You can Restore your Grout to Like New and this product seals grout too. Yay! Watch the quick video to see how easy it is, then click here to see the Grout Restoring Tutorial.
Want to see more from this Bathroom Makeover? Check out some of the latest bathroom reveal photos here.
Or, my Colorful Modern Farmhouse Powder Room Makeover.

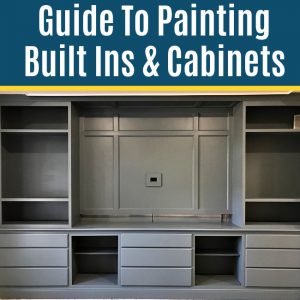
Here’s How to Paint Built In Bookshelves and Cabinets, with a video and printable guide.
Looking for more furniture or cabinet makeover ideas? Here’s 20+ DIY Furniture Painting Tutorials for beginners.
Here’s how I save $125 each month, how to get rid of cable and still watch TV.

Feeling inspired? Now that you’ve seen how I did this DIY Chalk Paint Bathroom Vanity Makeover you can too. Let me know if you have questions. Don’t forget to sign up for the Abbotts At Home email newsletter to get DIY, Remodeling, and Crafty ideas in your inbox.

Stephanie Abbott has been remodeling homes, updating & building furniture, and working on DIY home maintenance and cleaning tips for over 20 years. Her remodeling has been featured in Better Homes and Gardens Magazine. And, her DIY YouTube channel has had more than 8 million views.
Most of the DIY tutorials and videos on this site focus on beginner to intermediate level DIY Projects that can be done in an affordable way without high-end, expensive tools. All of the cleaning tips on this website have been tested in her home.