
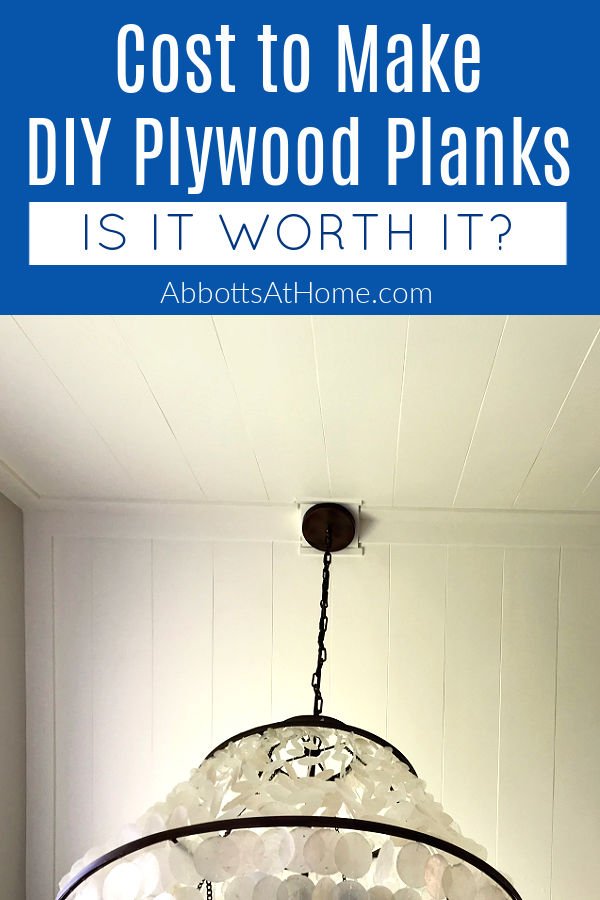
I am LOVING how beautiful this DIY Plywood Plank Ceiling Install turned out. Here’s the steps for this budget-friendly Faux Shiplap.
DIY Plywood Plank Ceiling
I have been a big fan of all of the Faux Shiplap DIY’s I’ve been seeing lately. It can turn out really pretty, if you know how to do it.
I thought about using that plywood shiplap on the ceiling in our Master Bathroom.
But, my heart was really set on the v-groove panel I’ve used in my Powder Room Makeover and my Colorful Modern Farmhouse Laundry Room Makeover.
Unfortunately, they don’t sell those awesome 4′ x 8′ MDF panels anymore. So, I had to switch up the plan and make my own.
I started out thinking I’d buy 1/4″ MDF 4×8 sheets. Then I’d route a v-groove into it myself. But, MDF is a bit heavy.
I was afraid I’d go through all the effort only to have the boards rip at those lines when I tried to glue and nail it onto the ceiling.
So, after giving it some more thought, I decided to make my own plywood shiplap planks by cutting plywood strips.
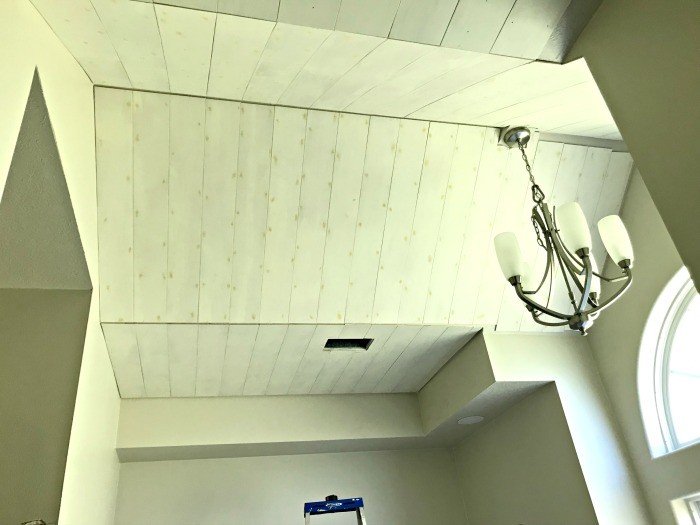
BUT, I decided to butt the plywood planks next to each other, without the gaps that people normally use for faux shiplap. Then I painted all of those plywood planks on the ceiling.
I wanted a look that was a cross between shiplap and that v-groove panel I used in the past. But the look still needed a few tweaks.
Should You Use Caulk on Faux Plywood Shiplap
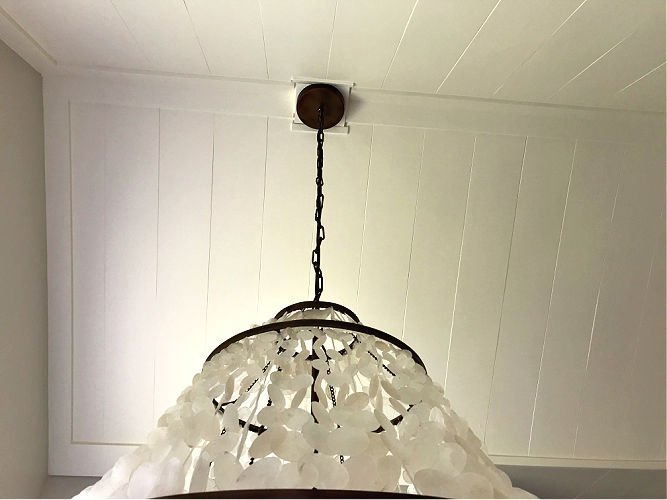
After looking at that DIY Plywood Plank Ceiling for a few days, I wasn’t a huge fan of the lines between the plywood planks.
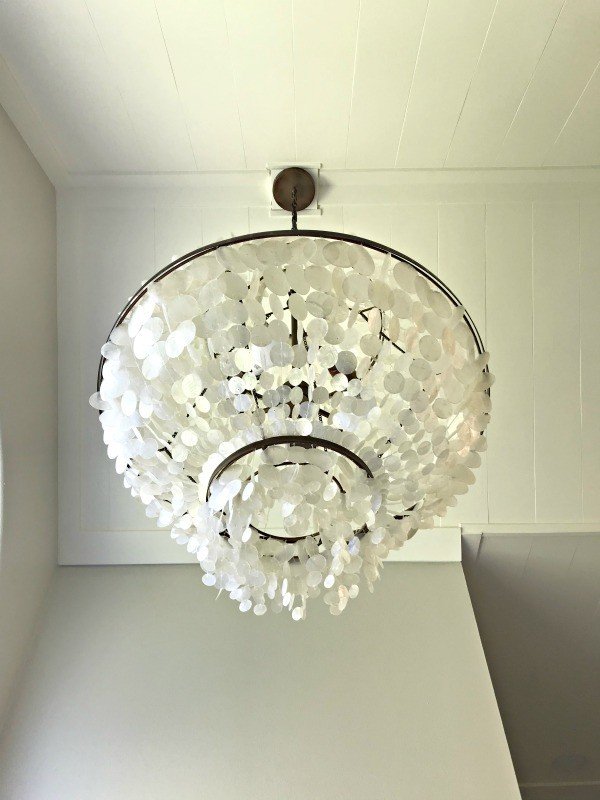
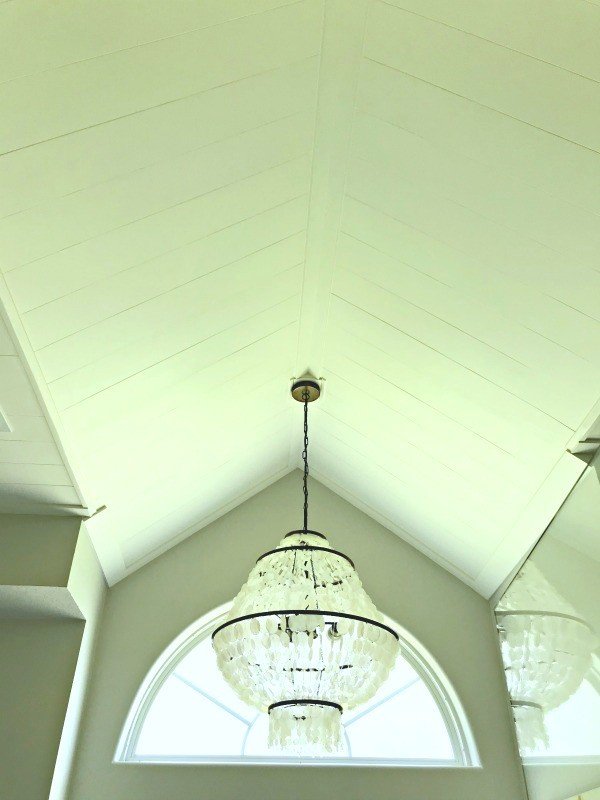
So, I caulked the gaps and painted again. Now, I LOVE THIS ceiling so much, guys!
The lines are subtle but add great texture and interest to the ceiling. You can see the full install steps below.

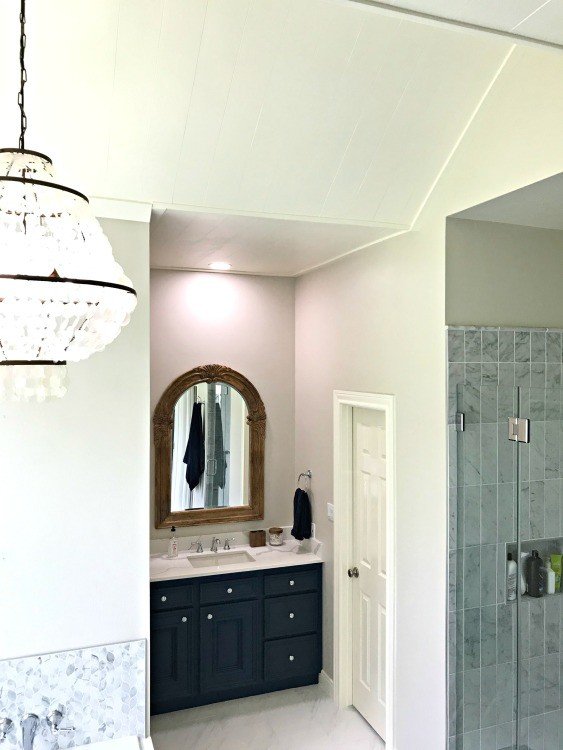
The goal of this faux shiplap ceiling makeover was to hide the weird angles on this master bathroom ceiling so that the new bathroom remodel could shine.
I have to say, after 2 months of living with this plywood plank ceiling makeover, it totally worked!
The bathroom tile and fixtures are the star of this master bathroom now. And, the ceiling makeover is just a subtle cherry on top of that bathroom.
Let’s talk about how much this ceiling makeover cost.
Cost of Making Plywood Planks
Before getting into the DIY Plywood Plank Ceiling install steps, lets talk about the cost and extra time that goes with making your own planks from 1/4″ plywood.
Lumber prices will vary in different locations, during different times of year, and during high demand times. Based on local pricing at Lowe’s and Home Depot, I can buy a 4×8 sheet of 1/4″ plywood for about $26.
If I bought the 8′ long primed shiplap to cover that same area, it would have cost $54. And, 8′ long pine tongue and groove to cover that area would have been $72.
So, the plywood I used is 50% cheaper than the primed shiplap and 65% cheaper than the Pine T&G. That can add up to a huge savings on large projects.
The total ceiling makeover costs for our Master Bathroom was about $130 for just the plywood, since I used 5 sheets.
That’s a $230 savings off the pine tongue and groove that I originally wanted to use.
Another Reason I Used 1/4″ Plywood Planks
But, the truth is, it wasn’t really the cheaper cost of making DIY Plywood Planks that sold me on this project.
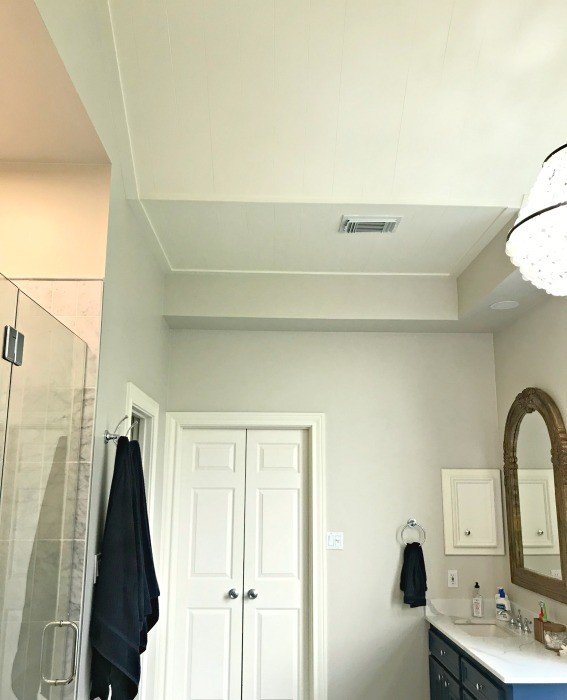
I went with plywood on this project mainly because of all the weird angles on this vaulted bathroom ceiling. The thinner material made accounting for those angles and trimming them out easier on me.
I HIGHLY recommend getting exact measurements and drawing out a diagram of your space before deciding which material to use on your ceiling or wall.
Drawing a diagram will make it easier to figure out exactly how much plywood you need so you can calculate the cost of a DIY Plywood Plank Ceiling for your room.
If you want to see how to make a diagram for your project, you can see examples of ceiling diagrams that I drew in my Simple DIY Low Profile Coffered Ceiling and my DIY Wood Panel Vaulted Ceiling Makeover posts.
Materials Needed for this Ceiling Makeover
- Circular Saw or Table Saw to cut strips
- Miter Saw
- 1/4″ Plywood 4′ x 8′ sheets
- Finish Sander and 120 or 180 grit sandpaper
- DAP flexible and paintable caulk, like this one
- construction adhesive
- caulk gun
- Brad Nailer and Brad Nails
- 1×3 primed pine or PVC trim
- wood filler and sandpaper
Watch this DIY Plywood Plank Ceiling Video
Watch this video for a better look at that ceiling.
How to Make Faux Shiplap Plywood Panels
Step One
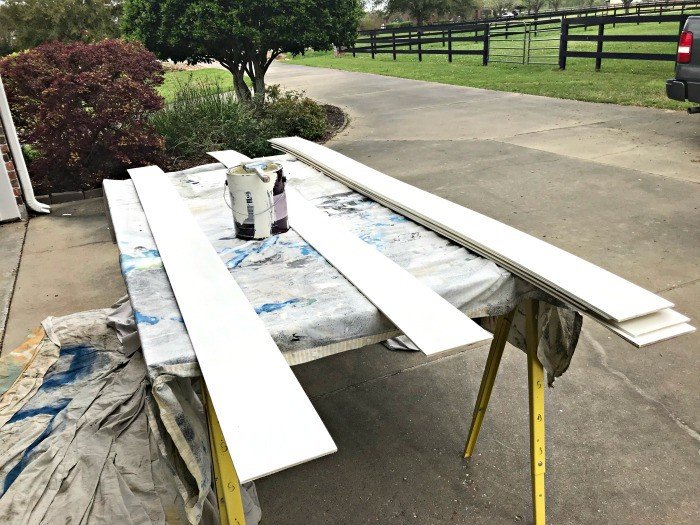
Start by cutting the plywood into strips. I cut 8′ long 5 3/4″ strips to leave the smallest amount of unused material possible.
I cut mine on my table saw, but you could set up your circular saw with a straight edge cutting guide too.
Step Two
Sand the face side and cut edges of the strips, nice and smooth. I used 120 grit sandpaper. I also like to do the first coat of paint before hanging the plywood.
It just makes life a little easier. You can see me going through these DIY Plywood Plank install steps in the video above.
Step Three
To hang the strips on the ceiling, I measured the length I needed, then cut them with my Miter Saw.
I glued and brad nailed them in place WITHOUT leaving any gaps between the strips. Only because I preferred that look here.
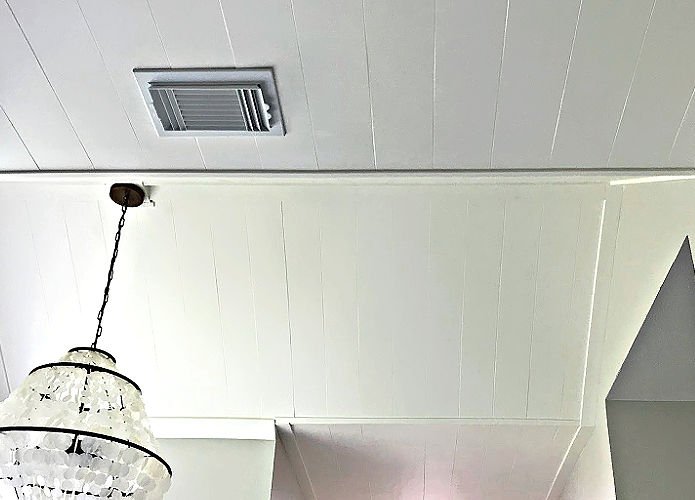
Do this to the whole ceiling or area. I kind of have 4 areas because of the vault in my ceiling.
Side note, the construction adhesive holds the planks in place long term. The brad nails just hold the planks tight to the ceiling while the adhesive dries.
Step Four
Then frame the ceiling or area you’re planking with whatever trim you like. I used 1×3’s around the edges and some smaller trim molding pieces between the flat and vaulted sections of my ceiling.
Use adhesive and a brad nailer for this part of the DIY Plywood Plank install too.
Step Five
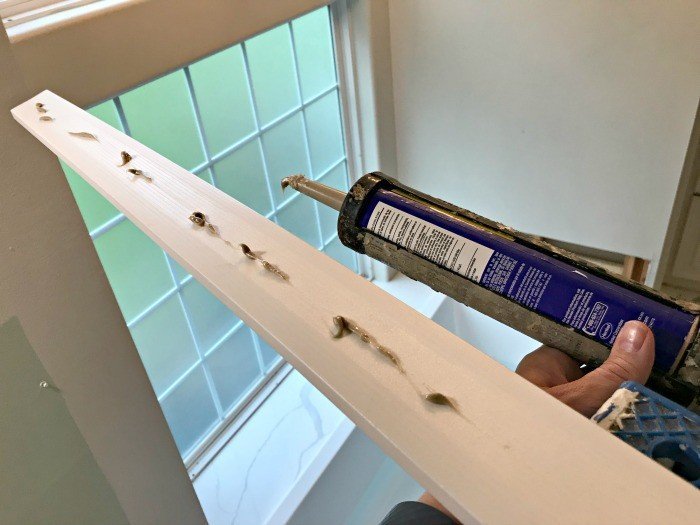
Now, it’s all about making things pretty. Use wood filler on all of the nail holes. Once dry, sand those smooth. Then use caulk between each Faux Shiplap Plywood Plank.
Caulk where the trim meets the wall and the trim meets the plank too. If you’re new to DIY wood trim check out this post for tips on where to use caulk or wood filler on wood trim.
Step Six
Finish with 2 or 3 coats of a good paint. I used Behr’s Polished Pearl in Eggshell on this Ceiling Panel Makeover. It’s the color of all the trim in my house.

Well, that’s it for this DIY Plywood Plank Ceiling Install. If you’re looking for more home remodeling inspo check out my remodeling videos here, on my YouTube channel. 🙂
See More DIY Projects from this Master Bathroom Remodel
UPDATE: The Master Bathroom is finished. Check out the finished Bathroom or any of these DIY projects from the remodel.
- Before and After Master Bathroom Remodel Reveal
- Blue DIY Chalk Paint Bathroom Vanity Makeover
- How to Install Picture Frame Wainscoting with Video!
- The Latest Master Bathroom Remodeling Pictures!
- Marble Mosaic Tile Bathroom Installation Tips & Photos
- 10 Beginner DIY Tips for Installing Floor Tile
- Classic Marble & Blue Master Bath Makeover Plans
- DIY Shower Niche – How to Frame & Placement Tips
- Build a DIY Cabinet Door Mounted Garbage Can
Other DIY Projects You Might Like
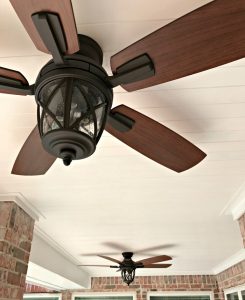
You might also like this DIY Pine Tongue and Groove Porch Ceiling Makeover.
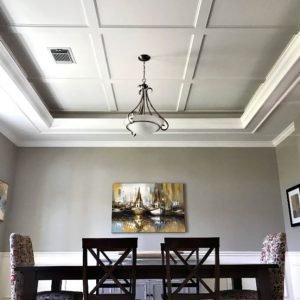
Or this Simple DIY Low Profile Coffered Ceiling Makeover.
I also love this post on the Best Paint Sheen on Ceilings: Eggshell or Flat.
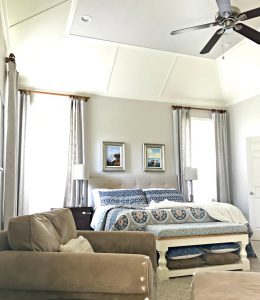
Or, this Beautiful DIY Vaulted Ceiling Makeover in our Master Bedroom.
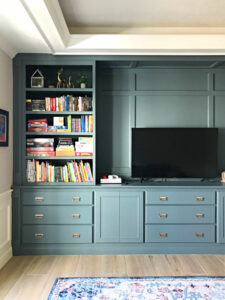
You should also see our recent Before and After Family Room Makeover On A Budget!
Feeling inspired? Now you know how I did my DIY Plywood Plank Ceiling Install. Let me know if you have questions.
Don’t forget to sign up for the Abbotts At Home email newsletter to get DIY, Remodeling, and Crafty ideas in your inbox.

Stephanie Abbott has been remodeling homes, updating & building furniture, and working on DIY home maintenance and cleaning tips for over 20 years. Her remodeling has been featured in Better Homes and Gardens Magazine. And, her DIY YouTube channel has had more than 8 million views.
Most of the DIY tutorials and videos on this site focus on beginner to intermediate level DIY Projects that can be done in an affordable way without high-end, expensive tools. All of the cleaning tips on this website have been tested in her home.