
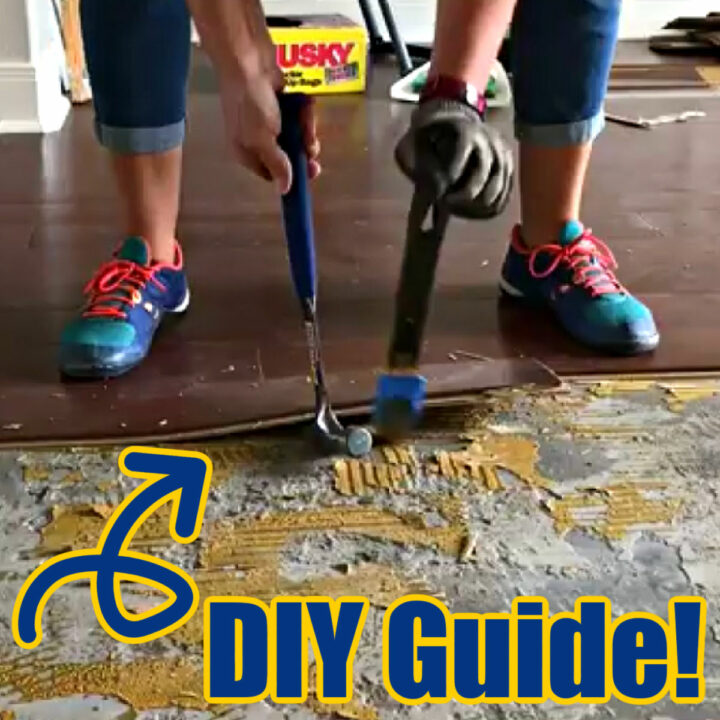
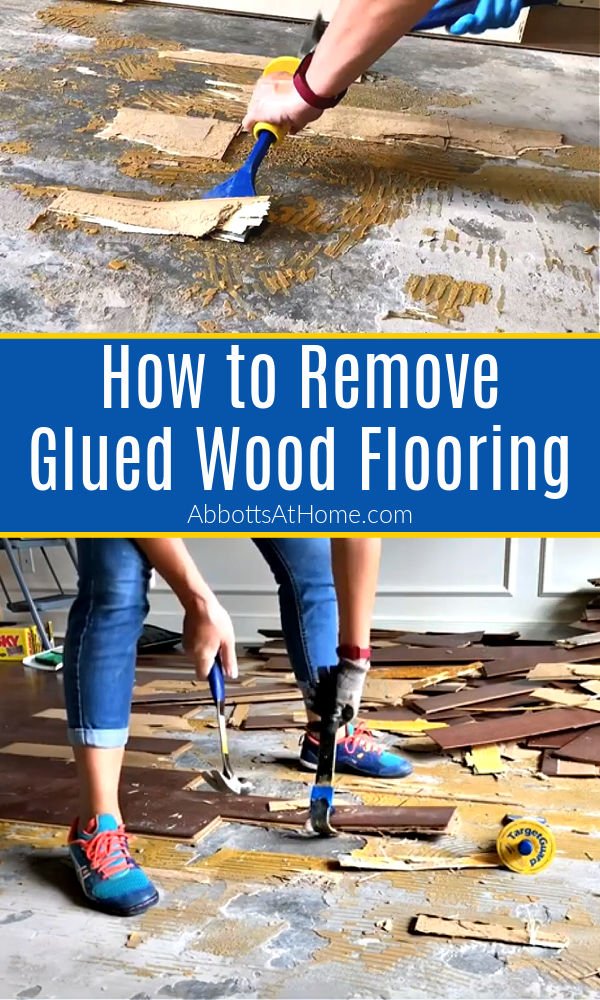
Easy Guide & Tips to Remove Glued Wood Flooring on concrete and subfloor. Works for Hardwood or Engineered floors. With common FAQ’s & video.
How to Remove Glued Wood Flooring
Hi guys, I’m moving right along on big changes in my house that started with my tutorial for how to cut and hang drywall.
I closed off an arched doorway between my Foyer and our new Family Room area to make both rooms more functional.
Now, I’m sharing this easy to follow guide for removing glued wood flooring from concrete and subfloor as the next step in remodeling these two rooms.
I also have a short video showing how to do it too!
I’m eventually adding a wall of built ins in the playroom, but really needed to remove the glued down wood flooring that has had some damage to it since a window leaked during hurricane Harvey.
Luckily it didn’t flood in our house, but a lot of homes in our area had to clean up flood damage.
The flooring near the window in the playroom had buckled and warped in a few spots from a strange leak on the worst day of sideways rain.
So, in addition to removing an arched doorway in a wall of this room, I needed to rip up the bad flooring.

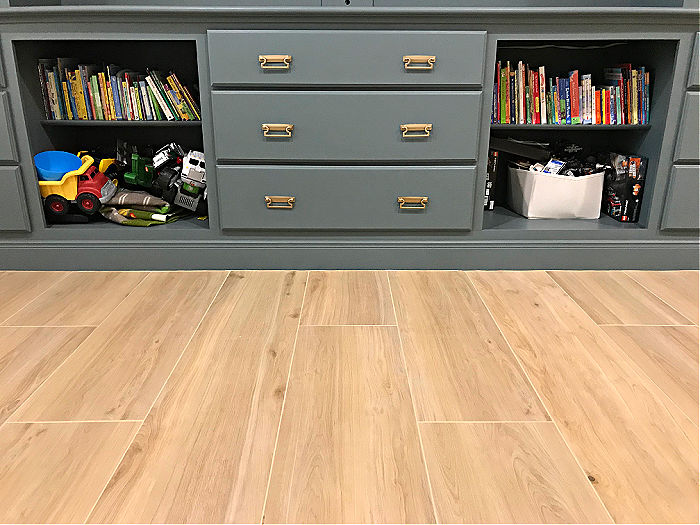
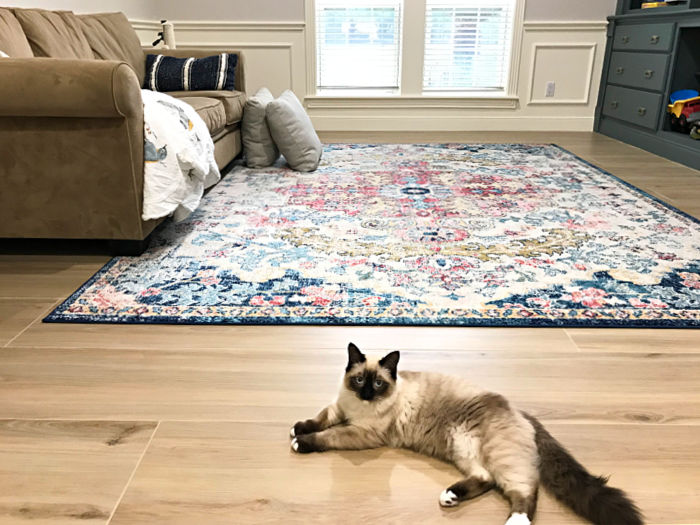
After removing this glued down wood floor, I installed extra large tile flooring. Tile just seems safer than wood in Houston. You can see the finished room makeover in this Family Room Makeover On A Budget post.
If you need some tips for how to install floor tile, I shared a good walkthrough when I tiled during my Master Bathroom Remodel last year.
Instead of babbling on, let’s get to Removing Glued Wood Flooring And Adhesive on Concrete. 🙂
Table of contents
How to Remove Glued Wood Flooring on Concrete – Video
If any of the written steps below for how to remove wood flooring from concrete or subfloor are confusing, I highly recommend watching this short video.
DIY Steps For Removing Glued Wood Flooring From Concrete
Tools Used
Step One – Picking A Starting Point
First, you need to find a starting point. I happened to have a loose board, due to a window leak during Hurricane Harvey.
But, this room connects to a carpeted hallway. Starting with a board along that carpeted spot would have been easy too.
Another way to start in a room is to cut a 1′ x 1′ wide square of flooring with a circular saw. So, to do this, set the depth of the saw to slightly less than the depth of the flooring.
If your flooring is 1/2″ thick, set the saw depth to about 3/8″ deep. That way you can cut your square without hitting the concrete pad.
Once the square is cut in the flooring, use the pry bar and hammer or flooring chisel and hammer to remove the flooring from that section.
Once you have that square removed, you’ll have access to the boards around it.
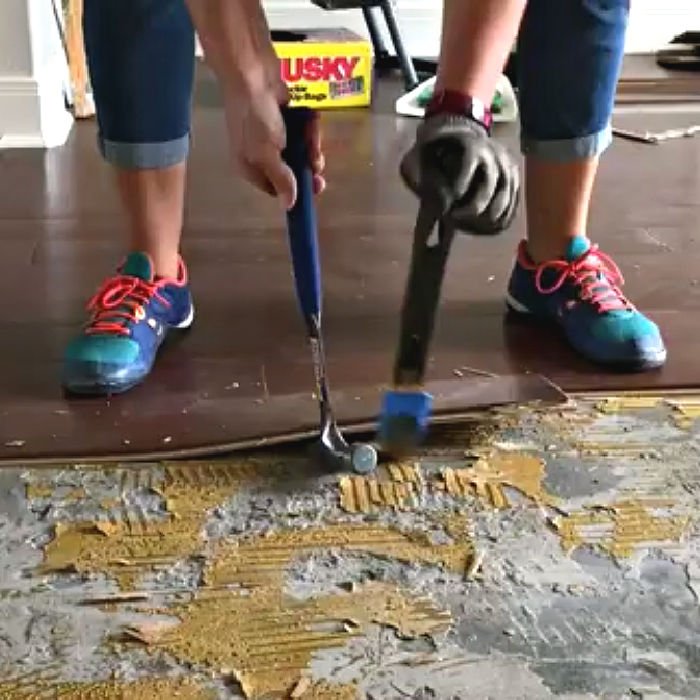
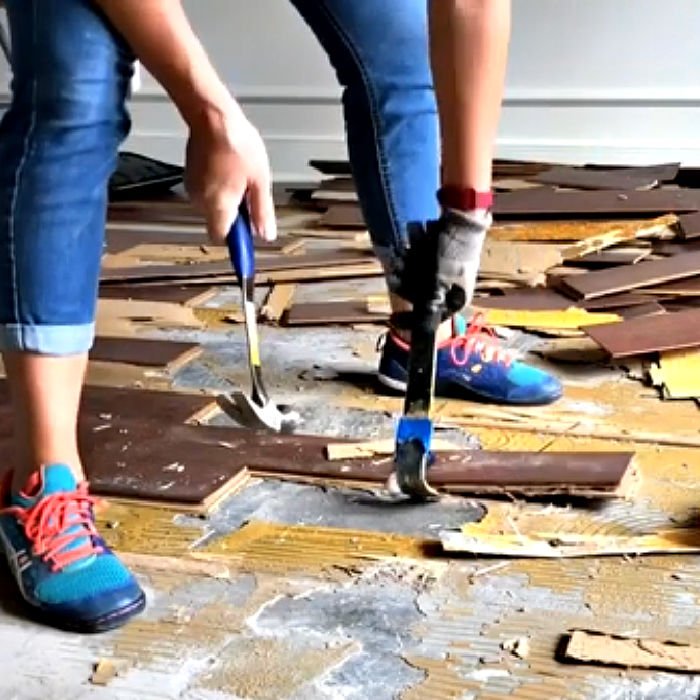
Step Two – Prying Up The Glued Flooring
Pick a board that starts inside your square and hammer the pry bar under the end of the board.
Once the pry bar is under the end, slowly work the pry bar down the board with the hammer until you can pop the whole board up.
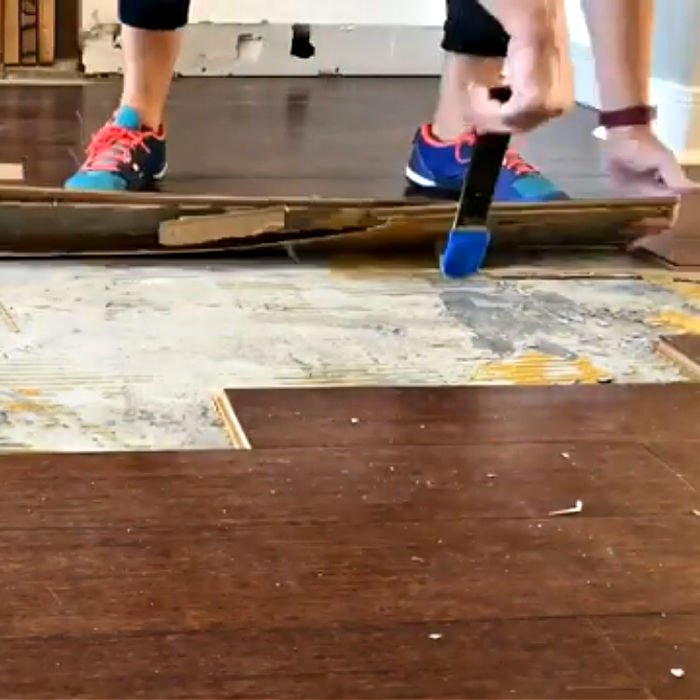
If the board starts to crack or split in a spot, stop working that spot and move a little further down the board to try again.
Trying to keep the board in one piece makes clean up easier and leaves less board fragments on the concrete that will have to be chiseled away.
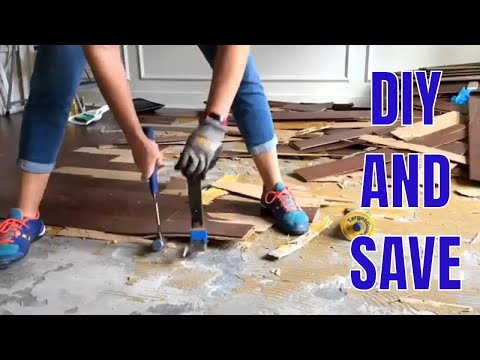
Step Three – Finishing Up
You’ll get a feel for removing engineered wood flooring after 10 minutes or so. It’ll get a little faster and easier as you go.
The flooring planks that have the longest area not connected to other boards will be the easiest to remove.
Start with those and just take your time to reduce mess and extra work. Watch my video above to see me removing glued wood floors on concrete.
If you are removing glued flooring in multiple rooms. You might want to rent a power tool from your local tool rental company. Ask about the price per hour and decide if it’s worth it to you.
Those machines can also be quite big and heavy. So, plan on how you will get it home and lift it in and out of your car.
I removed all of the glued engineered wood flooring in my one room in less than 2 hours.
So that was actually faster than it would have been to drive to get the rental, go back home, do the removal, drive the rental back, and return home.
Also, it would have been a massive pain lifting that machine in and out of my car. 🙂
That’s pretty much it for removing glued wood floors. Check out 6 Ways To Remove Adhesive On Concrete Floors if you have a bunch a glue left on your concrete (like I did).
Now, here’s some answers to common questions people have about this DIY project.
How to Dispose of Old Wood or Engineered Hardwood Flooring
Most trash removal companies can’t and/or won’t take construction material. You’ll likely have to take the old flooring to a local dump or recycling center that can handle construction material.
But, it’s worth googling your local options. Some garbage companies have 1 day a month that they pick up construction materials and other large items.
I bagged my old engineered hardwood flooring in heavy duty construction bags.
I hate adding that to landfills, but I can’t really individually load hundreds of pieces of flooring into a truck and then unload hundreds of pieces at the dump.
You might have luck calling local flooring companies to find out what they do with old flooring in your area.
Can You Burn Old Wood Flooring or Engineered Flooring?
No, please don’t burn it. Even without the adhesive a lot of wood and engineered flooring has been treated in chemicals that can be toxic when burned.
The adhesive can also be toxic when burned. Old wood and engineered flooring might also have mold or fungus that can be breathed in when burned. So skip the indoor and outdoor burning.
For the same toxic chemical, mold, and fungus reasons, you can’t turn old wood floors into mulch or bury it either.
Did anyone else have Grandpa’s that were always burying garbage in their yards? Mine did. Yikes! Who knows what leached into the ground water back in the day.
After Tiling This Floor
Well, it’s been a couple months since I wrote this post. And, this floor is freshly tiled and grouted and looking beautiful, guys!
You can find steps for this project and tons of other DIY projects on this blog.
Check out this post about Are Large Tiles Harder To Install to see more about this flooring.
More DIY Tiling & Flooring Posts You Might Like
- 10 Beginner DIY Tips for Installing Floor Tile
- How to Clean Grout After Using Grout Paint or Sealer
- Does Grout Renew Work? Full Review with Easy Steps, FAQs and Video
- How to Change Grout Color, the easy way!
- Is A Steam Mop Good For Tile Floors? With Tips For Cleaner Floors!
Looking for more of my Home Remodeling Videos? Check out this DIY Home Improvement playlist on YouTube.
You might also like this DIY for How to Whiten Tile Grout. It’s a Game Changer!

And, if it is time to Stain your Front Door, check out these steps for how I restain a front door without stripping it or removing it. 🙂
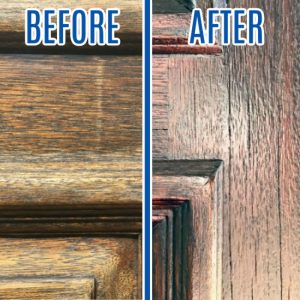
Here’s how to make a sun-damaged, dry wood door look great again without sanding.

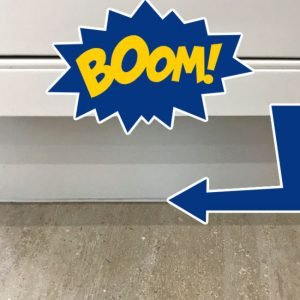
Fill that annoying, unsightly gap under cabinets with caulk, with this tutorial.
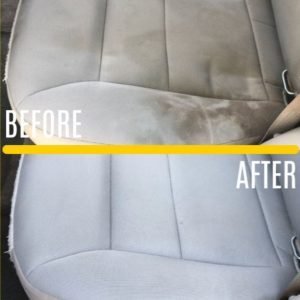
And, here’s how to clean car seats at home. I love this before and after guys. It’s amazing!
Let me know if you have questions. Don’t forget to sign up for the Abbotts At Home email newsletter to get DIY, Remodeling, and Crafty ideas in your inbox.
Feeling inspired? Now that you’ve read these tips for How to Remove Glued Wood Flooring And Adhesive on Concrete, you can do it too.
How to Remove Glued Wood Floors
Tools
- Flooring Chisel with Hand Guard
- Oscillating Tool with Scraper Attachment
- Flooring Adhesive Stripper
Instructions
If any of the steps for How to Remove Glued Wood Flooring or Engineered Hardwood on Concrete are confusing, I highly recommend watching the short video. Hopefully seeing it done can help clear up any confusion.
Step One
- First, you need to find a starting point. I happened to have a loose board, due to a window leak during Hurricane Harvey. But, this room connects to a carpeted hallway. Starting with a board along that carpeted spot would have been easy too.
- Another way to start in a room is to cut a 1′ x 1′ wide square of flooring with a circular saw. So, to do this, set the depth of the saw to slightly less than the depth of the flooring. If your flooring is 1/2″ thick, set the saw depth to about 3/8″ deep.
- That way you can cut your square without hitting the concrete pad. Once the square is cut in the flooring, use the pry bar and hammer or flooring chisel and hammer to remove the flooring from that section.
- Once you have that square removed, you’ll have access to the boards around it.
Step Two
- Pick a board that starts inside your square and hammer the pry bar under the end of the board. Once the pry bar is under the end, slowly work the pry bar down the board with the hammer until you can pop the whole board up.
- If the board starts to crack or split in a spot, stop working that spot and move a little further down the board to try again. Trying to keep the board in one piece makes clean up easier and leaves less board fragments on the concrete that will have to be chiseled away.
Step Three
- You’ll get a feel for how to remove glued wood flooring on concrete after 10 minutes or so. The flooring planks that have the longest area not connected to other boards will be the easiest to remove. Start with those and just take your time to reduce mess and extra work. Watch my video above to see exactly how I remove glued wood floors on concrete.
- If you are removing glued flooring in multiple rooms. You might want to rent a power tool from your local tool rental company. Ask about the price per hour and decide if it’s worth it to you. Those machines can also be quite big and heavy. So, plan on how you will get it home and lift it in and out of your car.
- I removed all the flooring in my one room in less than 2 hours, so that was actually faster than it would have been to drive to get the rental, go back home, do the removal, drive the rental back, and return home. Also, it would have been a massive pain lifting that machine in and out of my car.

Stephanie Abbott has been remodeling homes, updating & building furniture, and working on DIY home maintenance and cleaning tips for over 20 years. Her remodeling has been featured in Better Homes and Gardens Magazine. And, her DIY YouTube channel has had more than 8 million views.
Most of the DIY tutorials and videos on this site focus on beginner to intermediate level DIY Projects that can be done in an affordable way without high-end, expensive tools. All of the cleaning tips on this website have been tested in her home.