
How to cut small pieces of wood on a Miter Saw. EASY GUIDE that keeps fingers SAFE. With video for cutting small wood pieces without a jig.
How To Cut Small Pieces Of Wood With A Miter Saw
Today, I have 4 tips and techniques for cutting small pieces on a Miter Saw, safely. Including, an easy way for cutting small pieces of wood even smaller without making a jig.
This is how I safely cut small pieces of wood when making my own DIY scrap wood wall art. With this type of project, I always end up needing small wood triangles, squares, and lengthwise cuts for my designs.
Before we get started, always remember to follow the safety guidelines in the manual on your Miter Saw too.
And, always let your Miter Saw have a couple seconds to get up to full speed before cutting. Then, lower the blade arm in a clean, steady motion.
Now, let’s get to those tips for cutting small pieces on Miter Saws. 🙂
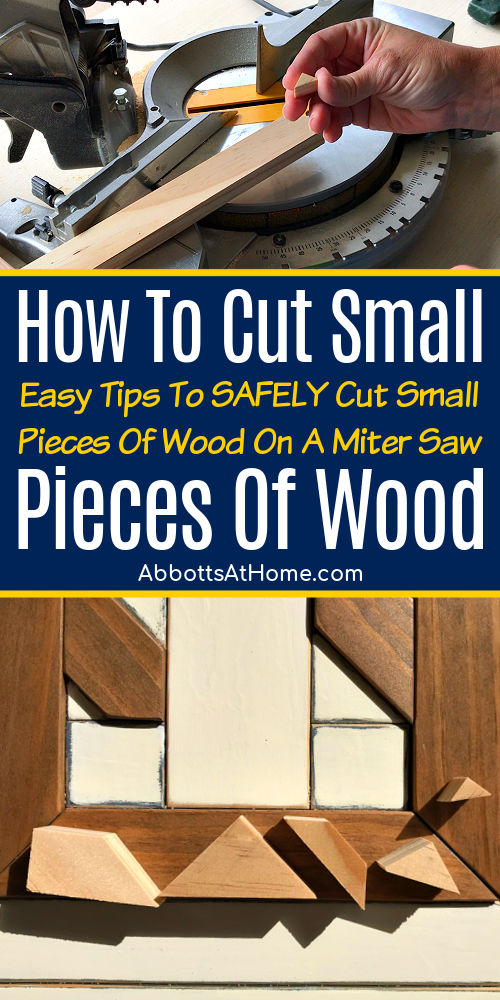
Table of contents
Best Way To Cut Small Pieces Of Wood – Video
If any of the written tips for how to cut small pieces on miter saws are confusing, I highly recommend watching this video. Hopefully seeing how I do each of these techniques can help clear up any confusion.
You can find my Dewalt Miter Saw here on Amazon.
How To Cut Small Pieces On Miter Saws
Safety is key when cutting small pieces of wood. The safest way to cut small wood pieces is to figure out how to make the small wood cuts while it’s still attached to a longer piece of wood.
This is a lot easier to figure out when you can use a pencil to mark your angles and cuts before making any cuts on your Miter Saw.
Then the final cut to get your small piece of wood will cut the piece away from the larger piece of wood.
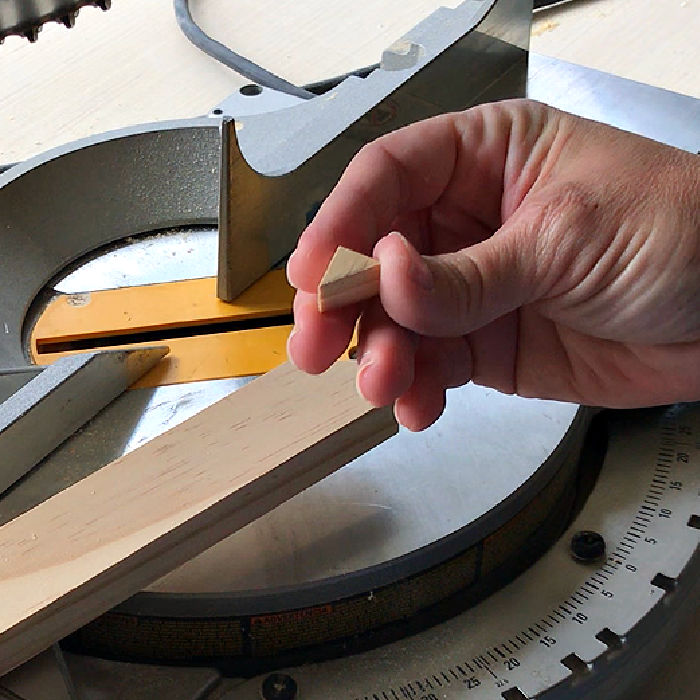
So, if I need a triangle piece, I cut my first angle on the end of a long enough board to keep my hands safe.
Then I finish the triangle with the second angle cut that removes the small piece from the longer board.
How To Cut A Small Piece of Wood Smaller
Sometimes you need to cut a small piece of wood even smaller with a Miter Saw.
This can be tricky and dangerous if you don’t know how to safely hold the small wood piece down without putting your fingers need the blade.
There are a bunch of different ways to safely cut small wood pieces smaller. Some people like to build jigs, some will use hold down sticks. Both work.
But, this is the one I use most often. Just because I can generally set it up quickly.
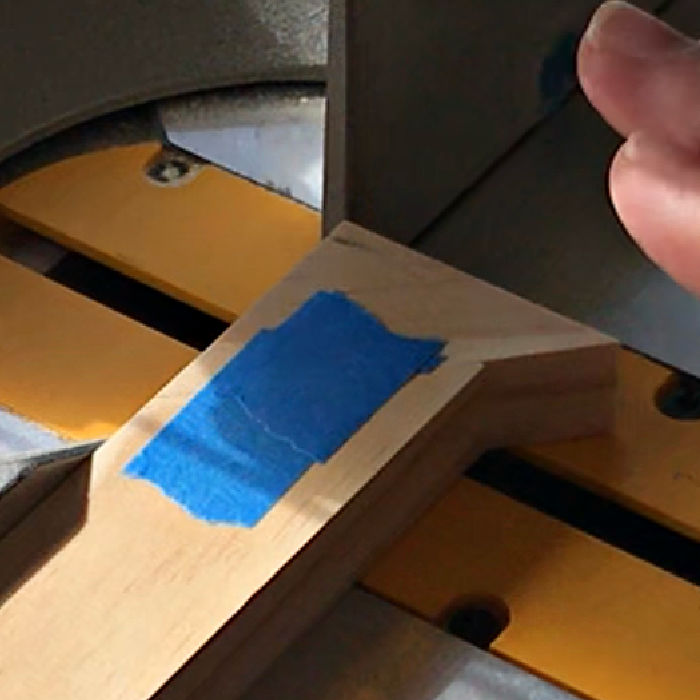
Start by taping the small piece you want to cut to another longer board with the same thickness. Use painters tape so that it doesn’t leave residue and removes easily.
You might need to cut a matching angle on to the longer board to completely secure the small piece with tape.
Once the long board is taped to your short board, place a second long board over both pieces.
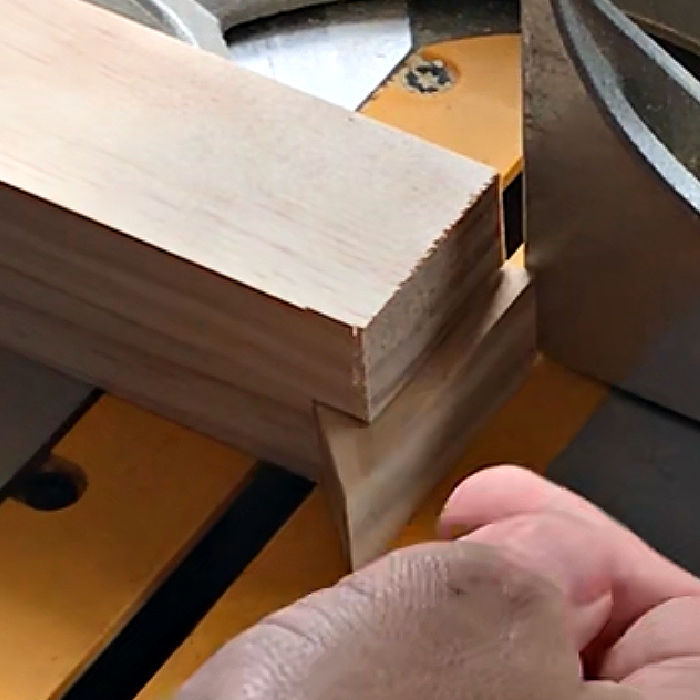
That top board will let you hold the small piece down safely when you are cutting small pieces of wood with your Miter Saw.
You can also cut through the top board. But it will be harder to line up the cut, if you can’t see your pencil marks. I usually prefer to keep that top board slightly to the side so I can still line up my cut.
Make sure that the part you will cut OFF is the smaller side of the cut. That way you can hold down the largest side of the wood piece with the top board.
How to Cut Pointed Wood Ends
This one is easiest when you use pencils to mark your angles and cut lines too.
To make a centered point on the end of a board, mark a straight line across the board with a pencil and a square. Make sure it’s far enough from the end to make your point.
That straight line you cut is your guide for lining up your cuts.

Start with a 45-degree angle on one side of the saw. Once that cut is made, switch to the 45-degree angle on the other side of the saw OR flip the board to make the next cut.
If you use the pencil mark guide, you should have a perfectly centered point.
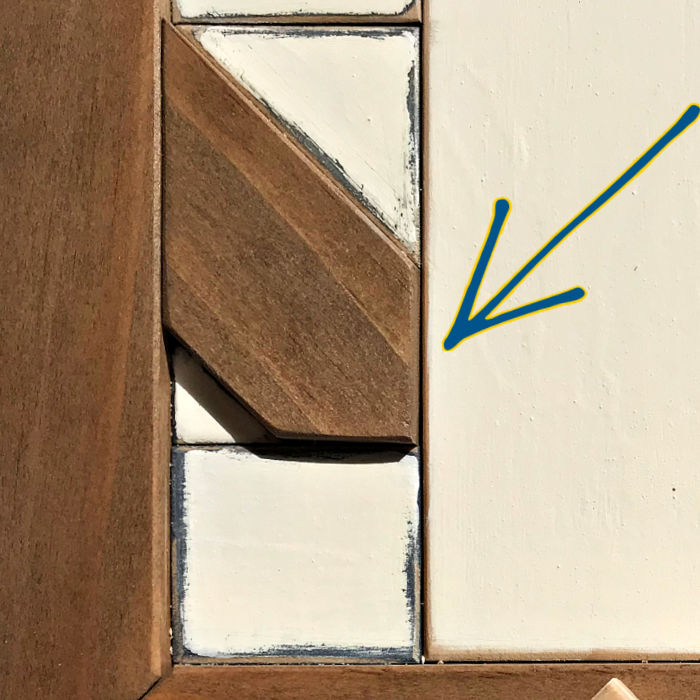
You can see how I made this White & Stain Simple Scrap Wood Wall Art here.
You can see how I made the white & stain wood art above in this Simple Scrap Wood Wall Art tutorial.
Can you Make Lengthwise Cuts with a Miter Saw?
Yes, you can make lengthwise cuts on short pieces of wood with a miter saw.
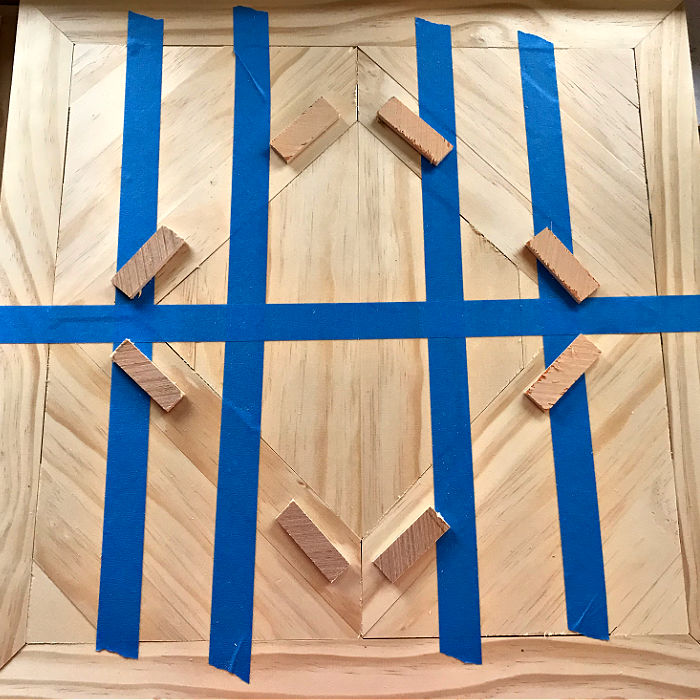
You can set up a quick safe cut using painters tape and 2 scrap blocks of wood. Just make sure the scrap wood blocks are large enough to keep your hands safely away from the saw.
The bottom block needs to be the same thickness as the piece you want to cut. And, it will be easier to do a lengthwise cut when the 2 scrap blocks are also similar length to the wood you are cutting.
So, if you want to cut lengthwise on a 6″ long piece, use 2 pieces of 1×6.
And, don’t forget, the one on the bottom should be the same thickness as the piece you want to cut. So that the top board can apply even pressure across the piece you want to cut.

How To Cut Small Wood Pieces – Recap
- It’s safest to cut small wood pieces off of the end of long boards. So plan the piece you need to be the off-cut on the board.
- You can use painter’s tape and 2 scrap blocks to set up a way to safely cut a small piece of wood even smaller.
- Pencil marks and squares make cutting arrow points and off-center arrow points easier.
- You can cut short pieces of wood lengthwise with a Miter Saw using painters tape and 2 scrap blocks.
That’s it for this tutorial on how to cut small wood pieces with a Miter Saw.
More DIY Projects You Should See
Looking for some Geometric Wood Wall Art Videos? Check out this Wood Wall Art playlist on YouTube.
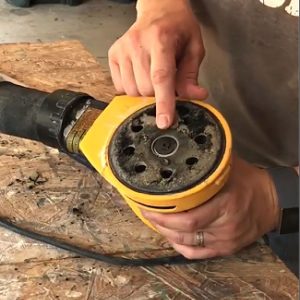
Here’s the quick and easy steps to replace the sanding pad on an orbital sander.
And, 11 Beginner Tips to Use the Dewalt Hand Planer.

How to Sharpen a Chainsaw with a Dremel.
How to Remove Glued Wood Flooring on Concrete.
You might also like this DIY for How to Whiten Tile Grout. It’s a Game Changer!

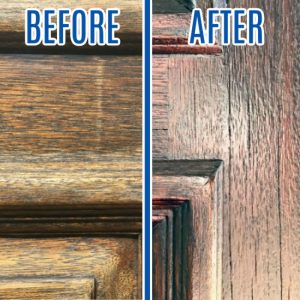
And, if it is time to Stain your Front Door, check out these steps for how I restain a front door without stripping it or removing it. 🙂
Feeling inspired? Now that you’ve read these tips for How to Cut Small Wood Pieces on a Miter Saw, you can do it too. Let me know if you have questions.
Don’t forget to sign up for the Abbotts At Home email newsletter to get DIY, Remodeling, and Crafty ideas in your inbox.

Stephanie Abbott has been remodeling homes, updating & building furniture, and working on DIY home maintenance and cleaning tips for over 20 years. Her remodeling has been featured in Better Homes and Gardens Magazine. And, her DIY YouTube channel has had more than 8 million views.
Most of the DIY tutorials and videos on this site focus on beginner to intermediate level DIY Projects that can be done in an affordable way without high-end, expensive tools. All of the cleaning tips on this website have been tested in her home.