
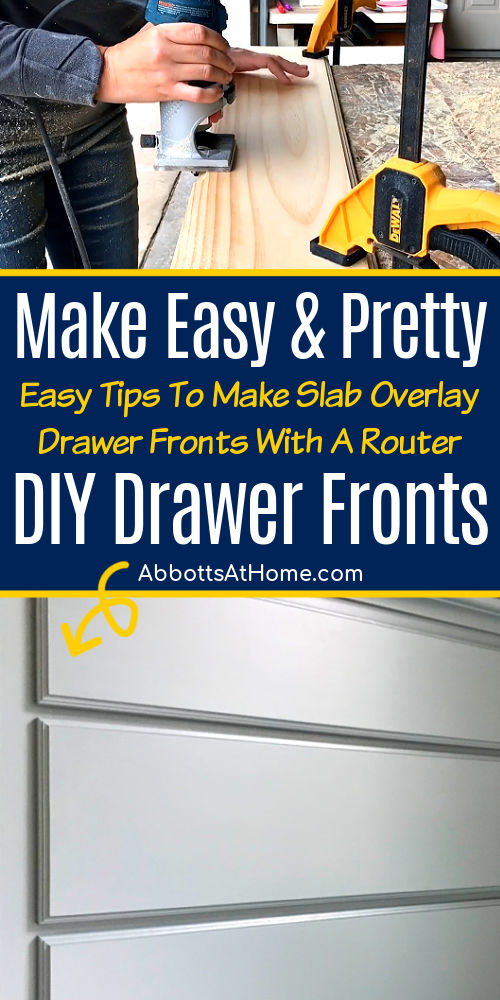
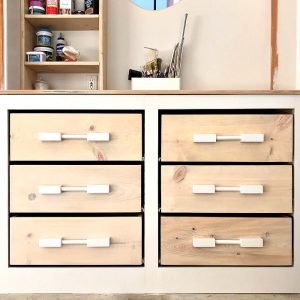
Make this QUICK & EASY DIY Drawer Front with a pretty router detail for slab style, overlay drawers. With Written Steps & Video.
Why I’m Making Slab Drawer Fronts
Inset drawers are beautiful and popular, I have them in my kitchen. But, I also LOVE a great slab overlay drawer front.
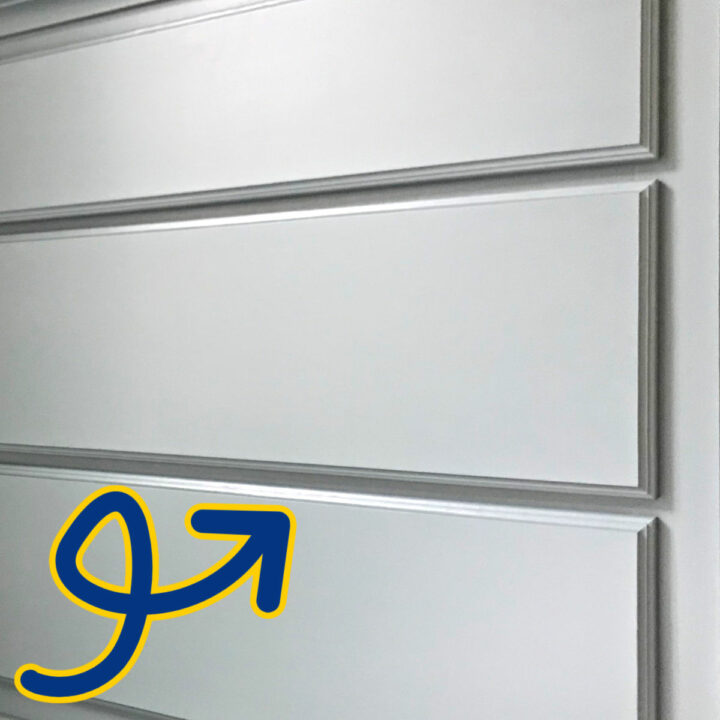
With slab drawer fronts you can add pretty edge detail that just adds more curves and interest to whatever you’re making. And, I’m a huge fan of extra trim and moulding whenever I can get it.
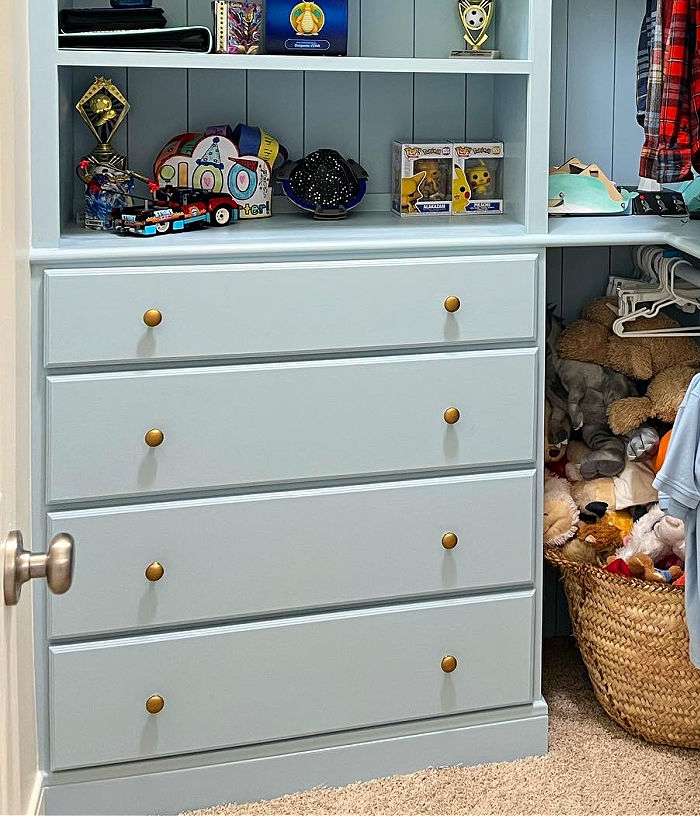
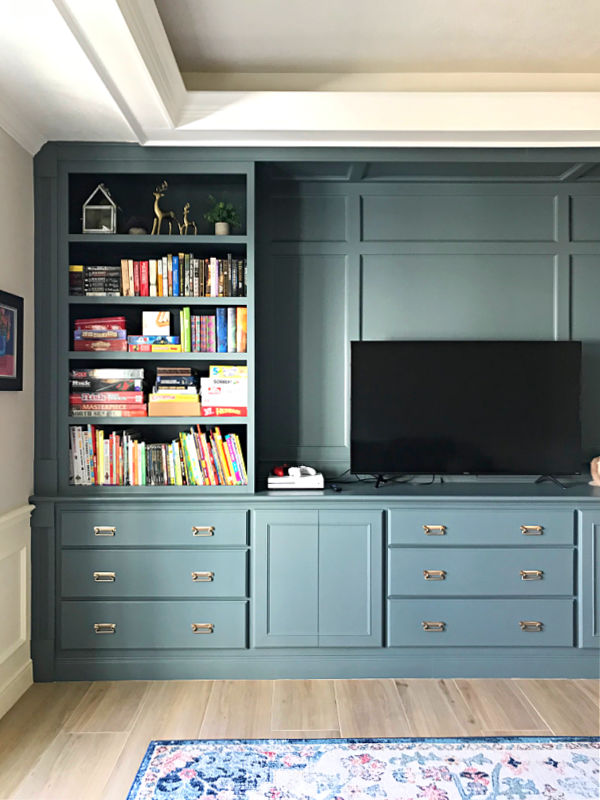
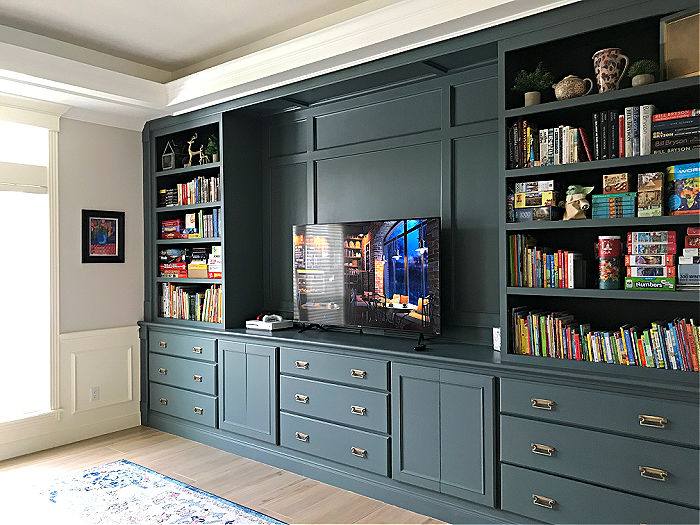
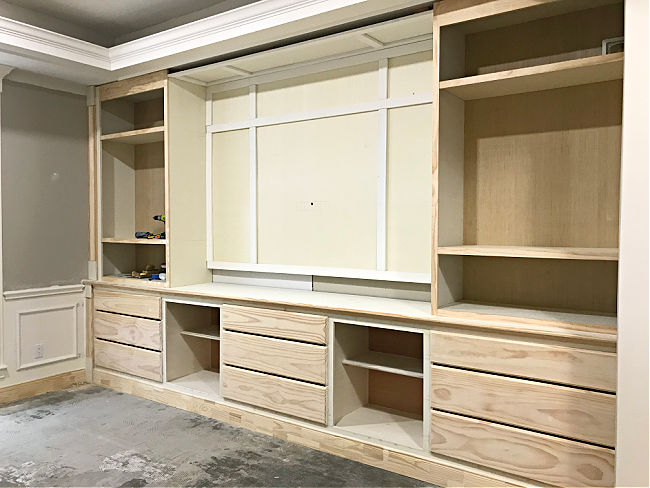
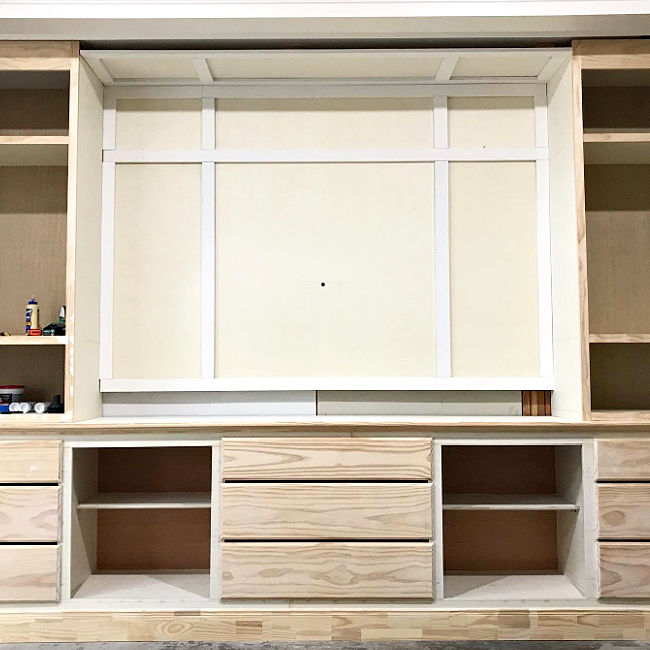
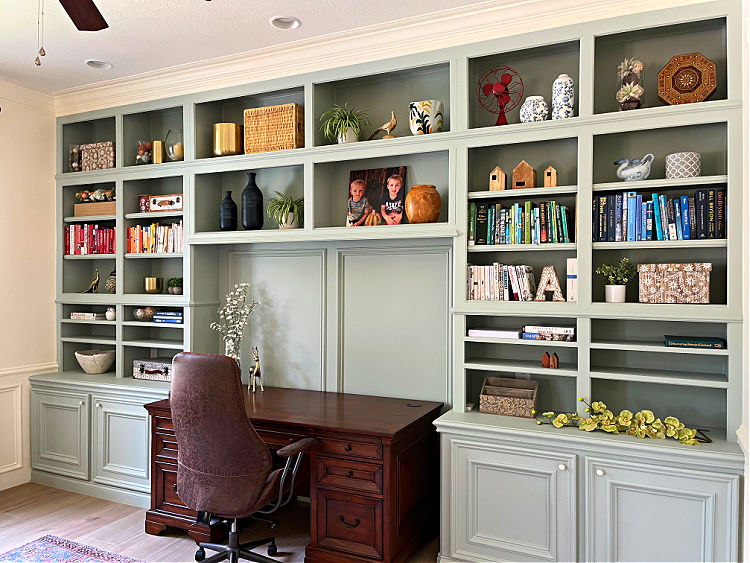
These DIY drawer fronts are going on the 14′ long wall of built-ins I am making for our new Family Room Built-Ins. I designed these built ins to match the traditional style of our home.
So, the making drawer fronts with router details along the edge worked perfectly with the design.
But, before we get into the steps, let’s talk about what wood you should use to make slab drawer fronts.
Table of contents
What Wood Do You Use For Drawer Fronts
Plywood Drawer Fronts
If I am making inset drawers, like with this DIY Console Table or this DIY Kids Desk with Drawers, I usually go for Plywood with Edge Banding.
Plywood is less expensive, won’t cup or warp like lumber might. And plywood is less likely to dent.
But, when I want to make an overlay drawer front, I usually use 1x Dimensional Lumber. Like the Select Pine I use in this tutorial.
It’s much easier to get a pretty router edge on dimensional lumber than it is on plywood. BUT, I did recently try this router look with a plywood drawer front.
It looks great, but be warned, it took a lot of sanding and wood filler to get that routed edge smooth on plywood.
Poplar
Poplar is popular for DIY furniture because it’s generally the most affordable hardwood sold at big box stores.
And, Poplar has a smooth feel and almost never has knots or imperfections. It’s easy to stain and paint for a pretty look.
Check out this DIY Geometric Poplar Table Top to see how pretty Poplar looks with a whitewash finish.
Select Pine
Select Pine is a softer wood than Poplar. But, I find it’s still durable enough to stand up to my 2 little masters of destruction. 😉
Honestly, I never have problems with Select Pine getting dings in my home. And, Select Pine also has a smooth feel that paints nicely.
Most of the trim installed in homes today around doors, windows, baseboards, and ceilings is Pine.
Just be sure to pick Select Pine pieces without any knots. Most of the boards sold won’t have them. But, every now and then I see one.
And remember, it’s not quite as easy to stain Pine for a nice look. Gel Stain Finishes probably work best.
Oak
The Oak sold at Home Depot or Lowes works too. But, Oak will have a grain texture. Meaning it won’t feel smooth. And, it won’t look smooth when painted. Some people love that painted Oak texture though.
So, go with the look you like and the budget you can afford to spend.
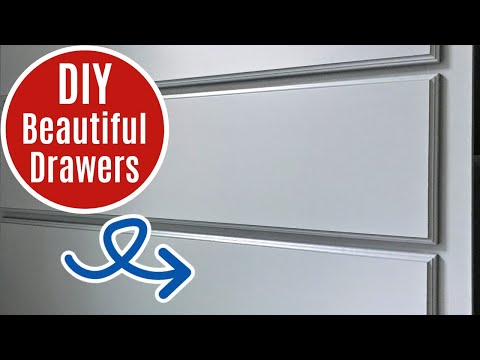
How To Make Drawer Fronts With Router Detail – Video
If any of the written steps for this Easy DIY Drawer Front are confusing, I highly recommend watching this short video. Hopefully seeing it done can help clear up any confusion.
How To Make Easy DIY Drawer Fronts
Tools Needed
- Circular Saw and or Miter Saw
- Clamps and Straight Board to make Straight Cuts
- Tape Measure, Pencil, and Carpentry Square
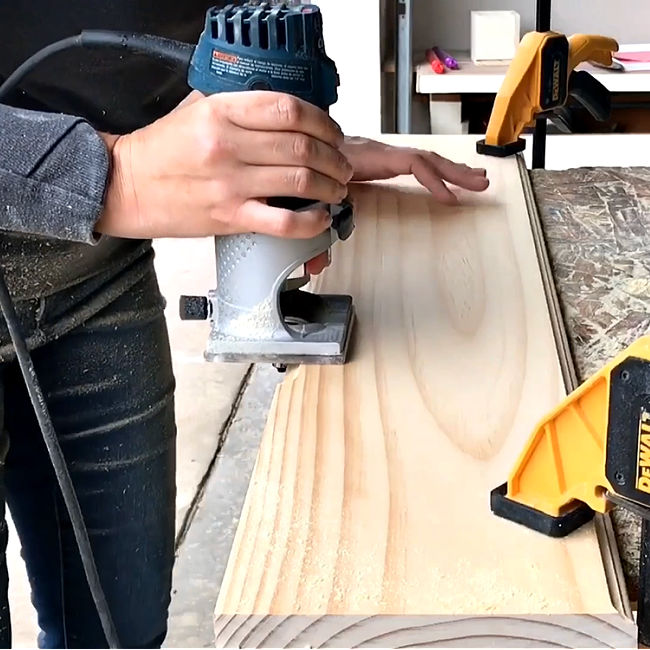
- Router, I Use This Bosch Router
- 1 3/8 Classic Cove and Bead Router Bit – You can find the Bit I Used From Lowes
DIY Steps
You can see me doing all of these steps in the Making Drawer Fronts Video above.
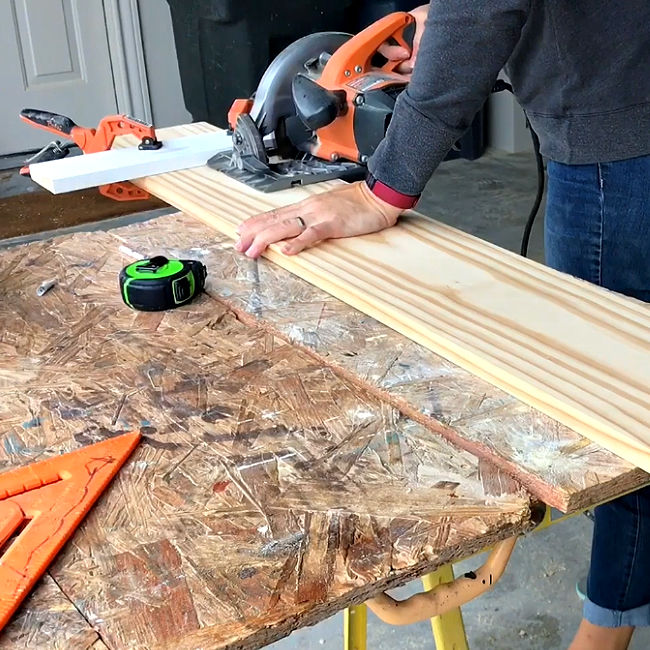
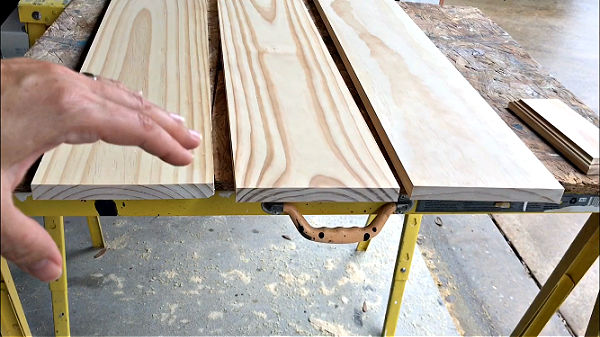
- Cut your 1x Dimensional Lumber to Size. You can do this with a table saw or circular saw. If you use a Circular Saw, I highly recommend a straight-edge cutting guide. You can buy one or clamp a straight board onto the lumber as a guide.
- Sand the ends and edges smooth before using the router. For Select Pine, I used 150-grit on my power sander. If you’ll be staining your drawer fronts, you should sand the face, or front, of the drawer too.
- Next, test the depth on your 1 3/8″ Classic Cove and Bead Router bit on scrap wood to make sure it’s set up correctly.
- Clamp your drawer front securely to your work surface.
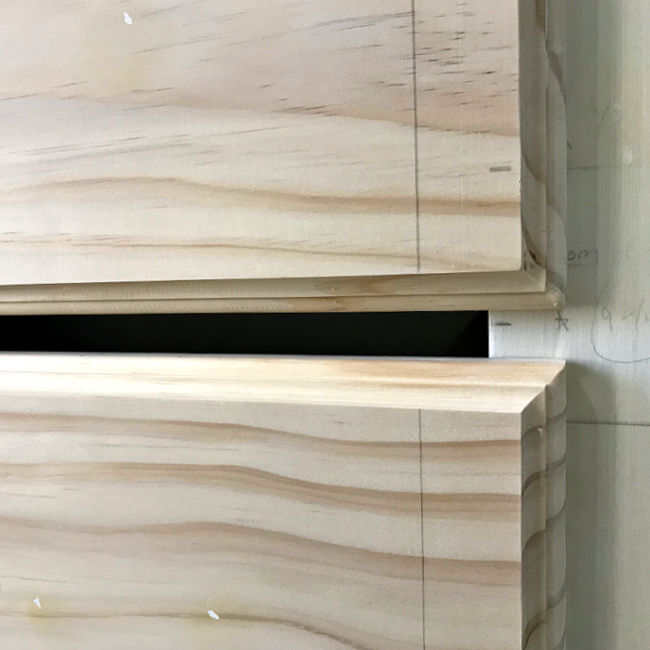
- Carefully route all 4 edges of the top side of the DIY wood drawer front. Watch the video for tips on which side should be the front to avoid cupping and wood movement issues.
- Lightly wipe a sanding block along all edges to smooth off any tiny bits left behind by the router. Don’t sand to hard. You want to keep those clean, sharp corners.
DIY Routing Drawer Fronts Tip
Let the router work slowly along the board. Don’t rush it or push it through the wood. You want a nice even pace. Go back over the routed edge a couple times to make sure it’s perfect.
That’s it for making this Easy DIY Wood Drawer Front. So easy, right?! Now, let’s talk about how I attached these drawer fronts.
How to Attach DIY Drawer Fronts
I think most woodworkers struggle with attaching drawer fronts. At least, I do. And most of my woodworking friends complain about this chore too.
It takes practice and finding the method that works best for you.
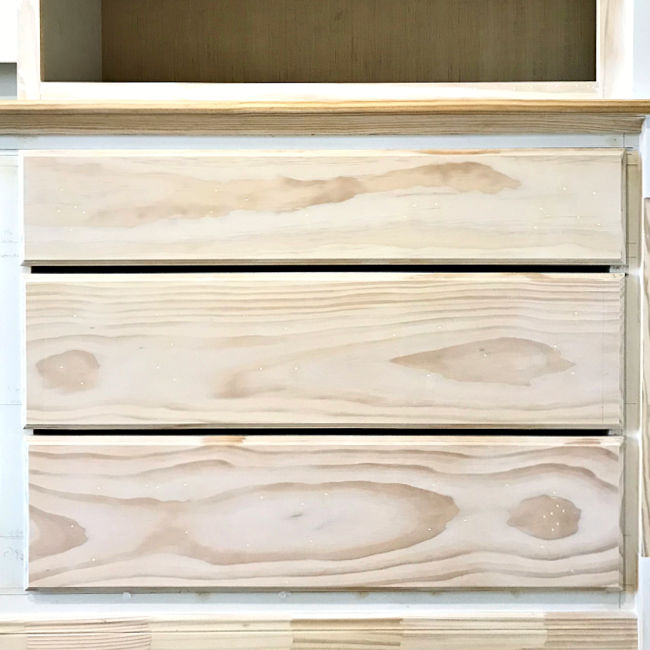
I wanted these drawers lined up perfectly straight and evenly spaced. AND, since I am painting the entire built-in, I knew I could use wood filler.
So, I went with the easiest, most-reliable way I knew to keep everything lined up.
Using Brad Nails And Screws On Drawer Fronts
I started by brad nailing a straight edge to the cabinet face about 1/2″ from the drawer opening. To be safe, I used just 2 brad nails so that the board would be easy to remove.
And, I made sure that straight edge was level before nailing. I used that as a guide to keep the 3 drawers lined up perfectly while I nailed the DIY wood drawer front onto the drawer boxes.
You can see in the pictures, I used a lot of nails. Originally, I planned on just using wood glue and brad nails to attach the face. That’s why I went overboard on the nails.
BUT, I decide these big drawers would be better off with screws from the back.
So, I could have just quickly nailed the drawer fronts in place at each corner. And, then opened the drawers to attach them from inside the drawer with self-tapping screws.
I used 1 1/4″ long #8 self-tapping screws on this project. Because my drawer fronts are nearly 3′ long, I used 6 screws on each drawer. 2 at the top and bottom of each end and 2 in the middle.
Those screws hold the front tight against the drawer and help prevent any potential cupping or wood movement over the years.
That’s it for this Quick & Easy DIY Wood Drawer Front tutorial, guys. If you’re curious, here’s a bit more about these built ins.
More About These DIY Built-Ins
For this Family Room makeover, I started by removing the arched doorway in the wall between the Family Room and the two-story foyer.
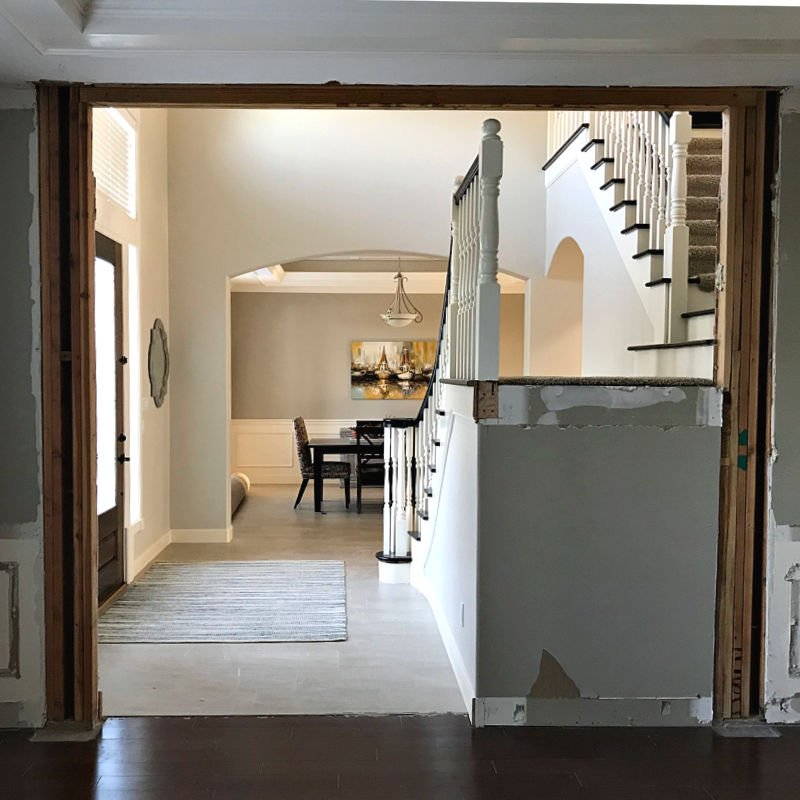
Then I removed the glued wood flooring. And, I had to cut and hang drywall on the 2×4 framing I installed to fill in that arched doorway.
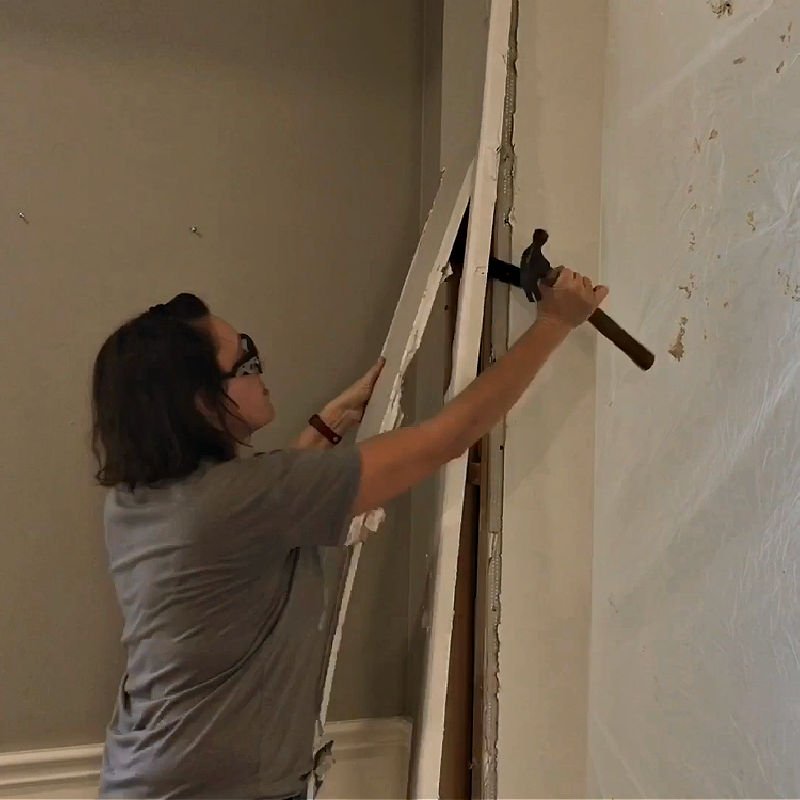
Once the open doorway was framed in, I was ready to get started on the massive, massive built-ins. 🙂
You Might Also Like
Check out my tips for the 10 Best Ways To Make Cabinets Look Like Built In Furniture. I used these tips for my Before & After Home Office Makeover with Green Built-Ins.
Looking for more of my DIY Beginner Woodworking Videos? Check out this playlist on YouTube.
How about a bigger woodworking project? Check out this DIY Laundry Table Over Washer and Dryer. It’s a huge improvement in looks and function in a Laundry Room.

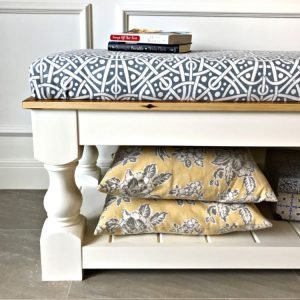
And, I love this DIY Modern Farmhouse Bench too.
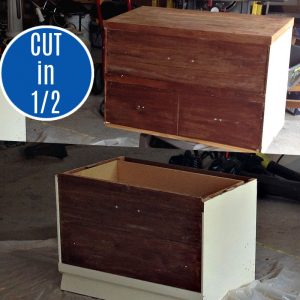
If you have an old dresser that needs a new life, here’s how to cut a dresser in half to make 2 new pieces of furniture.
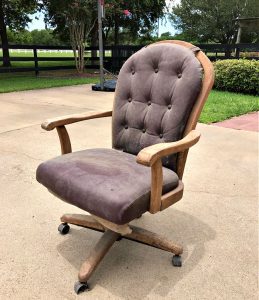
Check out this post to see this amazing DIY Office Chair Makeover.
And, here’s how I made Easy DIY Drawer Boxes for my garage storage.
Feeling inspired? Now that you’ve read these steps for Easy DIY Routing Drawer Fronts, you can do it too. Let me know if you have questions.
Don’t forget to sign up for the Abbotts At Home email newsletter to get DIY, Remodeling, and Crafty ideas in your inbox.

Stephanie Abbott has been remodeling homes, updating & building furniture, and working on DIY home maintenance and cleaning tips for over 20 years. Her remodeling has been featured in Better Homes and Gardens Magazine. And, her DIY YouTube channel has had more than 8 million views.
Most of the DIY tutorials and videos on this site focus on beginner to intermediate level DIY Projects that can be done in an affordable way without high-end, expensive tools. All of the cleaning tips on this website have been tested in her home.