20 Cheap Ceiling Ideas That Look Beautiful – From Amazon
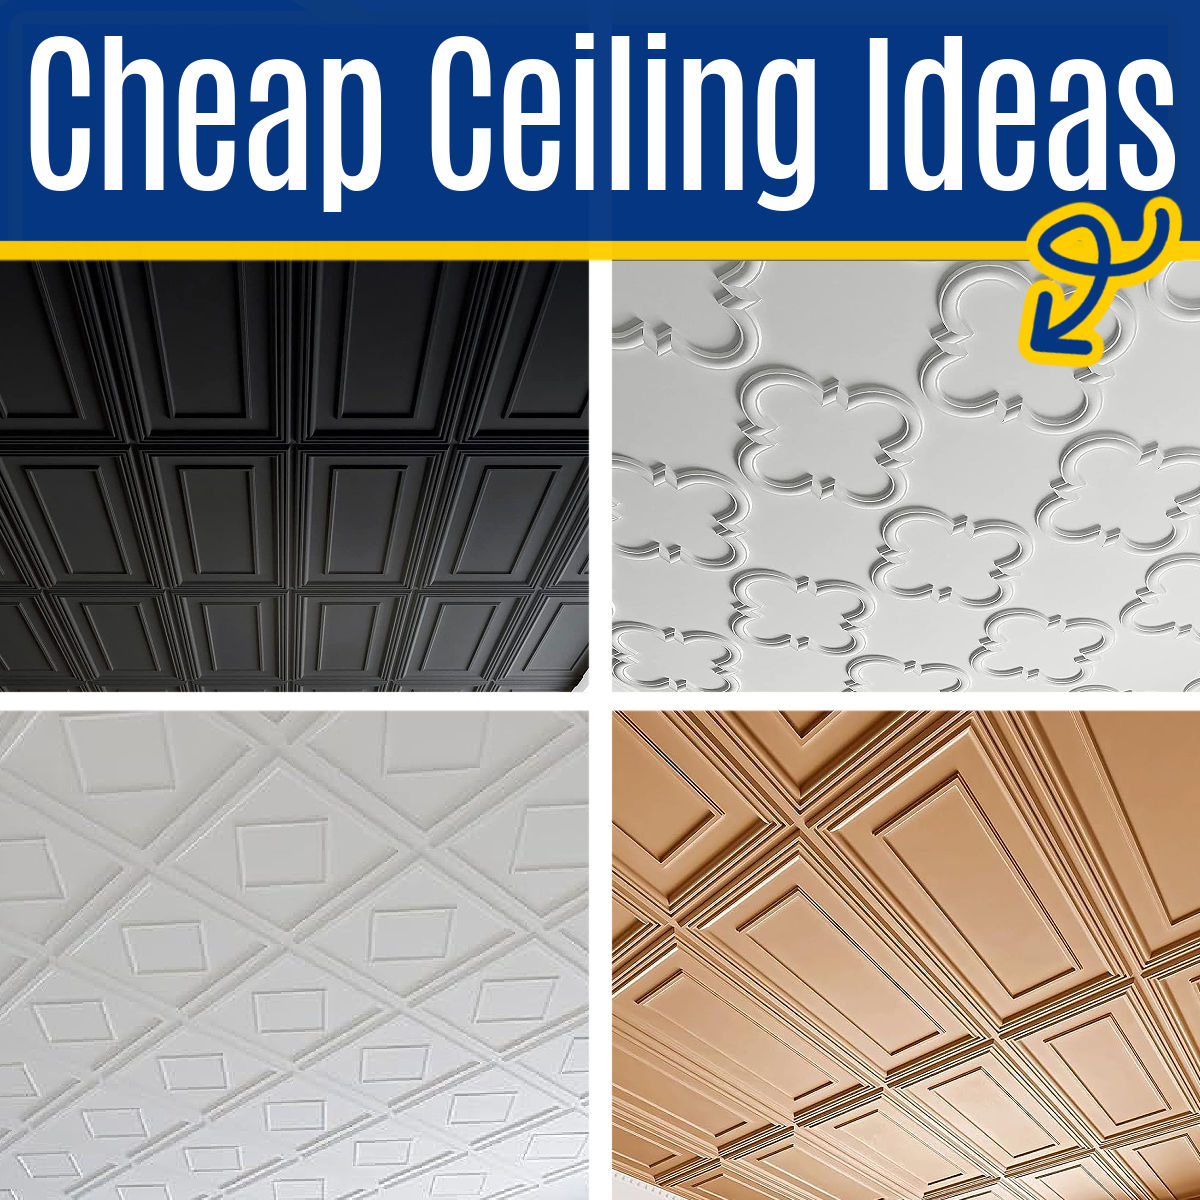
Today, there are SO MANY beautiful options for cheap ceiling ideas. Here’s 20 of my favorite stylish and inexpensive ceiling covering ideas!

Here’s the latest interior design tips and room makeovers on Abbotts At Home. Let’s get your home feeling cozier, more stylish, and ready for houseguests.
Today, there are SO MANY beautiful options for cheap ceiling ideas. Here’s 20 of my favorite stylish and inexpensive ceiling covering ideas!
If you have an unused Dining Room, here’s 24 great ways to repurpose a Dining Room into a useful space! Includes some very low cost options!
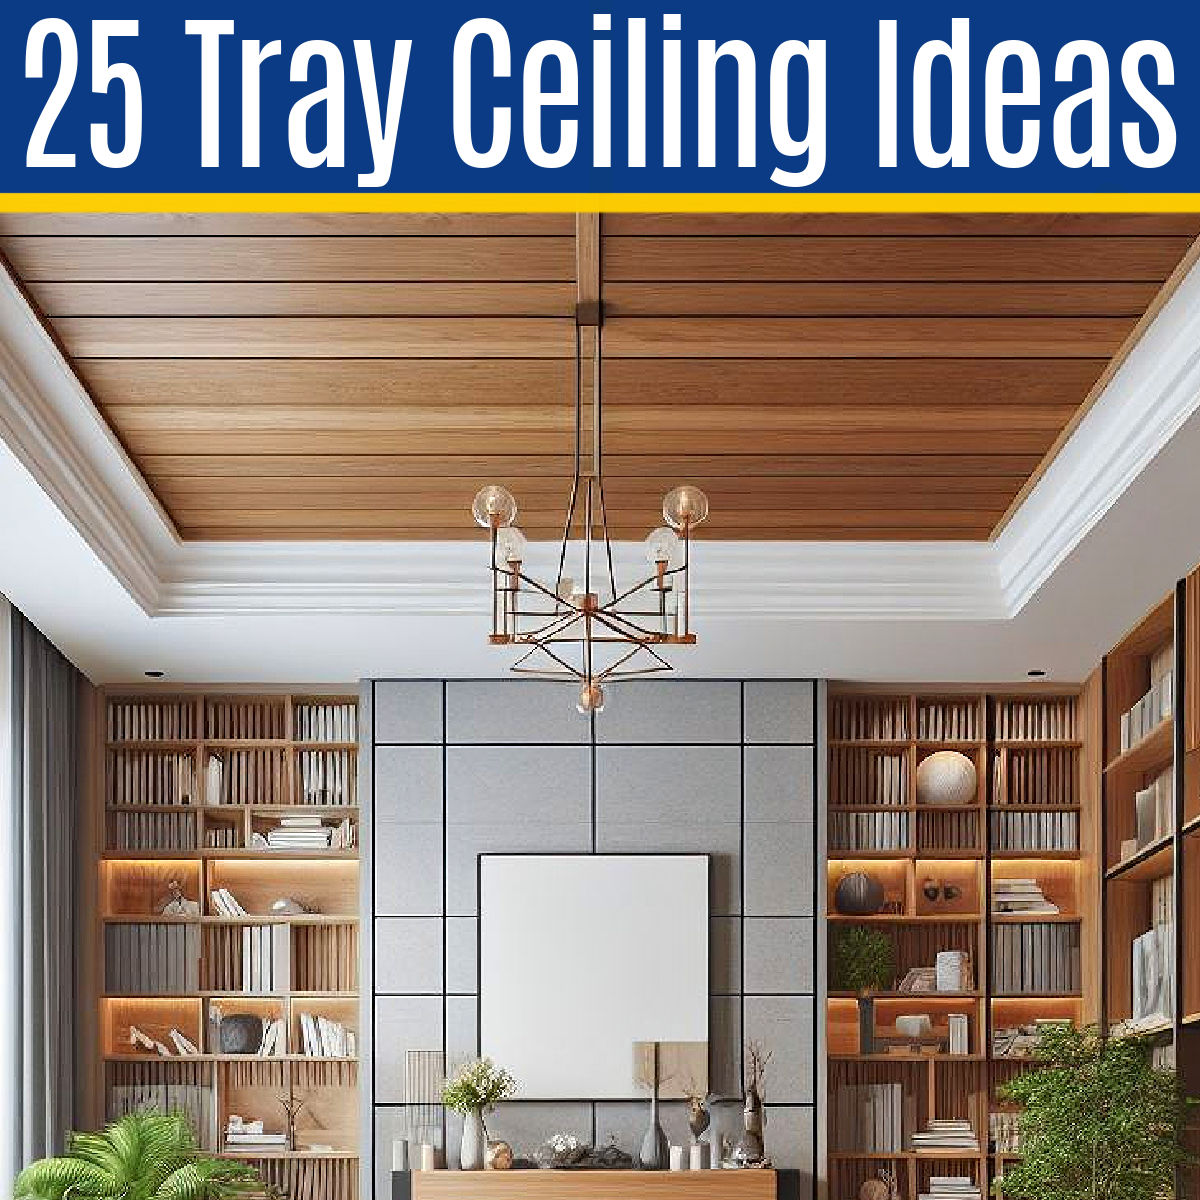
Looking for tray ceiling ideas or vaulted ceiling ideas? Here’s 25 BEAUTIFUL tray ceiling design ideas & vaulted ceiling trim ideas using AI.

Here’s 6 GREAT ways to Hide a Kitty Litter Box in a Cabinet. Four are minor changes safe for rental properties. The last 2 are perfect for cat lovers that want a bigger change!! Actually, they’re all perfect for cat lovers. 🙂
You can ABSOLUTELY make your Home Office look GREAT ON A BUDGET! Here’s 21 CHEAP & EASY Ways to Make a Home Office Look Better!

Looking for shiplap fireplace wall ideas? Here’s 25 beautiful examples of shiplap over fireplaces to inspire you (some with TV’s & mantels).
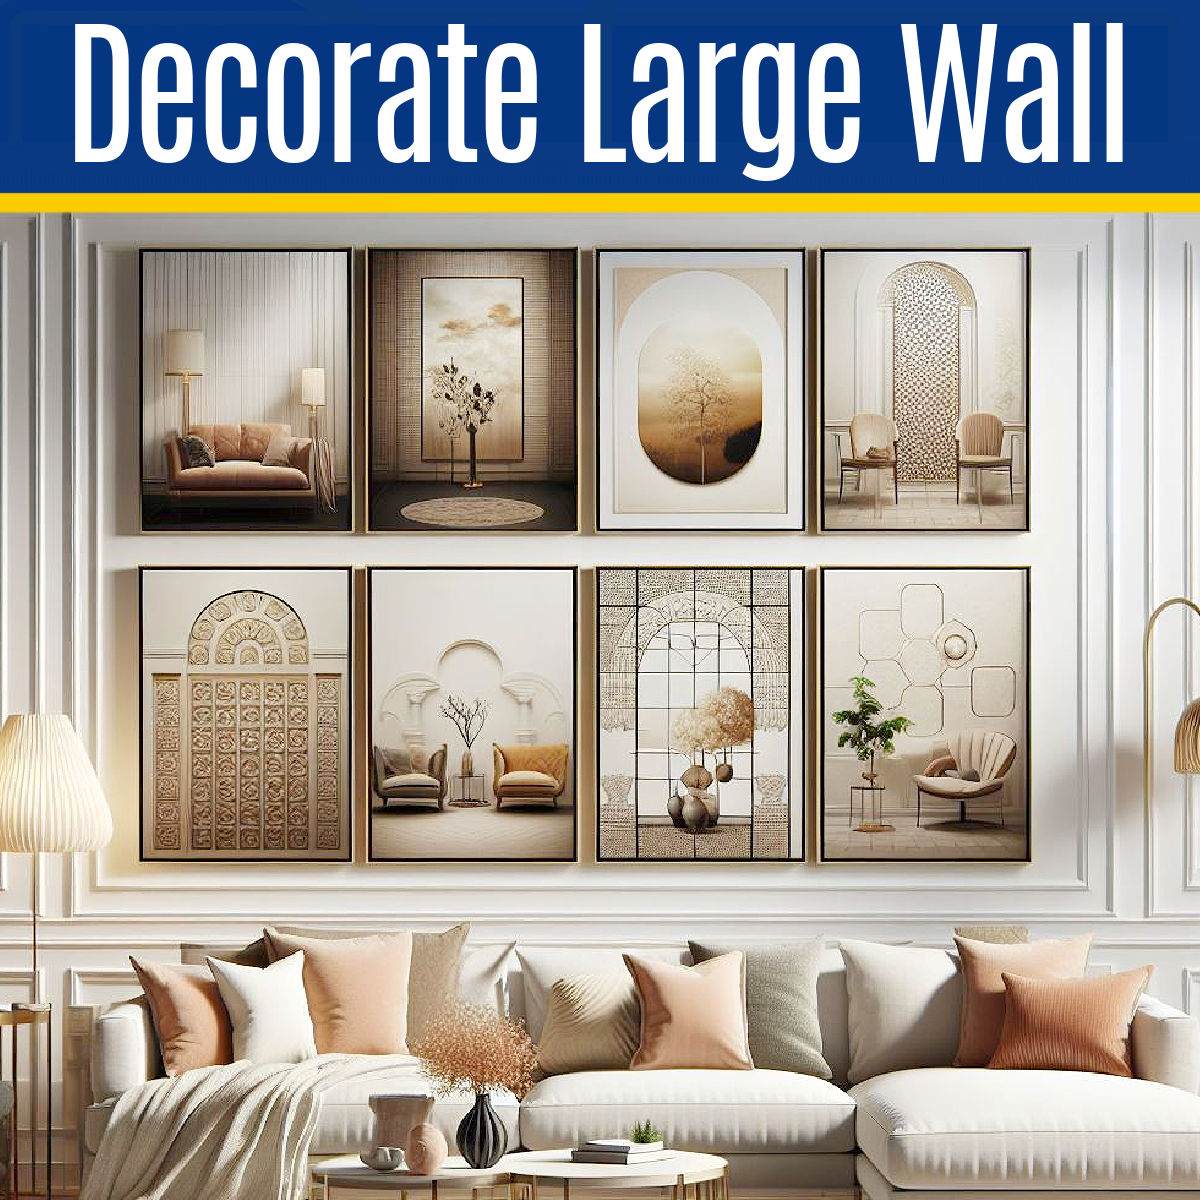
Decorating a large wall in Living Rooms, long or tall, can be challenging. Here’s how to decorate a large wall in Living Rooms (7 BEST TIPS).
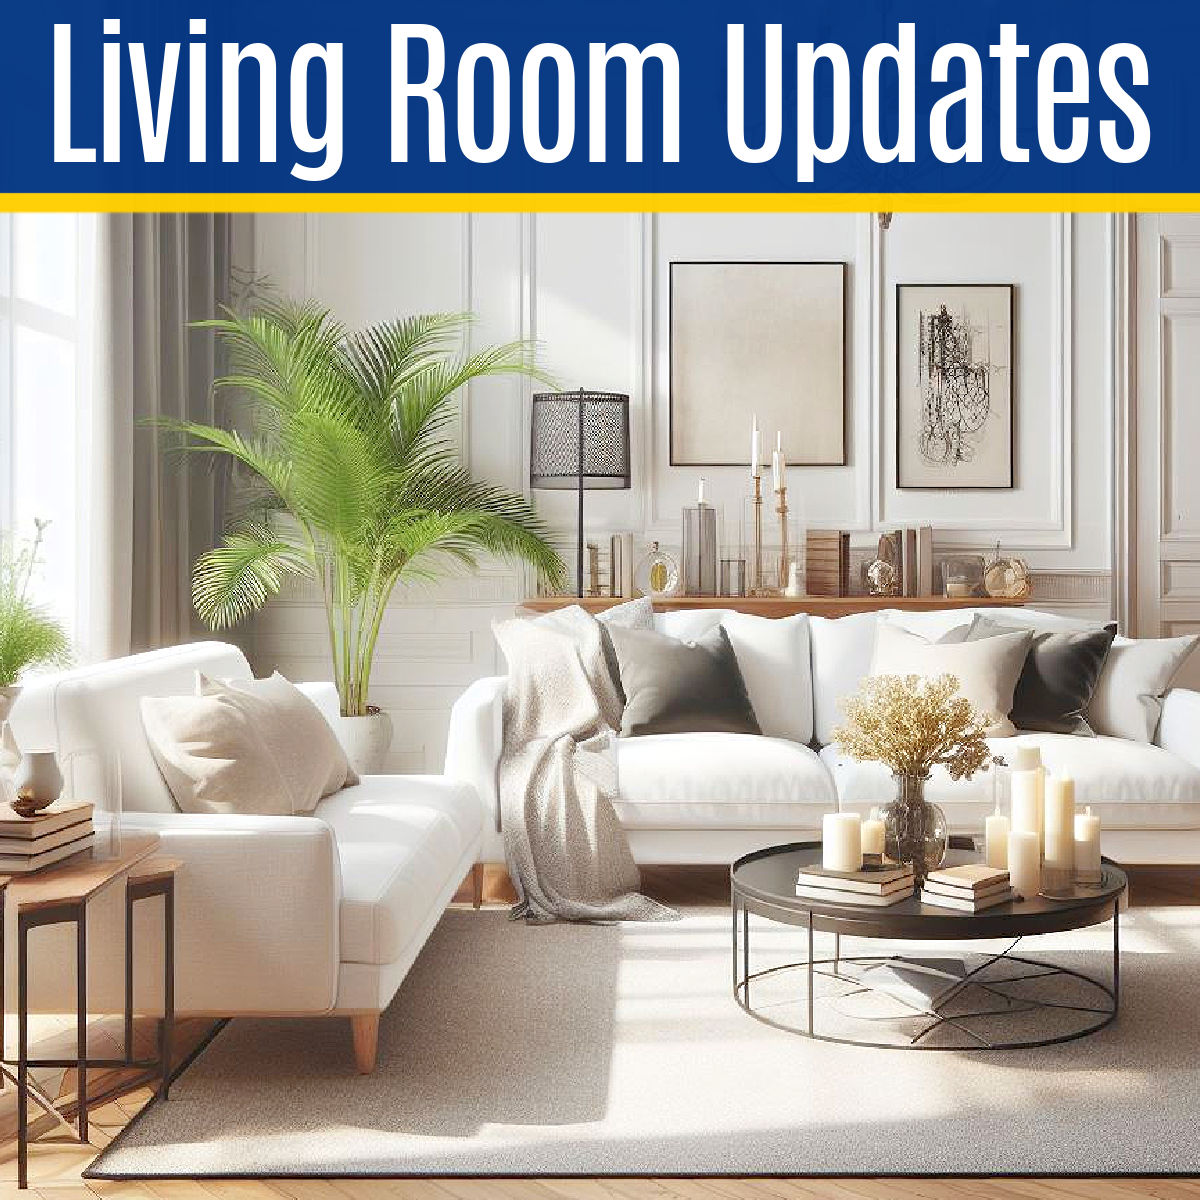
You can give your Living Room a stylish new look without spending much money. Here’s the 14 Best Ways to Update a Living Room on a Budget!
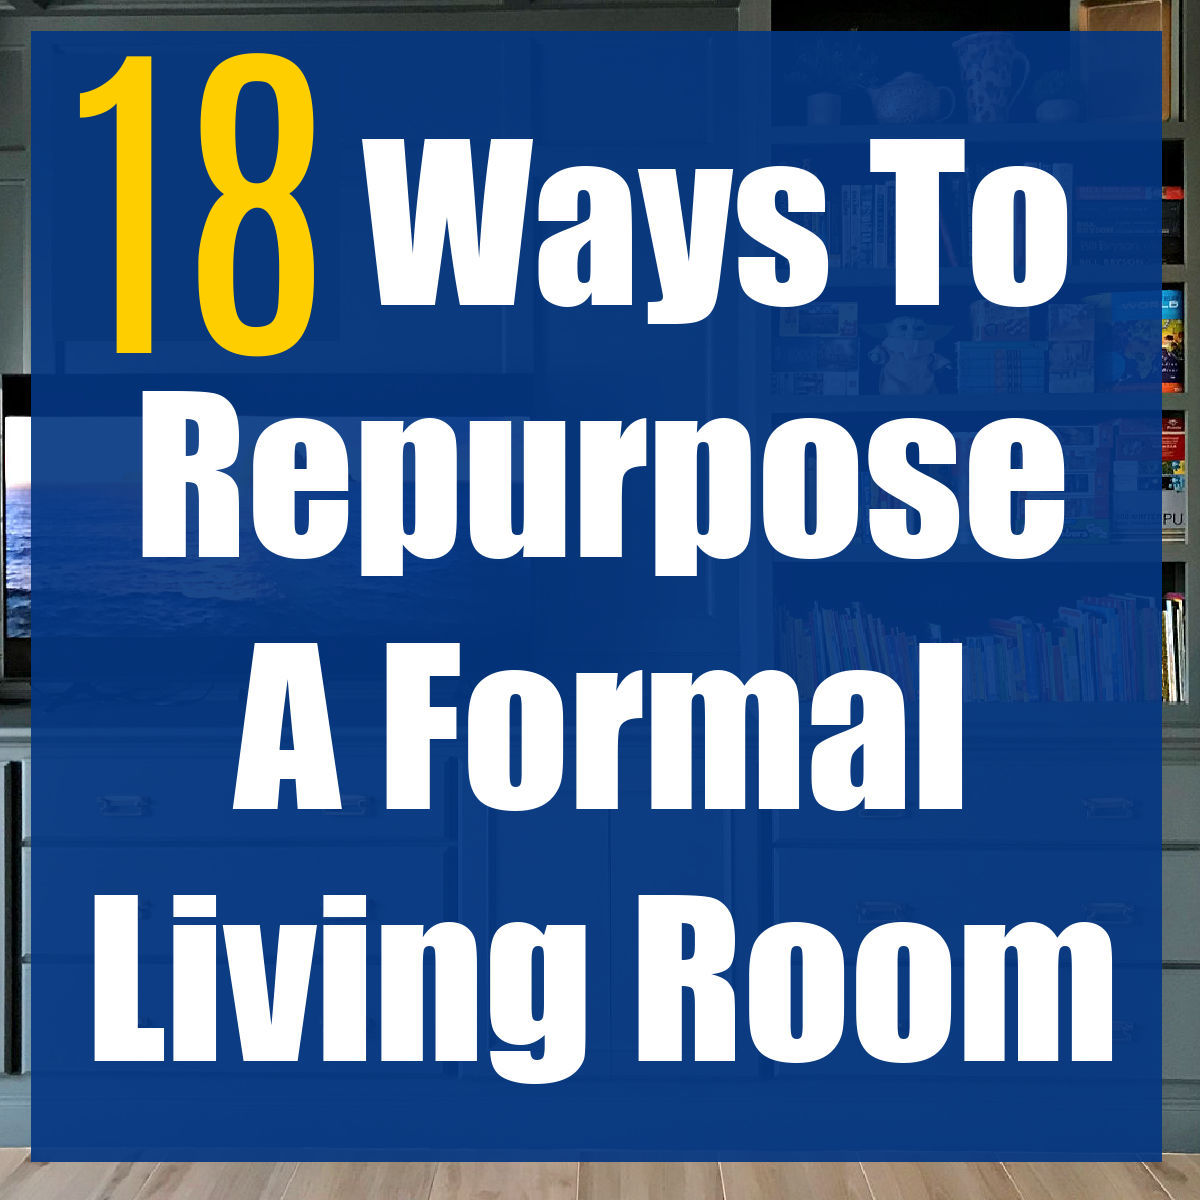
Wondering what to do with a Formal Living Room?? Here’s 18 great ways to repurpose an unused Formal Living Room into a useful space!
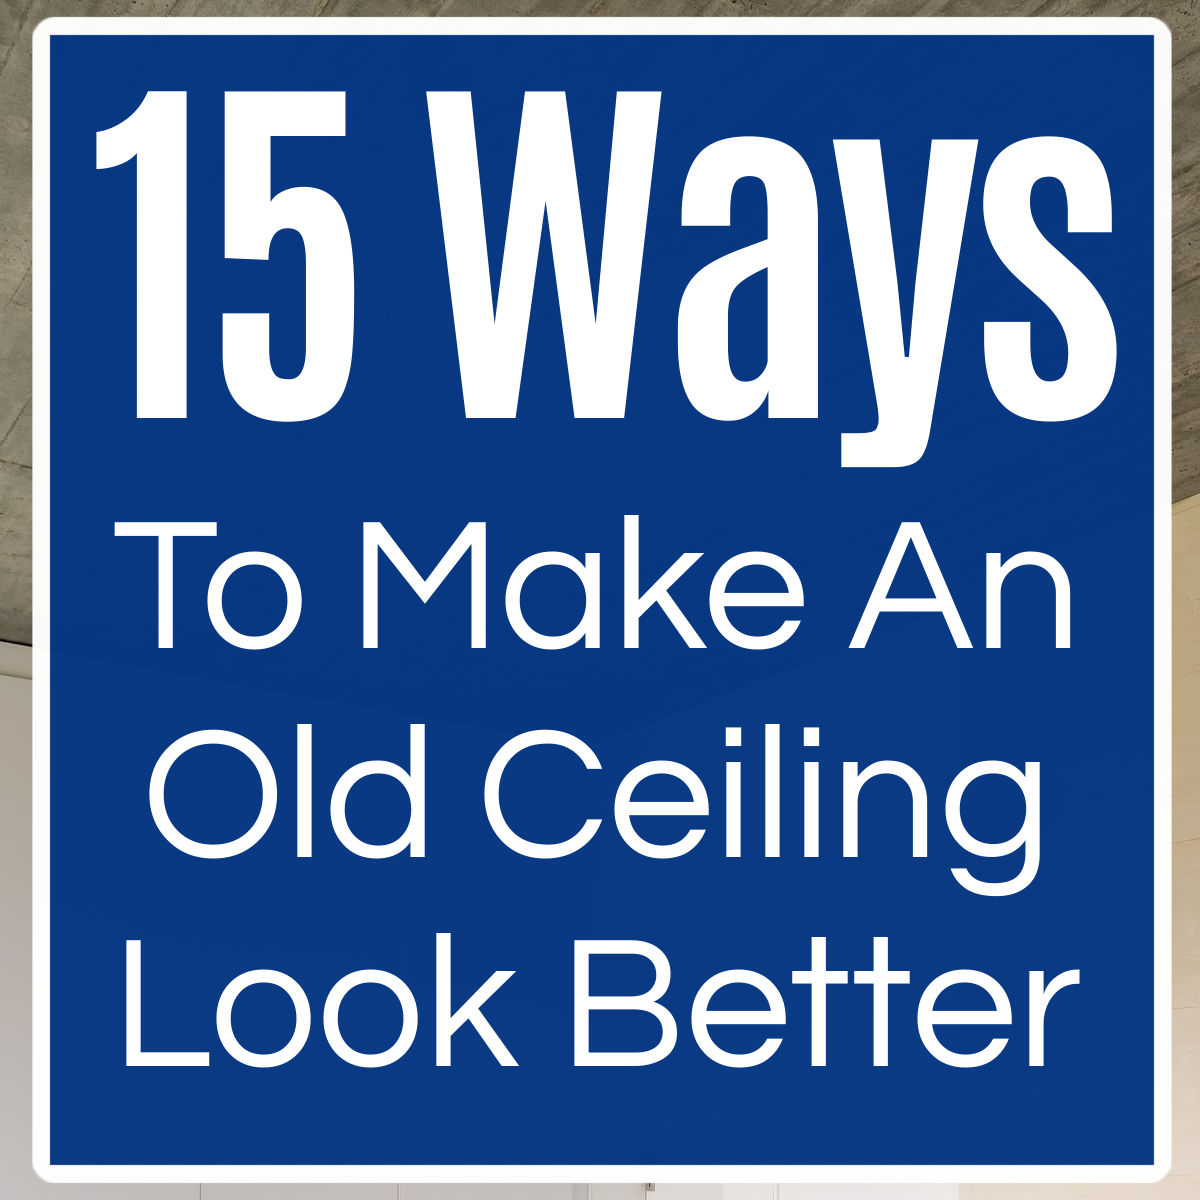
You really can make an old ceiling look better! Make a ceiling look new with easy & cheap DIY’s or beautiful, unique design ideas that WOW!
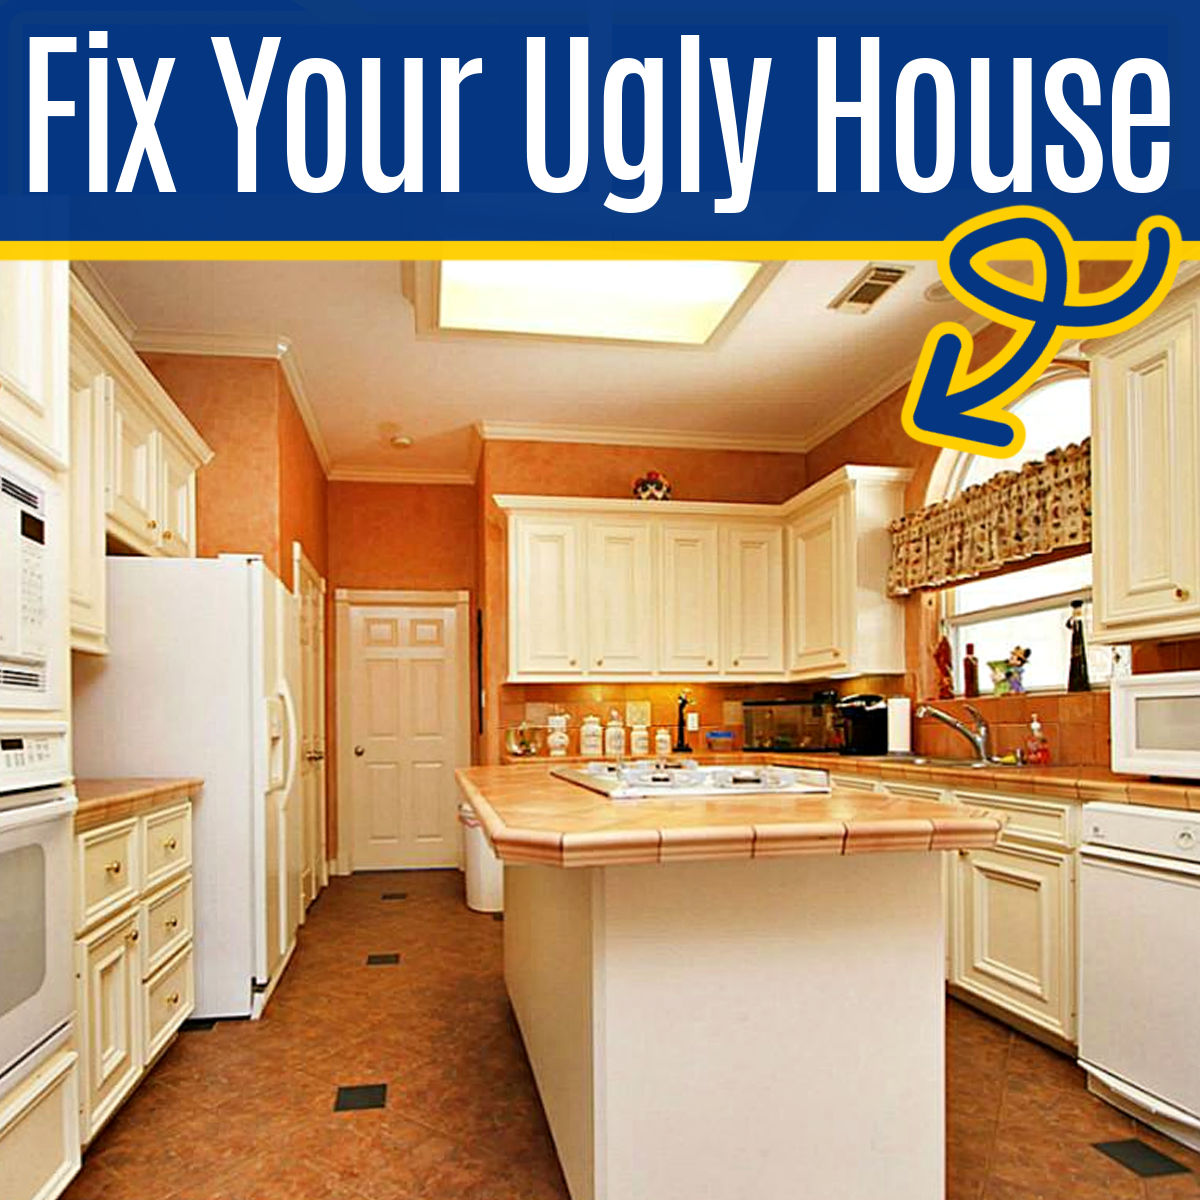
Did you buy an ugly house & don’t know where to start? Here’s 14 affordable DIY’s I do in the 1st year to make an UGLY HOUSE LOOK GOOD.

I spent the last 2 months on 7 DIY Kitchen Makeover Ideas that turned my boring kitchen into a BEAUTIFUL kitchen with tons of unique style.
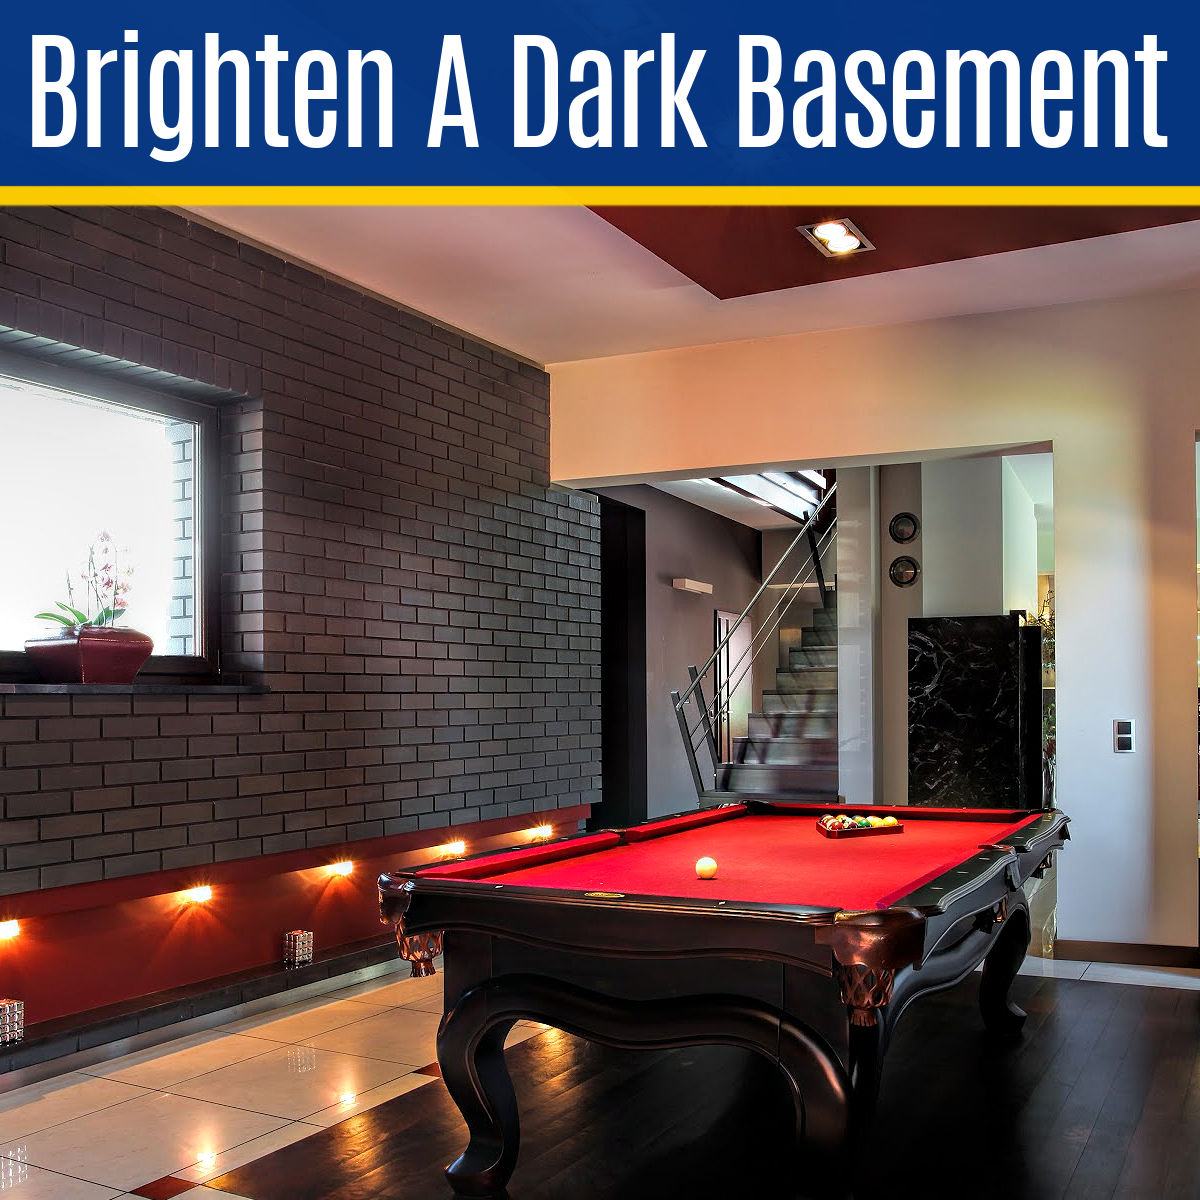
These work! Here’s 15 great ways to make a dark basement look brighter. From QUICK & EASY DIYS to remodeling ideas to brighten up a basement.
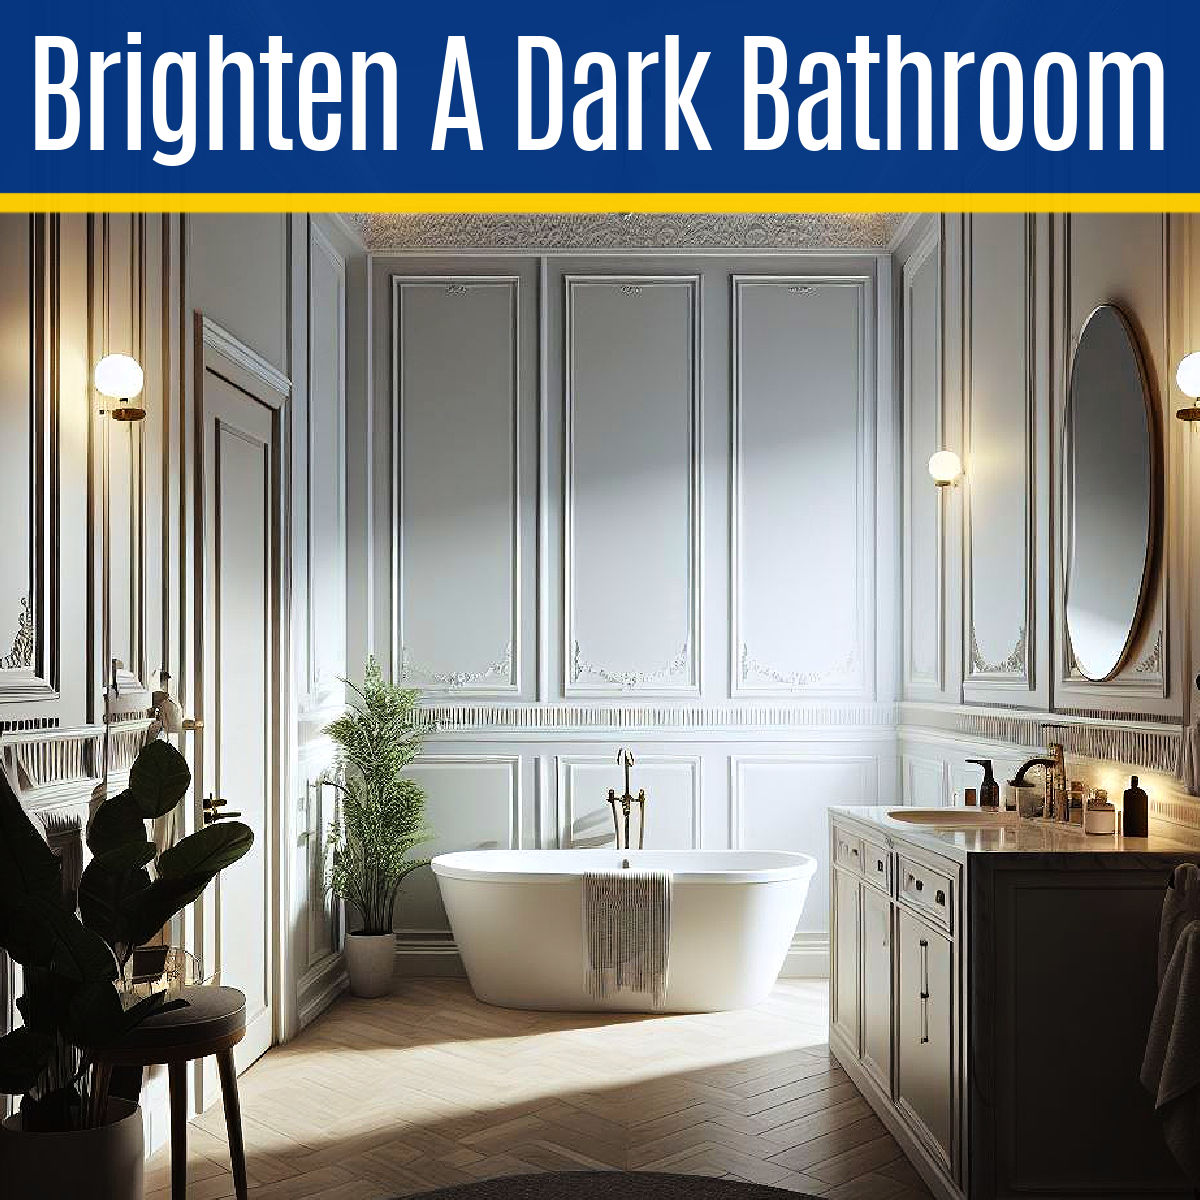
13 BEST ways to make a dark bathroom brighter. From QUICK & EASY to remodeling ideas to brighten up a dark bathroom. These WORK!
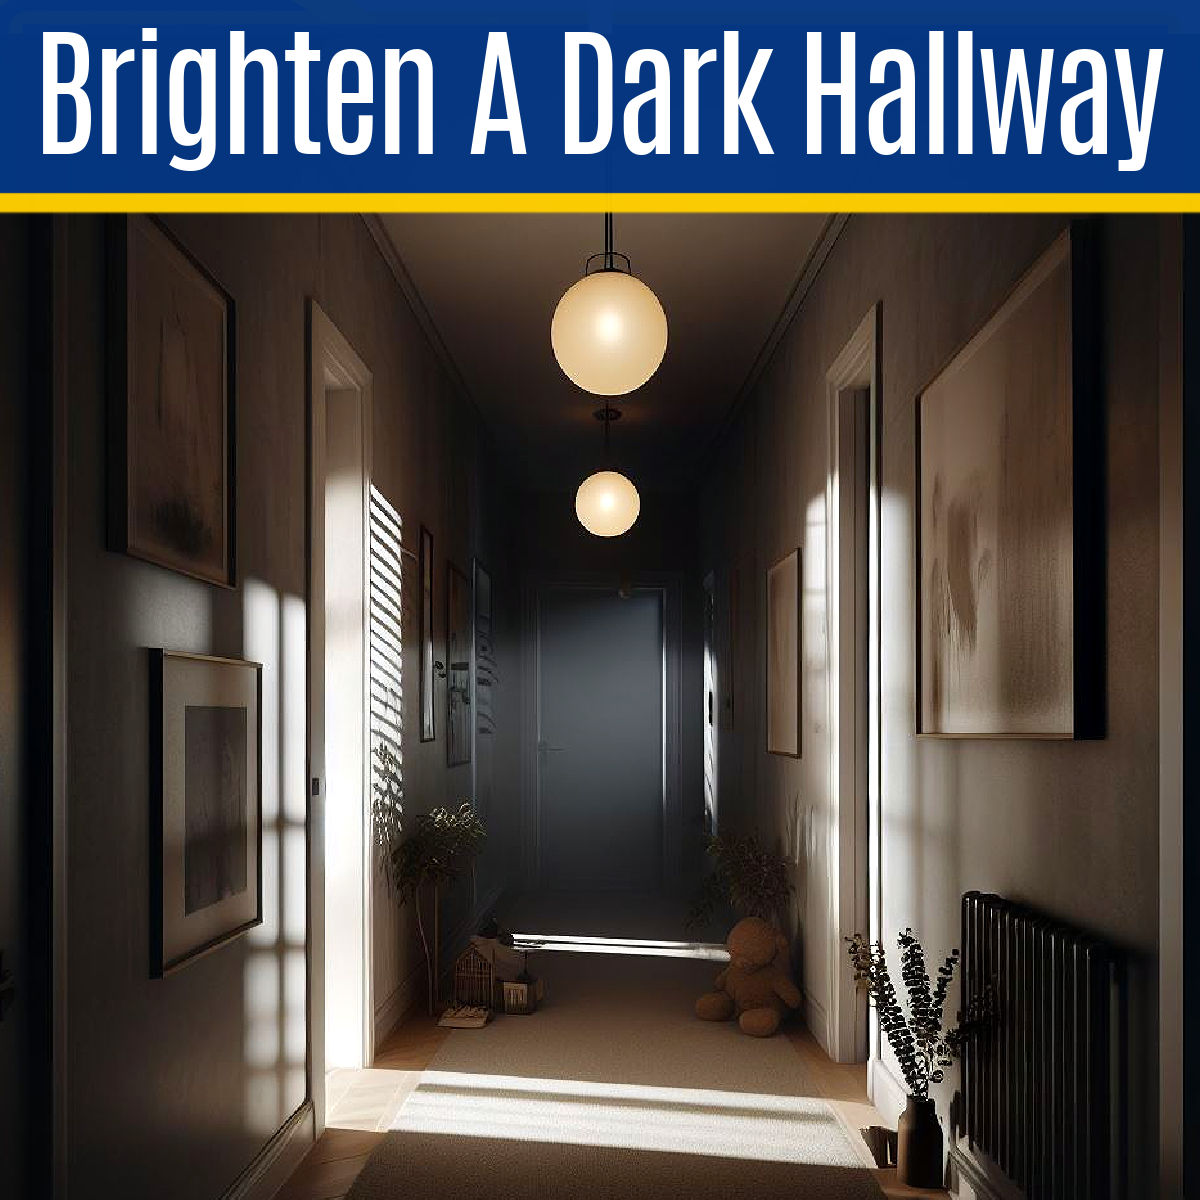
Here’s 10 great ways to make a dark hallway brighter. With QUICK & EASY tips to lighten and brighten a dark hallway with no natural light.
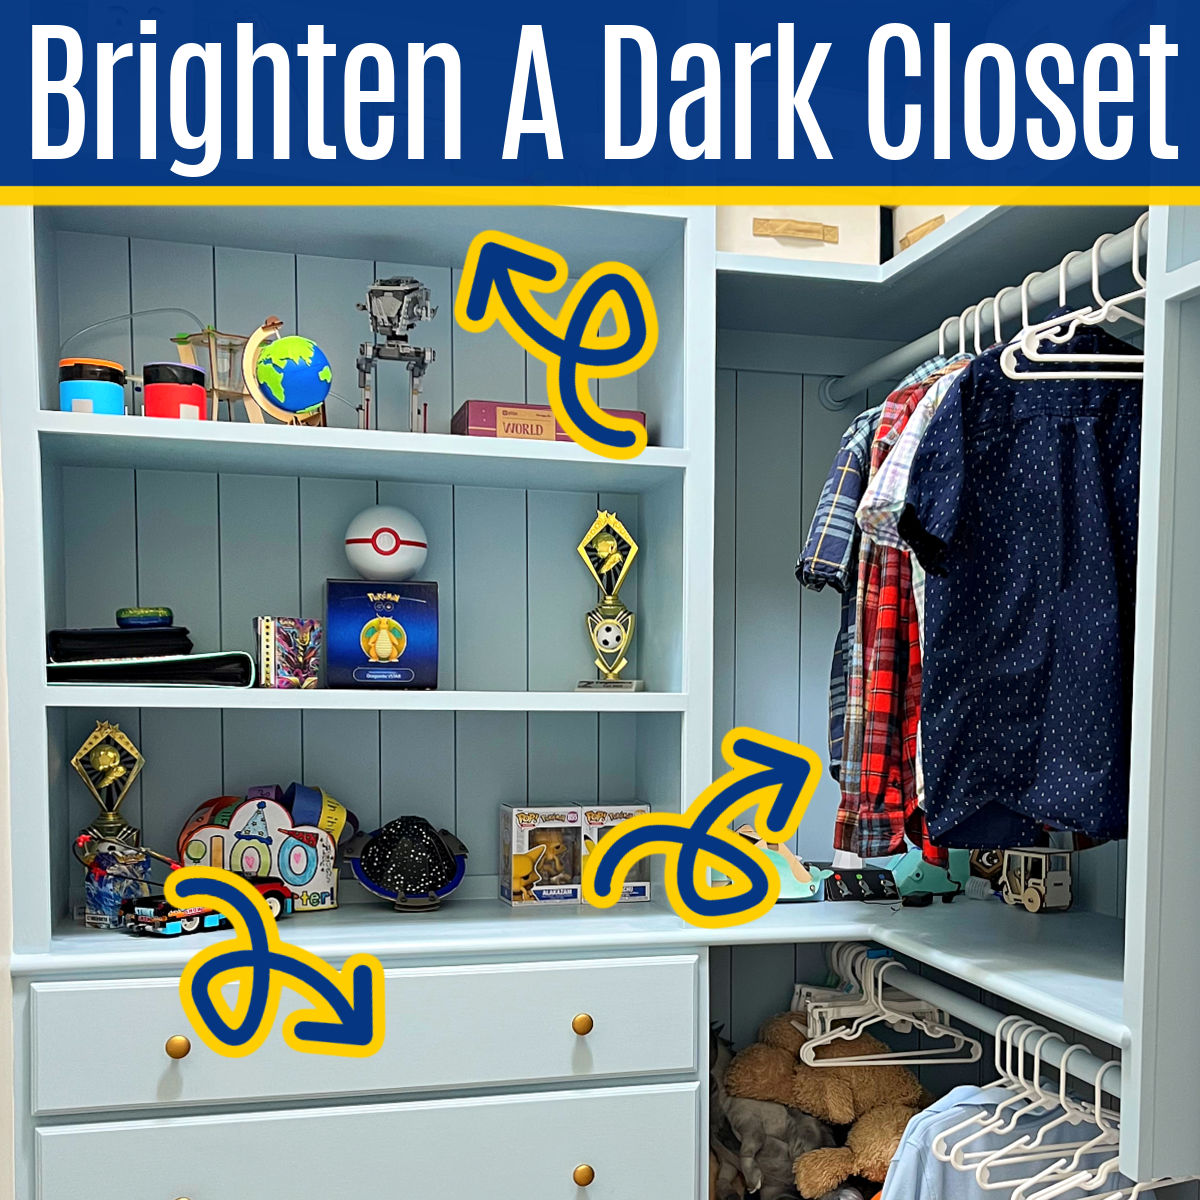
These ideas work! Here’s 11 great ways to light up a dark closet. From QUICK & EASY updates without wiring to bigger closet lighting ideas.
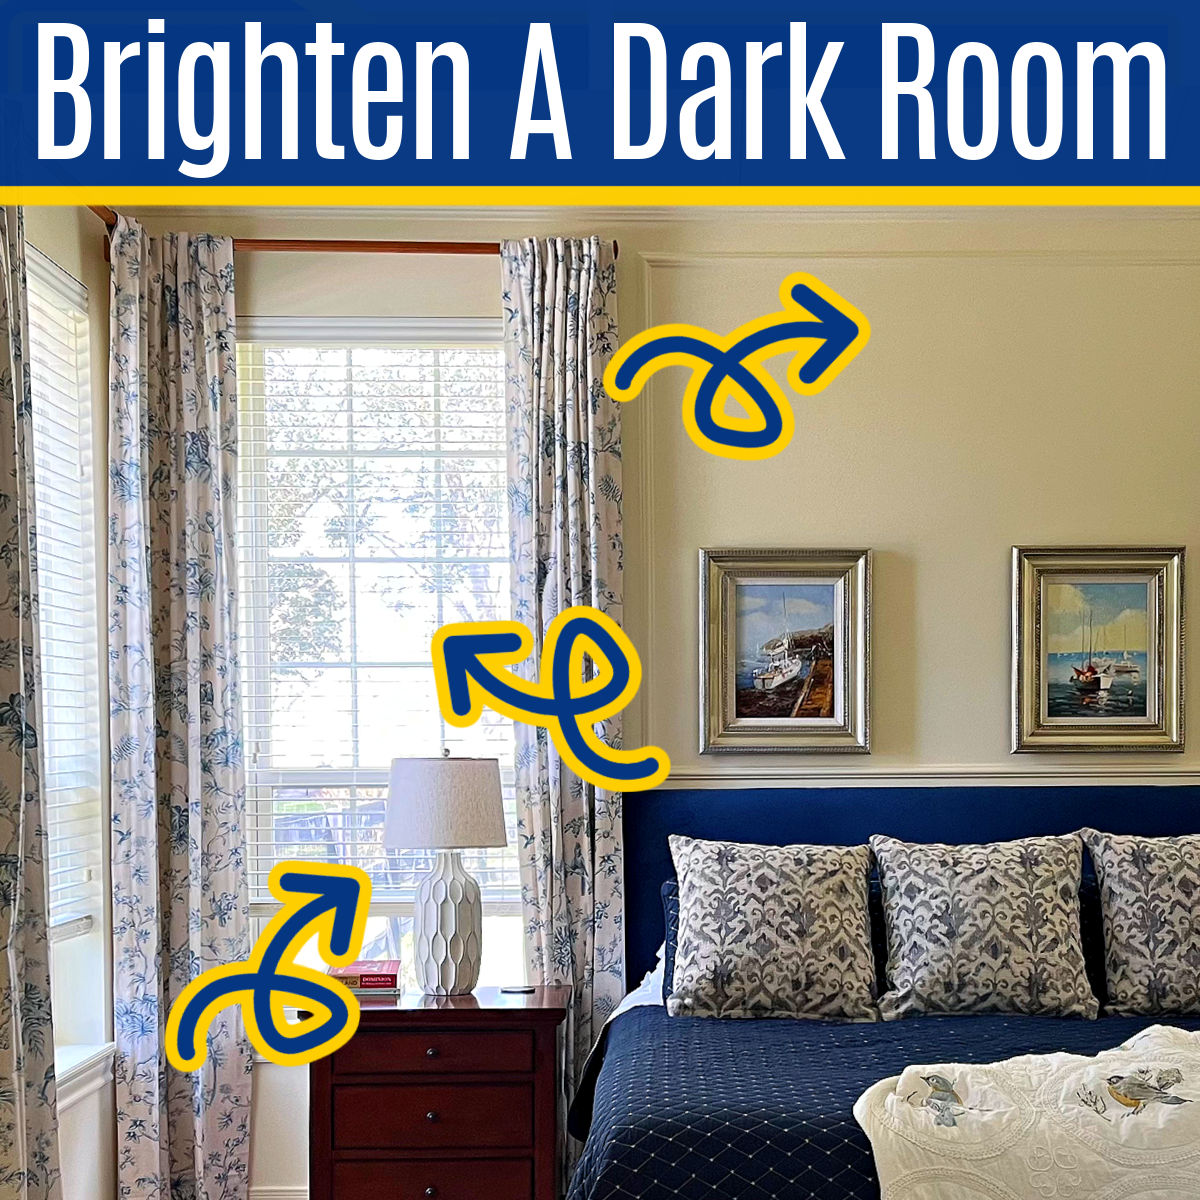
These ideas work! Here’s 16 great ways to make a dark room brighter. From QUICK & EASY updates to remodeling tips to make a room brighter.

Ready to update a Living Room? Here’s 15 GREAT free and cheap Living Room ideas. Get a beautiful new look without spending much money.
Before starting a new home construction project, read this must-see list of Interior Design Tips so that you end up with a home YOU’LL LOVE!

With these 15 TIPS to choose a floor plan for a house, you can zero in on the right floorplan for your family’s new dream home.

Building a new home is STRESSFUL, being prepared CAN REALLY HELP. Here’s 10 helpful tips for working with a builder to build a house.

The Best Outdoor Mat Materials handle foot traffic, dirt & water, are easy to clean & mold & mildew resistant. Here’s the best types of mats!
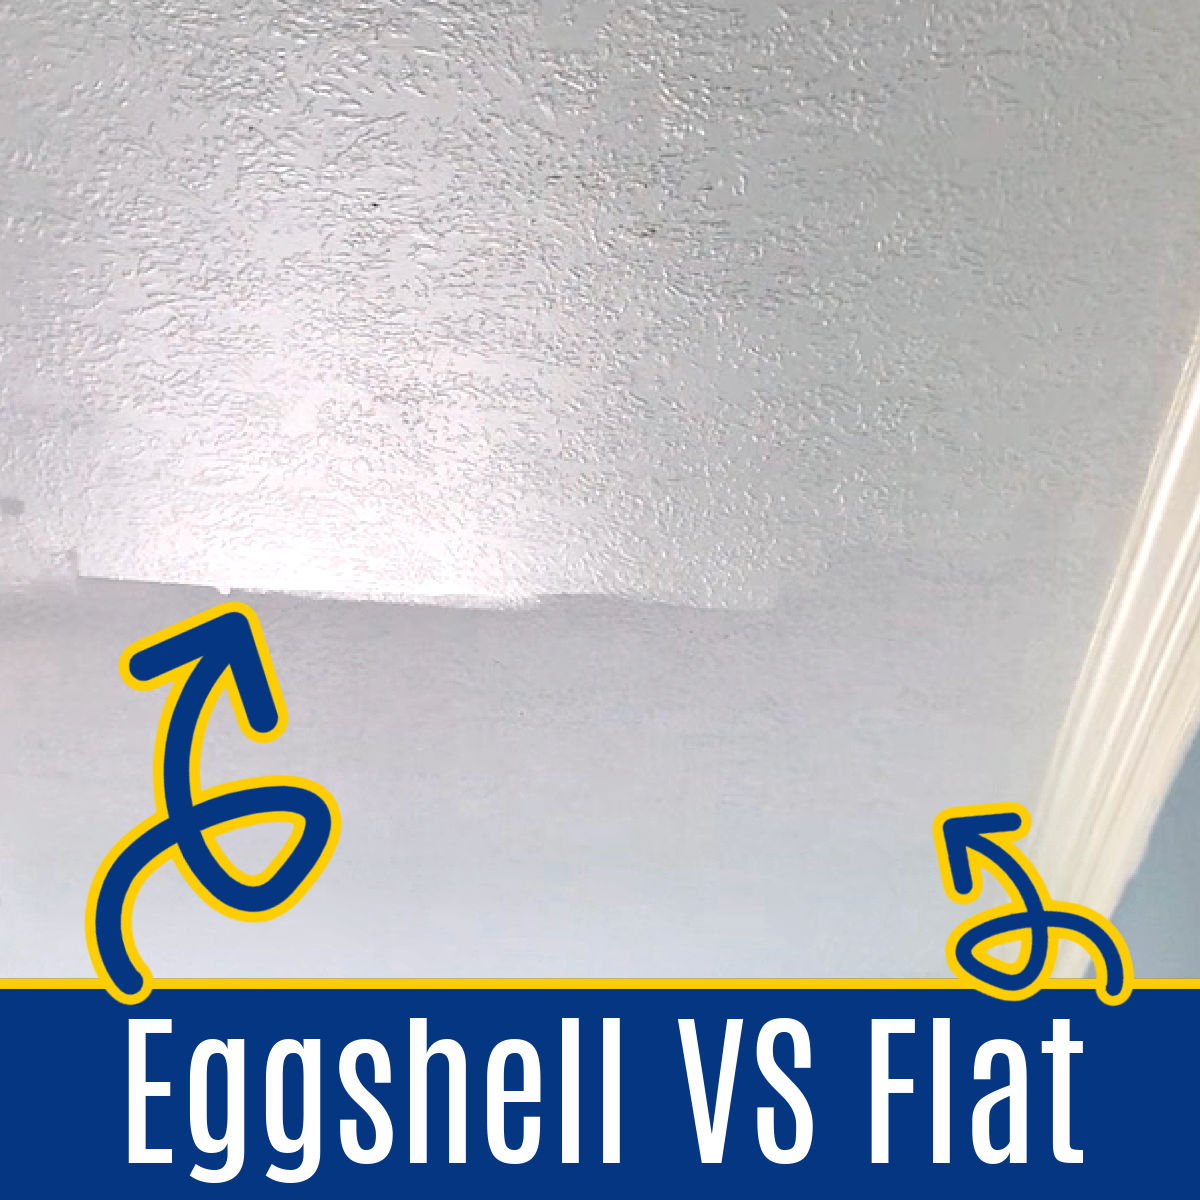
The old rules for ceiling paint sheen are wrong?? See 7 rooms comparing Flat vs Eggshell ceiling paint to pick the best ceiling paint finish.
Turn a BORING ceiling into a BEAUTIFUL feature with these DIY Ceiling Makeover Ideas! Some ceiling design ideas easy enough for beginners!
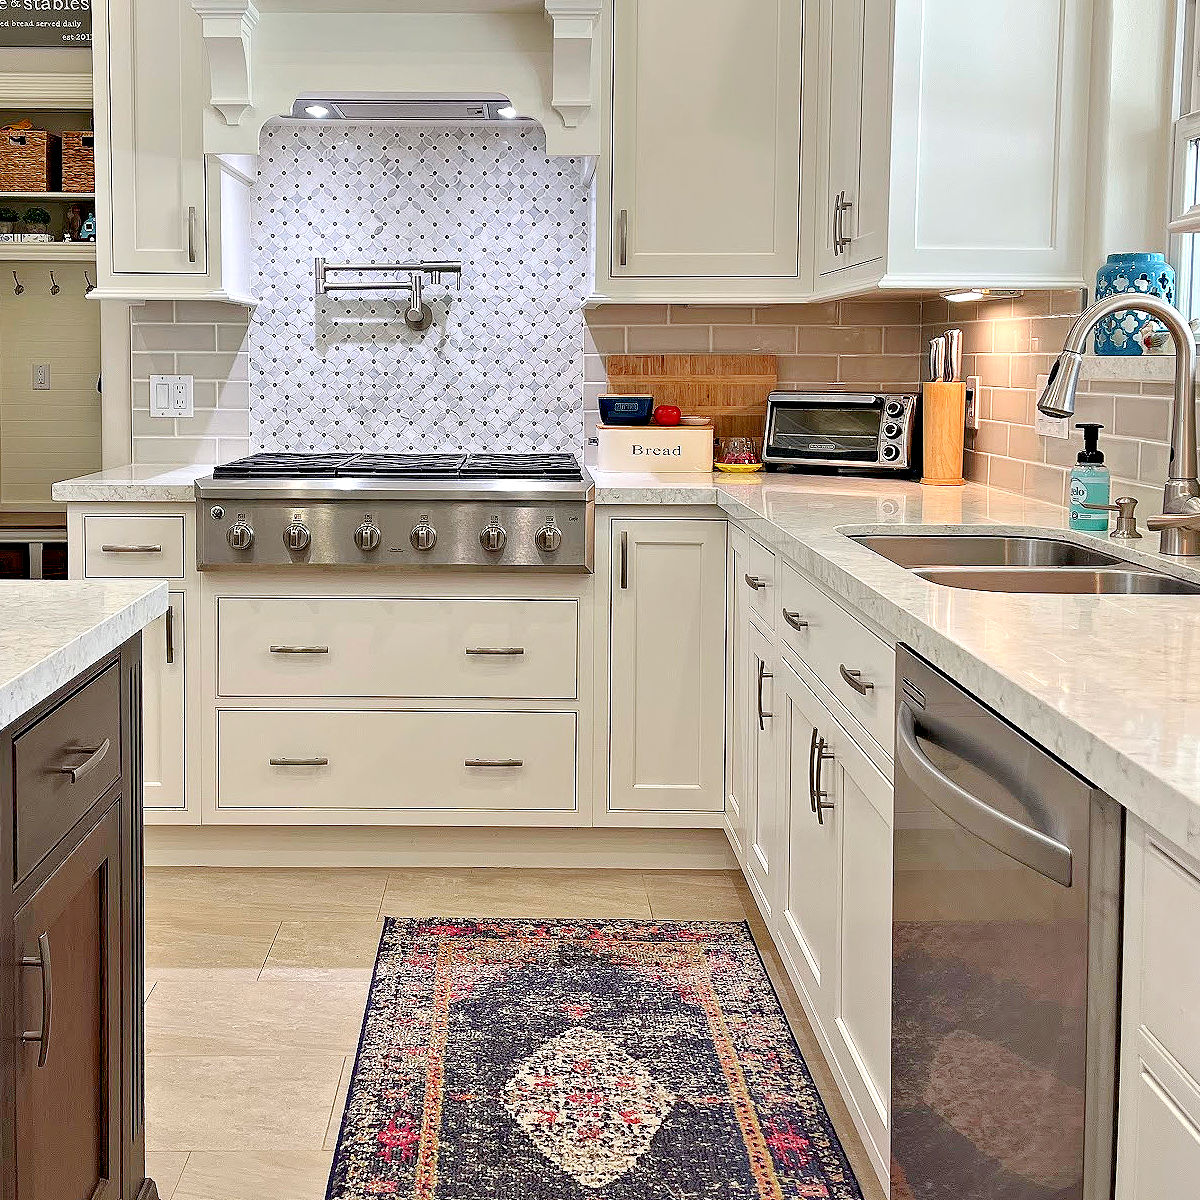
Planning a kitchen layout can be overwhelming! Here’s 10 GREAT tips to help you decide where to put a kitchen sink & your kitchen appliances.
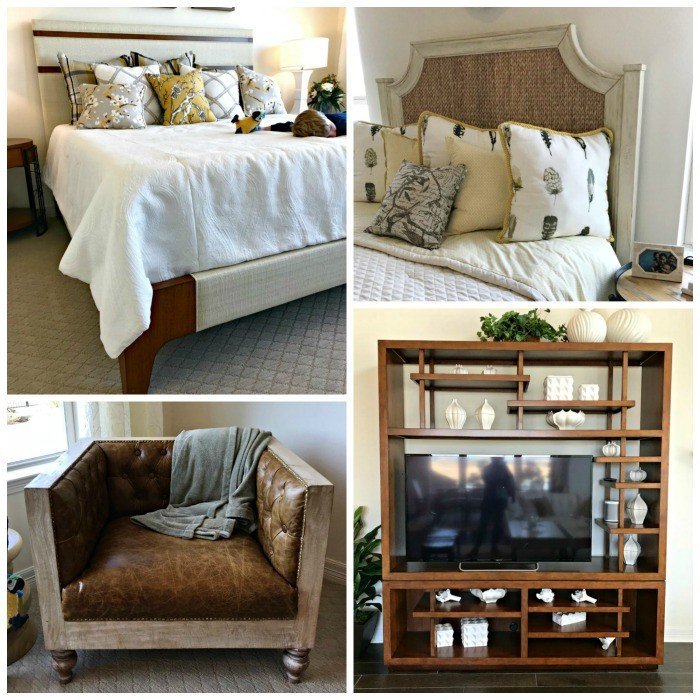
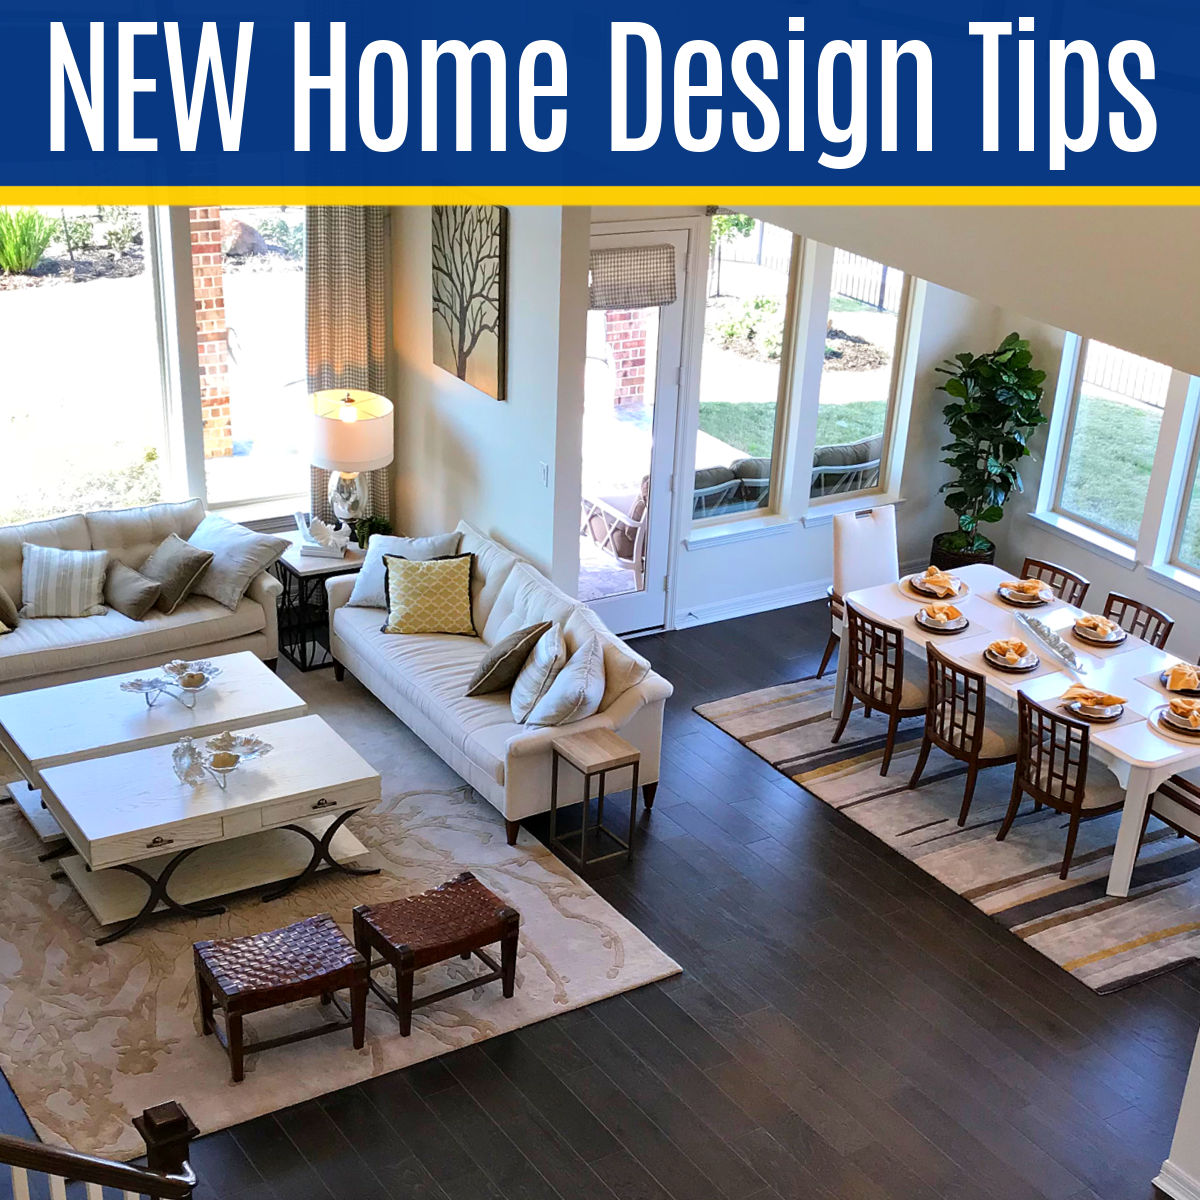
Touring Model Homes is one of my favorite ways to find beautiful Furniture and Home Decorating Ideas. Just check out these photos! Beautiful Furniture and Home Decorating Ideas We were thinking about moving recently, so touring Model Homes has been a popular weekend activity lately. They are always decorated by amazing Interior Designs. In fact, … Read more
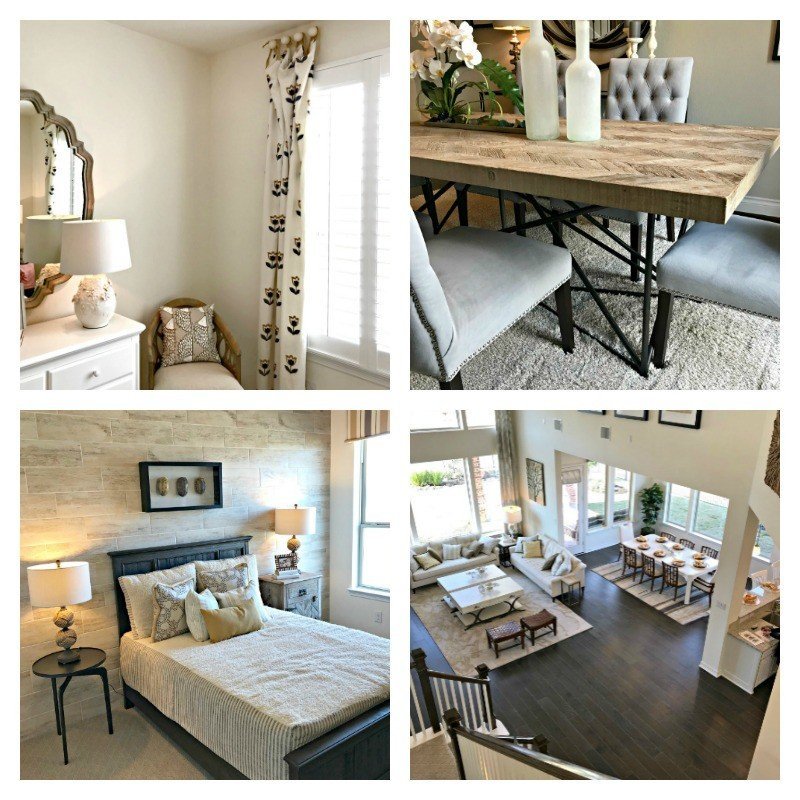
Welcome back, I have more beautiful Model Home Furniture and Home Interior Design Ideas for you! Furniture and Home Interior Design Ideas I took most of these pictures while touring local Model Homes. The talented interior designers that work on these homes know exactly how to make a home look perfect. Right?! I always get … Read more
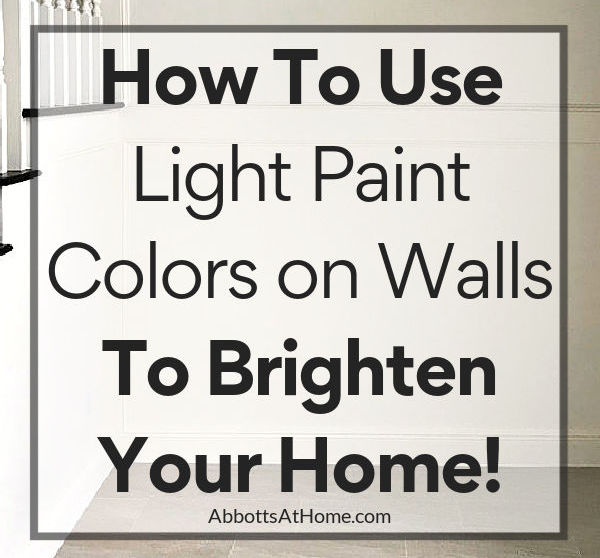
Updating your home with a Light Paint Color on Walls has been on trend for a while now. We probably have JoAnna Gaines to thank for that. She makes light walls look beautiful. I admit though, that I was kind of afraid to go whole house with it. But now that I’m updating our 9th … Read more