How to Remove an Arched Doorway in a Wall: Easy Steps & Video
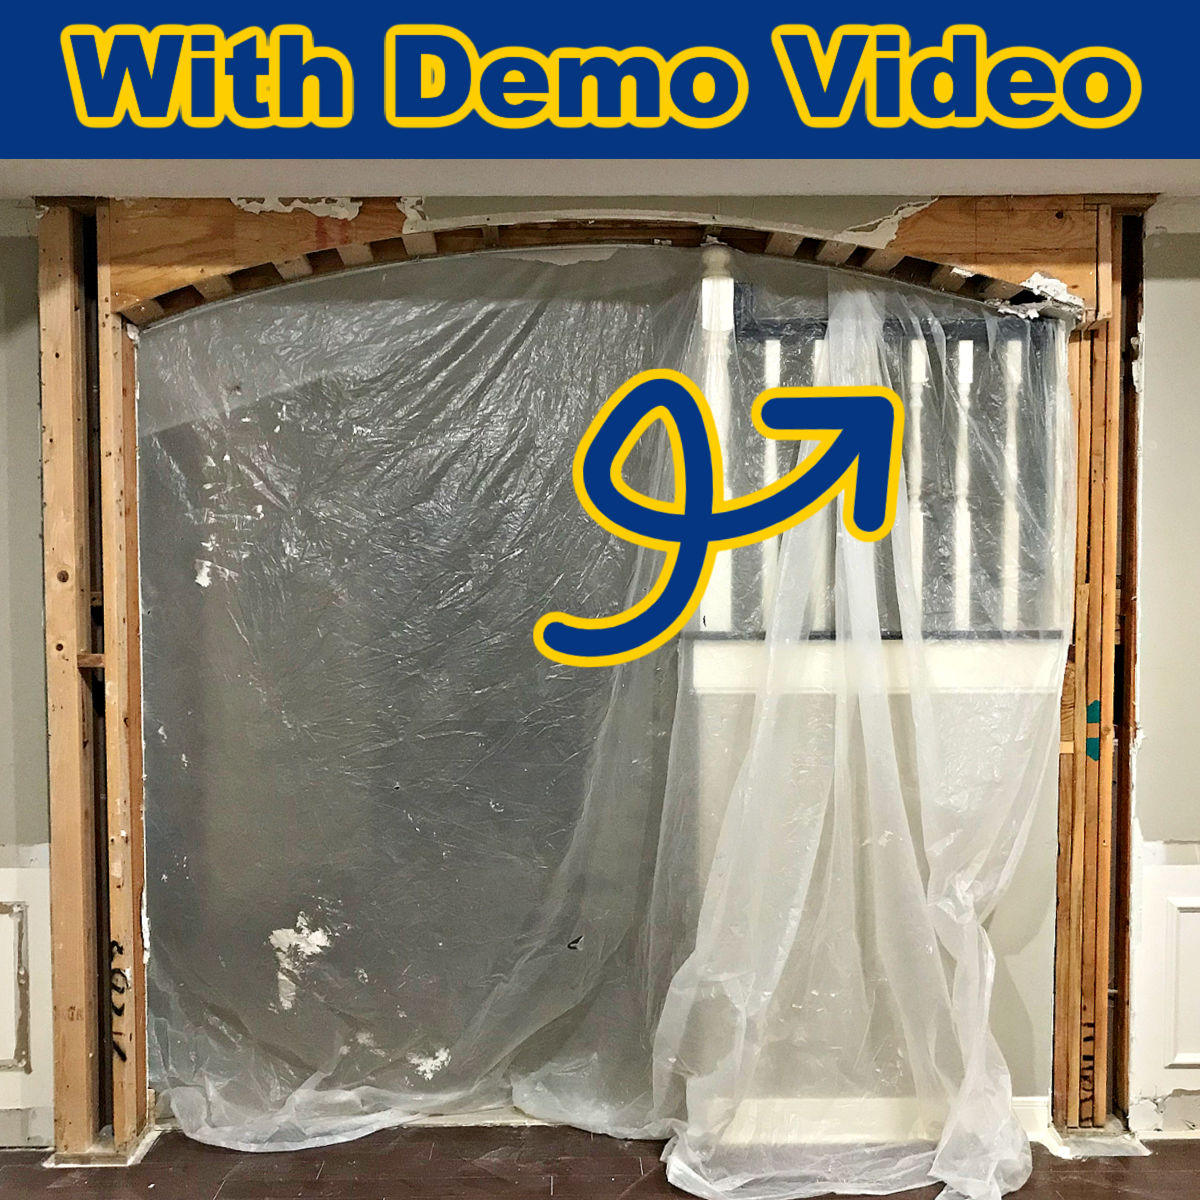
Here’s how to remove an arched doorway in a wall with tips for how to demo, framing, and how to square off rounded arches. How to Remove an Arched Doorway in a Wall Hi, guys! Here’s how to remove an arched doorway in a wall with tips for demo, framing, and drywall work. I have … Read more