
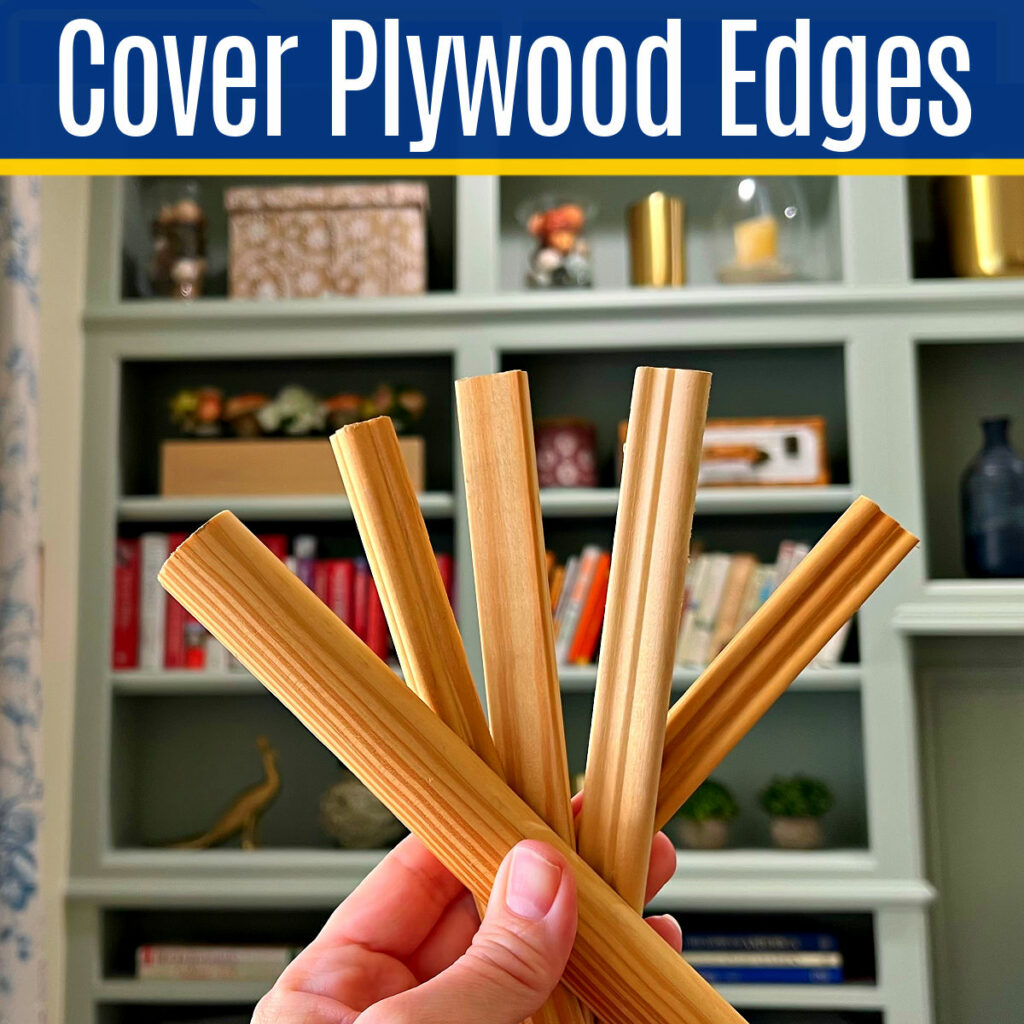
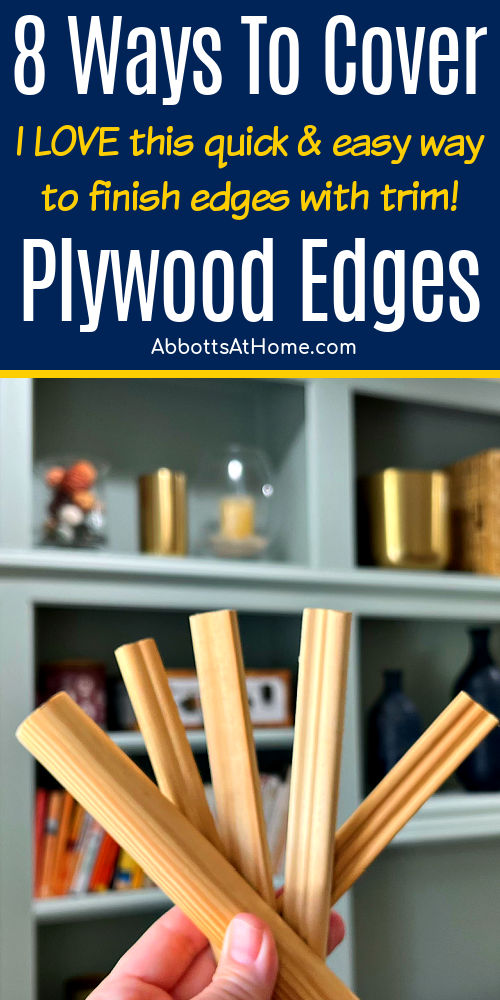
Want to know how to cover plywood edges with trim? Here’s 8 GREAT ways to finish plywood edges with trim. I LOVE this easy, beautiful look!
Finish Plywood Edges With Trim
We already had a ton of great built in storage and millwork in this house, when we moved in. AND, I learned this great trick from the carpenters that made our office built ins.
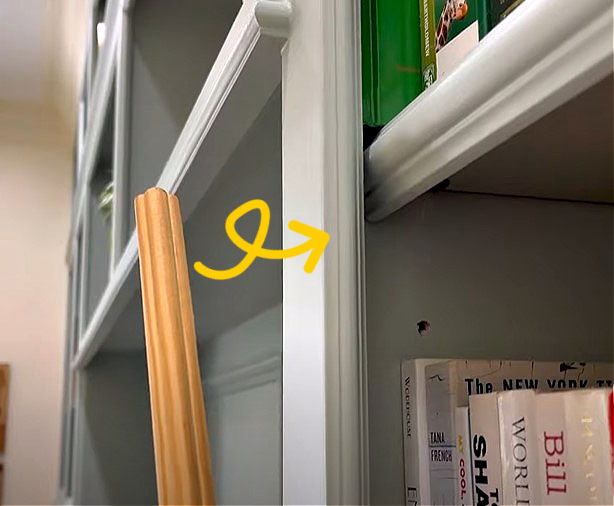
They used 3/4″ chair rail trim to finish the inside edges of our bookshelves. And, I LOVE the extra detail that adds. So, as I’ve been building furniture and built ins, I’ve been playing around with that idea.
So, today I’ve rounded up 8 great options for covering plywood edges with trim. You can use these options whenever you want to add detail, cover plywood edges, and avoid using edge banding.
After showing you the options, I’ll go over the quick and easy steps to use trim on plywood edges.
OK, let’s get started with that list of ways to finish plywood edges with trim.
8 Ways To Cover Plywood Edges With Trim
This size trim is great for inside edges of bookshelves and open cabinets or on the front edge of shelves. All of the trim below should be available in most Lowe’s and Home Depot’s.
1/2 Round Trim
Technically, this 1/2 round trim is slightly wider than a 3/4″ plywood edge. But, when it’s installed even with the visible edge of your plywood, it looks SO GOOD.
Pine Wood Screen Trim
Using Pine Screen to cover plywood edges is a pretty cheap and simple way to give your plywood edges a polished look.
That slight rounded edge looks great. And, it’s way faster and easier than trying to use a round over bit on plywood.
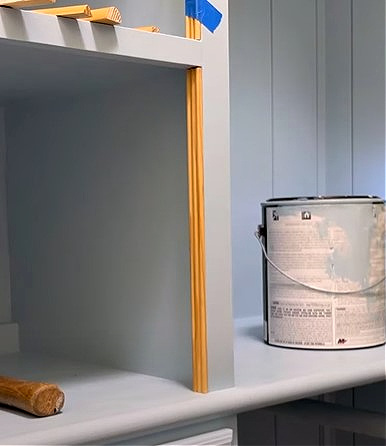
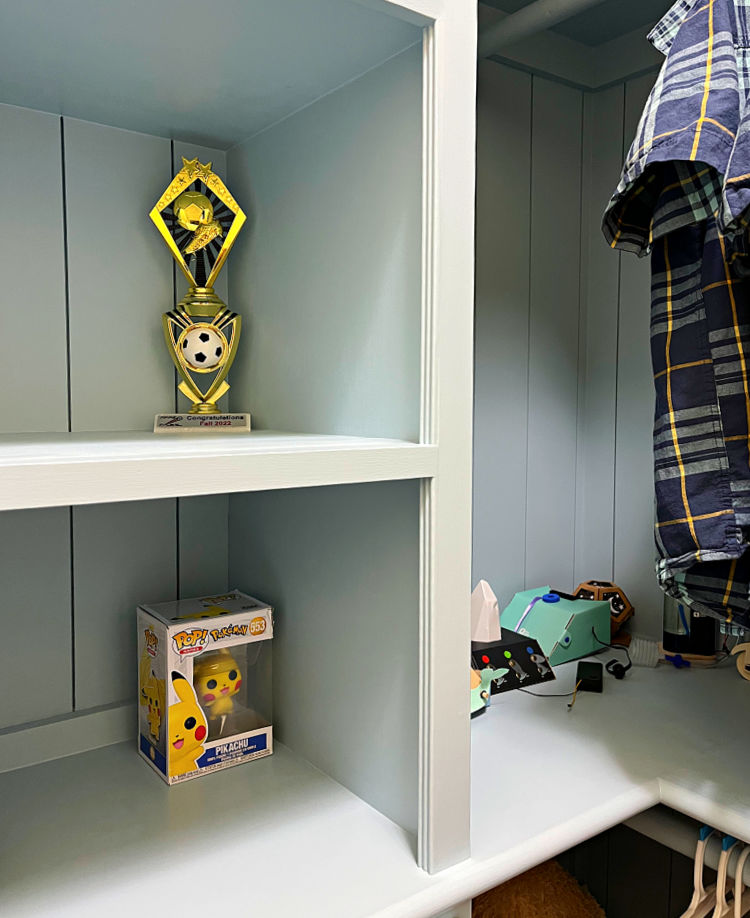
Ornamental Chair Rail #1
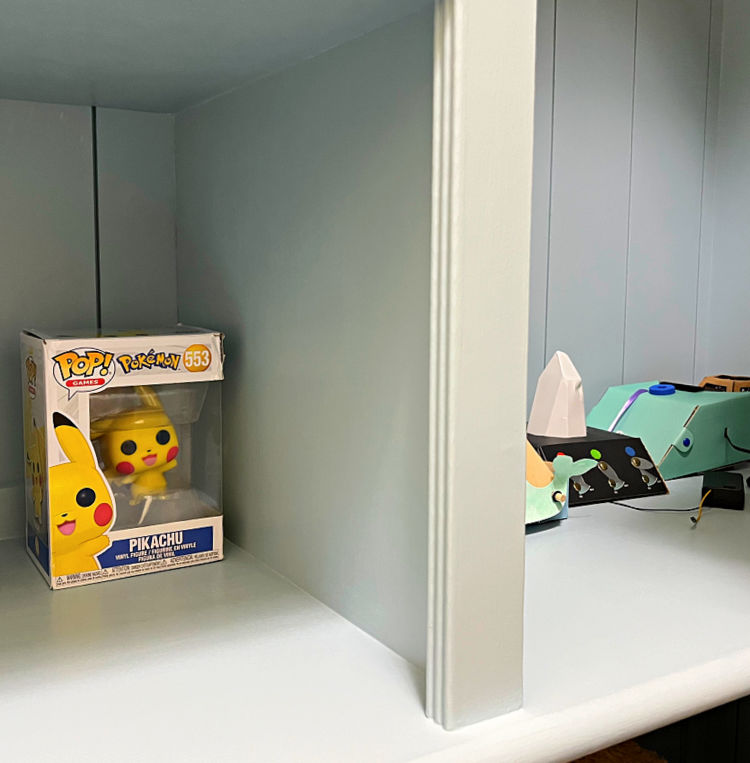
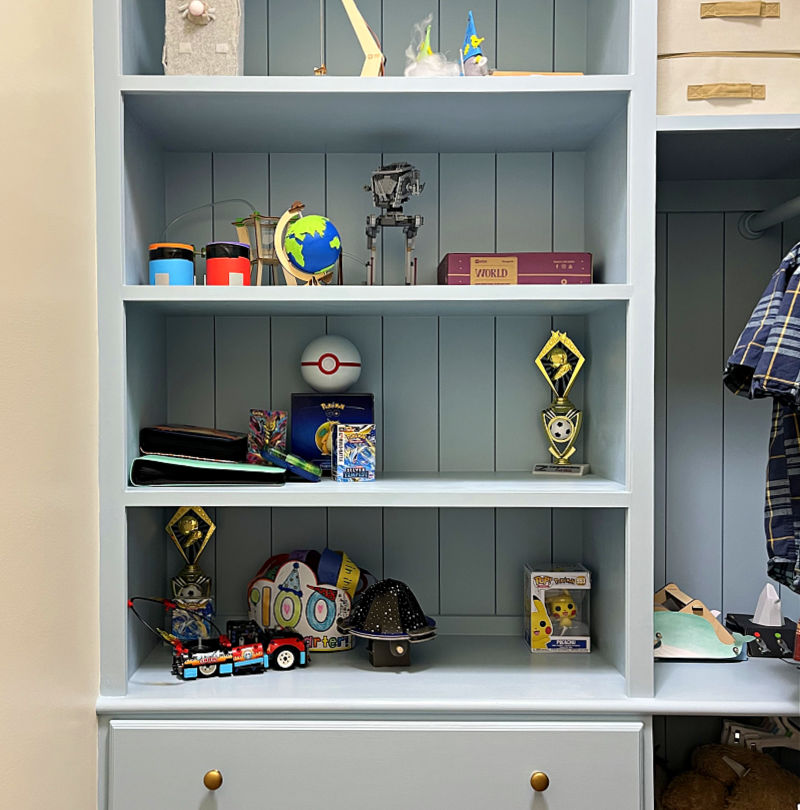
This ornamental trim is the option that I decided to install in this closet. It’s basically 3 equal half circles in a row. I’m really liking the subtle detail for my new closet built ins.
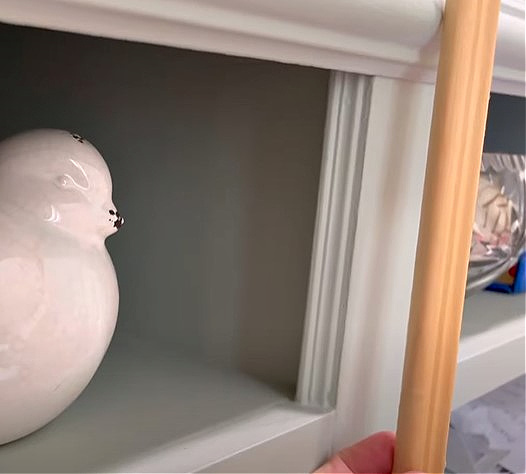
You can see the finished and painted trim further down.
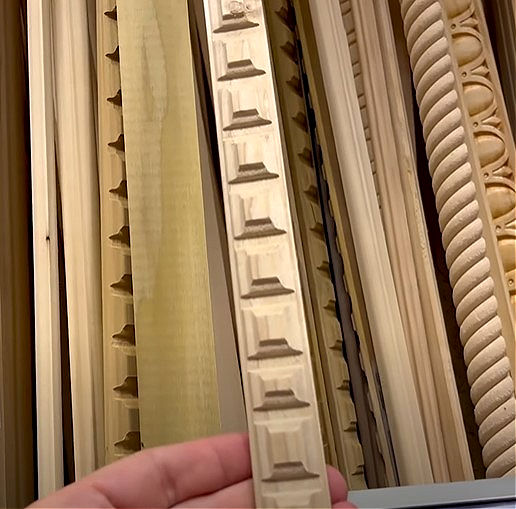
Ornamental Chair Rail #2
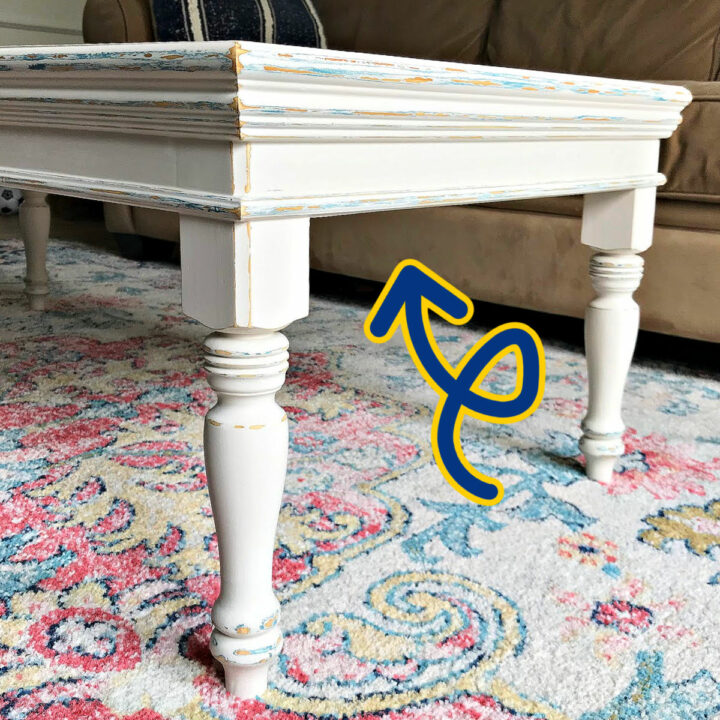
This ornamental chair rail is basically a miniature version of the 2 1/4″ chair rail that has been used as wainscoting, edging base cabinets, and on table edges in this house.

Be sure to buy the 3/4″ thick version of this trim. It also comes in a 1/2″ wide version, but the 3/4″ looks better as plywood edging.
Ornamental Chair Rail #3
Here’s the original trim that the carpenters installed in this house. It’s 3 half circles in a row again. But, on this trim, the center stands out much further than the 2 side half circles.
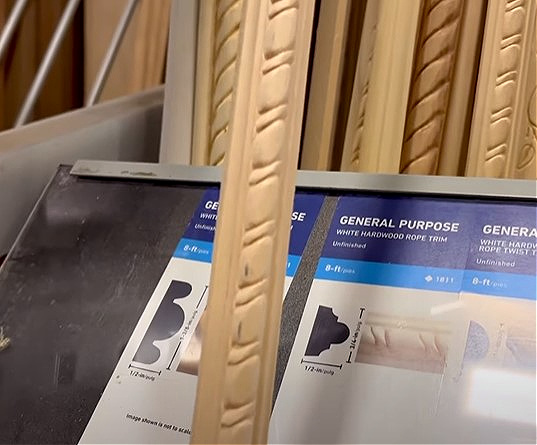
Ornamental Rope Trim
This Rope Trim would be really great in a home office too. I’m a big fan of this detail work.
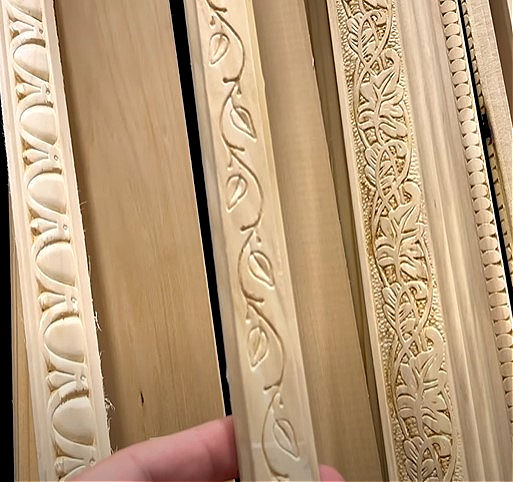
Ornamental “Art Deco” Trim
Check out this unique “Art Deco” style trim. This could look great, in the right room.
Ornamental “Leaf Trim”
And, there’s always the traditional “leaf vine” trim. It’s perfect for traditional style homes.
How Do You Attach Trim To Edge Of Plywood?
To attach trim to the edge of plywood, I use wood glue and brad nails or pin nails for trim 1″ or larger.
For trim under an 1″, that’s on a table edge, I’ll carefully use brad nails or pin nails. Just be sure to keep those nails in the center of small trim, to avoid splitting it.
When I’m attaching trim under an 1″ wide to bookcase, open cabinet, or shelf edges, I usually stick with just wood glue to avoid splitting small trim with nails.
That also means I have less nail holes to fill and hide. I use painter’s tape to hold it tightly in place while the wood glue dries. I’ll go over that in detail, in the section below.
How To Cover Plywood Edges With Trim
Now, let’s go over my quick and easy steps for how to finish plywood edges with trim.
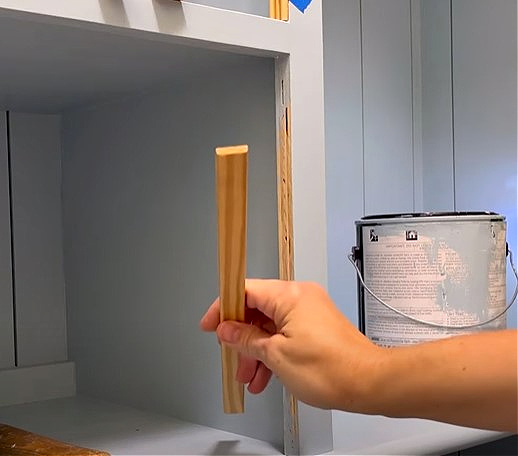
Step 1 – Cut To Size
I used my Miter Saw to cut the trim to size. When I’m only installing trim on the inner left and right sides, I only need 0-degree cuts. Easy peasy.
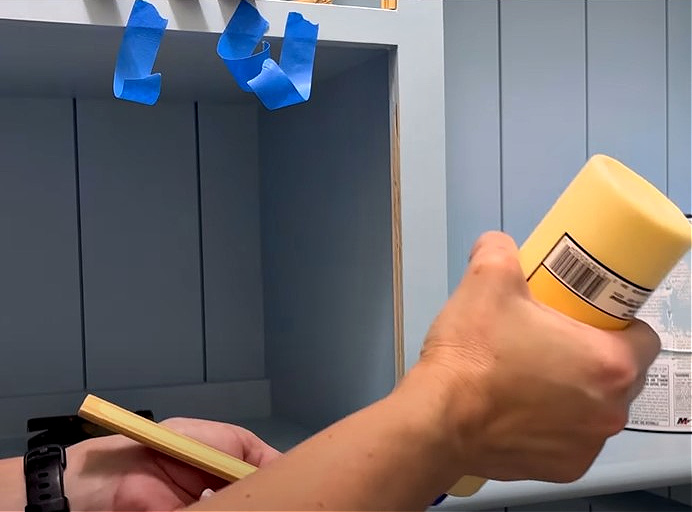
Step 2 – Apply Wood Glue
After cutting the trim pieces to size, get a few pieces of painter’s tape ready and apply wood glue to the back of the trim.
I typically just use screws or nails when I’m building built-ins. That way, the build is easier to take apart in 20 years, when someone else decides they want a change.
BUT, I don’t mind using a little wood glue on trim pieces like this. It won’t make the unit any harder to take apart one day.
And, the glue will help to protect the trim from the normal wear and tear of objects bumping into it.
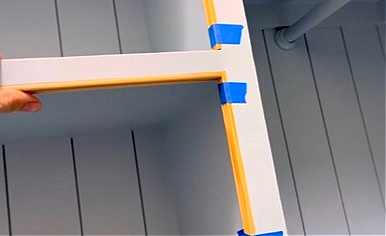
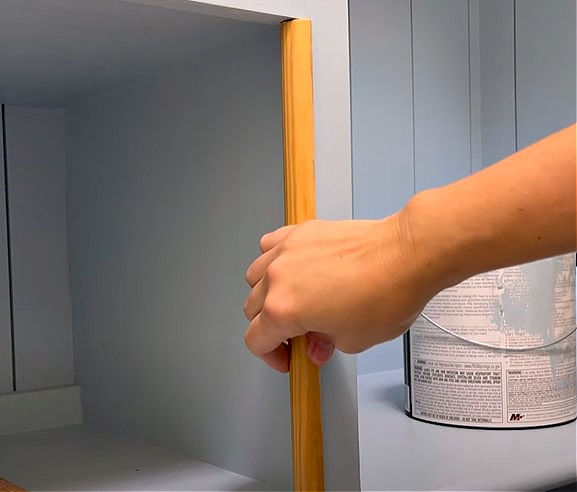
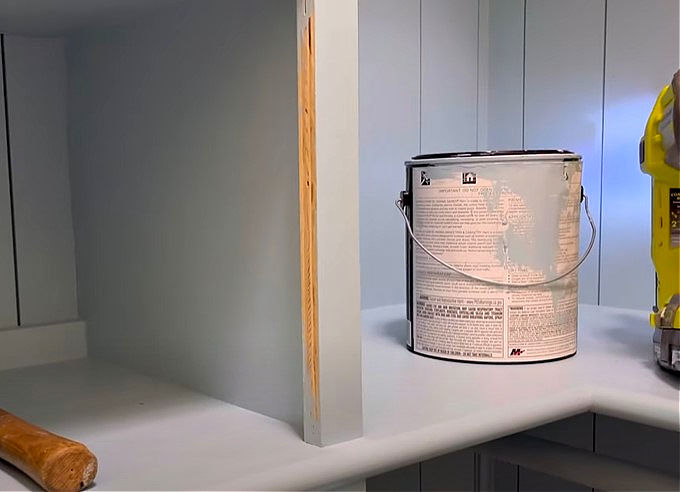
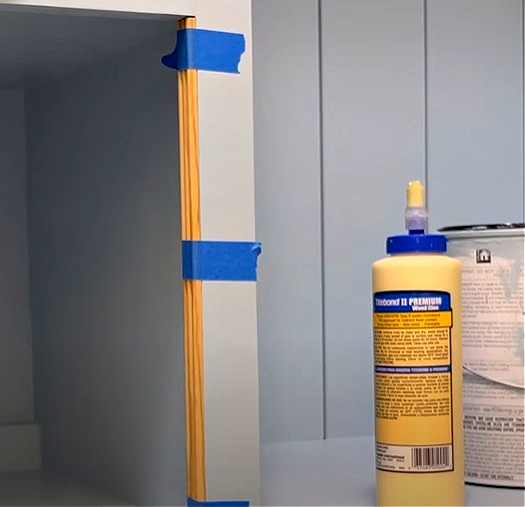
Step 3 – Painter’s Tape Into Place
After applying the glue, carefully line up the trim with the outside edge of the plywood. Use tape to hold the trim in place while the glue dries.
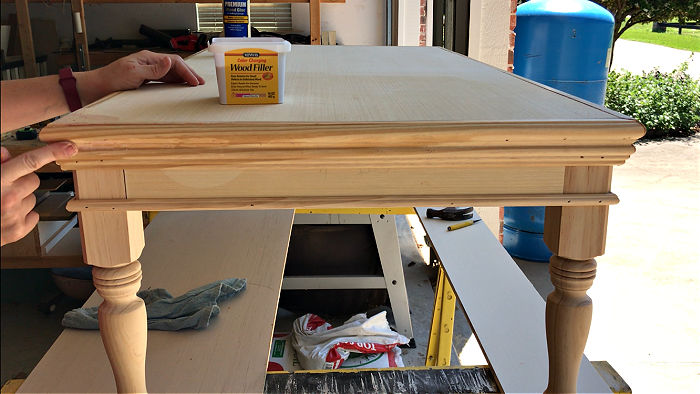
Step 4 – Caulk & Wood Filler
Let that wood glue dry before filling any gaps between the trim and plywood with caulk and spackling or wood filler.
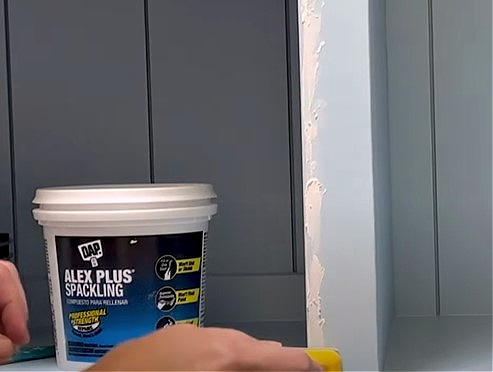
Check out the video below to see my tips for getting the best results with caulk and spackling.
Step 5 – Paint
Once your finished hiding the gaps between the trim and plywood, apply 2 or 3 coats of your favorite paint. I used Magnolia Homes by Kilz cabinet & trim paint on my built ins.
Check out my Easy Steps to Paint Built In Bookshelves And Cabinets, if you need more painting tips.
How To Use Trim On Plywood Edges- Video Guide
Watch this video for a better look at how I install trim on plywood edges.

That’s it for covering plywood edges with trim. I hope this helped you decide what you want to use for your project.
Now, here’s a few more posts about great DIY trim and molding projects.
- When to Use Caulk or Wood Filler on Trim? Guide, FAQ’s, And Video
- 18 Beautiful DIY Trim And Molding Ideas For Your Home (With Steps)
- Beautiful Before and After 2 Story Foyer Remodel with Trim Molding
- Make This Easy DIY Wood Picture Frame With Trim Molding
- Super Easy Peel And Stick Framed Wallpaper Mural
Some DIYs You Might Like
Check out 11 Best Reasons To Cut The Cord With Cable: 4 Were SO Unexpected.

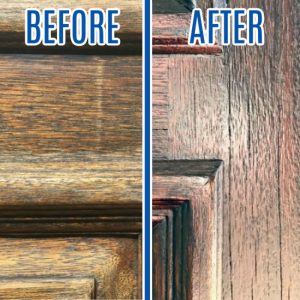
Here’s how to Restain a Door without Removing It: Easy One Day DIY!.
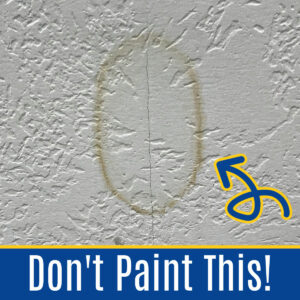
This post about How to Remove Water Stain from Ceiling Without Paint – 1 Easy Step is always popular!
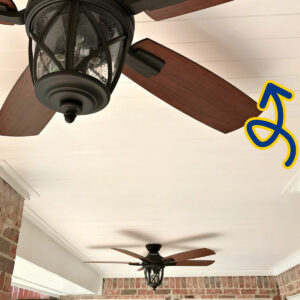
Check out this easy DIY Tongue and Groove Porch Ceiling too!
Feeling inspired? Now you’ve seen how to finish plywood edges with trim, go for it, guys!

Stephanie Abbott has been remodeling homes, updating & building furniture, and working on DIY home maintenance and cleaning tips for over 20 years. Her remodeling has been featured in Better Homes and Gardens Magazine. And, her DIY YouTube channel has had more than 8 million views.
Most of the DIY tutorials and videos on this site focus on beginner to intermediate level DIY Projects that can be done in an affordable way without high-end, expensive tools. All of the cleaning tips on this website have been tested in her home.