
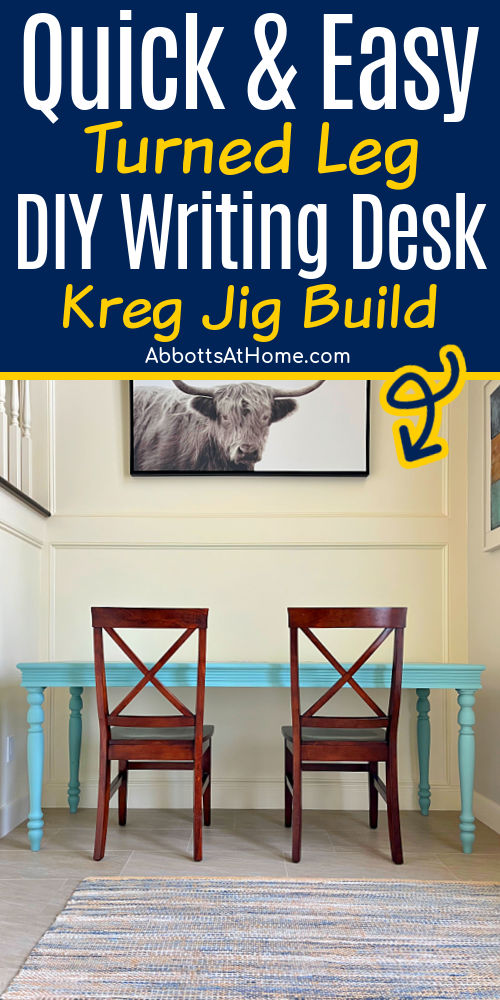
You can build this beautiful & easy DIY Writing Desk with Turned Legs finished in a weekend. It’s great for homework or a home office!
Quick & Easy DIY Writing Desk Build
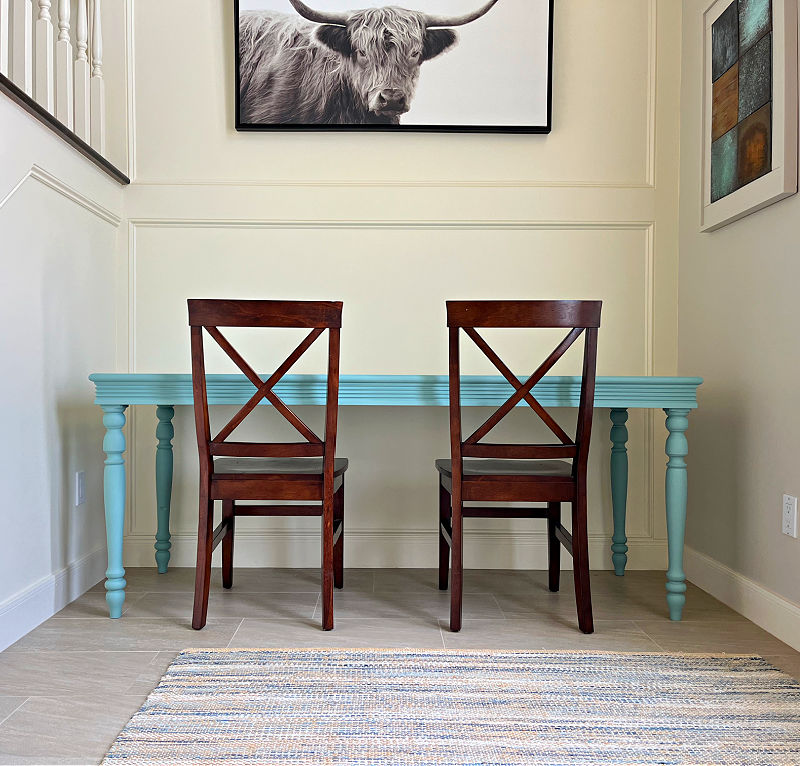
Hi guys! My boys are nearly 5′ tall now, so they were ready for a full-sized desk. And, since I had turned legs from the old Dining Table at my grandparents house, I decided to build a writing desk for two.
I went with a simple writing desk design, without a drawer, due to the length of the legs. But, if you find the right turned leg, you could modify this build to include one or two shallow drawers along the front.

You can find beautiful turned table legs on Amazon or at Lowes & Home Depot. For this build, it’s best to pick a set about 29 or 30″ high. That’s the best height for a standard chair.
OK, let’s get to how to build a writing desk with turned legs.
See How To Build A Writing Desk With Turned Legs
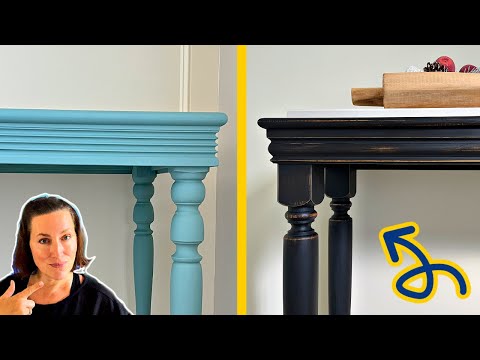
Watch this short video below for a quick look at the build. I actually built my writing desk a bit differently than the instructions. But, the instructions below are the correct way to build something like this.
Materials Needed
- 4 Turned Legs (this set is nice)
- 1 sheet of 3/4″ Plywood
- Unfinished Door Casing
- 1/2″ Round Unfinished Trim
Tools Needed
- Kreg Jig & Screws
- Miter Saw
- Circular Saw or Table Saw
- Brad Nailer & 1″ Brad Nails
- Wood Glue
- Optional: Router
Build A DIY Writing Desk With Turned Legs – Steps
Build Note: Turned Legs come in different sizes. You will need to do a little adjustment to the apron to be sure the pieces will work with your legs. My legs are exactly 3″ wide at the top.
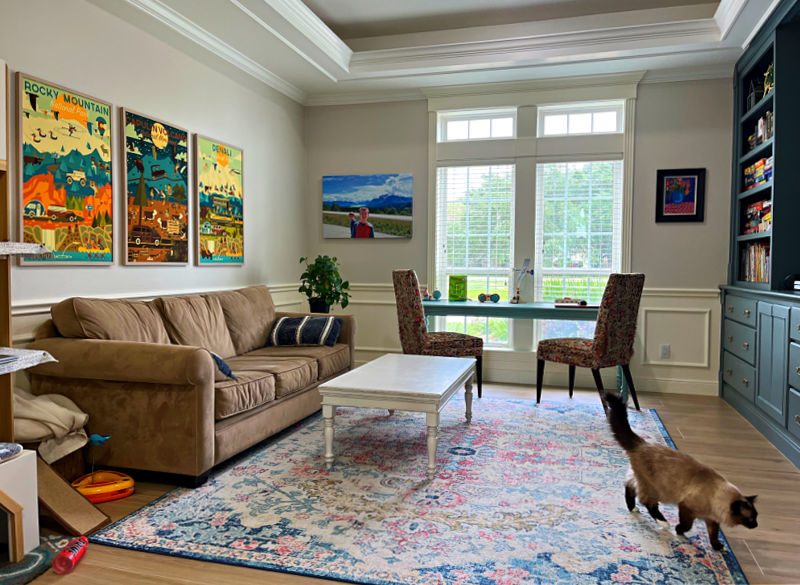
And, I built this large writing desk to comfortably fit 2 kids. Feel free to adjust the size to fit one person. Be sure to keep it big enough for computer keyboards and monitors, if necessary.
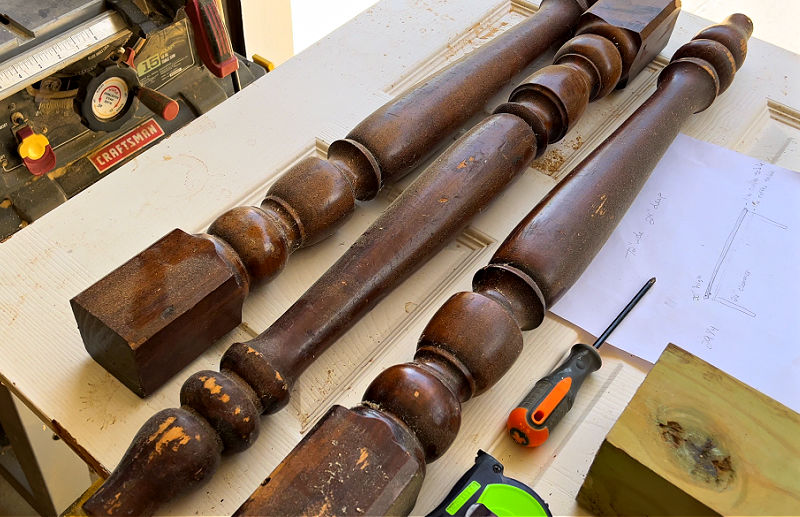
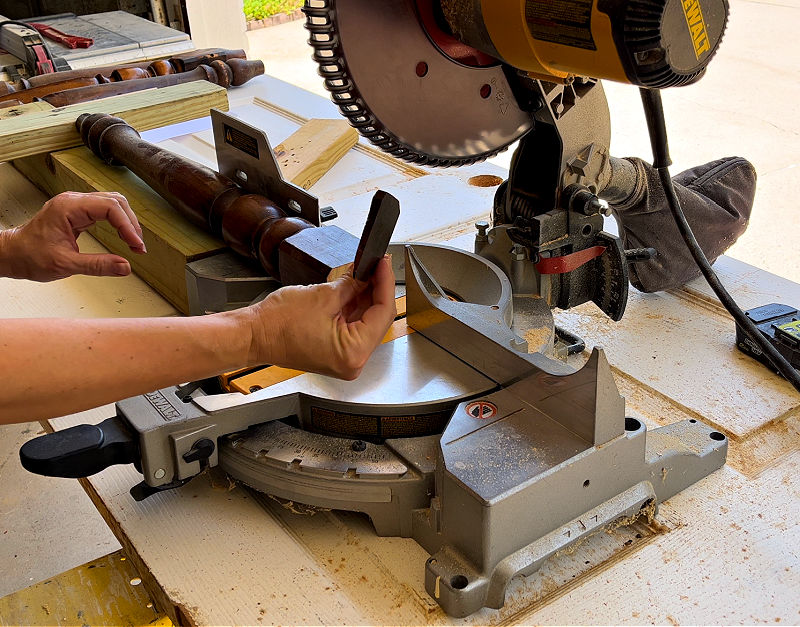
Step One – Prep The Legs
If the top of your table legs have a slight angle, start by trimming enough off the top to flatten it. It’s best to set up a stop block with your Miter Saw so that you can keep each leg the exact same length.
Step Two – Cut The Apron Pieces
Once the legs are ready, it’s time to cut the 4 apron pieces. I used 3/4″ plywood cut into 2 1/2″ wide strips for this build. Cut those 2 1/2″ wide strips into 6 pieces.
For my DIY Writing Table, I needed 2 – 66″ long for the long sides, 2 – 19″ long pieces for the short sides, and 2 – 23 1/2″ pieces to add strength across the middle of the table.
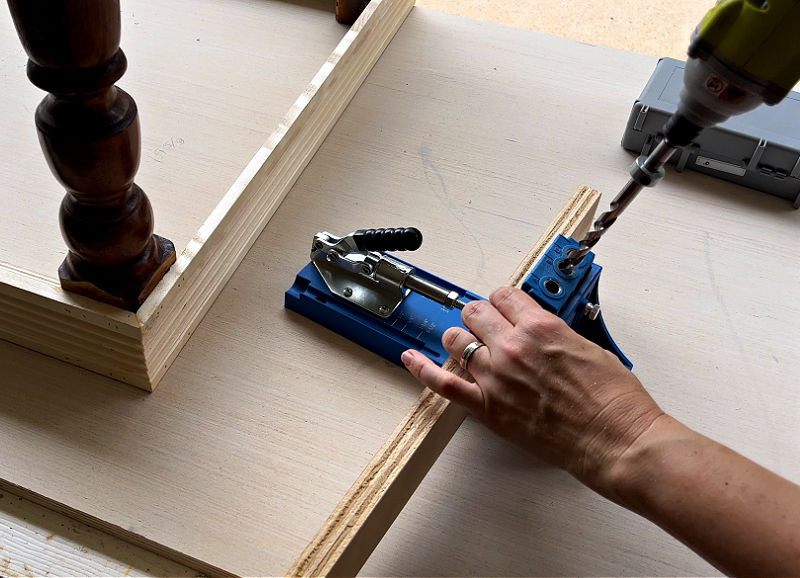
Step Three – Drill The Pocket Holes
Once, you have all 6 pieces, it’s time to drill all of your pocket holes. You’ll need 1 on each end, facing the 2 1/2″ wide end of each piece. Those will be used to connect the apron piece to the legs or other pieces.
You’ll also need pocket holes drilled along one side of each piece so that you can connect the apron to the plywood top.
Put 3 pocket holes on the 4 shorter pieces. One will go in the center of each piece. Then the other 2 can be 3″ in from the ends.
For the 2 longer apron pieces, you’ll need 7 pocket holes on each piece. Two will be 3″ away from each end. Then the other 5 were spaced about 10″ apart between those 2 pocket holes on the ends.
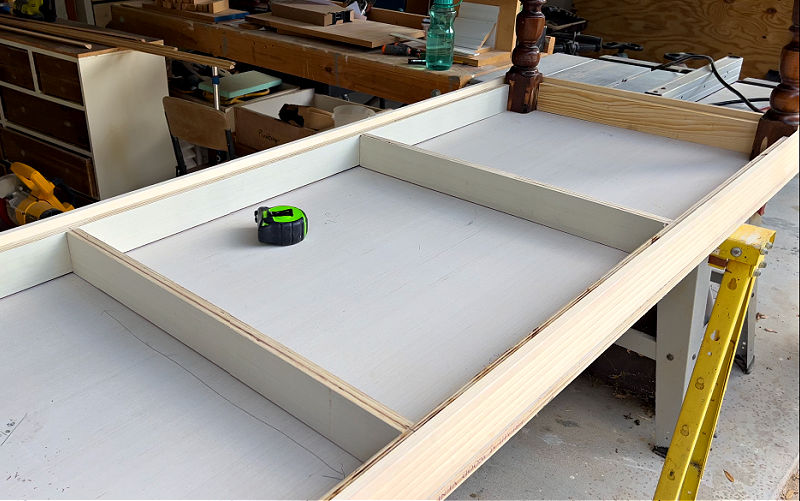
Step Four – Assemble The Frame
Quick Reminder: BEFORE connecting anything, make sure that the pocket holes to attach the frame to the table top are facing in the right direction.
Start by gluing and screwing the short apron sides (19″ long pieces) to the legs. You want the outside edge of the legs to be flush with the front of the apron.
The top of the apron should be even with the top of the legs. Once the 2 short sides of the DIY Writing Desk with Turned Legs are built, you can connect them with the long sides (66″ pieces).
Again, you want the outside edge of the legs flush with the outside edge of the apron. Once the 4 legs and apron pieces are connected, it’s time to attach the 2 supports between the long sides.
Glue & screw the 2 supports (23 1/2″ long pieces) between the long sides. They should be about 24″ away from each end.
The length of your supports might be different than mine, if your legs are a different size.
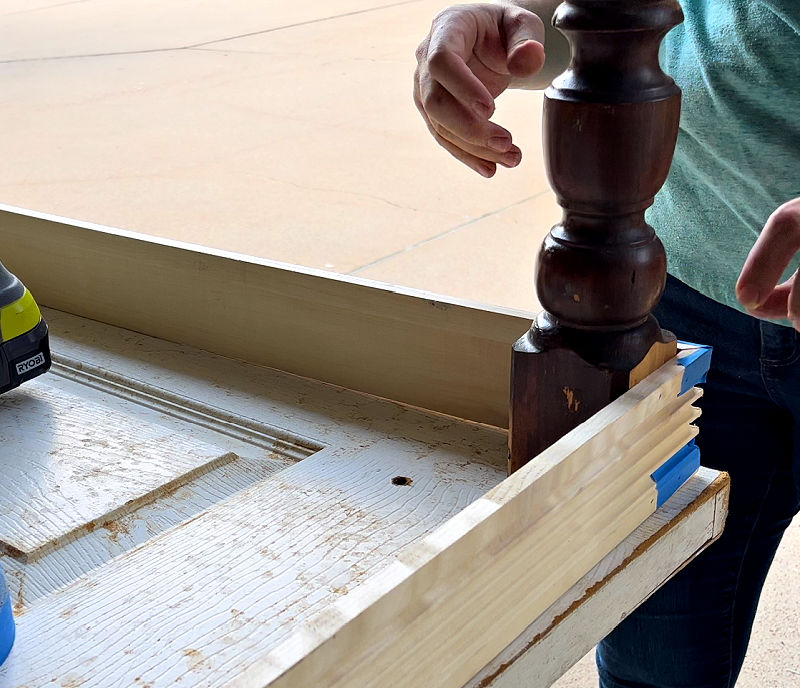
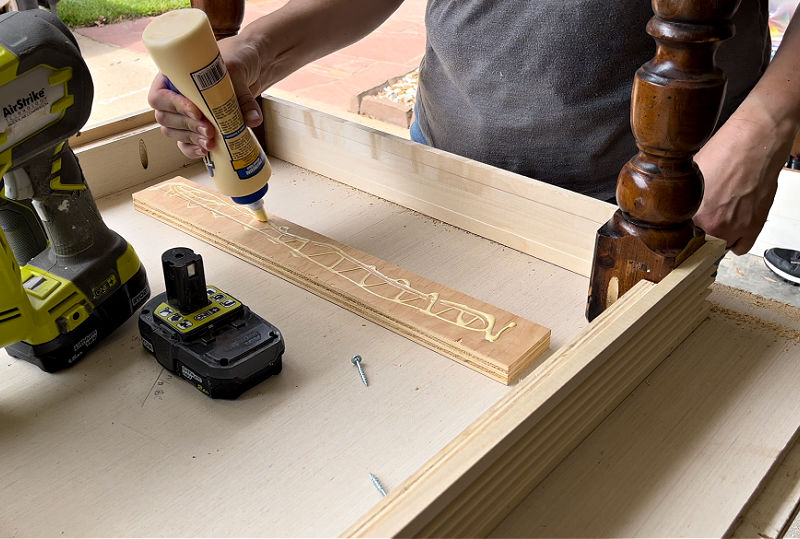
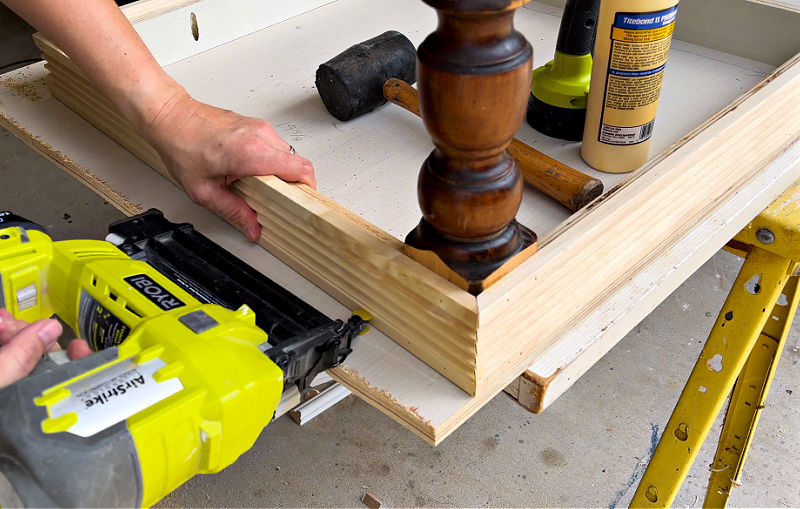
Step Five – Cut And Attach The Door Casing
Next up, measure and cut the door casing to wrap around the frame you just built. For this part, I highly recommend measuring and cutting based on your frame.
Things happen when you’re making furniture. Your build might be an 1/8″ different than mine. That would leave an ugly gap. So, it’s best to cut the casing to the exact size you need.
They should be about 72 5/8″ on the long sides and 25 5/8″ on the short sides. Don’t forget, you need to use 45 degree cuts.
I attached the casing to the DIY writing table with wood glue, my Brad nailer, and 1″ long brad nails. If you keep all of the nails near the top of the desk, you can hide most of the nails under the 1/2 round.
Keep the top of the casing level with the top edge of the legs and apron.
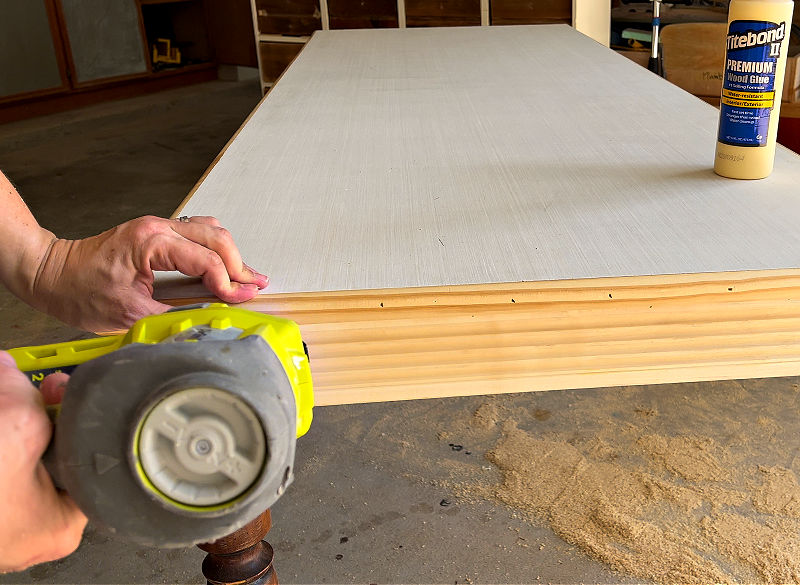
Step Six – Cut And Attach The Table Top
Now that the casing is on, measure the exact length and width of the frame with the casing. You’ll use that measurement to cut a 3/4″ plywood top to the exact same size as the casing-wrapped desk.
Once your plywood is cut, flip the writing desk frame upside down onto the plywood. Line the frame up with the plywood top. Clamp the frame in place. Then screw the frame down to the plywood top.
Don’t forget to do all of those pocket holes on all 6 pieces.
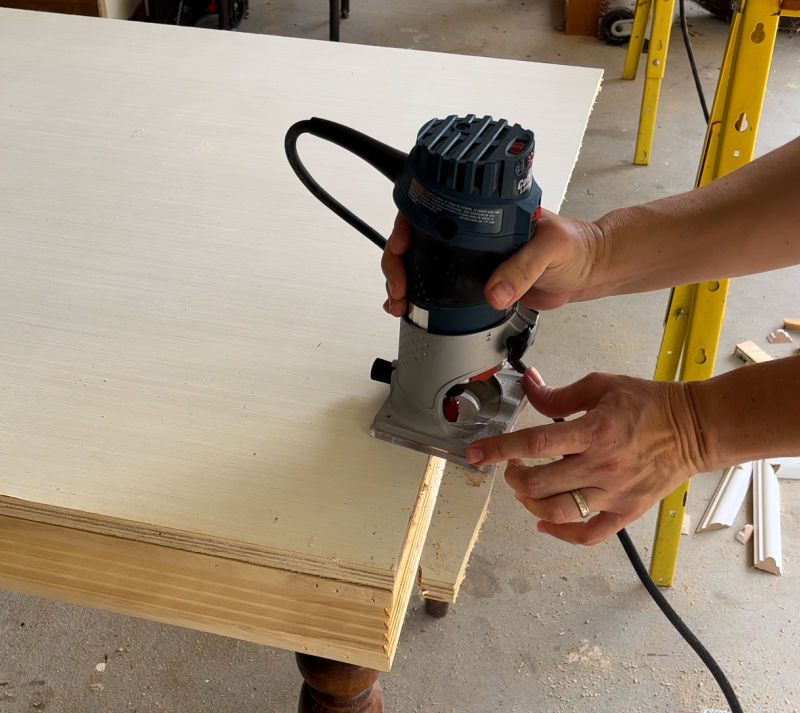
Step Seven – Cut And Attach The 1/2 Round
After the top has been attached, flip the DIY Writing Desk on to it’s feet. Then measure and cut your 1/2″ round to size for your 4 sides.
Again, I think you should double-check the length of your sides so that you get perfect cuts. Mine are around 73″ long and 26″ long.
I used wood glue and 1″ brad nails to attach the 1/2″ round to the desk. Don’t forget to use 45 degree cuts on this trim.
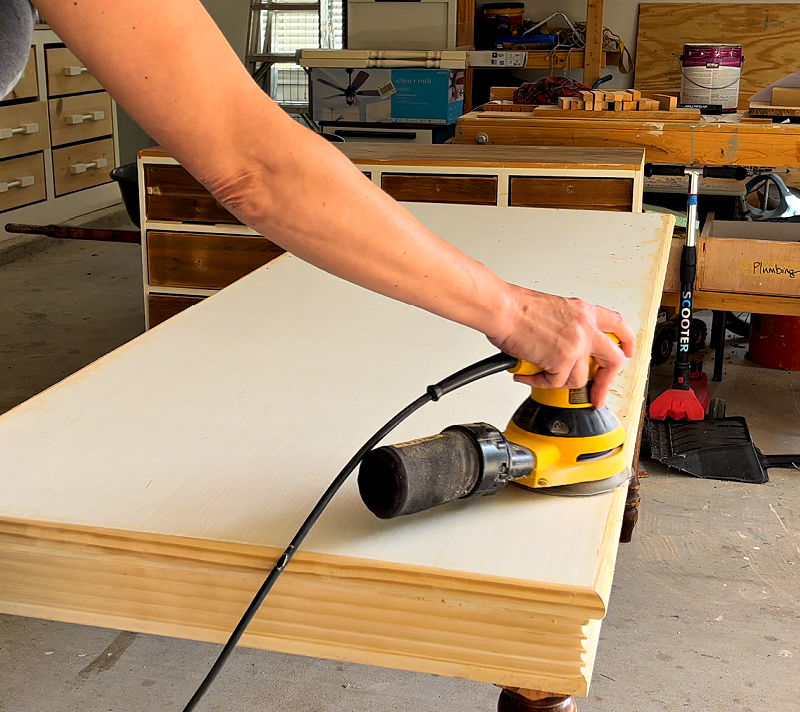
Step Eight – Use Wood Filler, Sand
Now that the entire DIY Writing Desk with Turned Legs is built, it’s time to use your favorite wood filler, where needed. Once it dries, you can sand everything smooth enough for the finish you picked.
Step Nine – Finish Your DIY Writing Desk
You can paint or stain this writing desk. If you used the paint ready plywood that I used, you can still give it a wood stained look with a darker gel stain.
Check out my tutorial for How To Stain Wood Furniture Without Stripping to see the gel stain I use over uneven finishes to get a pretty stained wood look.

Or, if you want to paint, check out 25 Beautiful And Easy Furniture Painting Tutorials For Beginners to get some ideas. I used Rust-Oleum Milk Paint in Highland Blue on my desk.
Milk Paint is an easy to use, quick drying paint. It does need a light sanding between coats to get a smooth feel. Then, after the final coat, I sand with a brown paper bag to get a smooth feel.

Check out How To Get a Smooth Finish with Chalk Paint to see steps and a video for that technique.
That’s it for how to build a DIY Writing Desk with Turned Legs. I hope this helped! Now, here’s a few more posts you might like.
- 13 Best FREE PDF Furniture Build Plans And 12 Popular Woodworking Projects
- 10 Best Ways To Make Cabinets Look Like Built In Furniture
- 17 Surprising Things I Learned As A Brit Living In America! (Good And Bad)
- 24 Great Ways To Repurpose an Unused Dining Room
- How Do I Get Rid of Cable And Still Watch TV: Easy Guide
Some DIYs You Might Like
Here’s Testing Easy Ways To Get A Heat Stain Out Of Wood.

This post about How to Remove Water Stain from Ceiling Without Paint – 1 Easy Step is always popular!
Check out 7 DIY Kitchen Makeover Ideas That ABSOLUTELY Made My Boring Kitchen BEAUTIFUL!

Feeling inspired? Now you’ve seen how to build a DIY Writing Desk with Turned Legs, get to it. It’s easy!

Stephanie Abbott has been remodeling homes, updating & building furniture, and working on DIY home maintenance and cleaning tips for over 20 years. Her remodeling has been featured in Better Homes and Gardens Magazine. And, her DIY YouTube channel has had more than 8 million views.
Most of the DIY tutorials and videos on this site focus on beginner to intermediate level DIY Projects that can be done in an affordable way without high-end, expensive tools. All of the cleaning tips on this website have been tested in her home.