
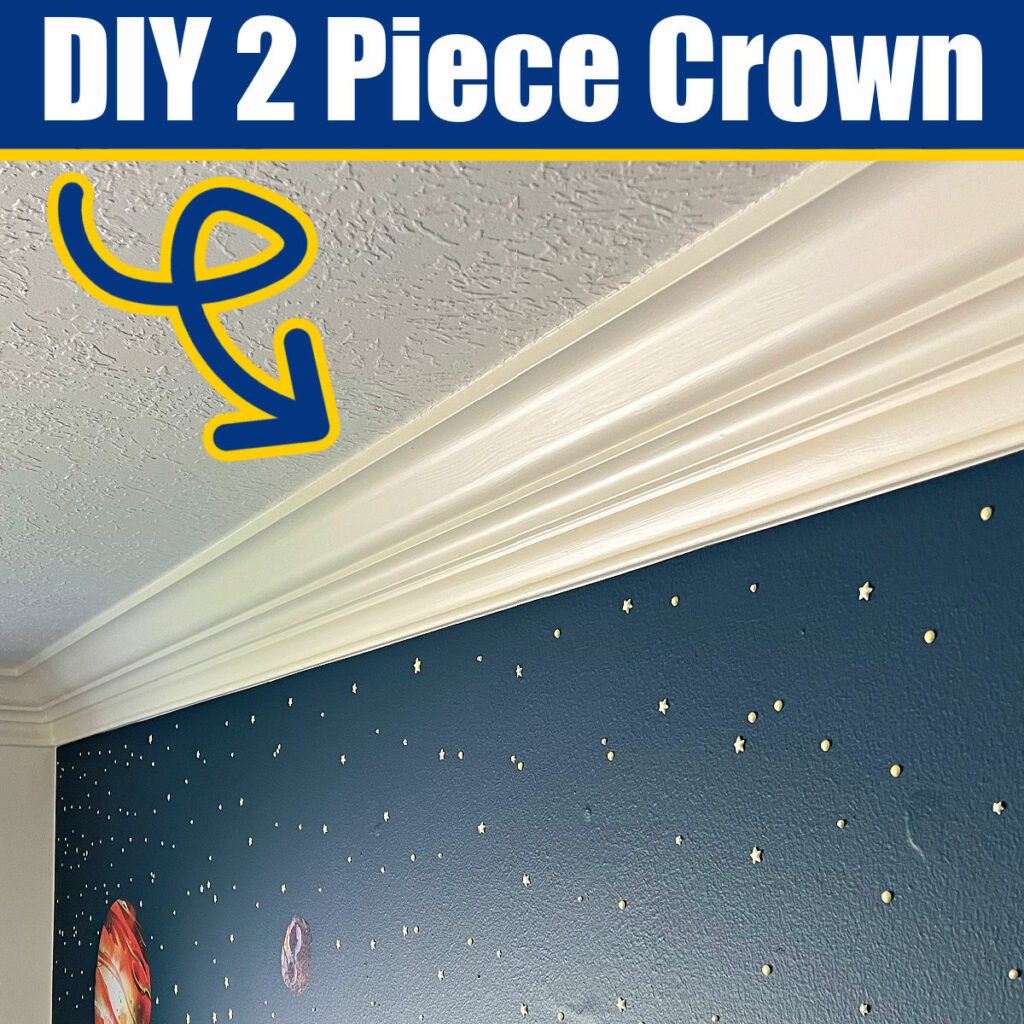
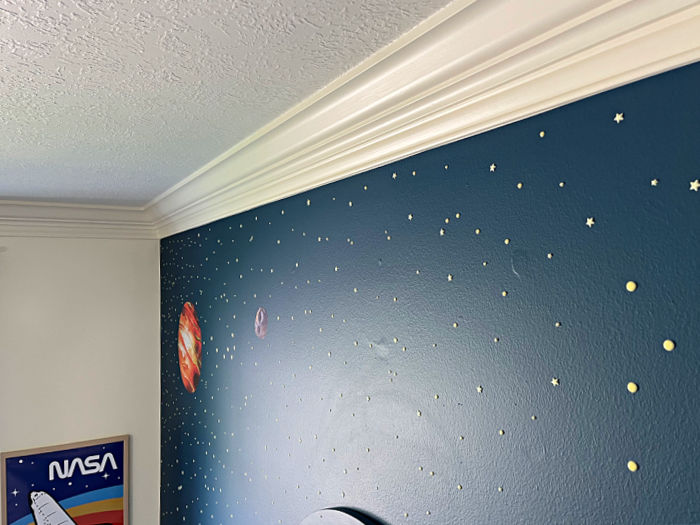
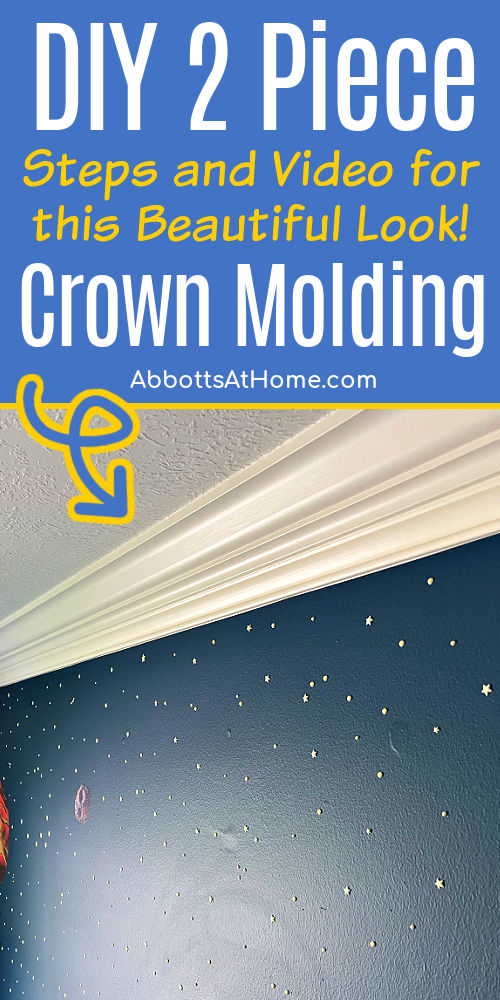
This Two Piece Crown Molding is absolutely the most beautiful crown molding I’ve installed so far! I LOVE this look. Here’s the DIY steps!
DIY Two Piece Crown Molding
I’m a huge fan of trim work and molding, guys! It fits perfectly with my traditional style home that already had a bunch of custom millwork before we bought this house.
BUT, it still wasn’t enough millwork for me. I’ve spent the last 10 years remodeling every room in this house. And, that always includes adding beautiful trim to every room.
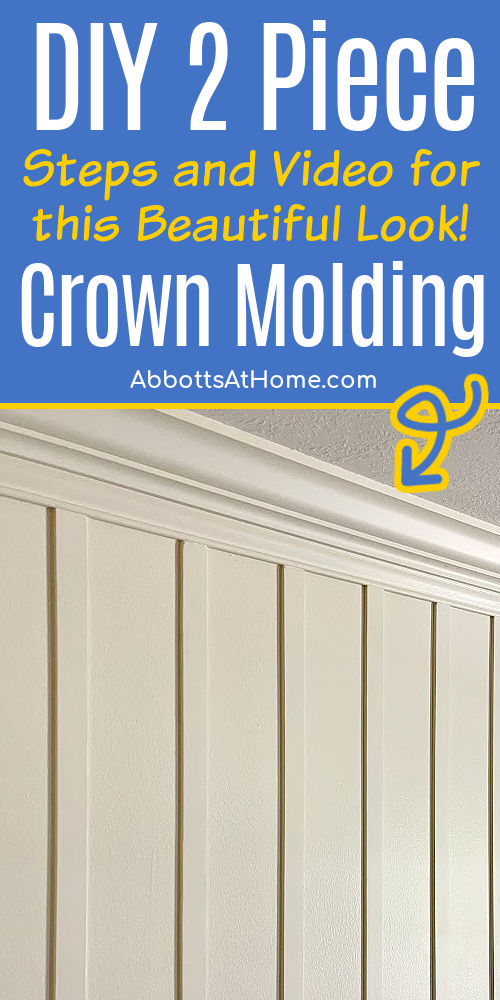
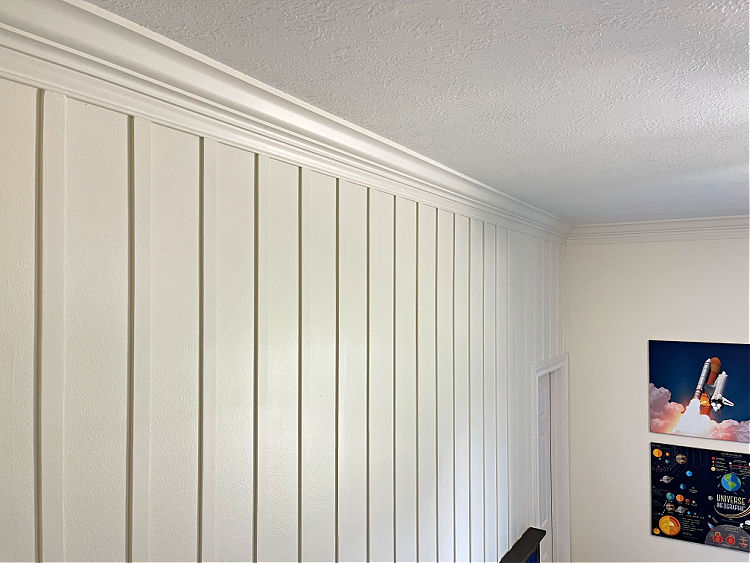
I added this great DIY Two Piece Crown Molding to my kids bedroom. It looks perfect over just drywall AND above that gorgeous DIY Board and Batten with Lattice. Let’s get to those install steps!
Table of contents
Materials Needed for 2-Piece Crown Molding
- 5 1/4″ Baseboard (or similar size)
- 4 1/4″ Crown Molding (or similar size)
- Paintable Caulk – I like DAP Alex Plus
- Spackle – I like DAP DryDex Spackle
- Brad Nailer and 1 1/4″ Brad Nails (or longer)
- Miter Saw
How Do You Install A 2-Piece Crown Molding
Quick DIY Note: My ceilings and walls are relatively smooth, square, and level. If you have an older, settled home or plaster walls, you might need to do extra work to get the best look with any type of trim and molding install.
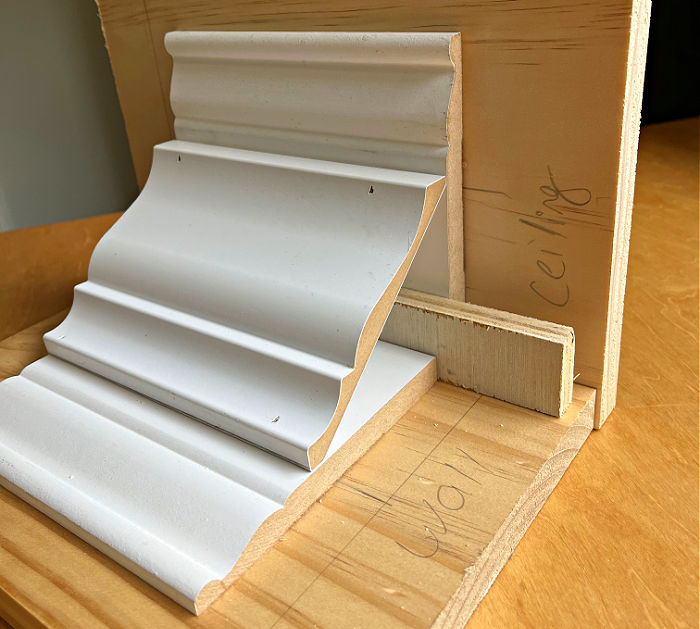
Step One – Install Wall Baseboard With A 1/2″ Gap
Start by installing the baseboard on the walls. Be sure to leave a 1/2″ gap between the ceiling and the wall baseboard. Scrap strips of 1/2″ plywood make a great spacer for this DIY.
You can use 1 1/4″ brad nails, or longer, to install all this two piece crown molding look. I recommend slightly angling your Brad Nailer so that the nails go in at a slight angle.
That angle will help to hold the baseboard tightly against the wall, so that it resists backing out overtime better.
And, using the angle to connect the baseboard to the crown molding will help hold those boards tightly together too. Especially in cold weather when wood trim and molding tends to contract causing caulk cracks.
Angled brad nails seem to reduce my caulk cracks, by a lot. Although, I live in Texas. So, we don’t get extreme cold.
Be sure to use Brad nails every 12″ or so, at the back and towards the middle of the baseboard. You can see what I mean in the picture below.
Install Tip: How To Butt 2 Pieces of Trim Next To Each Other
Be sure to use a scarf joint where 2 boards will be butted up against each other on one wall. A scarf joint uses a 45-degree angle cut to overlap the 2 pieces of trim.
Scarf joints on trim look better than a 90-degree cut. AND the caulk you use in that 45-degree line will look better and hold up longer than it would in 90-degree cuts.
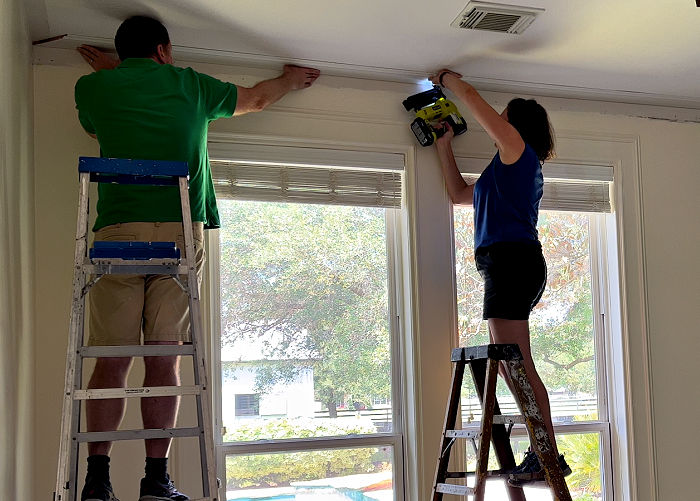
Step Three – Install Crown Molding
You can install the crown molding after all of the baseboard has been installed on the walls. You’ll nstall the crown for this two piece crown molding just like one piece crown molding.
If you’ve never installed crown, check out this post from Home Depot. Or search YouTube for tips on cutting crown molding angles.
Use Brad Nails every 12″ at the top and bottom edges of the crown molding. You’ll need a slight angle on those brad nails again.
As I said previously, that angle will help to keep that crown held tightly against that baseboard and ceiling drywall.
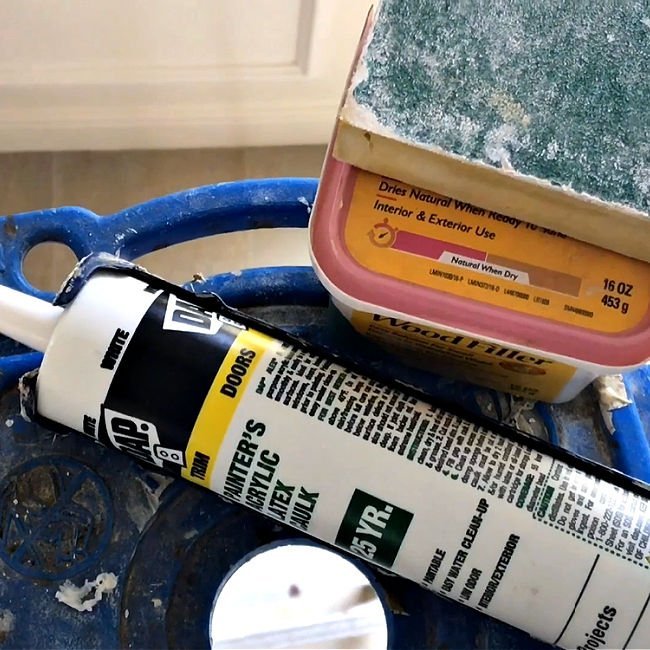
Step Four – Use Spackle and Caulk Everywhere
Once you’ve finished installing this 2-piece crown molding look, it’s time to finish it off with spackle and caulk.
Start by filling all of the holes and any damaged spots with spackle or wood filler. I prefer spackle because it’s a little easier to use and sand smooth.
Let that spackle dry before sanding it smooth with 150-grit sandpaper. Then dust off the molding and apply paintable, flexible caulk to all joints.
You need caulk where any 2-pieces of trim meet each other AND where the trim meets the wall at the top and bottom of the crown molding.
Be sure to wipe off excess caulk as you go. Caulk needs to be smooth and perfect before it starts to dry. Check out how to use spackle and caulk if you need tips on how to use them properly.
Step Five – Paint
Now you’re ready to paint! I go against old paint sheen rules by using Eggshell Sheen on trim, walls, and ceiling in most rooms.
I LOVE the way eggshell sheen reflects light making any room feel bigger, with higher ceilings. You can see more examples of Eggshell Sheen on my ceilings in a previous post.
Watch This Layered Crown Molding Install Video
If any of the steps above are confusing, watch this video. This video shows a three piece crown molding install in our home office.
So, it’s very similar to this two piece crown molding look. Just skip the ceiling baseboard with the 2-piece look.

What Is Triple Crown Molding?
Triple crown molding can describe so many styles of crown molding that use 3 layers of crown molding to build a stacked crown molding look.
I have the DIY steps for a Beautiful Three Piece Crown Molding in a previous post.
That’s it for everything you need to know about How To Install Two Piece Crown Molding.
See more of my Popular DIY Trim Molding Posts
- Beautiful Before and After Family Room Makeover: Cheap DIY’s with Pictures
- How To Cover Toe Kick With Baseboard – Easy DIY & Video
- 10 Best Ways To Make Cabinets Look Like Built In Furniture
- Easy DIY Coffered Ceiling – Simple, Low Profile Design – Steps & Video
- DIY Tongue and Groove Porch Ceiling: Cheap, Beautiful and Easy
- Make This Easy DIY Wood Picture Frame and Chair Rail Molding
- Beautiful Before and After 2 Story Foyer Remodel with Trim Molding
More Popular Posts For You
Here’s everything you need to know about How Do I Get Rid of Cable And Still Watch TV: Easy Guide.

Check out 16 Great Ways to Repurpose an Open Formal Living Room.

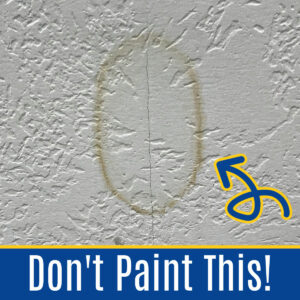
Or, this post on how to Remove Water Stain from Ceiling Without Paint – 1 Easy Step.
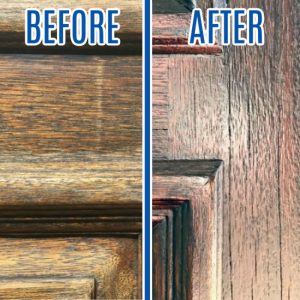
I LOVE this post on how to Restain a Door without Removing It: Easy One Day DIY!
That’s it for this DIY 2 Piece Crown Molding. Don’t forget to sign up for the Abbotts At Home email newsletter to get DIY, Remodeling, and Crafty ideas in your inbox.

Stephanie Abbott has been remodeling homes, updating & building furniture, and working on DIY home maintenance and cleaning tips for over 20 years. Her remodeling has been featured in Better Homes and Gardens Magazine. And, her DIY YouTube channel has had more than 8 million views.
Most of the DIY tutorials and videos on this site focus on beginner to intermediate level DIY Projects that can be done in an affordable way without high-end, expensive tools. All of the cleaning tips on this website have been tested in her home.