Latest Posts! (See More HERE)
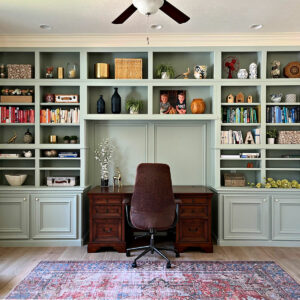
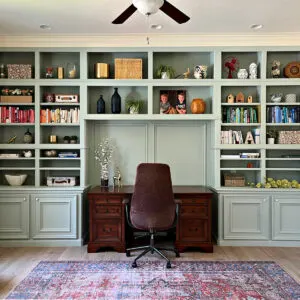
- 21 Cheap And Easy Ways To Make A Home Office Look Better!

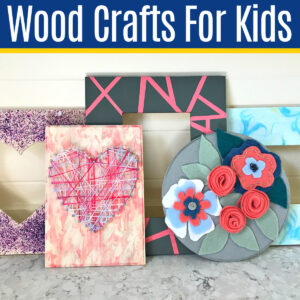
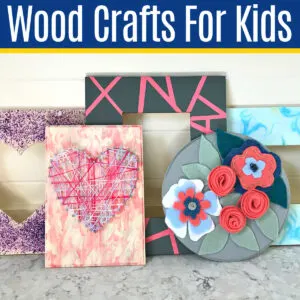
- 6 Cheap & Easy Wood Plaque & Wood Crafts For Kids
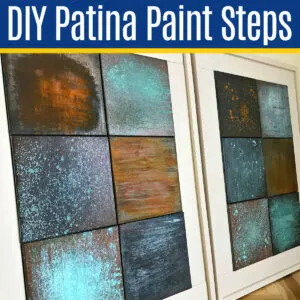
- 20 DIY Patina Paint Faux Metal Painting Techniques (Bronze, Copper, and Rust)

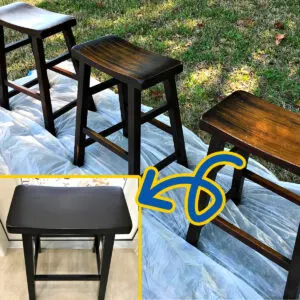
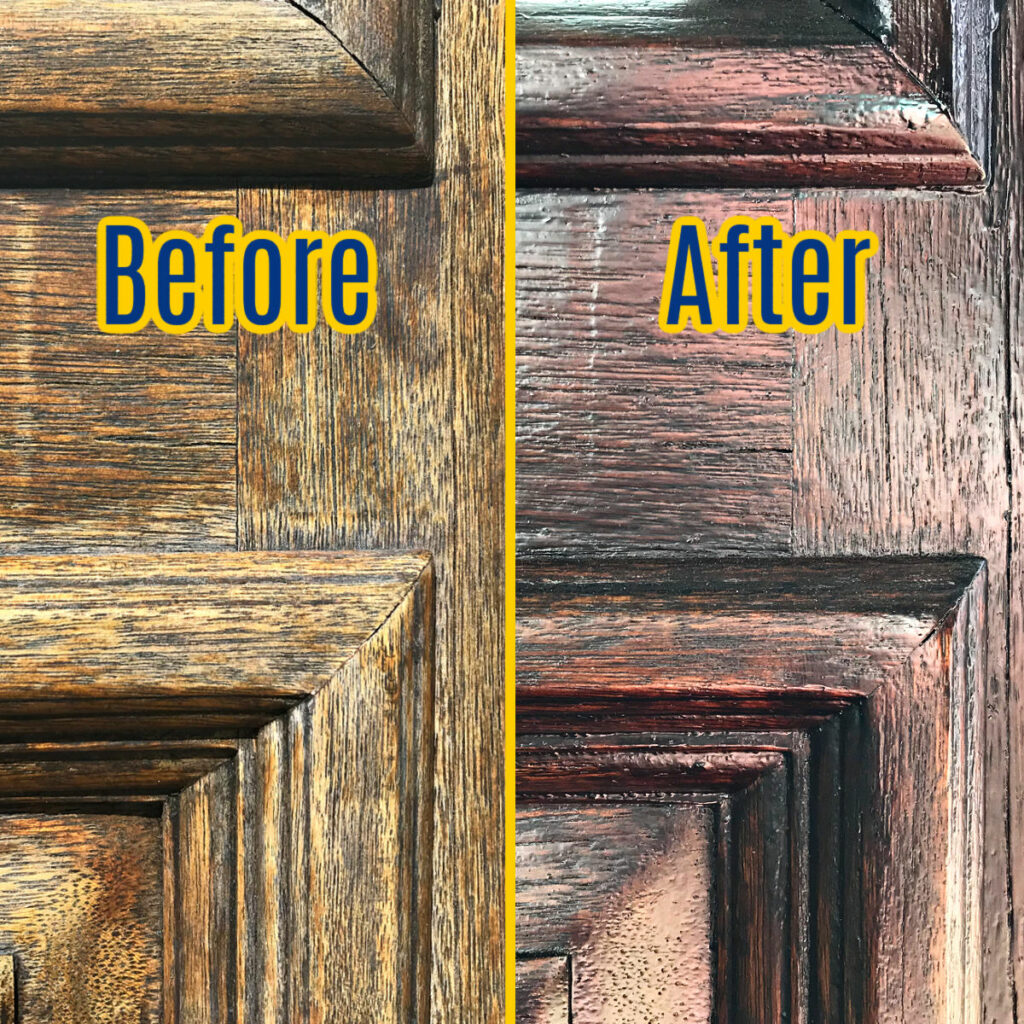
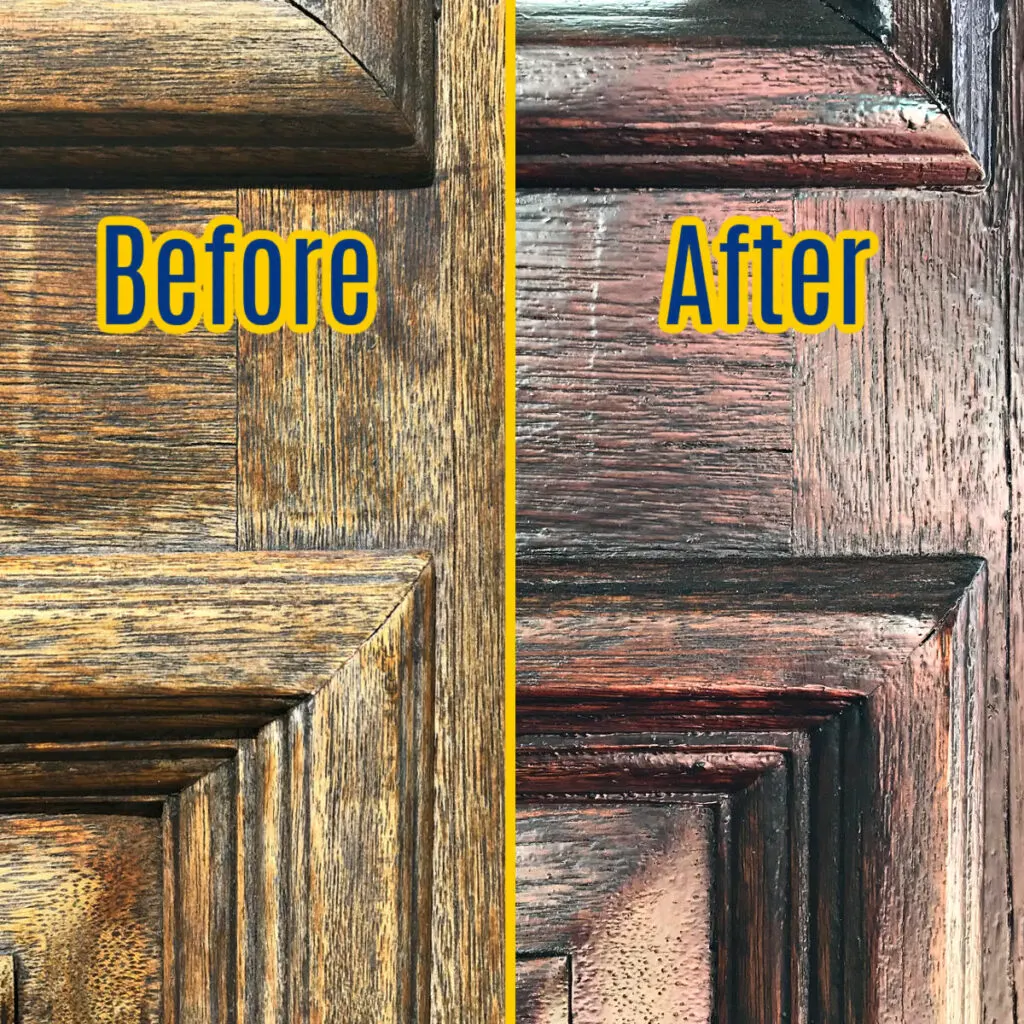
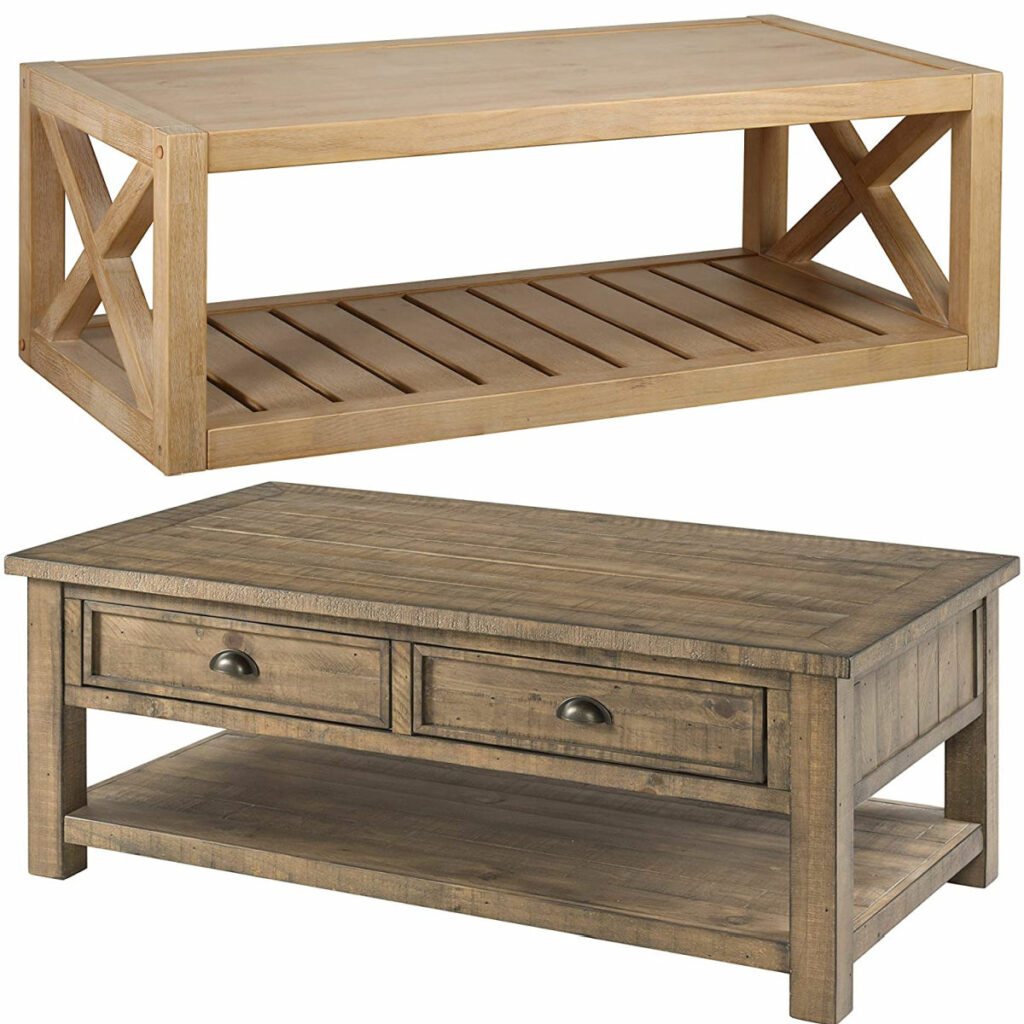
- How To Stain Wood Furniture Without Sanding Or Stripping (4 Easy Steps)

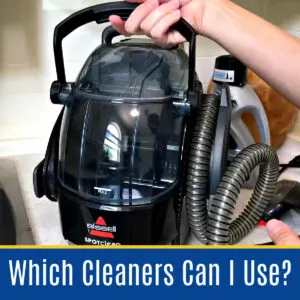
- What To Use In A Bissell Spot Cleaner: 6 Best Alternatives

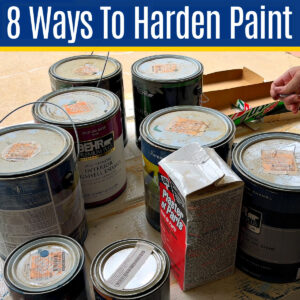
- 8 EASY Ways To DRY OUT Paint Cans For Disposal (How To Harden Paint)

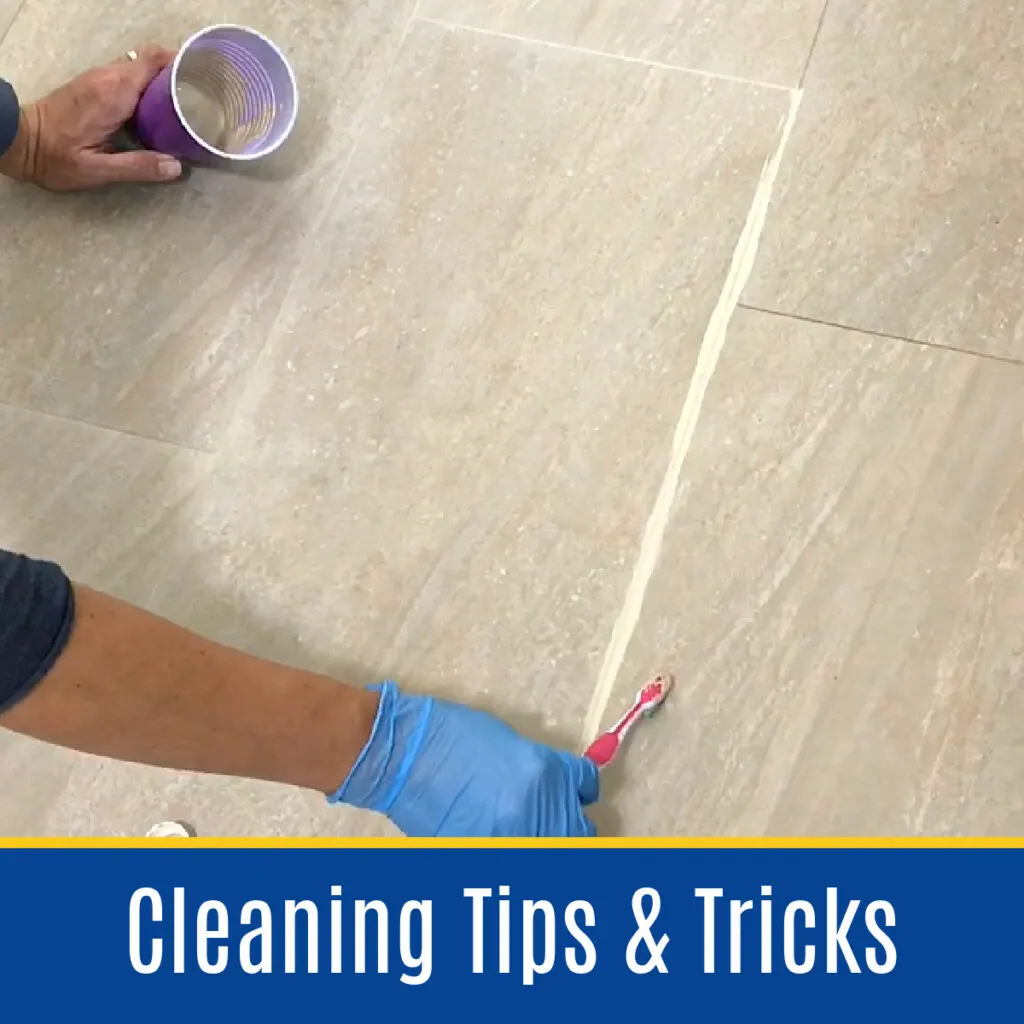
Cleaning Tips! (See More HERE)


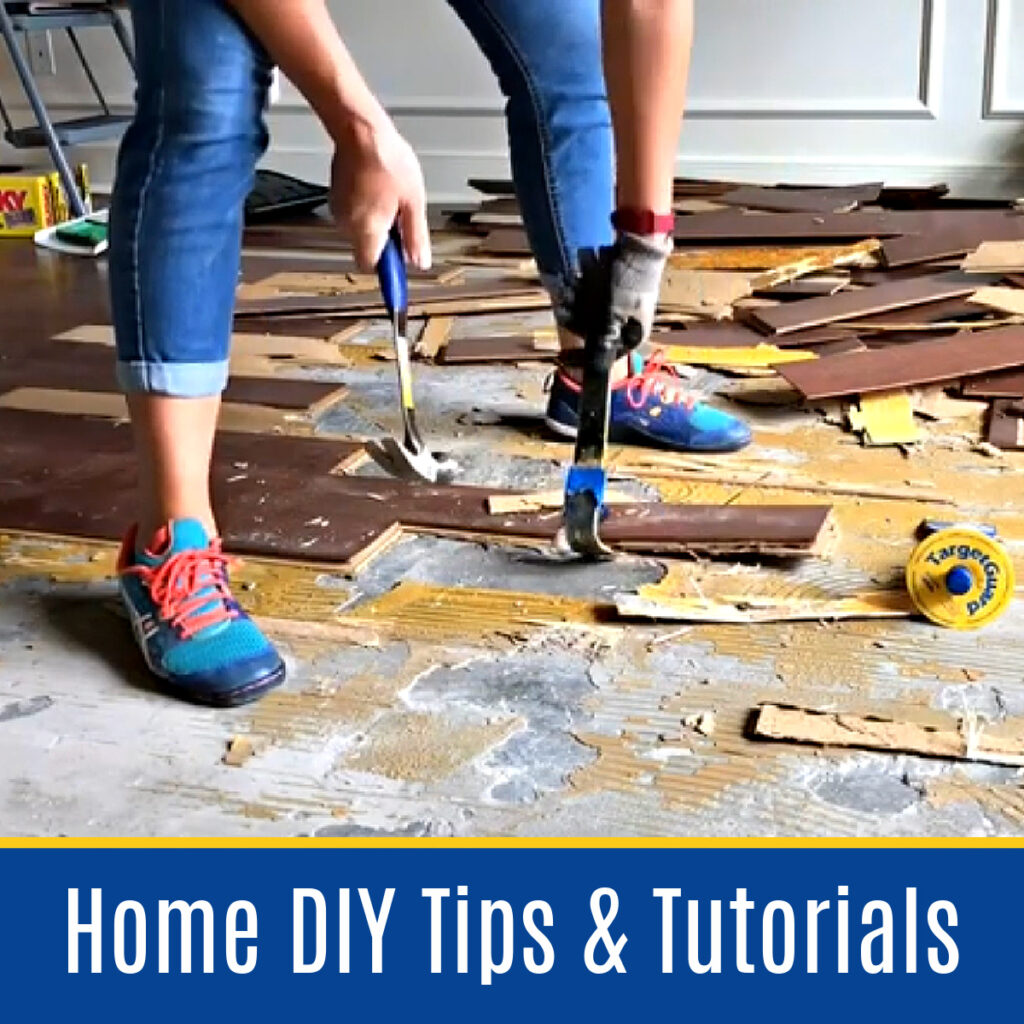
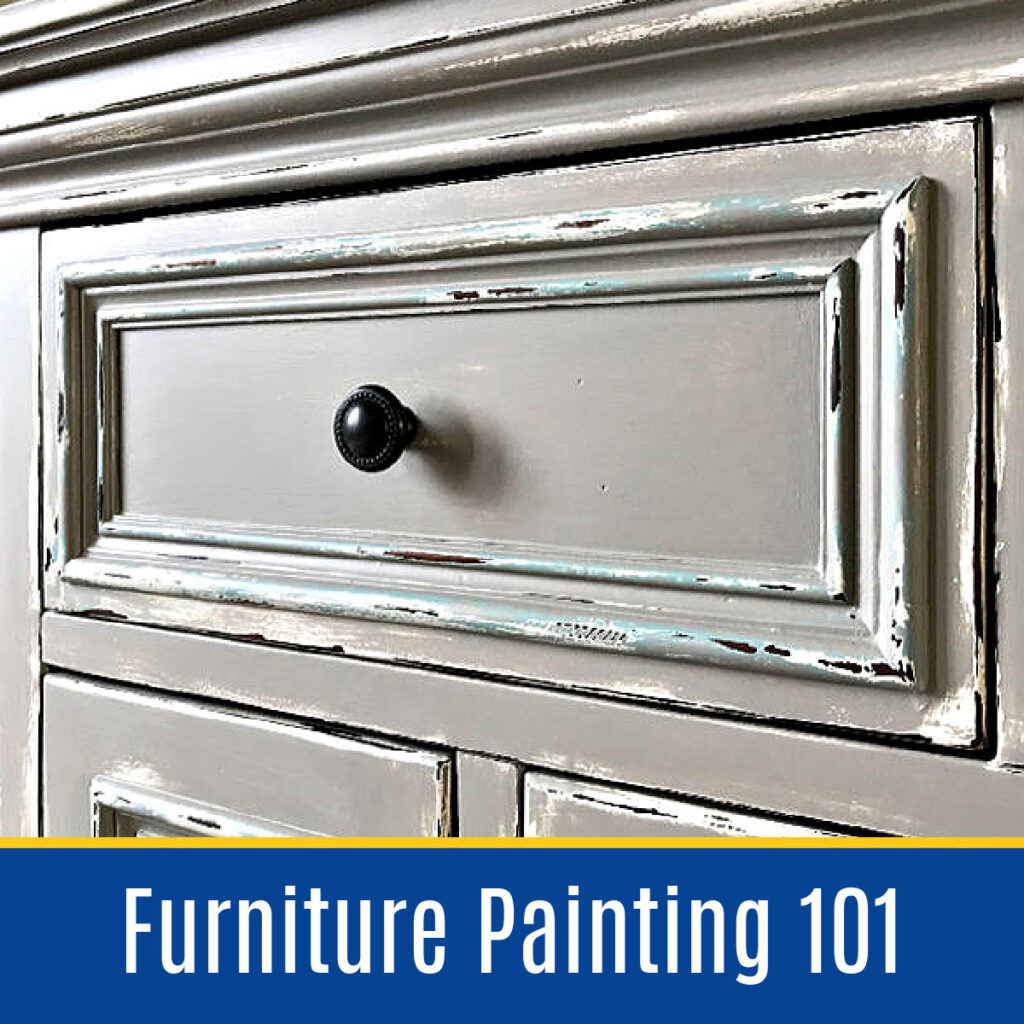
DIY Tips (See More HERE)


Most Popular! (See More HERE)


Decorating Tips (See More HERE)


“Best Of” Lists! (See more HERE)


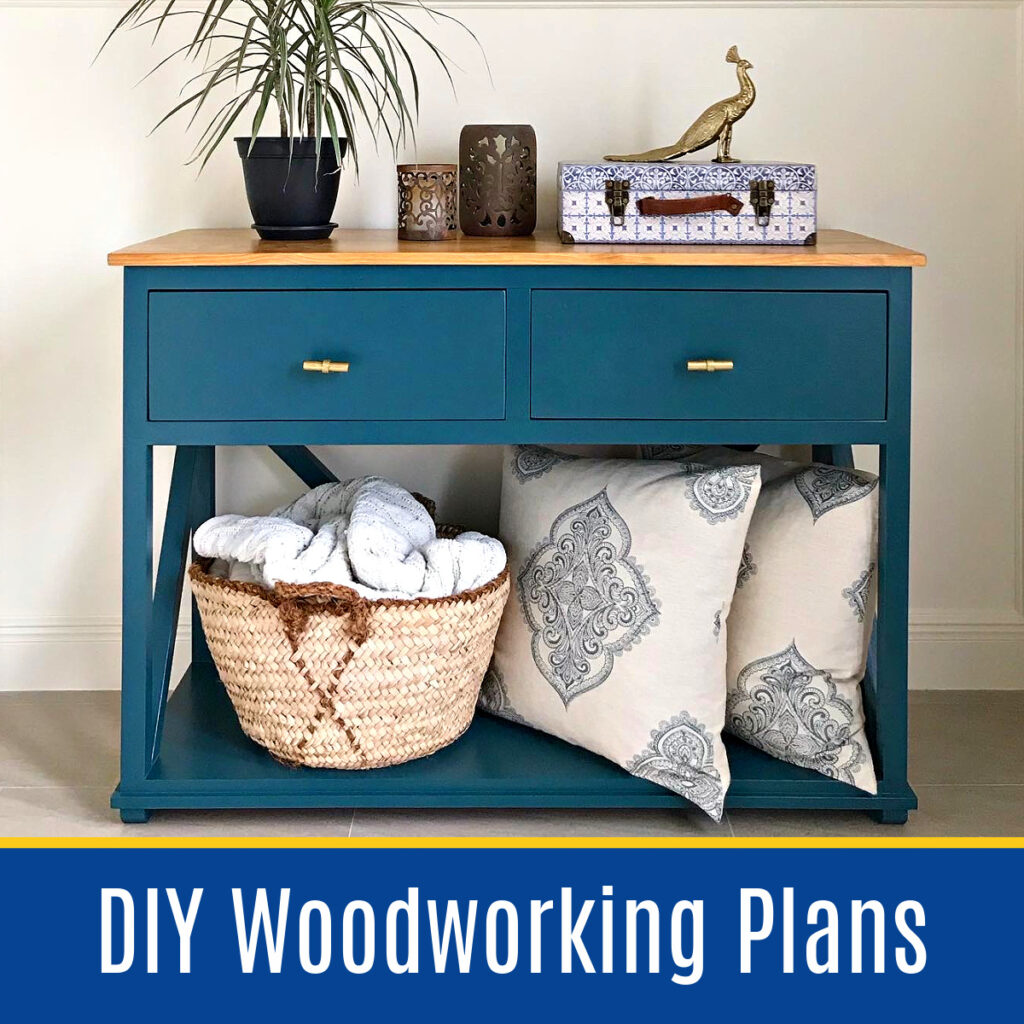
Must See Home Projects! (See more HERE)


Click A Category To See The Latest DIY’s!