
This Colorful Before and After Laundry Room Makeover is full of easy, budget-friendly DIY updates you can easily do in your own home.
Budget-Friendly Laundry Room Makeover
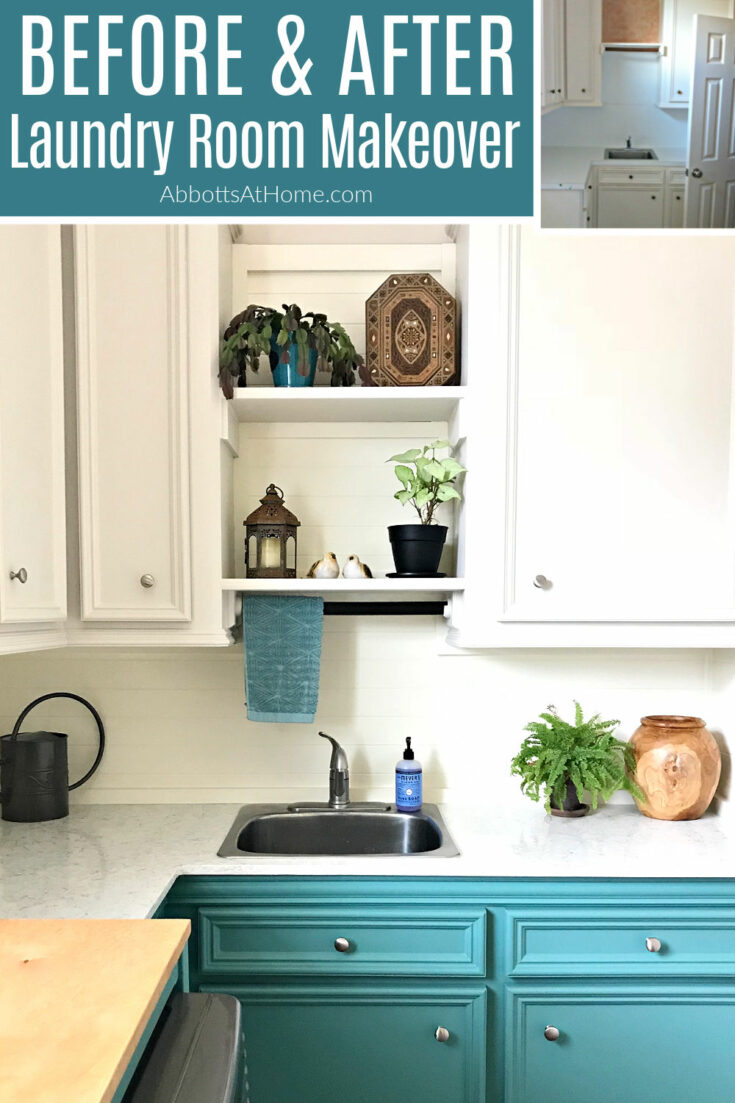
I did it. I went teal, guys! And it’s the real star in this light, bright, and colorful Laundry Room Makeover.
Did you happen to see my Cream & Grey Laundry Room reveal a couple of months ago? It was pretty and I was so excited that I had finally finished a room that I have already changed 3 times.
Well…I did it again. But this time it’s really finished, guys. I promise. 😉
It’s just perfect now. I couldn’t imagine changing it. Adding a pop of color gives my traditional style home a fun modern update.
I’m a big fan of mixing color and wood elements in rooms that still feel light, bright, and inviting.
So, I’m slowly moving through each room in my house freshening things up with fun DIY projects and pretty, but affordable décor.
You can see more examples of that in 3 of my other before and after room makeovers; this DIY Home Living Room Makeover, or Family Room Makeover On A Budget, or this 2 Story Foyer Makeover with Molding.
Now, let’s get on to this colorful Laundry Room makeover!
Before and After Laundry Room Makeover
Let’s start with a look at how this Laundry Room looked when we moved in 9 years ago. I really struggled with the design in this room.

When we moved in the walls were a faux Orange Finish with beaten up 20 year old white cabinets. It had a white linoleum counters and backsplash, and faux stone orange and black tiles.
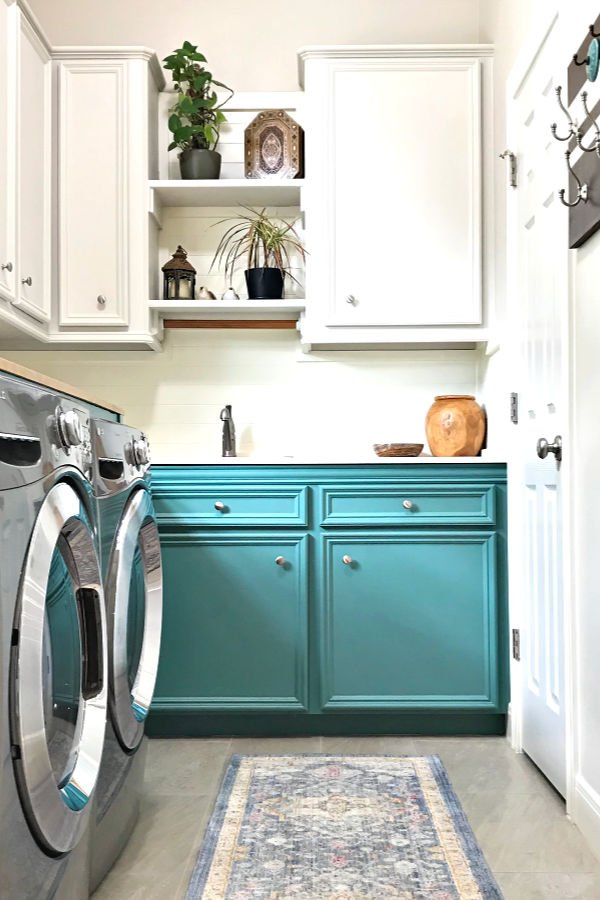
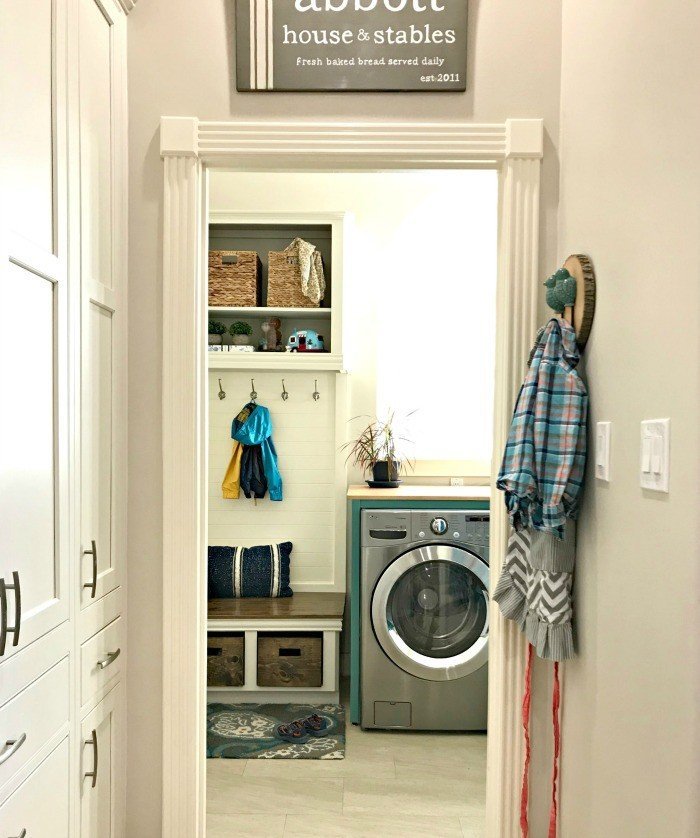
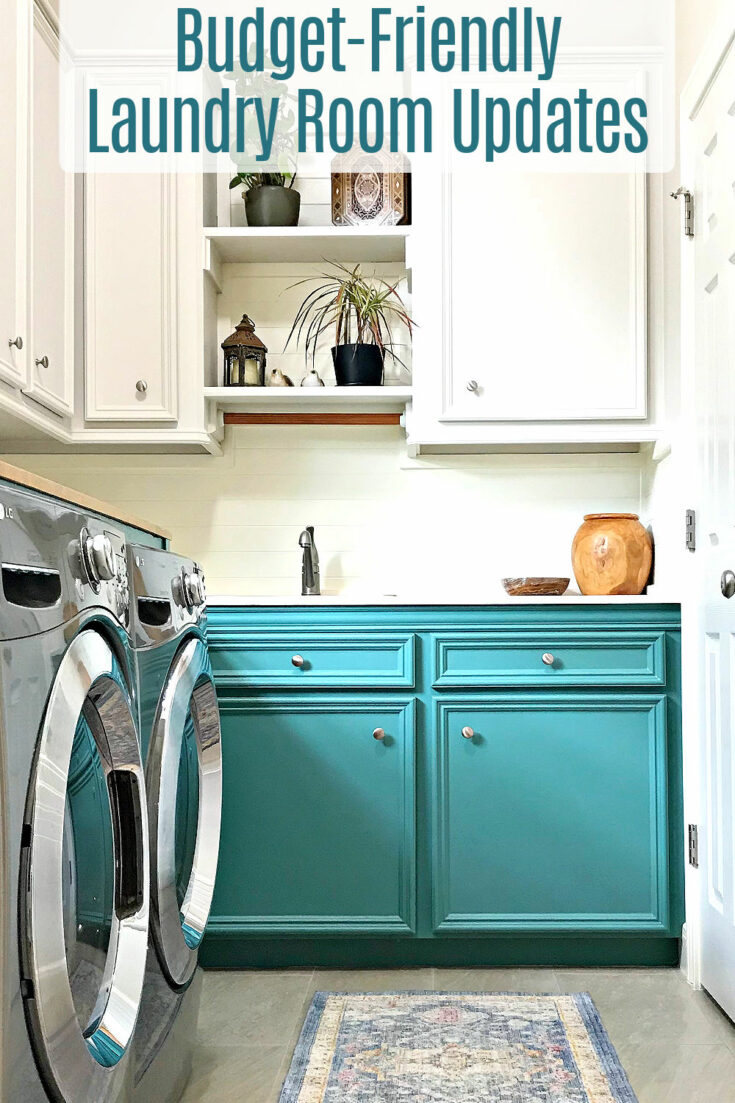
Here’s a look at our Laundry Room now.
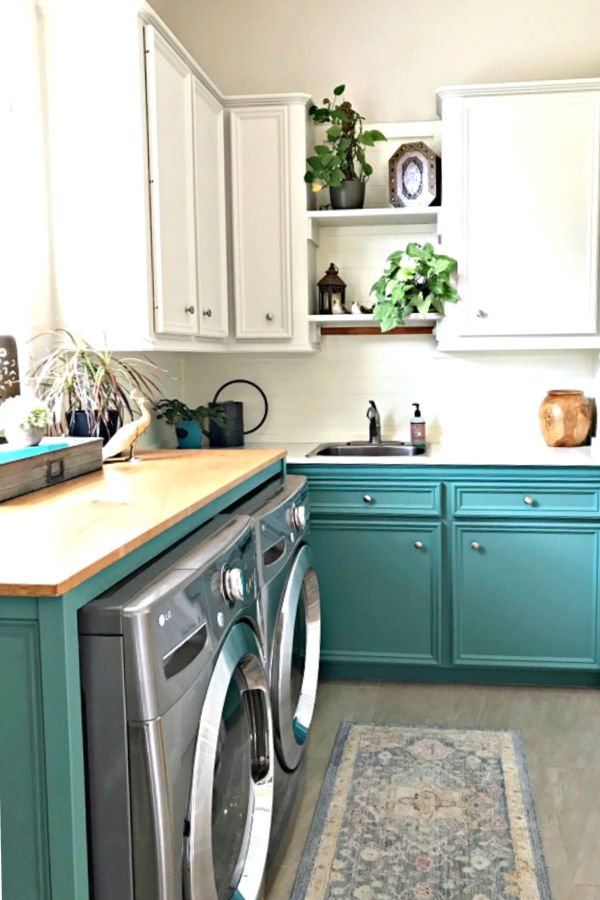
After this Laundry Room remodel the whole room feels so much bigger with light cabinets on the top. In fact, I painted the upper cabinets the same color as the wall. It’s Behr’s Sandstone Cove.
Matching the cabinets and the walls might not always work, but in this case it keeps everything light and airy.
The lower cabinets are Magnolia Homes by Kilz color Spontaneous. This line of paint is hard to find, but the paint quality is amazing. And many of the shades were hand picked by JoAnna Gaines.
I usually mix wall paint into a DIY Chalk Paint when I paint cabinets. But with this Magnolia Homes line it dries just as fast and cures fast, like chalk paint.
I just used another shade of that paint line on our built ins. You can see that in How to Paint Built In Bookshelves.
Here’s another before photo of the other half of this Laundry Room.
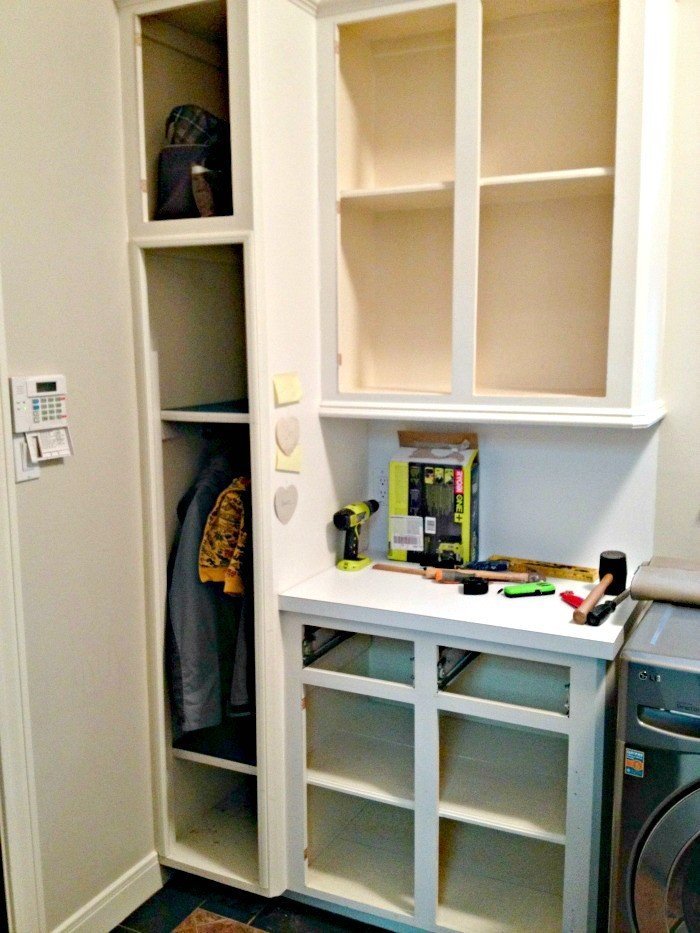
This spot is next to the door to the garage. In this photo, I’ve removed the doors and drawers to get started cutting the cabinets into a $100 DIY Mudroom Bench.
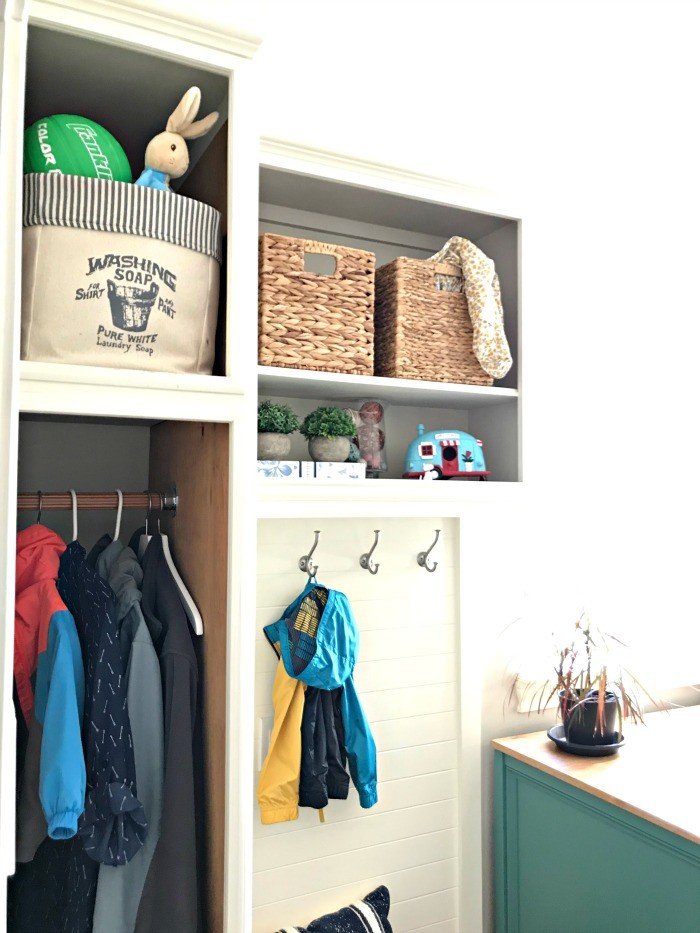
The DIY Tall Cabinet Makeover turned that long cabinet on the left into coat and shoe storage. I gave the open cabinets plywood liners to make them look nicer.
The upper left cabinet is a great spot for tucking away our bags when we come home.
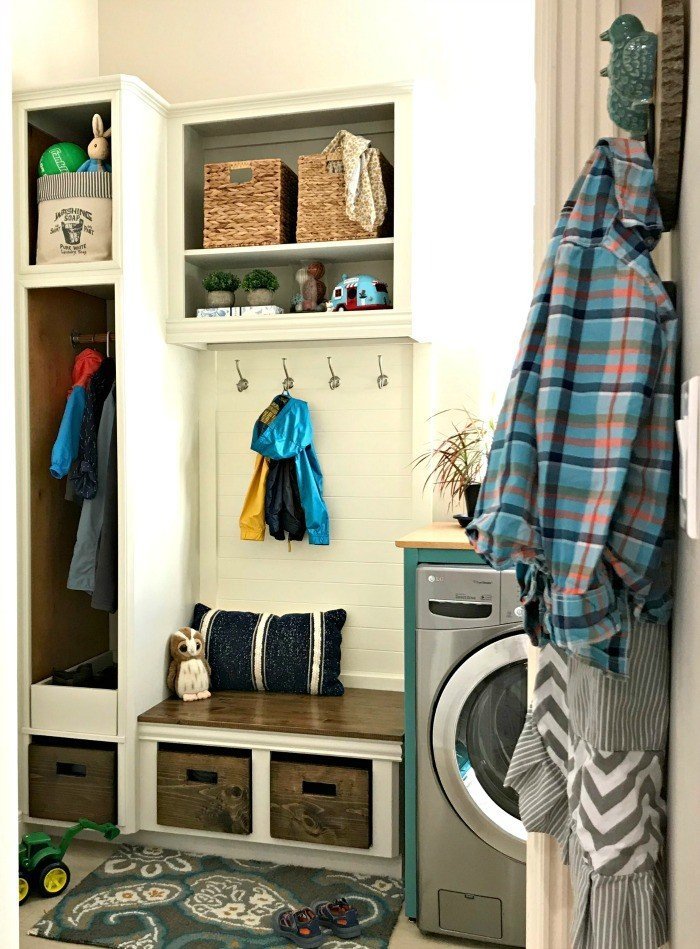
I cut the lower base cabinet in half to make a bench. Then I built 3 of my Easy DIY Wood Storage Bins to store all of our shoes in.
I also cut the cabinet above that down to turn the area above the bench into coat and backpack hooks for the kids.
You can find the full details on the changes I made switching these cabinets into a mudroom in How I Added a Mudroom in A Small Laundry Room.
This is mudroom bench conversion is the DIY project that was my Better Homes and Gardens Feature. 🙂
You can see the easy DIY steps for that super cute DIY Wood Slice Coat Hook I hang my aprons on in another post.
Let’s go over some of the budget-friendly Laundry Room updates in this room.
Some Low Budget Laundry Room Makeover Ideas
Paint, Of Course!
You can completely change the look and feel of any room by simply changing the paint color. Like I mentioned earlier, this room has had quite a few paint updates over the years. It never really felt right until now.
Don’t be afraid to try another $25 gallon of paint, if your latest paint color still isn’t working for you.
I have learned over the years that switching any room to a light paint color on the walls almost always is a huge improvement in this house. Then I add pops of color on furniture, décor, or cabinets.
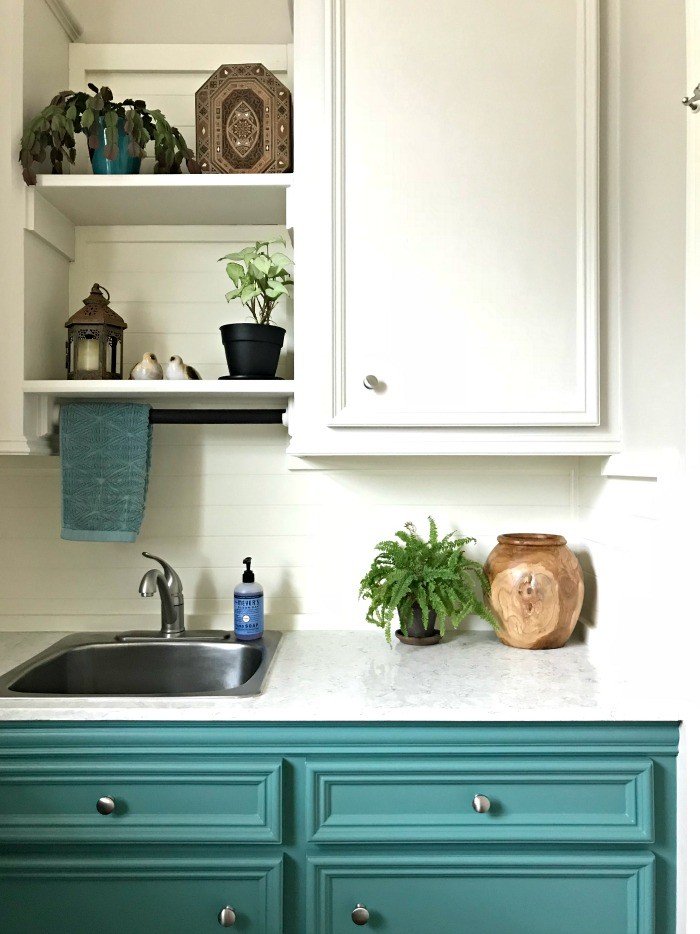
I mean, c’mon! That teal on the lower cabinets is a thing of beauty. It just makes my heart happy and steals the show in this Colorful Laundry Room Makeover.
And, don’t forget to patch and paint the trim and doors in a room too. Having dingy trim and doors can always make the whole room feel dingy and worn out.
You can update old décor and mirrors with paint too. If you need inspiration, check out how I use faux metal patina paints, or this post on rust paint effect, and this pretty DIY weathered paint look too.
Add Plants and Home Décor
Laundry Rooms need a little bit of style and home décor too. Add pillows to benches, houseplants, pretty baskets to hide things away, wall art, and even your own custom-designed DIY Towel or Coat Holders.
This area looks so much cuter when tiny coats are hanging from it. The baskets on the top shelf are hiding all of our winter hats, scarves, and gloves.
I use decorative baskets and trays to add texture and extra storage all around the house.
Add Molding and Trim
I LOVE DIY trim, finish carpentry, crown molding, and wainscoting. This home already had a lot of great crown molding and picture frame wainscoting and chair rail when we moved in.
But, I’ve been adding more DIY molding and trim to each room to give it more character and style.
Hiring someone to do finish carpentry can be pretty expensive. Doing your own finish carpentry, if you are comfortable with tools and detail work, can be a great low budget way to upgrade any room in a house.
Check out Do you use Caulk or Wood Filler on Wood Trim if you need tips on installing or refreshing the look of trim in your home.
Update Cabinet Hardware
On top of patching and painting old cabinets, you can also replace the hardware without spending too much money.
I replaced the old fashioned color and style knobs on our cabinets with a pretty simple knob design that can be found at most building supply stores, like Home Depot and Lowes.
If you want to add more stylish cabinet hardware, check out my post on 23 Unique Drawer Pulls, Knobs, & Hardware on Amazon.

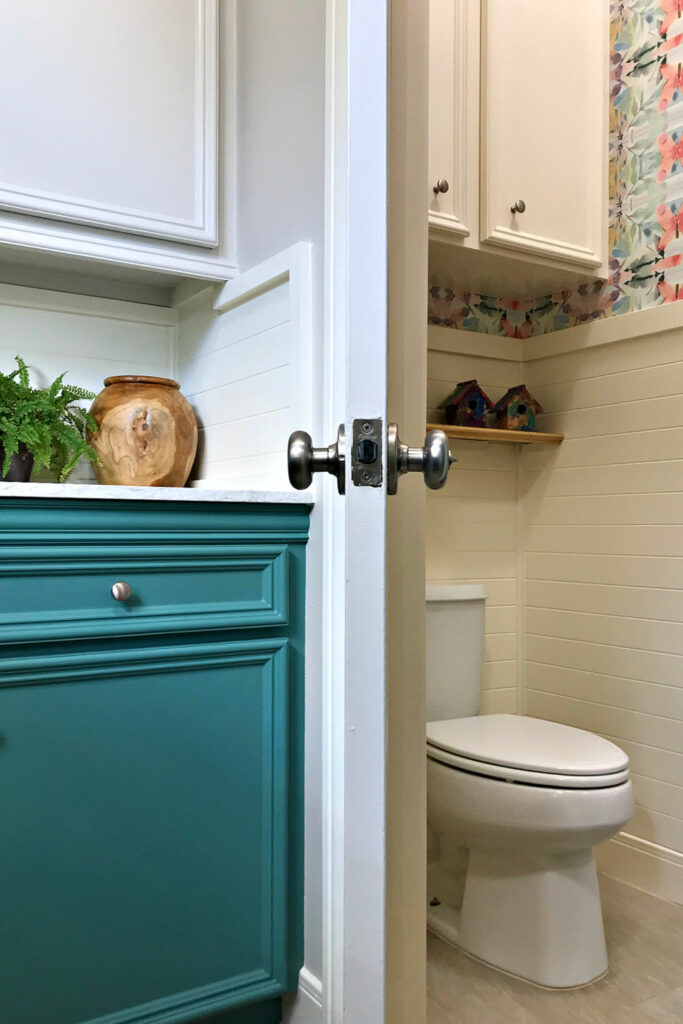
Add Shelves for Storage and Style
If you have an open space above your washer and dryer or a space between cabinets, like mine, you can add shelves.
Adding shelves to a Laundry Room gives you new storage and a new place to add pretty baskets, plants, and décor.
I usually build my own shelves so I can get the exact look I want and it’s generally cheaper. But you can buy nice looking shelves to install too.
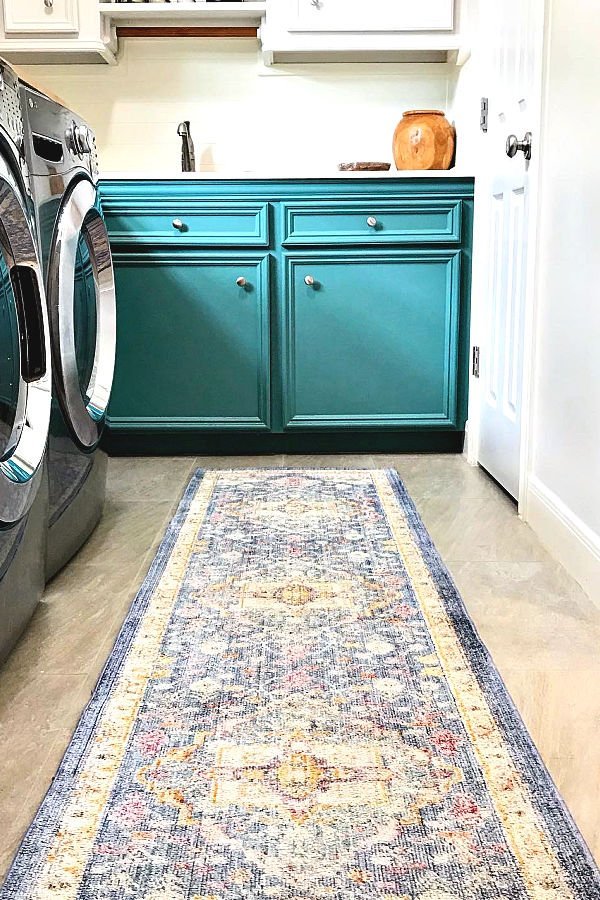
Don’t Forget the Floor
Just giving tile floors a really good deep clean can be an improvement. And, I LOVE how big of an improvement that using Grout Renew to whiten the grout can be. It’s a super easy product to use too.
You can even use grout renew on most grout colors to refresh the look. I think they had 33 shades the last time I checked.
You can always add beautiful, budget-friendly area rugs to a Laundry Room too. Rugs are a great way to add more color and pattern to a room that can generally be quite boring and full of hard surfaces.
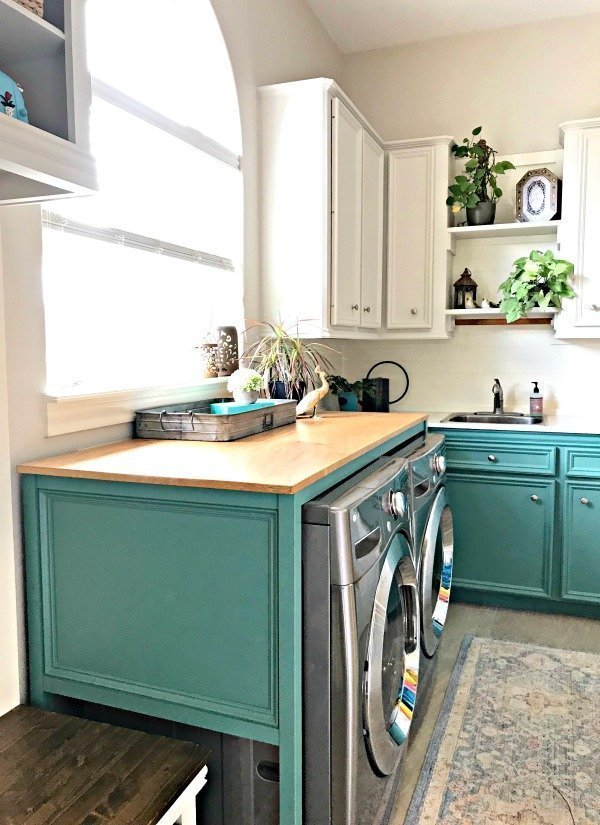
Build a Folding Table or Counter
Having a counter or table over the washer and dryer is so stinking awesome, guys! It hides those ugly gaps behind the machines, adds style to the room, and gives you a great place to fold.
I have steps to build that DIY Laundry Table Over a Washer and Dryer in another post. That table slides in and out so it’s easy to remove when I need to get behind the machines.
If your washer and dryer sits between 2 walls, you can easily install a countertop that sits on supports screwed into the walls.
Both of those projects can be cheap and easy DIY’s for anyone comfortable with power tools and working with plywood.
If you want more budget-friendly tips, check out the 14 Best Ways to Renovate A Living Room on a Budget. Those tips really work in almost every room in your house.
That’s it for this budget-friendly Laundry Room Makeover. Here’s a few more DIY’s from this house you might like.
More DIY Projects For You
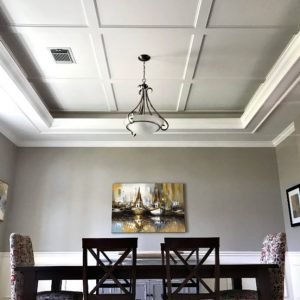
This Simple DIY Coffered Ceiling Design is one of my favorite DIY trim and molding projects in this house.
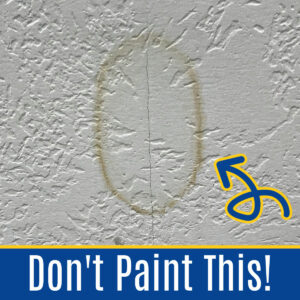
Don’t paint over those water stains on a ceiling! There is an easier and faster way to fix them.
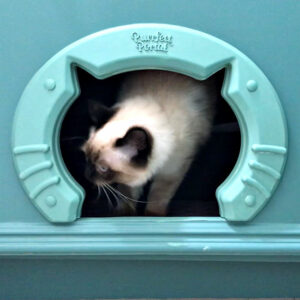
See how I’ve updated a cabinet in this Laundry Room in How to Hide A Kitty Litter Box in a Cabinet.
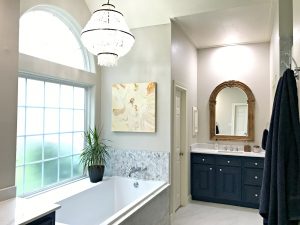
These before and after Master Bathroom Makeover pictures. I couldn’t be happier about this makeover!
And, check out how to stain a front door without removing it.
Thanks for checking out my Colorful Laundry Room Makeover. Don’t forget to sign up for the Abbotts At Home email newsletter to get DIY, Remodeling, and Crafty ideas in your inbox.

Stephanie Abbott has been remodeling homes, updating & building furniture, and working on DIY home maintenance and cleaning tips for over 20 years. Her remodeling has been featured in Better Homes and Gardens Magazine. And, her DIY YouTube channel has had more than 8 million views.
Most of the DIY tutorials and videos on this site focus on beginner to intermediate level DIY Projects that can be done in an affordable way without high-end, expensive tools. All of the cleaning tips on this website have been tested in her home.